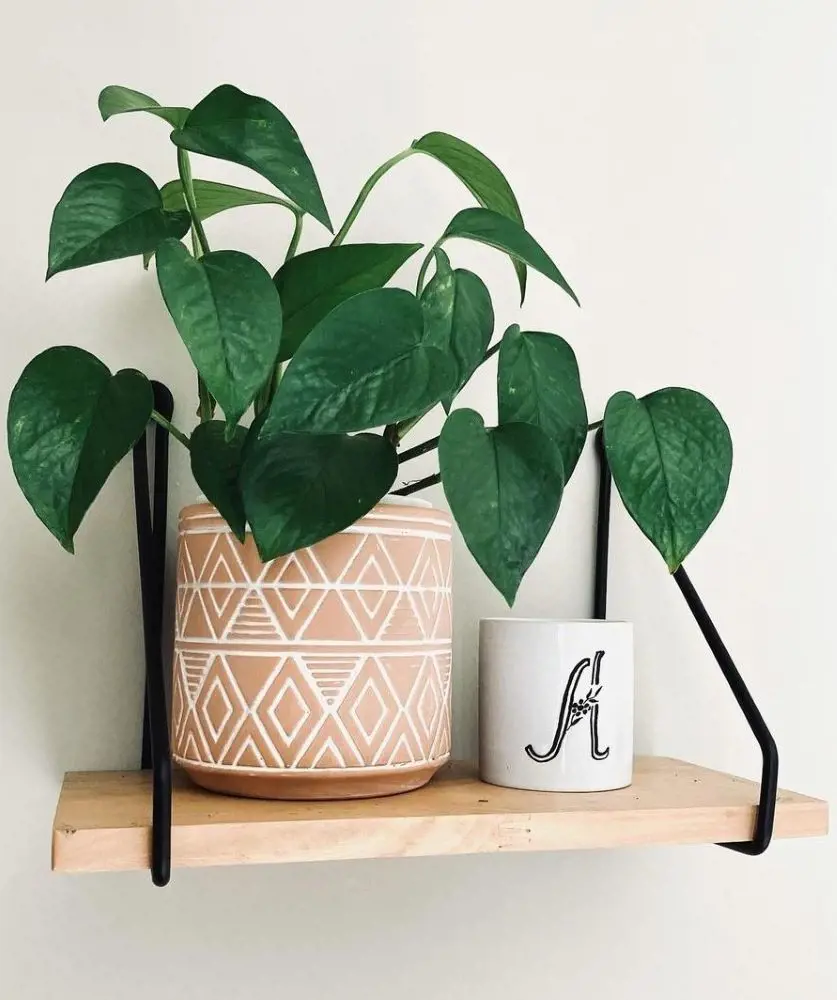
Each Peperomia shrub is equipped with beautiful leaves and is preferred by plant lovers due to its small mass. These plants acquire their popularity due to their waxy leaves and low demand for the conditions in which they are to be placed.
Propagation is not only cost-effective but also an enjoyable way to multiply your beloved Peperomias. In this article, we’ll explore three methods of propagating Peperomia: through stem cuttings, leaf cuttings, and water propagation.
Propagating Peperomia Using Stem Cuttings
Stem cutting propagation is a straightforward and effective method for propagating Peperomia plants. The key to successful stem cutting propagation lies in selecting a healthy plant, following each step carefully, and providing the cutting with the right conditions to root and thrive.
The first thing to do to propagate Peperomia is you select a healthy stem from the plant. Choose a nonflowering stem that is pest, disease and damage-free. Do not use stems that are too hard as they may not take root well as easily as the other soft stem types.
Try to get stems that are approximately 3-4 inches long and should preferably possess one or two sets of leaves. The stem should ideally be tender and green, not fibrous and either soft or woody. It is advisable to avoid taking cuttings from flowering stems since the energy of the plant will be used in flowering rather than rooting.
2. Take the Cutting
First, use clean, sterilized blades whether it is a pair of scissors or shears, and remove the shoot about half an inch below a node which is where the stem joins with the leaves.
This is important since roots will emerge from the node. The cutting should be of 3-4 inches only. This size is good for rooting because it contains enough stem and leaf tissues that enable the cutting to carry out photosynthesis as it develops roots.
It is essential that the cutting should dry and form a callus. This normally lasts 2 at most days. The callus also assures that once planted, the cut does not drink excessive moisture, thus avoiding the growth of rot.
Specifically, the growth initially discovered is most susceptible to taking in water and decaying when the stem cutting has just been cut. This is because when planted, you help the cutting to form a kind of skin which will protect the cut end as it grows.
4. Prepare the Soil
When the cuttings are dry, get the soil ready. Take a small pot or container and fill it with good drainage potting soil. As for soil, peperomias like a well-draining light mix, which is a cactus or succulent mix perfect for them.
If you do not use a specialized mix, one way to make your own mix is to go halfway with potting soil, perlite and sand to improve drainage. Again, the pot should have holes in the base to allow free drainage of the water that is not retained by the germinating seeds.
5. Plant the Cutting
Once the cut end of the stem is callused over, then it is advisable to plant the cutting into the previously prepared soil. With your finger or pencil make a small hole in the soil up to 1-2 inches deep as required for planting the seed.
Placing the cut end of the stem into the hole should be done gently so that at least one node is buried under the soil.
After planting carefully pat the soil around the stem so that the cutting has to stand firm in an upright position. This will assist the cutting to stand upright and avoid the risks of toppling over while rooting.
6. Water the Cutting
Then transplant the cutting into a new pot containing the potting mix; water it lightly to allow the moisture penetrate to the root ball. Soil should be moist, or moistened up to the time it does not drip when the finger is brought out of it.
These plants like their soil to dry in between watering treatments, hence watering them excessively could cause powdery mildew, aphids and root rot.
Be very careful when watering the cutting, and avoid the area getting too wet since the soil should only be moist enough for the cutting. That is, you should drain the pot if you find that there is too much water at the base.
Put the pot in a warm area where the seeds will receive plenty of indirect light. Do not expose the cutting to direct sunlight because it will either dry up or heat up excessively. After two to three weeks the cutting will start to form roots.
Twist the cutting in the same direction as you go every five days. If there is resistance, it simply means that something as basic as roots are forming. This is a good indication that the propagation process has yielded positive results.
If you are in a dry environment or wish to hurry the process along, cover the cutting with a plastic bag or humidity dome to retain humidity. That will assist the cutting to retain moisture as it grows roots.
Propagating Peperomia Using Leaf Cuttings
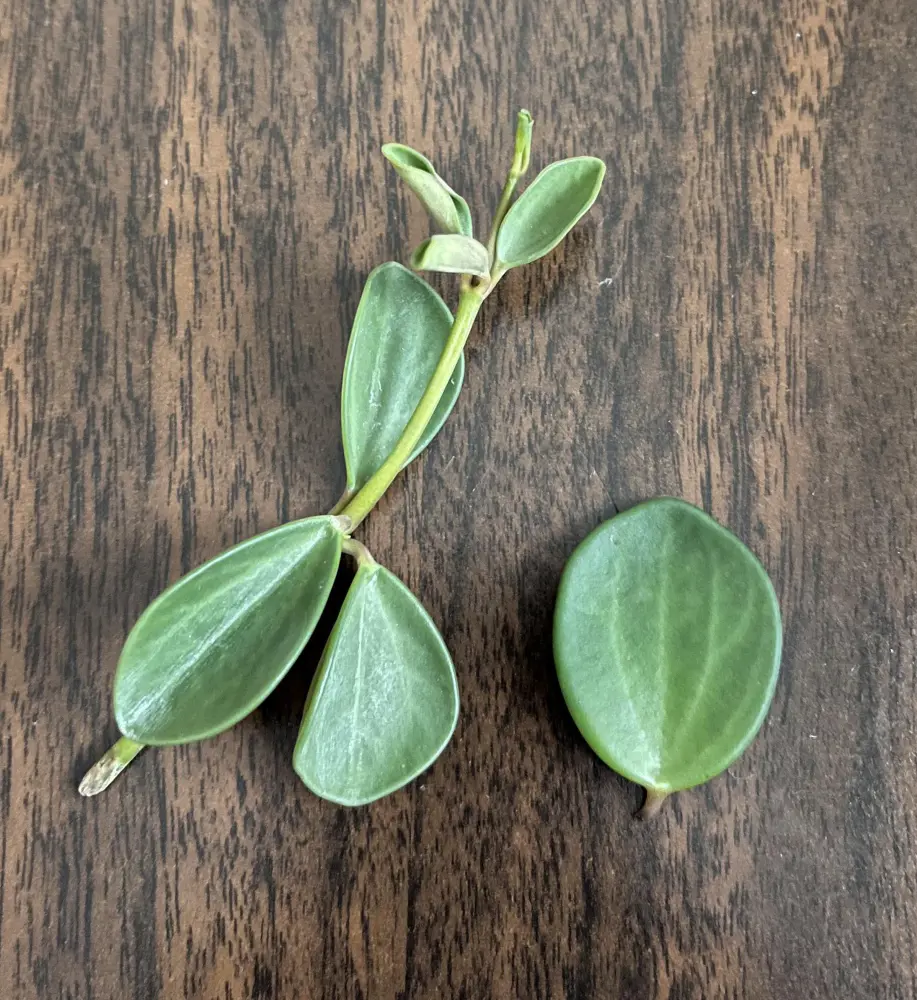
Propagation of big-leaved Peperomia like baby rubber plants is simply done by the use of leaf cuttings. This propagation method is very effective because the main reason for propagating is that with just one whole leaf, a new plant can be grown and that is a very exciting process.
It is definitely slower as compared to stem cutting, but if well taken care of, gives good rooting outcomes.
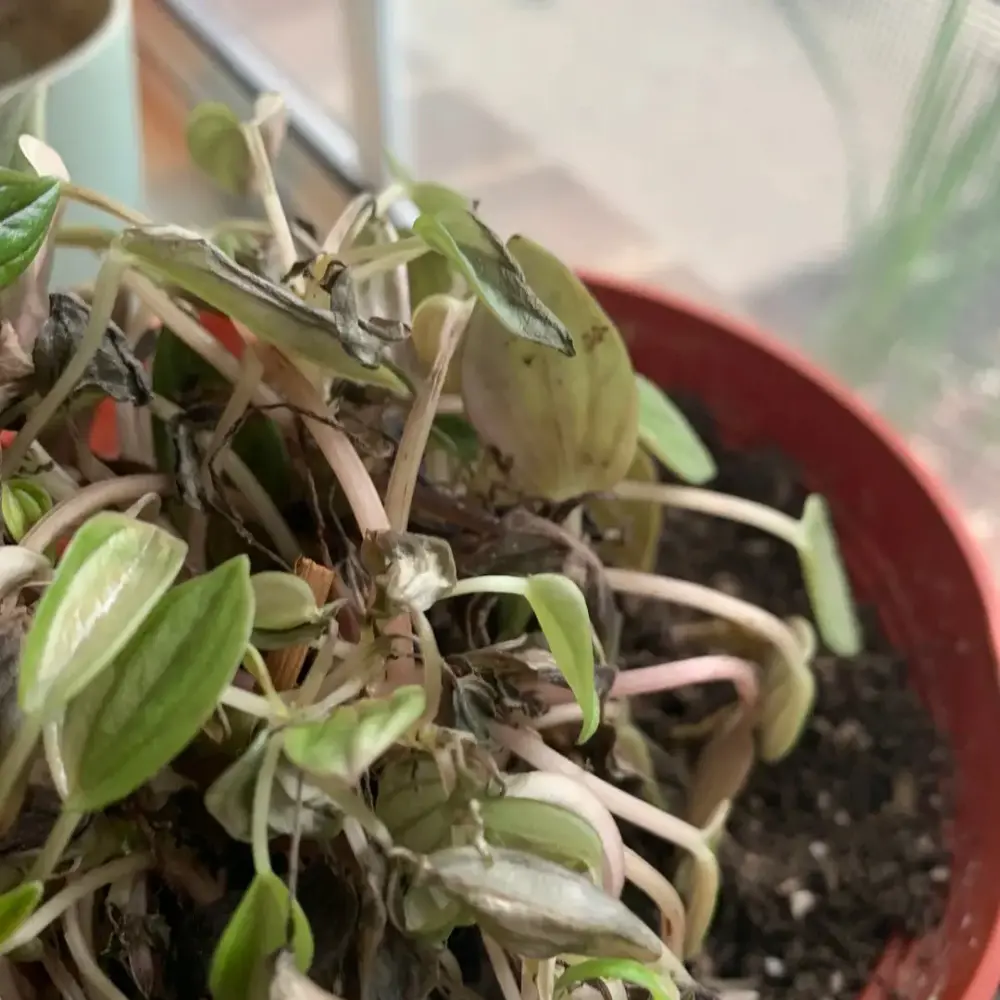
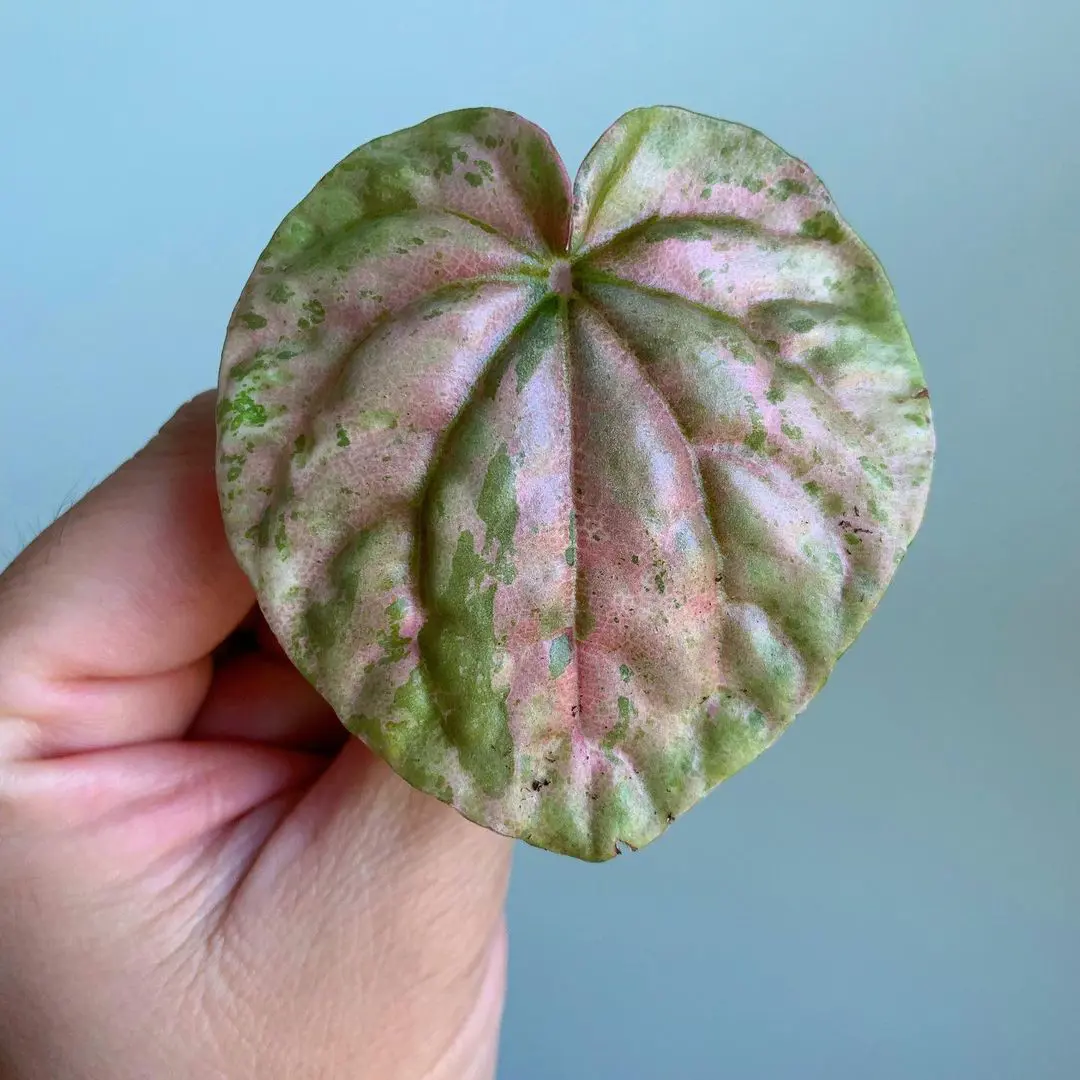
Before extracting the plant tissue, you have to select a mature, healthy leaf from your Peperomia plant. It should be very green, fresh and should not be showing any signs of disease such as yellowing or aphids at all.
Preferably, the taken leaf should be a large and healthy one because then more energy will go to root-shoot formation.
The greatest amount of root development will come from a large healthy leaf. It is wise not to collect older, damaged or diseased leaves because they will not take root when placed on a cutting and this results in failure.
2. Take the Leaf Cutting
To take the leaf-cutting, use sharp and clean scissors or a knife to cut the leaf from the plant. The idea is to maximize the leaving length while coming as close to the base of the leaf as possible which connects to the stem. That way, the cutting will have a sufficient amount of the leaf’s tissue to grow roots.
As much as possible, cut across at the base of the petiole where the leaf connects to the stem. Some advise removing the whole leaf while others advise that you remove a small portion of the petiole as this will encourage root growth.
It is recommended that after undertaking a cutting, the cut end of the leaf is allowed to callus for about 1-2 days. This process is equally crucial as it minimizes the amount of moisture loss therein helping the cutting when placed in the soil not rot easily.
Similar to stem cuttings, the cut end of the leaf can readily suck in too much water or spoil if not managed correctly. Allowing the cut end callus will develop a protective layer so that the cutting has a better chance of developing roots.
4. Plant the Leaf
Once the cut end has callused, it’s time to plant the leaf-cutting in a small pot with a well-draining potting mix. It is preferable to use a cactus or succulent mix at the bottom of the bowl so that the soil does not become waterlogged.
The cut end must be buried in the soil but the rest part of the leaf must stay outside the soil level. Propagation specialists suggest that one can plant the leaf at a 45 degree angle rather than vertically, which helps increase the possibility of growing roots.
Put the pot in an airy location with a lot of sunshine but not direct sunlight. Peperomias are somewhat intolerant of direct sunlight as it can burn the leaves in no time, they should be placed in filtered light. In the next 2-3 weeks, the cutting will start to produce roots.
From the experiment keep the pot in a warm place, preferably in a temperature range of 75 Fahrenheit. It is evident the cutting will thrive in a steady warm surrounding.
Since the air in such areas is usually dry, the humidity level can be enhanced by placing an inverted transparent plastic bag or a dome over the pot. This will assist in the maintenance of moisture around the cutting and promote root formation.
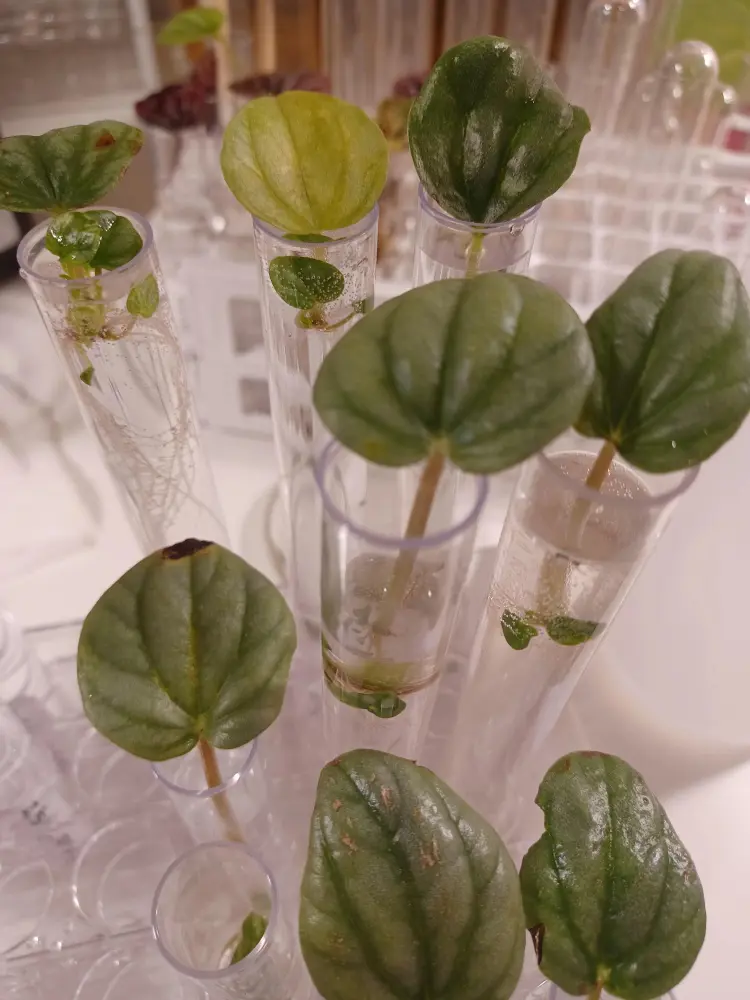
You can also propagate Peperomia plants by using water, and this is considered easy by most people who are starting to take care of such indoor plants.
In this case when using water as the rooting media the growth of the roots is easily seen and manipulated because of the transparency of the water.
Materials Needed:
A healthy Peperomia stem or leaf
A clear glass or jar
Clean, sharp scissors or pruning shears
Well-draining potting mix
1. Select a Healthy Cutting
To prepare this plant, the orders are to start with choosing a healthy stem or a healthy leaf from your Peperomia plant. Check that the cutting you’re using is damage-free, pest-free, and disease-free.
For Stem Cuttings
Select a stem that must have one node, which is the point on the stem through which a leaf is attached. This is important for root formation.
For stems a medium containing cytokinins and auxins is required for shoot proliferation and elongation of roots. Ideally, the cutting should be 3-4 inches long, avoid taking the stem that is too tender or on the other extreme that has developed woody stems.
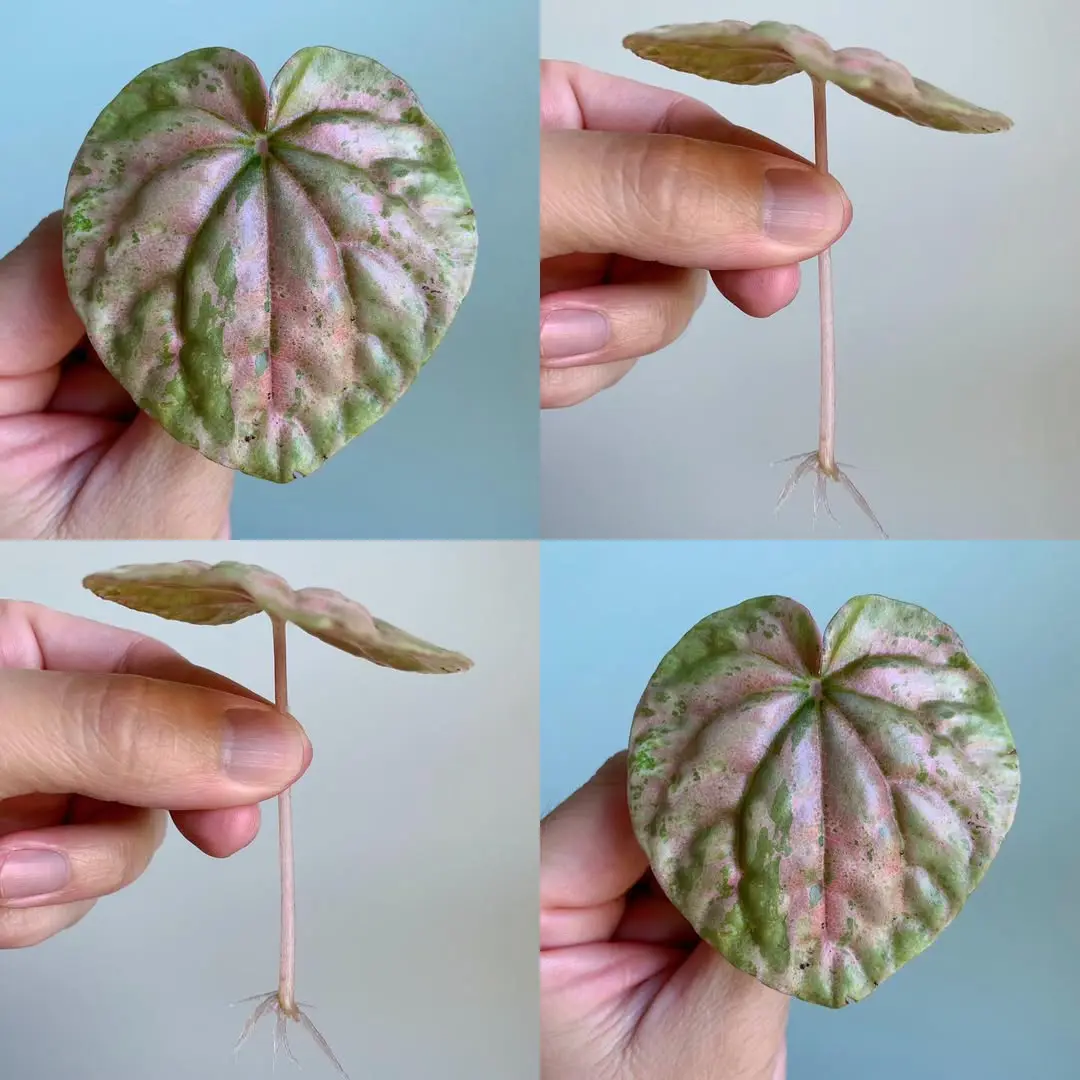
For Leaf Cuttings
Most peperomias are propagated using a leaf and that is especially so if the variety is characterized by fleshy leaves. You should cut the leaf just beneath the point where it is sown to the stem, and it should be a healthy and fully grown layer.
When the cutting is chosen, it becomes important to use clean, sharp scissors or a pruning shear to the cutting. Clean cutting reduces the risks of contracting infection and also has a positive impact on the healing of the cutting.
Now that you have your cutting, put it in a glass of clean water and place the glass in a jar. This water level must be adequate to immerse the base of the cutting, but they should not be immersed in the water. It is also important not to have the leaves inside the water because of water rots.
Choose a transparent cup or a glass container in order to be able to observe the roots’ growth process. In this way, one can fix things as water may look murky or roots do not grow as they should on time.
3. Change the Water Regularly
It is necessary to replace the water in order to help roots grow healthy and it does not rot the cutting. The water should be changed every two to three days.
This helps to maintain the water as free from contamination as possible, and will also prevent the cutting from laying in a pool of water and developing bacterial or fungal growth. Because young roots need oxygen and nutrients, fresh water is important.
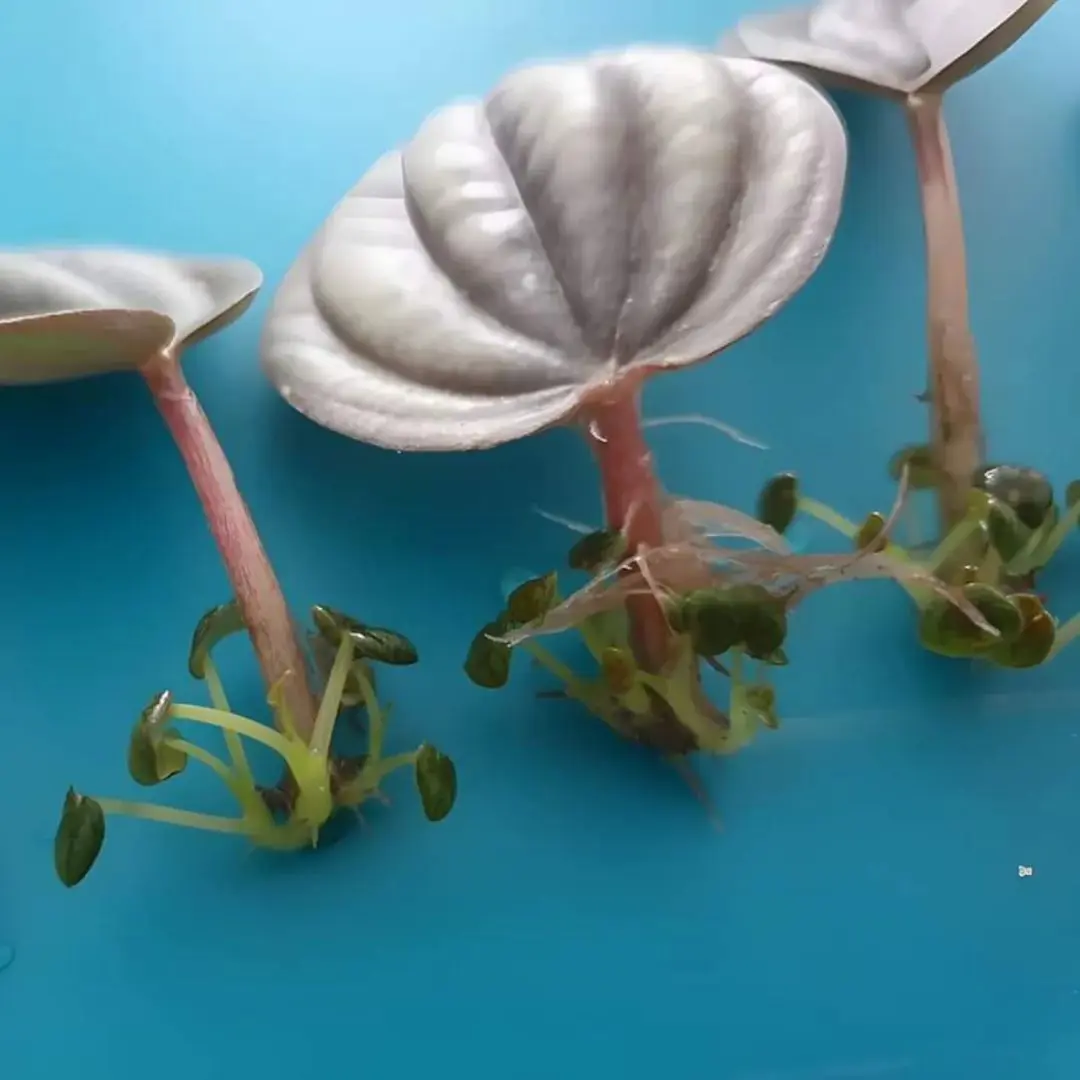
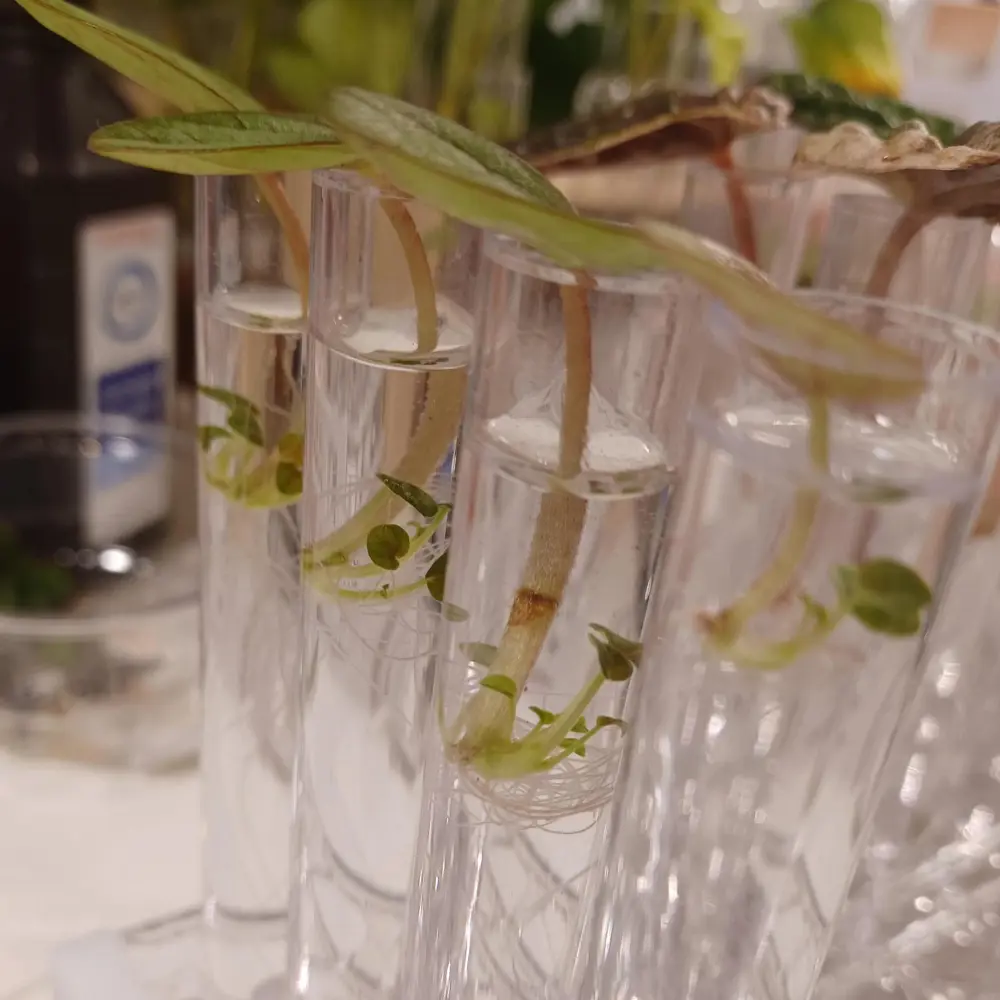
4. Monitor Root Growth
In 2-3 weeks (depending on the type of Peperomia and condition), new roots should emerge from the cut-end of the stem/leaf. These roots will normally emerge and develop as small white or transparent structures.
Typically, the roots should be well developed and should reach a length of 2-3 inches before transplanting the salsa plant. However, if the roots are not long, it might take the cutting longer even in water to develop strong roots, therefore it should be left longer in water.
After 3-4 weeks when cutting has rooted well, it is now ready for transplantation onto a growing medium like soil. The roots have to be a few inches long and are supposed to appear to be strong enough to fix the plant into the soil.
Place about 1/3 of a small pot with potting mix that drains well, preferably cactus or succulent mix. Check that the pot has good drainage to avoid a condition whereby there is pooling of water in the soil.
Place the rooted cutting on a bench to dry and solidify the stem for about 30 minutes before applying the rooting hormone. Stick the cutting in the pot’s middle and surround the roots with the soil and nudge it up gently to make the cutting to stand on its own.