One of the joys of owning houseplants is being able to propagate new plants from the ones that you already have in your home. Better yet, remember your moms giving you some plant seedlings from her garden? Now you can be the one to gift them back.
Gifting rooted cuttings of your favorite plant is an incredibly thoughtful gesture and while it might seem like a daunting task and make you wonder how to propagate ivy cuttings, we promise it's not that hard.
The easiest way to propagate ivy for indoor use is by taking stem cutting and placing them in water. Remember to clean your cutting tools before getting started.
Materials Needed:
Pruning shears or a sharp knife
Gardening gloves
Clear container filled with water
Sand
Well-draining soil
Flowerpot
1. Make Your Cut
Use clean and sterile pruning shears or a sharp knife and cut off an overgrowth of ivy. While you can cut just about anywhere, for the best results your cuts should be 4-5 inches long from a healthy vine.
You can do this during your regular pruning routine and this can also help keep your indoor ivies shorter.
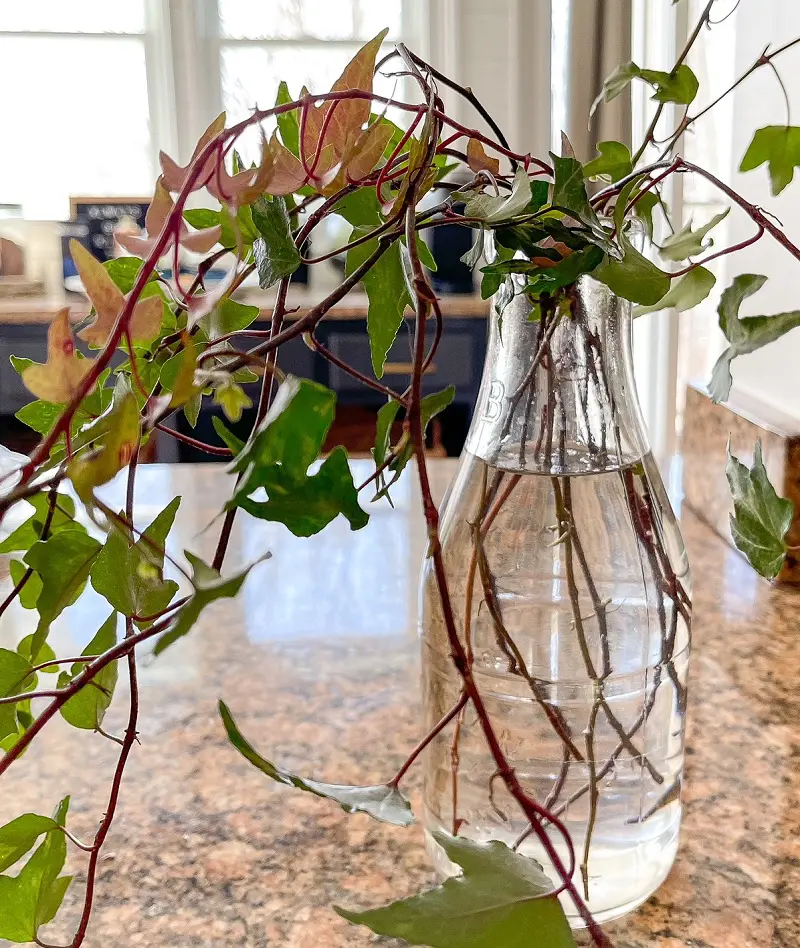
2. Prepare The Container
Fill a container, preferably one that is transparent and see-through with 3 inches of water. You can use anything from a glass to a jar, but it must allow you to see your cutting completely once it's submerged in water. complete cutting when it’s placed in the water.
The main advantage of propagating in water is to be able to tell the stage of the root development, therefore not being able to see the cutting will make a huge advantage of this technique useless.
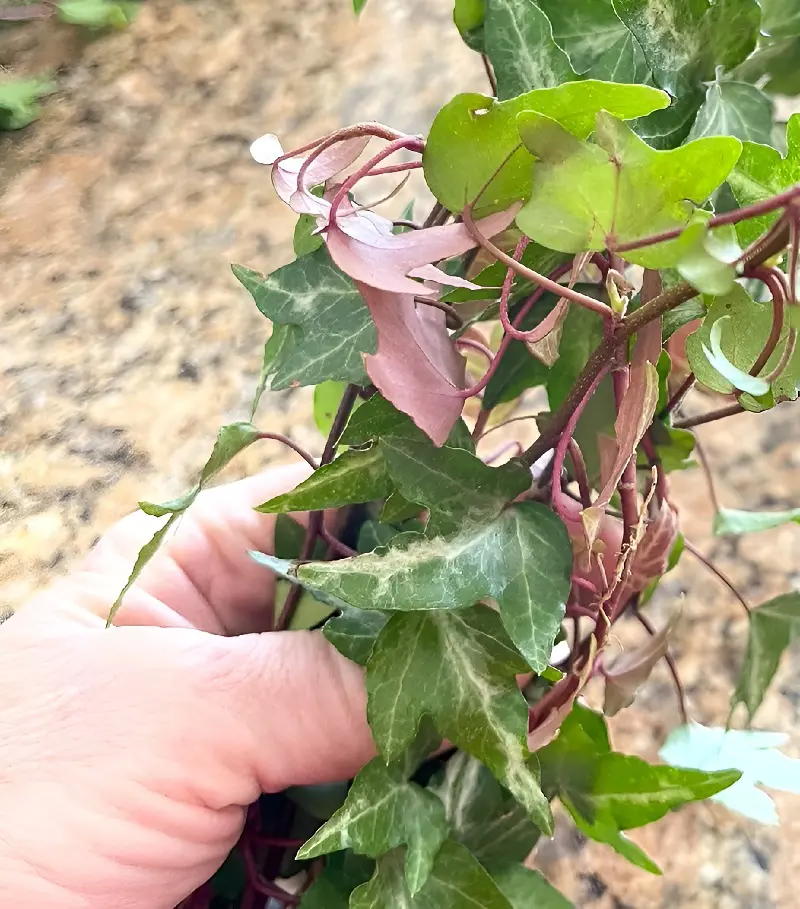
3. Remove The Leaves
Either by using your hand or a sterile scissor, run it down the stem, and gently pluck off or snip remove any of the ivy leaves on the stem or vine which will be in water once submerged.
You don't want any submerged leaves when the cutting is in the container as it can damage the delicate cutting via leaf rot, oxygen deprivation, and nutrient loss. Since there will be 3 inches of water, cut off any leaves below that area.
4. Place in the Water
After preparing the container, submerge your ivy cutting into the water and place the glass in near indirect sunlight. Take care not to place them in direct or excessive light as it can encourage algae growth.
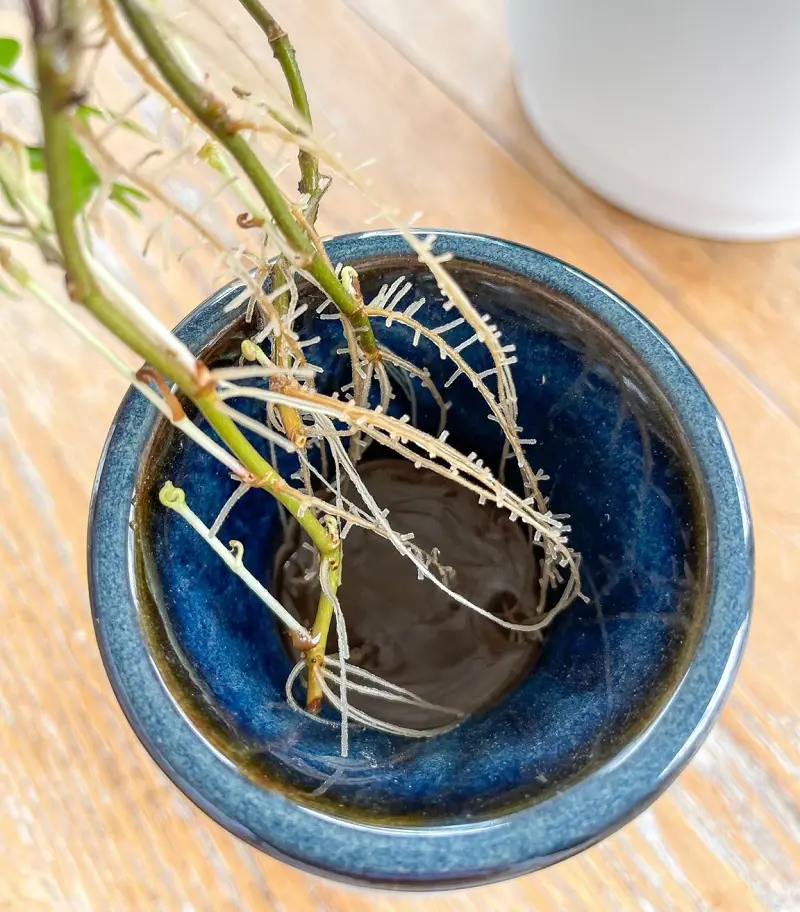
Remember to replace the water every two or three days to provide nutrients and avoid bacteria buildup in stagnant water. After a few weeks, new roots will begin to sprout from the cutting.
Once the cutting has developed roots which have been observed to be a few inches long, they need to first be made to acclimatize to soil conditions. Therefore, do not immediately transplant the cuttings directly onto the soil as that can cause transplant shock.
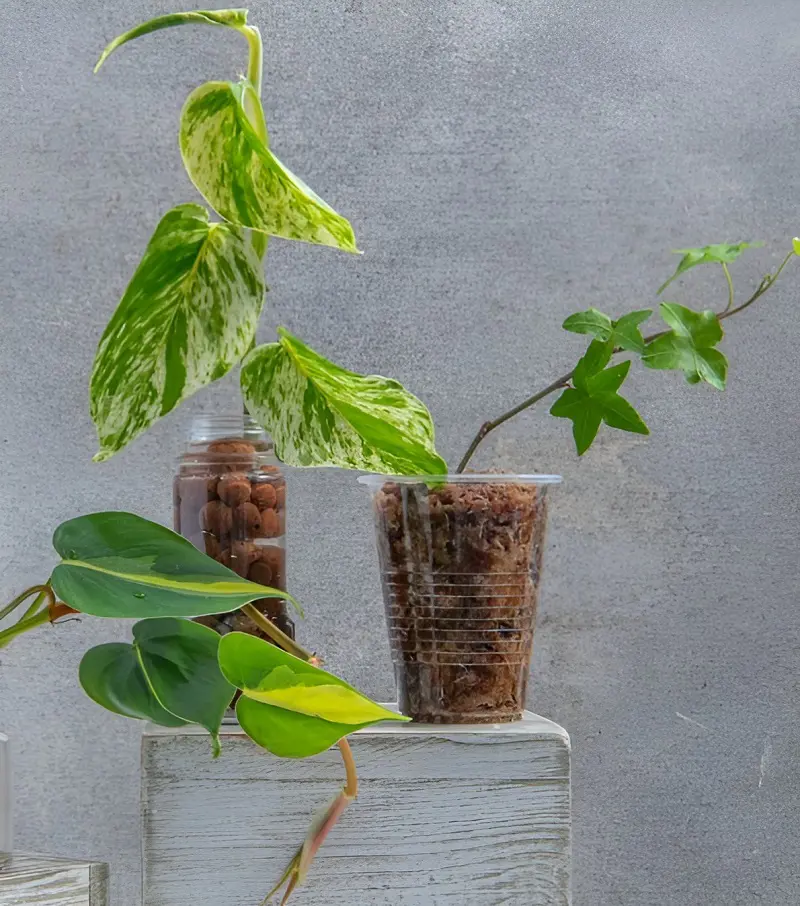
Instead, plant the cutting in a soilless medium such as sand, perlite, gravel, peat, etc so they can adjust slowly to a terrestrial life without the risk of getting shocked to death. Water regularly and once you notice them growing, it's time for the next step.
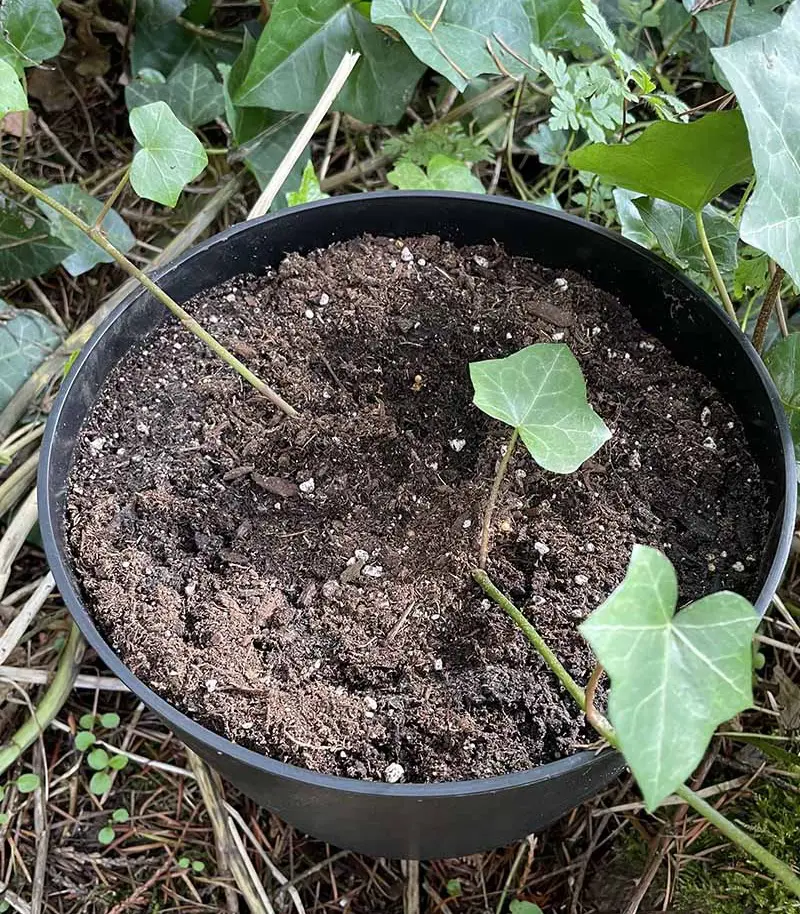
6. Plant The Cutting
Once the cutting has been observed growing slightly, you can move them to their permanent location. Use well-draining potting mix soil for the new pot or garden, dig it up then place the cutting's root deep into the soil, and gently press the soil around it.
For best acclimatization and growth success, the new location should be partially shaded and the soil should be kept moist. Thankfully, being able to observe the roots and root length during the initial phase makes this process simpler with a higher likelihood of success.
Another way to propagate ivy via stem cutting is to propagate by placing them in soil. It's not too difficult but since you cannot tell the development stage of the root, it will be difficult to tell whether the cutting will fail or succeed to take root in advance.
Materials Needed:
Pruning shears or a sharp knife
Gardening gloves
Well-draining soil
Plastic bag
Sand
Flowerpot
1. Make Your Cut
Use like before, use clean and sterile pruning shears or a knife to cut off a piece of your plant and cut off a 4-5 inches long stem or vine. Make sure to cut just below the node from a healthy vine.
2. Remove The Leaves
Pluck or trim off any lower leaves either by using your hand or a sterile scissor. Run the scissors or hands down the stem, and remove any ivy leaves on the stem or vine on the part that is going to be underground. So there should be about an inch of bare stem with at least 2 leaves on top.
3. Place The Cutting In Sand
Fill up a flowerpot or a planter with sand then place the cutting. Sand is loamy and easy draining so it helps prevent rot in the cutting caused by wet damp soil. Furthermore, sand also acts as a good moist rooting medium.
Cover the planter with a plastic bag to keep the moisture in and water frequently to keep the sand moist but not wet. This should eventually allow the cutting to develop roots in about one or two months.
4. Re-Pot The Cutting
After 1-2 months have passed the cutting has developed roots, your English ivy cutting should begin to grow slightly in height. Once you notice your cutting growing, remove it from the sand and replant it in well-drained soil.
As previously stated, remember to make sure that your ivy plant cutting is transplanted in a spot with partial or full shade. Continue watering just as before to keep the soil moist but not wet.
For outdoor ivies, layering is just about the surest and easiest way to propagate your ivy. When an ivy runner comes in contact with moist soil, it pushes out roots through the stems in areas just below the nodes. This happens pretty regularly when ivy is planted in the ground outdoors making it reliable.
Materials Needed:
Pruning shears or a sharp knife
Gardening gloves
Wire Staples
Digging Trovel
Soilless Mix
1. Pin Ivy Stem Into The Soil
Make sure to only perform this propagation technique during spring or summer. From a healthy ivy, choose a flexible stem near the ground level and bend it down to the soil. Then using a drovel, dig out the soil and press the ivy into the ground.
Remove a small section of ivy bark where the stem touches the soil and then pin the ivy to the soil securely using a wire staple or a rock to ensure they stay in contact constantly. After doing so, cover the stem with soil gently.
2. Keep The Soil Moist
Water the soil containing the layered ivy stem regularly to ensure that the damaged stem surface will get sufficient nutrients to sprout new roots. This process isn't too particularly hard but ensure that the soil is kept moist but not wet.
Eventually, the roots should emerge all along the stem in the area just below the nodes which will then facilitate the growth of new runners. This process usually takes a few months but has very little to no chance of failing. Once the runners have sprouted, we can move on to the next step.
3. Transplant The Runners
Once these runners have emerged and are readily growing, they can be carefully lifted and potted. Don't transplant these runners to their new permanent soil location directly.
Since these runners are juvenile, you could risk killing them. Therefore, allow them to strengthen and acclimatize by first placing them in a pot filled with a soilless potting mix such as peat, sand, or gravel.
4. Care For Runners In Soilless Mix
Since these plants are still delicate and tender, afford them all the care required by any new seedlings. That means the steps for caring for them involve keeping the plants out of direct strong sunlight and watering them regularly to keep the potting mix moist but not wet.
Some people may also apply very weak fertilizer but it will only speed up the process and in the opinion of our experts, it is unnecessary. After 1-2 weeks, they should be sufficiently established and ready to move to their permanent location.
Since the roots have now fully developed and the plants have completely hardened and established themselves. They are now capable of becoming full-fledged lone parent ivy that can completely thrive alone.
Dig them out of the soilless mix and move them to their permanent location. Ensure that you don't damage the roots while digging out the plant. Once placed, gently compact the soil around the roots and watch them grow.
This method is similar to the layering technique demonstrated in the previous section. The previous layering is only feasible if the ivy has soft and flexible branches. Perhaps your ivy is old with hard gnarly trunks which makes the previous techniques impossible in which case air layering can be performed.
Materials Needed:
Pruning shears or a sharp knife
Gardening gloves
Digging Trovel
Peat Moss or Sphagnum Moss
Rooting Hormone Solution
1. Select A Stem
This technique also encourages a stem to develop roots while still attached to the parent plant. For the best chance of success, we recommend searching and selecting a healthy stem.
The selected stem area should be far from the shoot tip, preferably at least 12-18 inches.
2. Make An Incision
Using clean and sterile pruning shears or a sharp knife, remove all the leaves in the direct vicinity of the stem area which is to be air-layered. Once, the area has been cleared out of all the leaves, make a small upward slating incision.
Once an incision has been made, remove a ring of bark which should be about halfway through the stem. The bark is hardened old dead plant tissue hence, they will prevent the sprouting of new roots.
3. Apply Hormone and Dress Incision
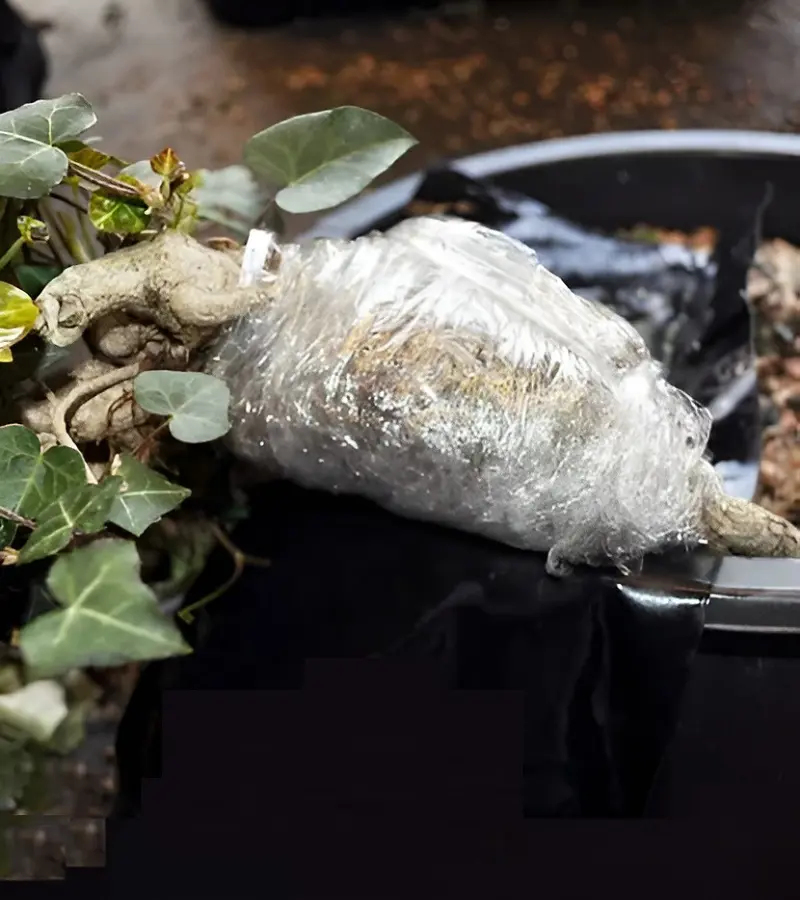
Once the incision has been made and the bark successfully removed, dapple the wounded area with a rooting hormone brought from your local gardening store. Then wrap the wounded area with either moist sphagnum moss or peat moss to function as a soilless mix to encourage the growth of roots.
Dress and isolate the area with black plastic to retain the heat and moisture, and tie it securely. The air-layer dressing will essentially carry out the same function as the soil.
Regularly water the soilless mix of moss when they are too dry and open up the dressing periodically to check on the progress of the plant. Overall this process should take a few months until you finally see new strong roots sprout through the moss layer.
Once the roots are strong enough to be visible through the moss, they are ready to be cut and transplanted.
5. Transplant The Stem
Once the roots have developed and made themselves not only apparent but also well established by appearing through the moss, remove the stressing and cut off the stem using a clean knife or pruning shears.
Once separated from the parent ivy, you can plant them in a more permanent location and continue caring for the ivy until it grows into its own strong and independent ivy vine.
Ivies generally take around 10 years to reach their adult phase, from whence they can then begin to flower and produce seeds. If you somehow have access to an adult flowering ivy then rather than go through the bothersome artificial propagation techniques, you can choose to propagate your ivy naturally.
Materials Needed:
Gardening gloves
Digging Trovel
Ivy Seeds
Seed Starting Mix
Flowering pot
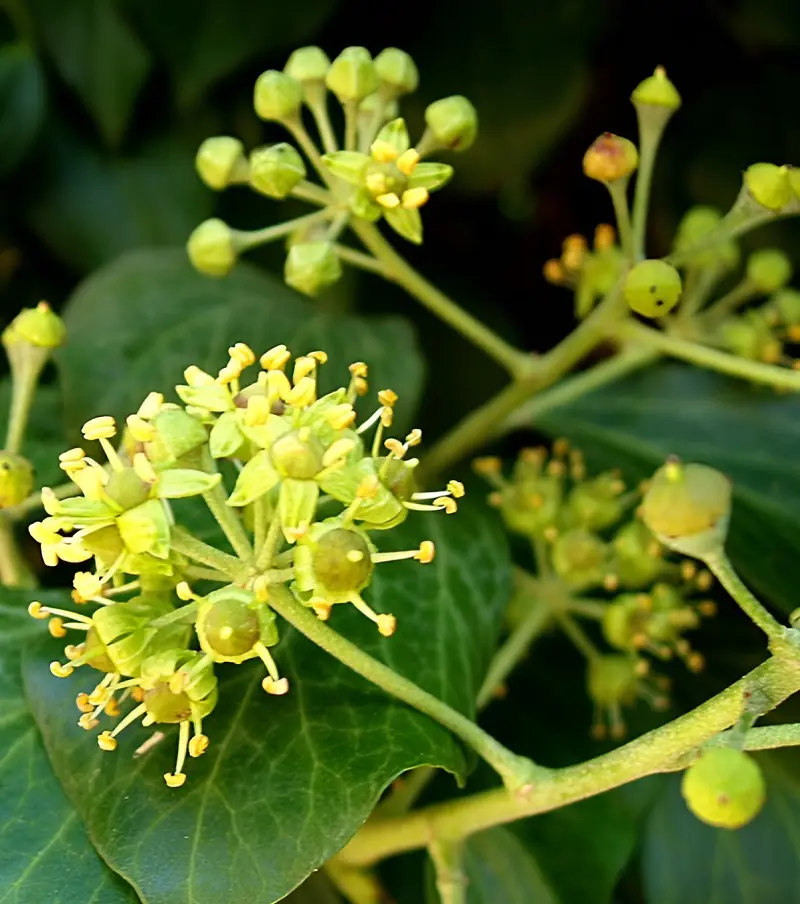
1. Collect The Seeds
Once an adult ivy plant produces small, greenish inconspicuous flowers, they eventually develop into either berries or seed pots depending on the ivy species. You will have to either harvest the berries and clean out the seeds inside or wait for the seed pods to dry and brown.
Once the seed pods have become dried, collect them gently. Handle the seeds with care as they are small and easy to lose. Once you have cleaned the seeds, you can store them in a cool dry place for a few months until you are ready to plant.
2. Sow The Seeds
Sow the seeds in a seed tray or flowering pots. For the seed trays, you can use regular garden soil but if you want the best chances of success with seed germination use the seed-starting mix purchased from your local gardening store.
Alternatively, you could also buy seeds from the local store but since the entire point of the propagation methods is to not need to have brought a new ivy plant, we recommend you to use the previous methods instead of purchasing new seeds.
3. Transplant Seedlings
After regular watering of the soil and keeping them moist, the seedlings should begin to sprout in about 2 weeks. Continue caring for them and once they are large enough to handle being transplanted, move them into their own permanent individual pots or your garden.
Ensure the young seedlings have access to plenty of shade use a well-draining soil which keeps their soil moist but not wet. After a month, all of your young ivy vines should be properly established and grow about 6 feet a year.
If your ivy is fast-growing and aggressive like most ivies are, you can propagate them anytime excluding winter. However, if your ivy plant isn't particularly large then our experts best recommend propagating ivies during late summer when they are resting after a growth spurt.
Propagating after their climbing shoots develop gives you the best chance of success. Additionally, there are some more nuances and differences that mainly depend on whether you are propagating them indoors or outdoors.
What Is An Ivy?
English ivy, "Hedera helix" is a woody vine category of evergreen perennial. They can act as a ground cover, thanks to their quickly spreading root system that can scale both horizontally and vertically.
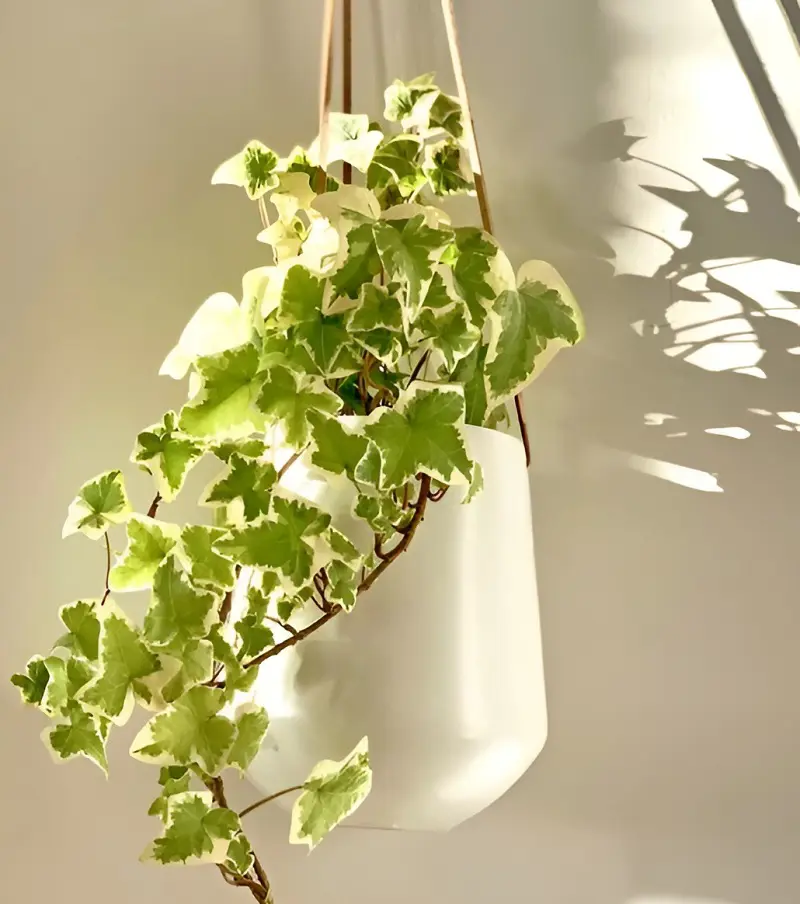
The English ivy makes for a gorgeous houseplant thanks to its trailing vines and gorgeous evergreen leaves, and will eventually bear greenish flowers but is primarily regarded as a foliage plant. We do have to warn you though, ivy can be toxic to humans and animals.
A Fantastic Climber
Ivy isn't just a climber. When you think of climber plants, it's THE climber. The English ivy has aerial rootlets which allow it to climb to up to 80 feet (24 meters) high allowing it to easily scale most buildings.
Unfortunately, this also makes ivy a fast and aggressive grower which is an considered invasive plant in many areas. So make sure to properly care for and maintain your ivy before it spirals out of control.
Growing Ivy Plants
Growing an ivy isn't difficult but the importance of providing the right environment, care, and attention to ensure healthy growth should not be ignored.
Light
Outdoors English ivy grows well in part or full shade. Indoor ivies should be provided a few hours of daily bright indirect sunlight during summer to be able to establish themselves properly.
Temperature
They grow and thrive best in natural temperatures of 70-80°F (21-27°C). These temperatures are naturally occurring in most places so in this regard you don't need to do any maintenance at all. However, for people living in colder regions, ivy does not like cold winters.
Soil
Use a well-draining soil mix specifically designed for cacti or succulents. Good drainage is crucial to prevent waterlogging, which can lead to root rot and other issues. A mix of potting soil, perlite, and sand works well.
This evergreen vine will grow in poor soils with a wide range of pH levels. If you want them to do truly well then use a well-draining loamy soil. Utilize a thick layer of mulch to keep the soil moist in dry and warm in cold temperatures.
Watering
Always let the previous water in the soil dry out fully before rewatering the ivy again. While ivy can handle a bit of soil, until they are well established, you can err on the side of caution and keep the soil moist. Check for problems with the soil if they take too long to drain.
Fertilizer
While not necessary, you can also feed the English ivy with fertilizer every two weeks during the spring and summer seasons. Use a 20-20-20 or 2-2-2 organic fertilizer formula.
If your ivy is stressed out and leaf production has stopped, avoid putting fertilizer as it won't absorb it which can lead to the accumulation of nitrogen that can burn plant roots.