One of the joys of houseplant ownership is creating new plants from existing ones, and gifting rooted cuttings of a favorite plant is a thoughtful gesture. Although it might seem daunting, propagating a Christmas cactus is surprisingly simple.
This resilient, winter-flowering plant can be easily propagated at home, requiring no advanced skills or botanical expertise. This holiday season, you can share a piece of your home with friends and family by multiplying your Christmas cactus.
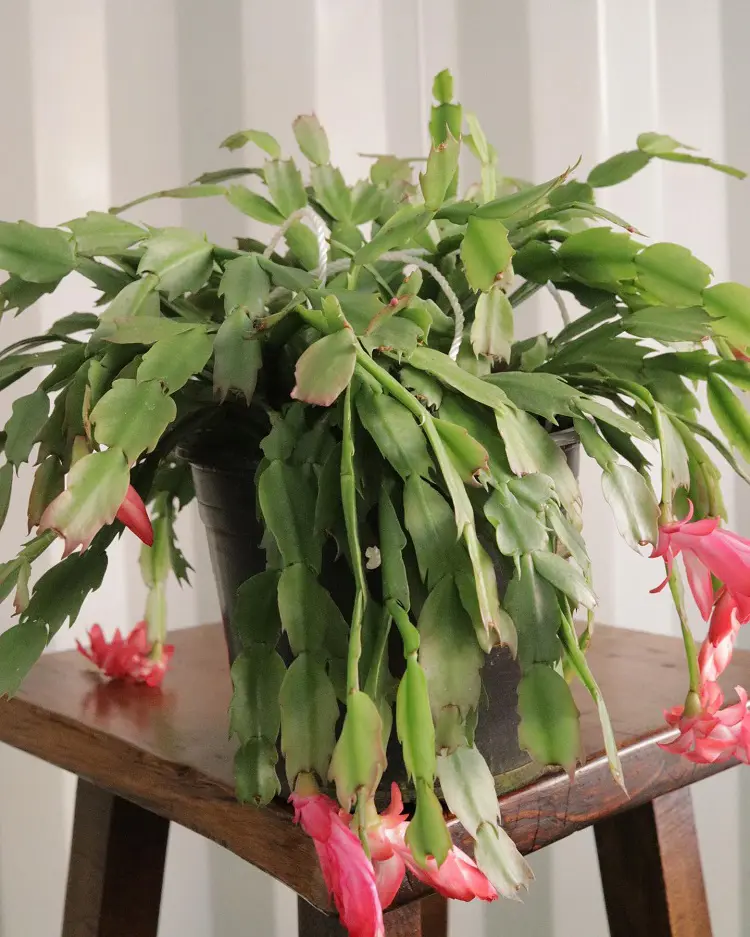
Originating in the wet, shaded regions of southeastern Brazil, the Christmas cactus (Schlumbergera) is different from other common desert cacti. It grows better on rocks and trees than in soil since it is an epiphytic and epilithic plant.
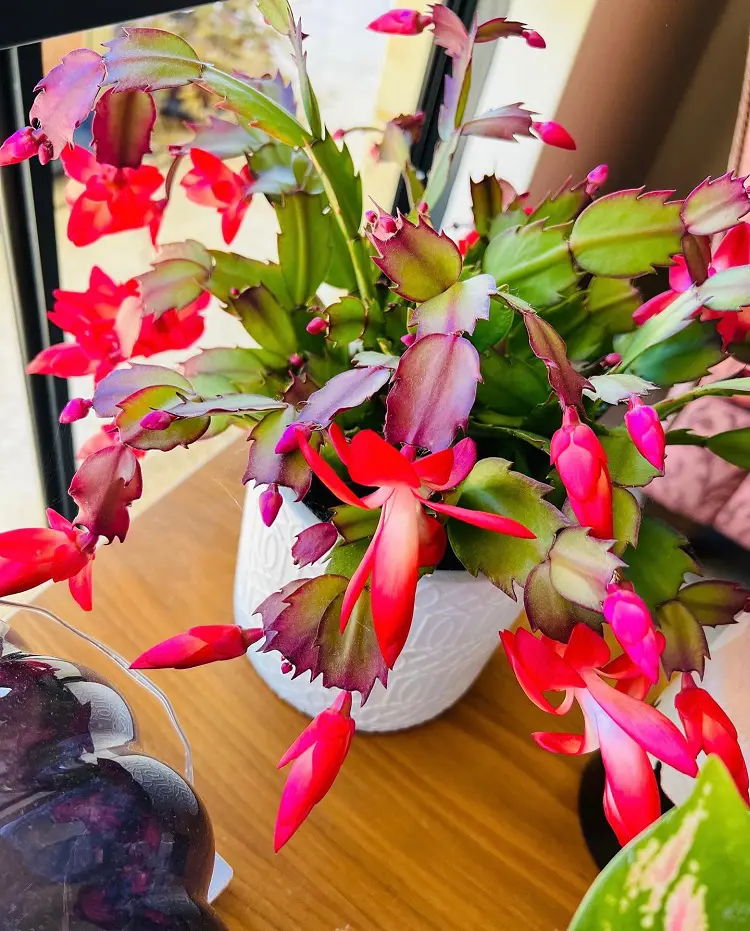
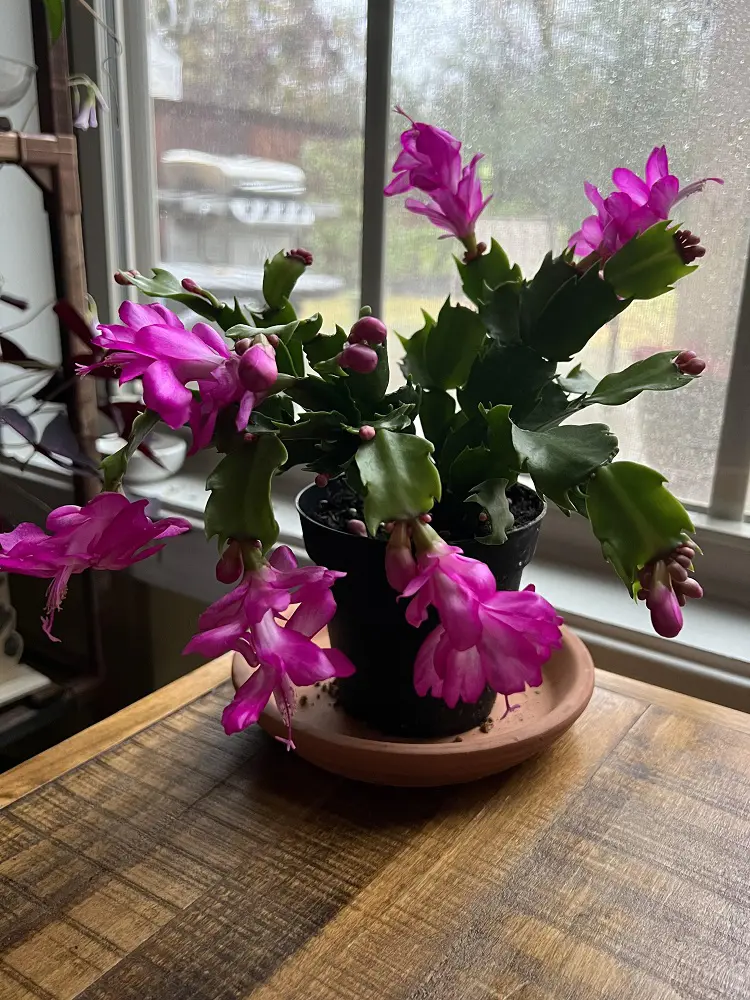
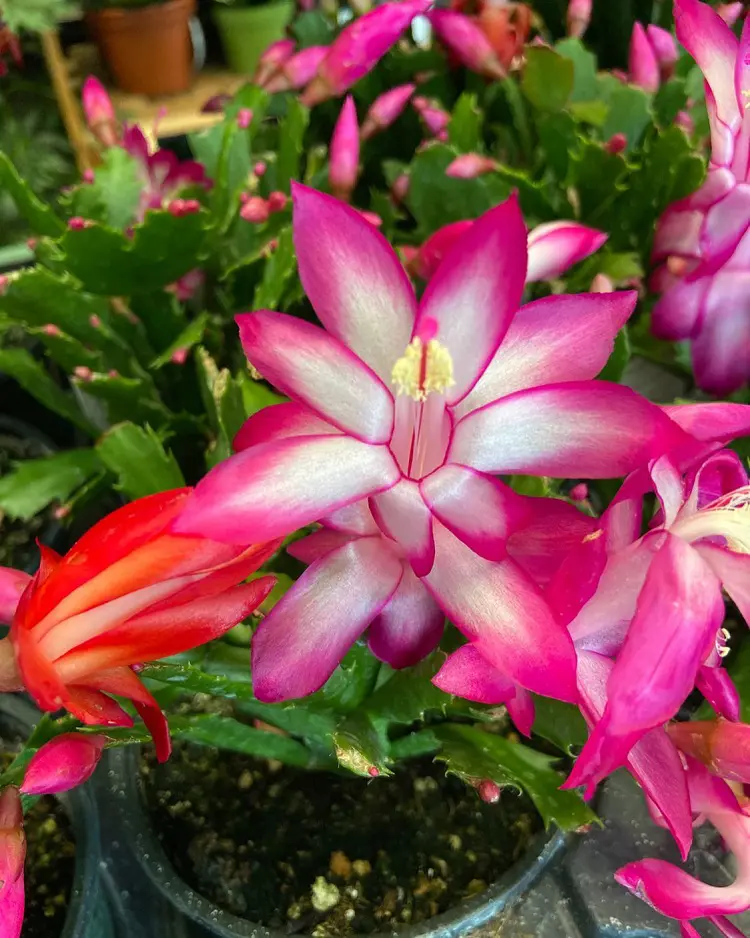
With vivid, colorful blooms at its tops over the holiday season, this unusual cactus has leaf-like pads that form trailing stems. Poinsettias and pine trees are common holiday plant combinations for the Christmas cactus, which is well-known for its cheerful appearance.
The Easter cactus, Thanksgiving cactus, and Christmas cactus itself are the three related plants that are generally referred to as Christmas cactus. They are similar in traits and care needs, even though they bloom at various times.
Propagating Christmas Cactus And Material Needed
Propagating a Christmas cactus is an excellent way to cultivate new plants, enhance the bush of an existing one, or reuse stem cuttings left after pruning. Propagation is preferably done after the flowering period of the plant and the best season for this process is spring and summer since the cactus blooms during the fall and winter.
There are two primary methods for propagating Christmas cacti: cutting in soil and cutting in water. Usually, both methods work, but planting cuttings in soil is easier and more common.
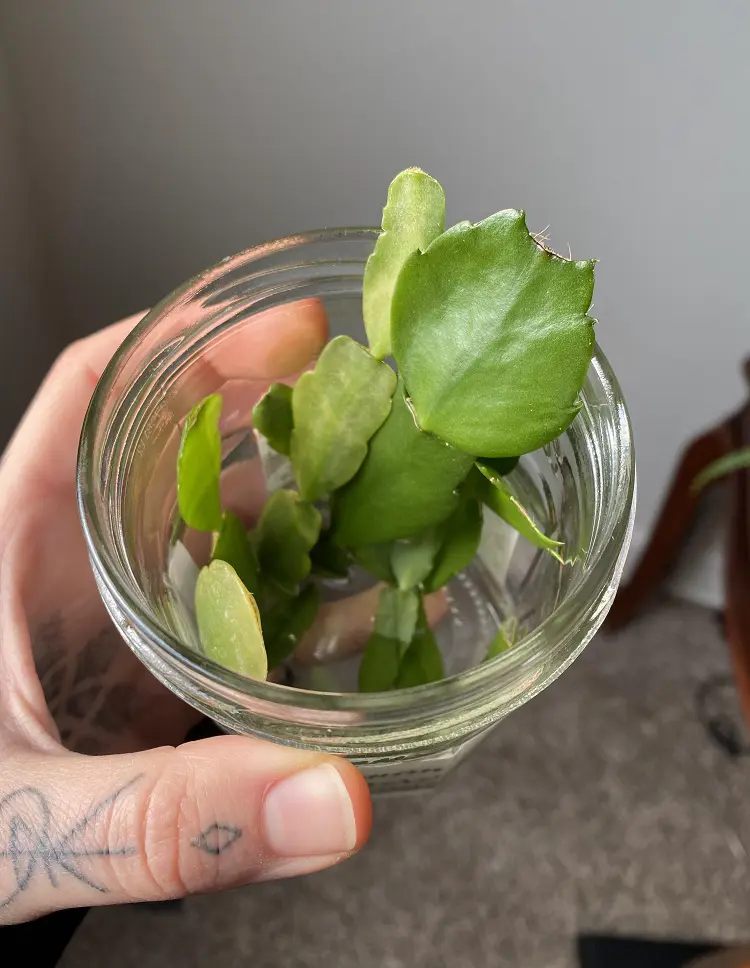
One of the easy ways to propagate your Christmas cactus is with water propagation. All you need is a cutting material and a little gardening skill. Here's how you can easily propagate cacti in water:
1. Select Healthy Cuttings
Choose a healthy segment with 2-3 leaf segments from a mature Christmas Cactus. Ensure the segments are free from damage, pests, or diseases. Healthy segments will have a vibrant color and firm texture, indicating they are in good condition for propagation.
2. Cut and Callus
Use clean pruning shears or a sharp knife to cut the segment from the main plant. Make a clean cut to avoid crushing the stem, as a crushed stem can invite infections. Allow the cut end to dry and form a callus for 1-2 days.
This step is crucial because it helps prevent the cutting from rotting when placed in water. The callus forms a protective barrier that reduces the risk of fungal infections.
3. Prepare the Water
Fill a clean glass vase or container with room-temperature water. Use filtered or distilled water if possible to avoid any chemicals or impurities that could harm the cutting. Tap water can contain chlorine or other additives that might affect root development, so using filtered water is often better for delicate cuttings.
4. Place the Cuttings in the Water
After the cut end has been cut, insert the bottom segment of the cutting into the water. Ensure that only the bottom segment is submerged, while the upper segments with leaves remain above the waterline.
This positioning allows the cutting to absorb water without submerging the leaves, which can cause them to rot.
5. Provide Indirect Light
Place the glass vase or container in a location with bright, indirect light. Avoid direct sunlight, as it can cause the water to heat up and potentially harm the cutting. Indirect light provides the necessary illumination for photosynthesis without the risk of overheating or burning the cutting.
6. Change Water Regularly
Change the water in the container every few days, ideally every 2-3 days. Regular water changes keep the water fresh, oxygenated, and free from pathogens that could affect root development. Stagnant water can become a breeding ground for bacteria and fungi, so keeping it clean is essential.
7. Monitor for Roots
Over the next few weeks, monitor the cuttings for root development. Roots should start forming from the submerged segment of the cutting. You can gently check by lifting the cutting out of the water and inspecting the base for root growth. Look for white, healthy roots emerging from the cut end.
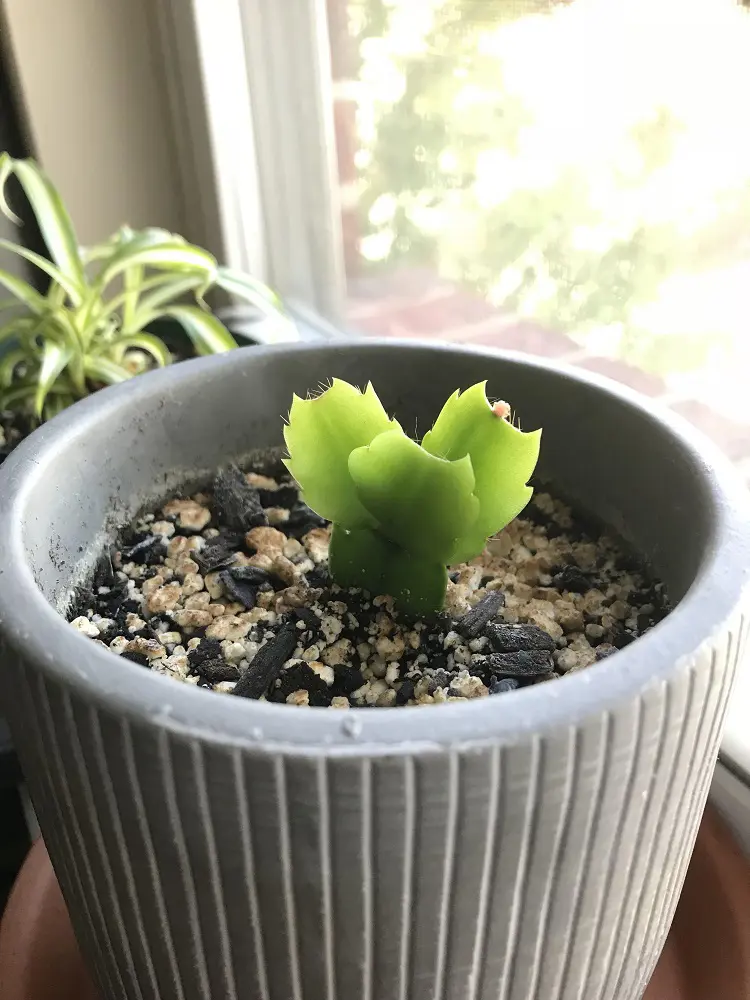
8. Plant in Soil
Once the roots are a few inches long and well-developed, the cuttings are ready for planting in the soil. Prepare a small pot with well-draining soil, such as a cactus or succulent mix.
Make a small hole in the soil and carefully plant the rooted cutting, ensuring the roots are covered but the stem and leaves are above the soil level. Firm the soil gently around the cutting to provide support.
Here is how you can propagate Christmas cacti in soil:
1. Select Healthy Cuttings
Ideally, you want a segment with 2-3 leaf segments, as this size is optimal for rooting. The chosen segment must be free from any signs of damage, pests, or diseases.
Inspect the cactus thoroughly to ensure the cutting comes from a robust part of the plant. A healthy cutting will increase the chances of successful propagation, ensuring that the new plant will be strong and vigorous.
2. Cut and Callus
Once you have selected a suitable segment, use clean pruning shears or a sharp knife to cut. A clean cut is essential to prevent infection and promote healthy regrowth. Cut at the base of the segment, ensuring a smooth, precise cut.
After cutting, allow the end to dry and form a callus for 1-2 days. This step is crucial as it helps prevent the cutting from rotting once it is planted in the soil. The callus acts as a protective barrier, reducing the risk of fungal or bacterial infections.
3. Prepare the Pot and Soil
Choose a small pot with drainage holes at the bottom to ensure excess water can escape, preventing waterlogging. Fill the pot with well-draining soil, such as a cactus or succulent mix, which provides the right balance of moisture retention and aeration.
Well-draining soil is vital for Christmas Cactus as it helps mimic their natural environment and reduces the risk of root rot.
4. Optional: Use Rooting Hormone
Using rooting hormones can be an optional but beneficial step. Dip the callused end of the cutting into rooting hormone powder, which is available at most garden centers. This hormone encourages faster root development and can increase the chances of successful propagation.
While not necessary, it can give the cutting an extra boost, particularly if you’re propagating in less-than-ideal conditions or want to expedite the rooting process.
5. Plant the Cutting
To plant the cutting, make a small hole in the prepared soil using your finger or a pencil. Carefully insert the callused end of the cutting into the hole, ensuring it stands upright and is stable.
Gently press the soil around the base of the cutting to secure it in place. This stability is important for the cutting to develop roots properly without toppling over or becoming dislodged.
6. Water Lightly
After planting, water the soil lightly to help settle it around the base of the cutting. Be cautious not to overwater, as Christmas Cactus prefers slightly drier conditions. The soil should be moist but not saturated.
Overwatering can lead to root rot, which is a common issue in propagating succulents and cacti. Allow the soil to dry out slightly between waterings to maintain the right moisture balance.
7. Monitor for Root Growth
Over the next few weeks, monitor the cutting for signs of root development. Keep the soil lightly moist, adjusting watering as needed to prevent it from becoming waterlogged or too dry.
Roots should begin to form from the base of the cutting, indicating successful propagation. Patience is key during this period, as it can take several weeks for roots to develop fully.
Once established, the new plant can be treated as a mature Christmas Cactus, gradually transitioning it to regular care routines.
Growing a Christmas cactus involves providing the right environment, care, and attention to ensure healthy growth and beautiful blooms. Here are the key steps for growing a Christmas cactus:
Light
Christmas cacti thrive in bright, indirect light. Avoid placing them in direct sunlight, especially during hot summer months, as this can lead to sunburn and damage the plant. A bright, filtered light source, such as near a window with sheer curtains, is ideal.
Temperature
Maintain a moderate temperature range between 60-70°F (15-21°C) during the day and slightly cooler temperatures at night. Avoid exposing the plant to sudden temperature fluctuations, as this can stress the cactus.
Soil
Use a well-draining soil mix specifically designed for cacti or succulents. Good drainage is crucial to prevent waterlogging, which can lead to root rot and other issues. A mix of potting soil, perlite, and sand works well.
Watering
Water your Christmas cactus when the top inch of soil feels dry to the touch. Water thoroughly, allowing excess water to drain away from the pot. Avoid overwatering, as this can cause the roots to rot. During the winter months, reduce watering frequency.
Humidity
Christmas cacti prefer higher humidity levels, especially during the growing season. You can increase humidity by misting the plant occasionally or placing a humidity tray filled with water and pebbles beneath the pot. This helps create a humid microclimate around the plant.
Fertilizing
Feed your Christmas cactus with a balanced, water-soluble fertilizer diluted to half-strength. Apply fertilizer every 4-6 weeks during the growing season, which typically spans from spring to early fall. Avoid fertilizing during the winter months when the plant is in a dormant phase.
Pruning
Prune your Christmas cactus after blooming to encourage bushier growth and remove any dead or damaged stems. Use clean pruning shears to make sharp cuts just above a leaf node. Pruning also helps maintain the plant's shape and appearance.
Repotting
Repot your Christmas cactus every 2-3 years or when it outgrows its current pot. Choose a slightly larger pot with good drainage holes to accommodate the growing roots. Use fresh cactus or succulent potting mix during repotting to provide nutrients and proper aeration for the plant.
To encourage your Christmas cactus to bloom for the holidays, start by inducing dormancy in mid-October. Reduce watering to once every week or two, allowing the soil to dry slightly.
Stop fertilizing during this period. Keep the cactus in a cool environment with temperatures between 50°F to 55°F for 6-8 weeks, limiting light exposure.
During this time, provide 12-14 hours of total darkness at night and indirect light during the day. Cover the plant if any light reaches it during the night. Adjust darkness periods if room temperatures exceed 55°F.
Once flower buds form, transition the cactus to a bright window during the day. Flowers should bloom within weeks, continuing for several weeks. Regular monitoring and adjustments ensure optimal blooming conditions.
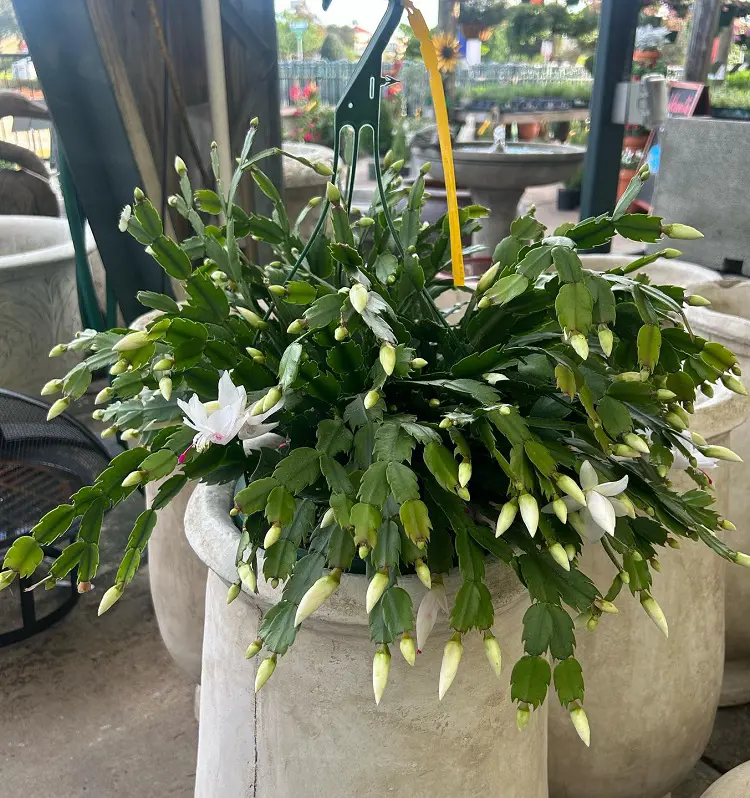
There are three main types of Christmas cactus, often interchangeably referred to as such, although they have slightly different blooming periods:
1. Christmas Cactus (Schlumbergera x buckleyi)
This cactus blooms from late fall to early winter, aligning with the Christmas season, hence its name. Its vibrant flowers come in a range of colors including pink, red, white, and sometimes bi-colors.
The plant has flat, segmented stems with rounded edges, and its flowers have a more rounded appearance compared to the other types.
2. Thanksgiving Cactus (Schlumbergera truncata)
The Thanksgiving cactus blooms slightly earlier than the Christmas cactus, often around Thanksgiving time, which gives it its name. Its flowers are similar in appearance to the Christmas cactus, but the segments may have more pointed edges.
The flowers come in similar colors as well, adding a festive touch to the Thanksgiving season.
3. Easter Cactus (Hatiora gaertneri)
Blooming later than both the Christmas and Thanksgiving cacti, the Easter cactus typically blooms around Easter time, hence its name. Its flowers are more tubular in shape compared to the other two types and can range in colors from pink to red to purple.
The plant's stems have a more cylindrical appearance, and the overall growth habit may differ slightly from the Christmas and Thanksgiving cacti.
Some of the common problems that can affect Christmas cacti include:
1. Mealybug Infestation
Mealybugs are small, white, cottony insects that infest the plant and feed on its sap. They often appear near the center stem of the cactus. Their feeding can cause stunted growth, distorted appearance, and a sticky honeydew residue that leads to mold growth.
To treat, remove mealybugs manually if possible and use insecticidal soap or neem oil to control the infestation.
2. Thrip Infestation and Impatiens Necrotic Spot Virus
Thrips are tiny, slender insects that may transmit the impatiens necrotic spot virus to Christmas cacti. Symptoms include yellowing leaves, spotting, and wilting. While thrips themselves do not directly cause damage, the virus they transmit can lead to leaf and stem problems.
Treat with insecticidal soap or horticultural oil to control thrips and reduce the spread of the virus.
3. Sunlight and Watering Issues
If leaves turn red or pink, it may indicate too much direct sunlight or insufficient watering. Move the plant to a location with indirect light if it's exposed to direct sun.
Ensure the soil is moist but not waterlogged by watering when the top inch of soil feels dry.
4. Root Rot
Root rot is caused by overwatering, poorly draining soil, or fungal pathogens. Symptoms include wilting, brown leaves, black or reddish spots on leaves and stems, and soggy soil.
To treat, remove the plant from its pot, trim away affected roots, replant in fresh, well-draining soil, and allow the roots to recover before watering again. Adjust watering practices to prevent future occurrences of root rot.