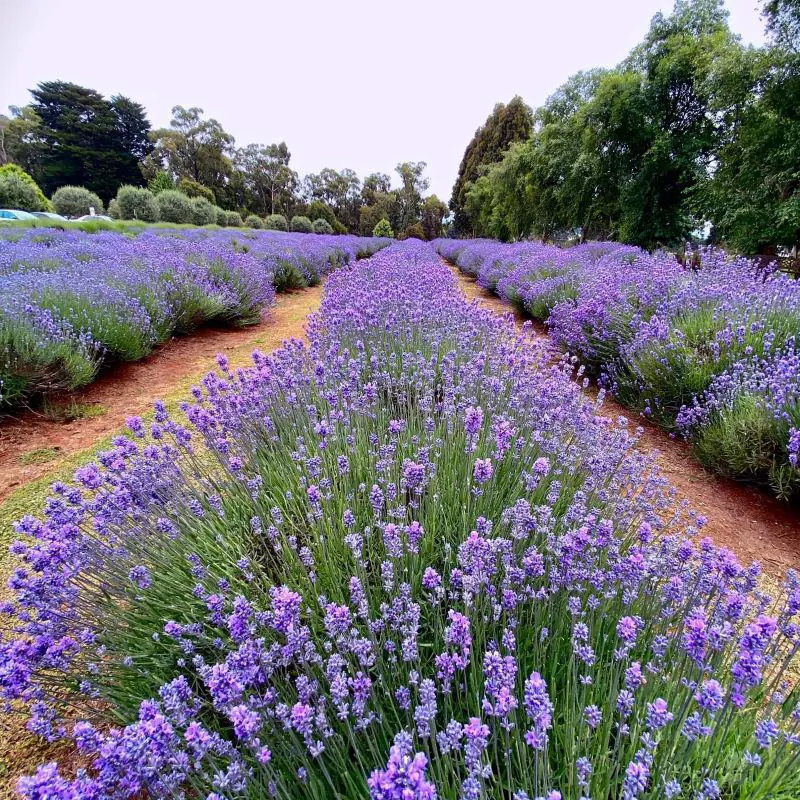
Planting a flower at your home on your own is a different kind of happiness. Also, regenerating a new plant from the existing ones makes it more fun and favorable.
Lavender can be easily propagated through necessary instructions. It is easy do to and does not require any advanced skills and professionalism. In your free time, you can do this task with your family and friends by increasing the lavender plant by following our guide.
To clear the confusion and inquiries regarding the lavender, not all species generate any seeds from the plant. It can only regenerated and transplanted through propagation. Lavender is a combination of different species which makes it a hybrid category.
So, in order to shift and produce another lavender in your space you need to propagate it through different methods. Though the lavender also known as "angustifolias" produces seeds it can't be used to produce another plant.
Materials Needed for Propagating Lavender
Cuttings in Soil
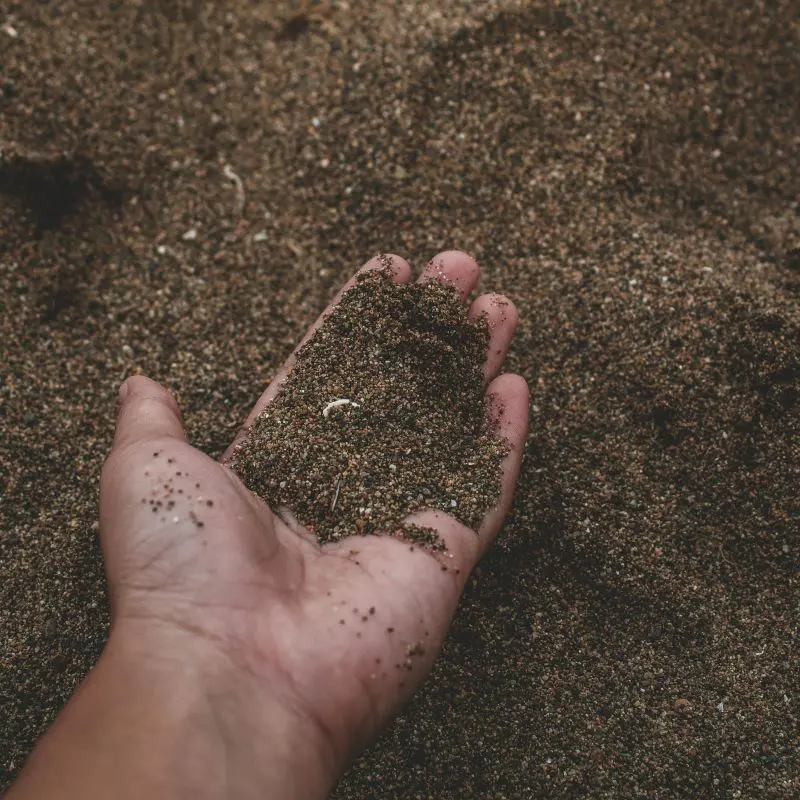
Well-draining soil
Pruning shears or a sharp knife
Rooting hormone
Clean water
Rooting Cuttings in Water
Glass vase or container
Pruning shears or a sharp knife
Clean water
Small pot
Well-draining soil
How To Propagate Lavender: Step-By-Step
Cutting a new lavender plant is a fairly simple process, without rooting powder. Here is how to do it in the step-by-step guide, my simple method:
Step 1: Choose the Best Time
Ideally, choose the time after flowering to propagate the plant. It is usually in the mid or late summer. However, if you can’t do it at that time or season, you can do it at any other time, even in the winter, with little less success, depending on your climate.
Although the best time to take cuttings is after flowering, It is suggested to take them in autumn and plant them directly in the ground. Choose autumn because it is the rainy season so the ground is rarely dry. By next spring new baby lavender plants are already rooted.
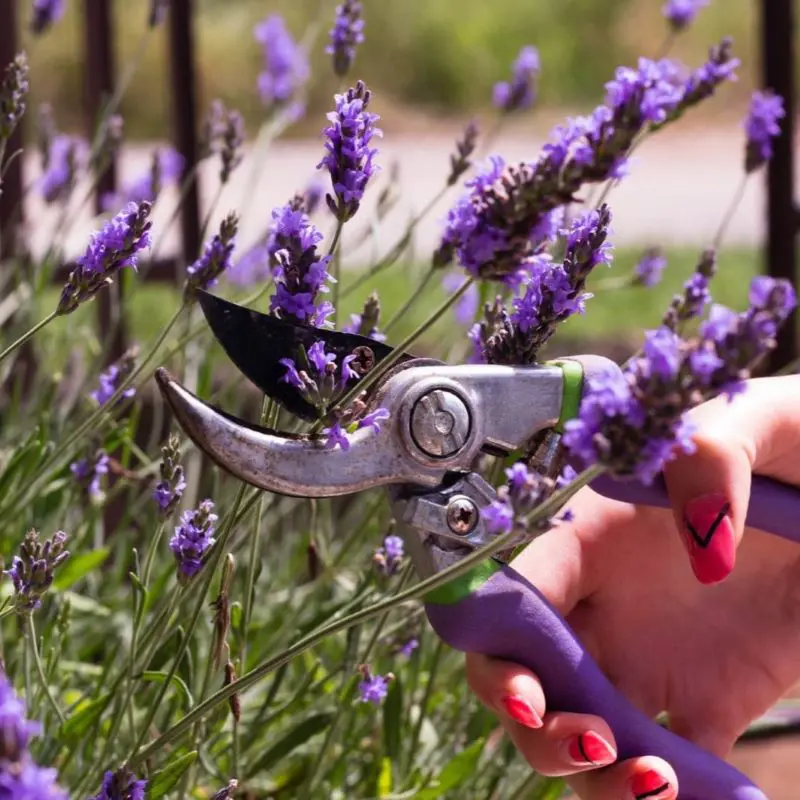
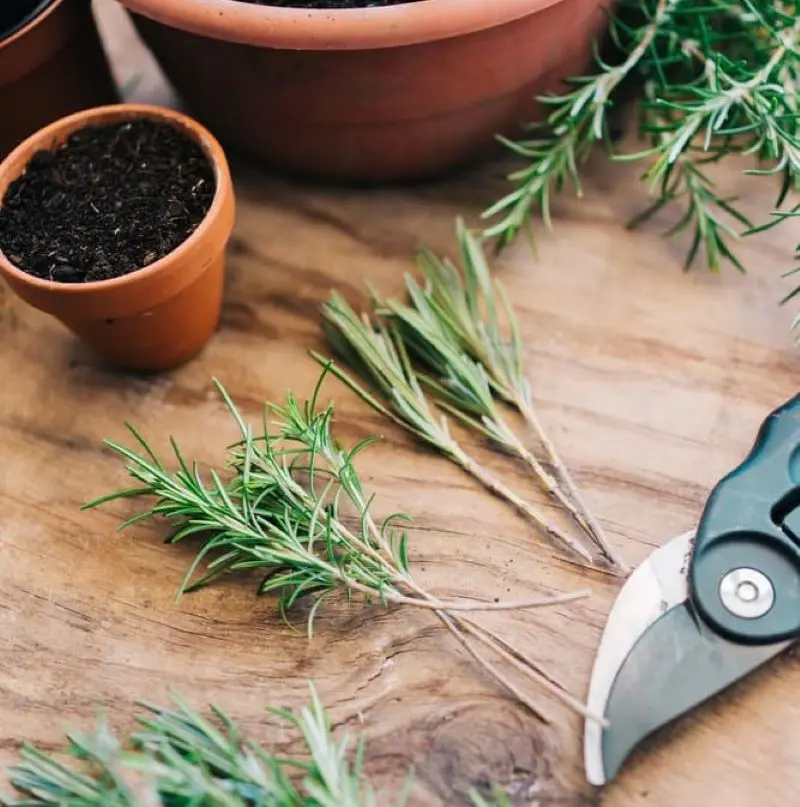
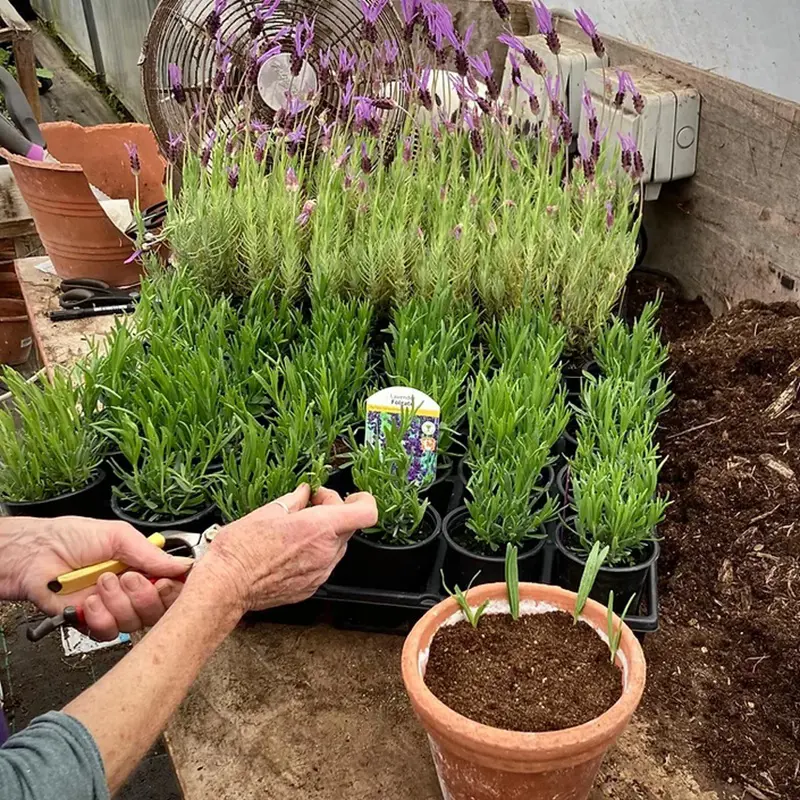
Use pruning scissors and take several cuttings that are about 10 to 12 cm long. If you can, choose softwood cuttings as they propagate easier and faster than hardwood bits.
However, if you can’t get softwood ones, hardwood will also do, it will just take longer. It usually takes as twice as many cuttings as you need and the success rate is about 90% so in some cases about 10% of cuttings do not propagate.
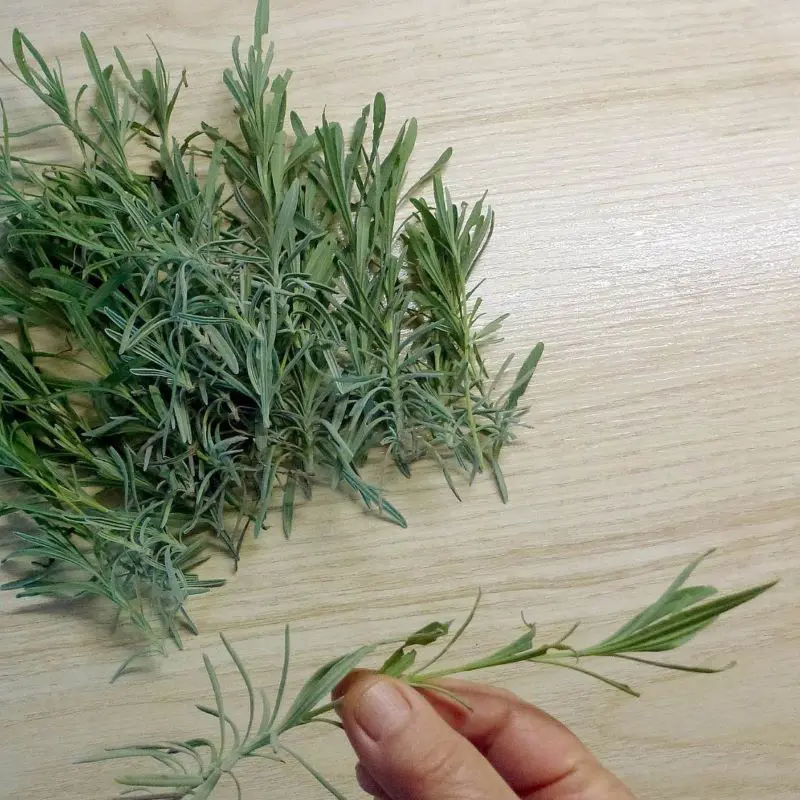
Step 3: Remove Leaves
Gently remove all leaves from the bottom third of the stem and plant them in the small, about 6 to 8 cm wide pot filled with the compost. For this purpose, any compost would do, you don’t need special compost or soil. Instead of plant rooting hormone, use some of your salivae or similar.
Remove all leaves from the bottom of the stem and cut at 45 degrees. Push the bare part of the cuttings inside the compost at a depth of about 2-3 cm. Water the pot thoroughly. Some people also remove the skin from the lower bit of the stem to enable roots to grow more easily.
Place the pot in a bright location but not in direct sunlight and away from the direct wind. In the summer, keep my pots in the corner of the patio which is shaded for most of the day. For winter cuttings, keep them in the direct sun as lavender prefers a sunny location.
Choose the location that is suitable for you to take care of lavender. Keep the pot as light as you can so you don't have to worry about the shifting difficulties. Also, it is recommended to use a plastic pot as it is light in weight which makes your task easier.
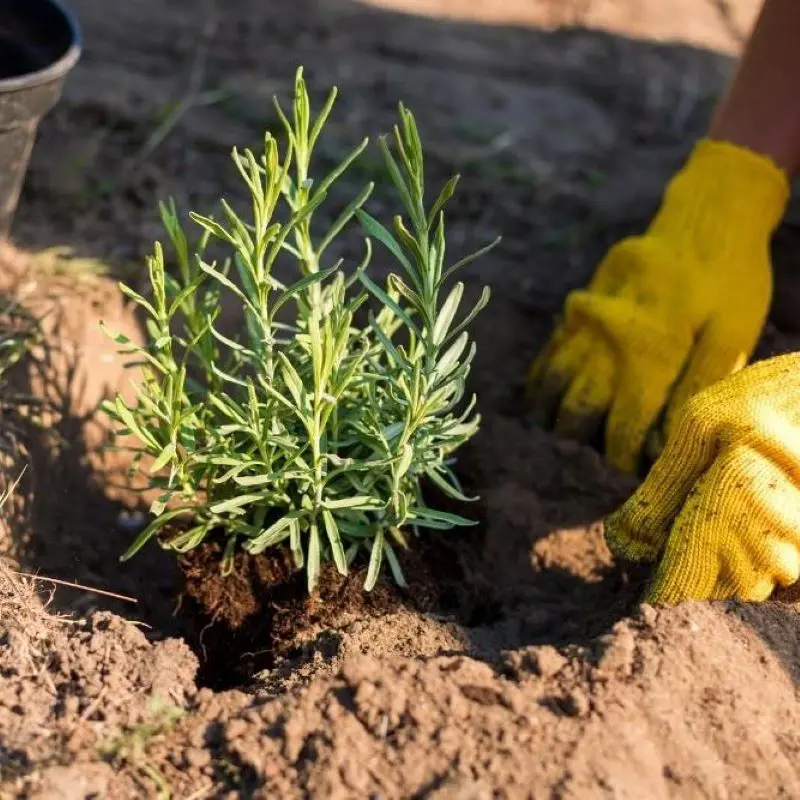
Step 5: Plant the Cuttings
To plant the cuttings of lavender it is recommended to use a stick to make holes in the surface of the soil mix. After you prepare the holes, plant the cuttings inside the holes under 2 inches deep. Add some sort of soil mixture inside the holes and press on it to make sure the stem is properly fitted.
Keep space in the planting lavender to avoid overcrowding the plant which can hamper the growth and health of the lavender stem. Also, improper gaps can cause several impacts to the stem like less nutrients to the plant and low sunlight when it grows.
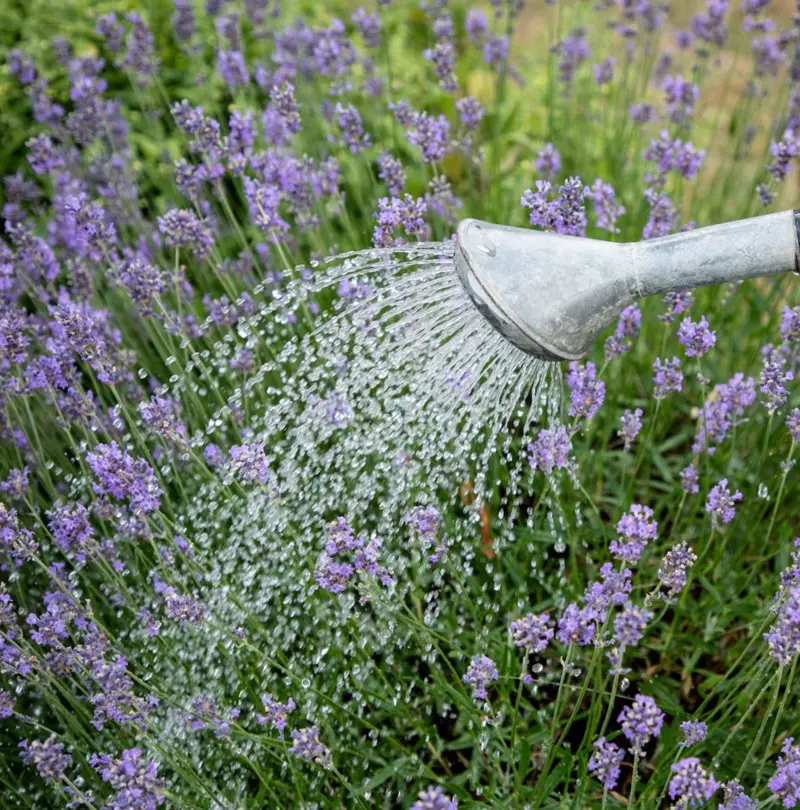
After planting the stems of lavender it's time to water them efficiently. The water conditions and frequency need to be considered as it has a huge role in the growth and health of the lavender plant. The stems are soft and vulnerable so it require special care and protection to them.
Then cover the pot using a plastic bag that will help the stem to create a situation like a greenhouse. Also, you can make a mini greenhouse for the lavender stem using plastic and some frame support using the waste materials available in your home.
Step 7: Keep It Humid
Check daily if the soil in pots is dry. Water as often as you notice the soil becomes very dry. It will be best if you usually spray all the cutting in the early morning. Make sure you don’t overdo it as in that case, cuttings may rot.
Use a spray bottle that is easily available near the store in your area. In the alternative, you can use a waste plastic bottle available at your home and convert it into a spray bottle by attaching the head of the spray. This is a simple method that you can use using your home appliances.
Place the pot in a suitable condition where it grows and turns into a beautiful flowering lavender. It requires to development of roots under the new environment for the proper support. Select the place where the lavender has full access to the sun and avoid direct sunlight which can cause dryness in the soil.
Regularly check the soil conditions and the health condition of the lavender stem. Response immediately if there are any unusual signs and threats to the lavender stem. Consider adding extra effort to the baby stem of lavender as they are crucial in this stage.
Step 9: Monitor and Maintain
Monitor the lavender stem regularly. Check if there are any signs of any pests and diseases. Check the health and soil conditions of the plant. Water it accordingly checking the soil moisture. Remove any extra materials present in the pot of the lavender stem.
Response to the threats of the lavender stems immediately if it requires any attention from you. Follow the remedies where you can get rid of pests and diseases if any through natural methods. Use organic materials for the lavender stem for proper and healthy adult flowering lavender.
After about 4 weeks or sometimes even sooner, the roots should appear and the plant is ready to be moved either in the ground or the larger pot. Keep your plant in a bright location if possible but away from direct sunlight. If you took hardwood cuttings, you may need to wait 6 weeks for roots to appear.
Provide the necessary situation for the lavender to grow. Use the best methods available to make the perfect condition for the lavender. Water the lavender as per the requirements, Check the moisture regularly to avoid overwatering.
Step 11: Check the Roots
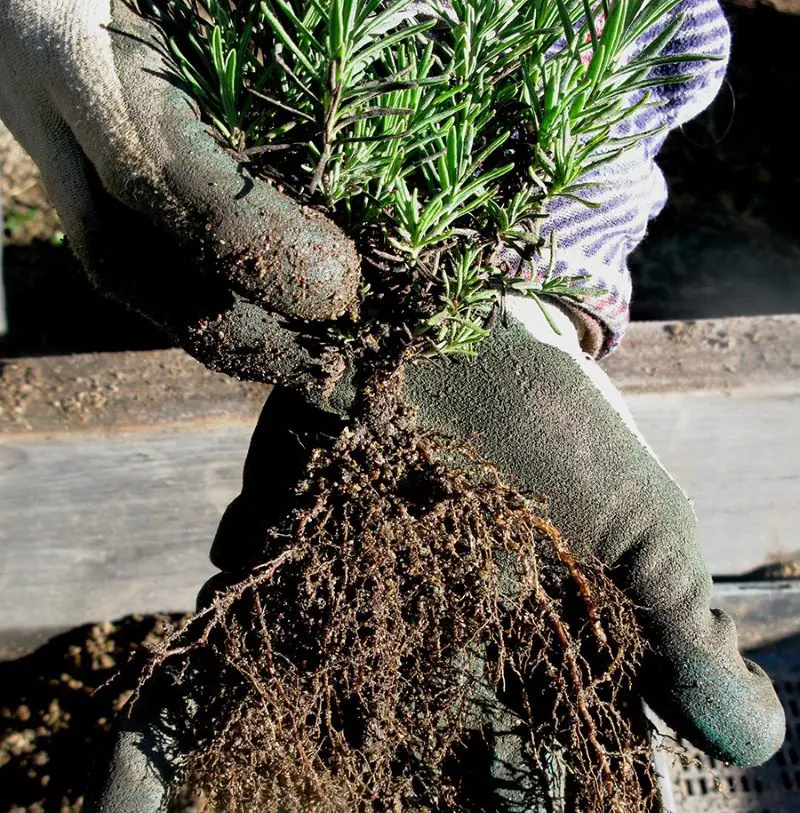
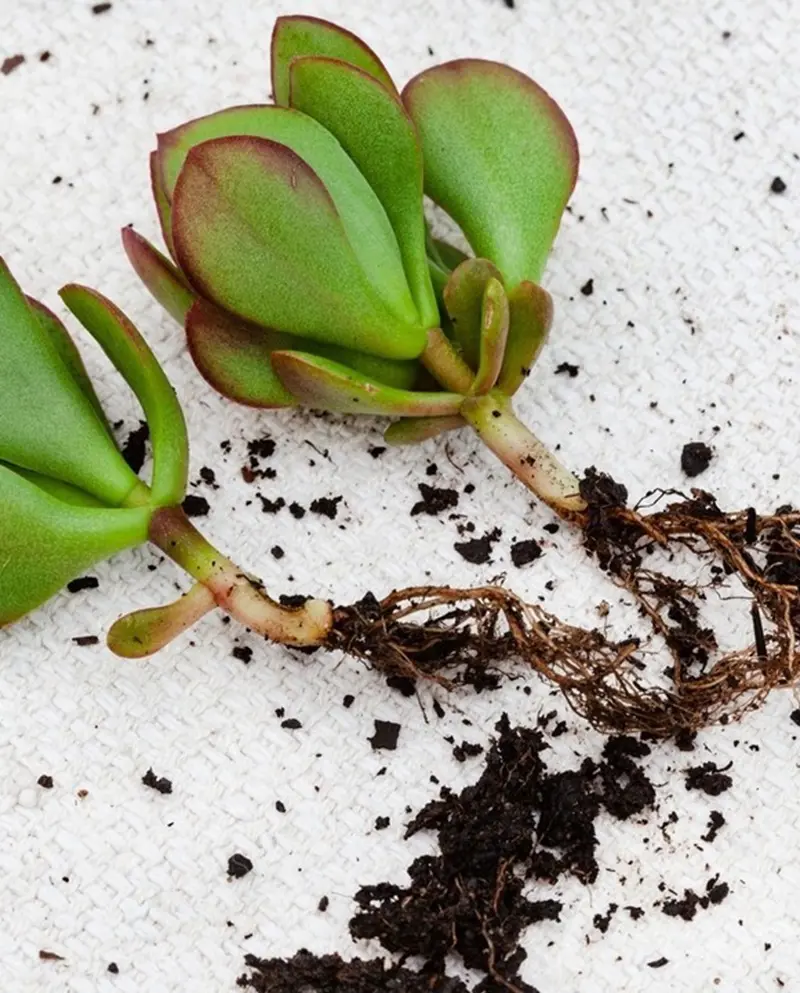
The easiest way to check if the stems have roots is by giving them a short but gentle pull. If roots are there, the stem will not come out. Alternatively, just leave them for 4 weeks and monitor their leaves, if they are fresh, the plant is alive with an already-formed rooting system.
Else if there is any issue in root growth check for other options. Sometimes it can take longer than the expected period for the root development. If there are any signs of absence of life then change the stem immediately and replace with it another lavender stem.
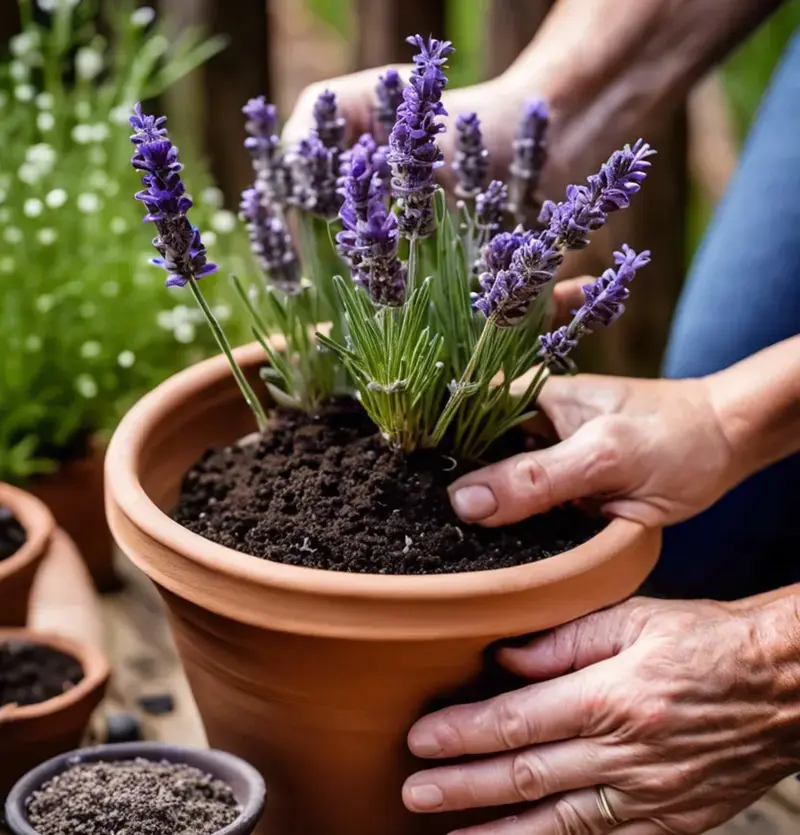
When the lavender stem cuttings are rooted and ready to be transplanted then follow the necessary guidelines to avoid any damages and dissatisfaction. Check the roots if it is properly developed in the soil. Then select the pots individually for each lavender stem.
Do it gently as it is soft and crucial as hurdles can create damage to the stems and root systems. Use proper soil mixture using various fertilizers available. Check the soil conditions and add the fertilizers accordingly. Then shift the lavender stem to the pot and cover the stems with the soil mixture.
Best Ways To Propagate Lavender
Softwood Cuttings
The process of cutting softwood generally refers to taking small segments of new plant growth, or that which has just begun to mature. This type of cutting can be taken from lavender plants in the spring and will yield dependably good results.
If cuttings are taken early in the growing season it allows ample time for each one to begin to root and eventually be potted into individual containers.
Gardeners also find success growing lavender from hardwood cuttings. Hardwood stem segments are usually taken much later in the season, from mid-summer until fall. This is often ideal, as more mature or woody stems require a longer period of root development and establishment while outdoor conditions are cool.
Layering
Layering occurs by stretching or bending a living plant’s branches toward the ground and covering a small portion of the branch or stem with soil. Over time, leaf nodes in contact with the soil begin to grow roots. Lavender can be propagated this way with ease.
Branches with young shoots are the best candidates for layering, provided that soils are kept consistently moist throughout the entire season.
Best Time To Propagate Lavender
The best time to propagate lavender depends upon the technique. Propagation processes that use new or only semi-hardwood are best done in the spring. This includes softwood cuttings, which are much more likely to root at this time.
Lavender to be propagated from plant matter that’s more mature is better done later in the season and can be allowed to overwinter as roots develop.
Can You Root Lavender Cuttings in Water?
Though it is possible to propagate lavender cuttings in water, rates of success may be unpredictable. As many species of lavender are susceptible to rot, keeping each cutting healthy throughout the process may be difficult.
If you plan to try this technique, prepare your cuttings as normal and place them in a glass of tepid water. Water used for cuttings should be clean and may need to be replaced once every other day.
Can You Plant Lavender Cuttings Straight into the Ground?
Lavender cuttings can also be placed directly into the ground. However, conditions in the garden require close monitoring to avoid the loss of cuttings.
This includes careful attention to drainage, soil moisture levels, the potential for weed pressure, and damage that could be caused by insects or browsing animals.
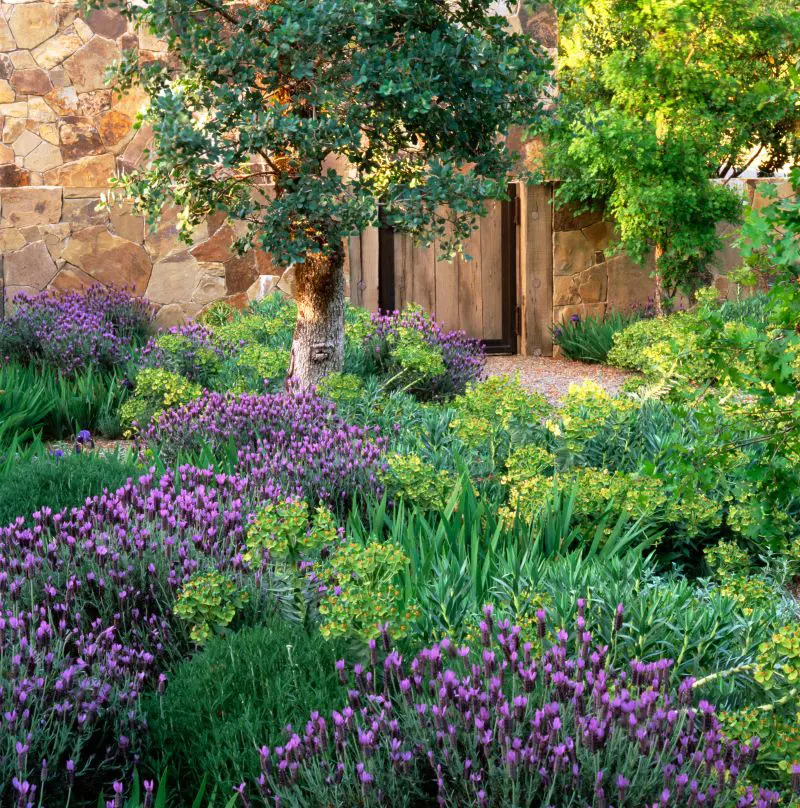
How To Grow lavender
As with most plants, your success in growing lavender will depend both on what kind of growing conditions you provide and which varieties you select to grow. Even if you do everything right and your lavender plants appear happy, the genus is generally not long-lived and most lavender plants begin to decline in 10 years or less.
Light
Lavender plants grown in full sunlight are the best way to guarantee a lot of buds and big, full bushes. Plant it in an area where it can get suitable sunlight and grow healthily. It is recommended to prevent them from direct sunlight as it can have negative consequences.
The soil requirement for a lavender plan is proper soil consisting of organic matter. This will help the lavender plant to grow properly and get necessary nutrients from the soil. Also, this will help the lavender plant to produce a high quantity of oil and a strong smell. So, it will be beneficial to consider adding necessary soil conditions for the plant.
Water
The lavender plant is tolerant to extreme drought conditions when it is properly adapted to an adult. though it may require proper care and watering during the baby phase they are vulnerable and soft in the stage. You may check the soil moisture from time to time. Water it accordingly and you may be required to maintain the watering time in winter and summer season.
Temperature and Humidity
Lavender can handle some sort of high temperatures and can grow easily in warm areas. The threat for the lavender plant is dampness rather than the cold situation. Dampness is caused by overwatering leading to wet roots that can cause root rot and invite another disease. It can also occur due to high humidity in summer.
If the problem is humidity then make sure to have a space between the lavender plants. This will help to improve airflow and it is recommended to plant the lavender plant in a sunny location. Also, you need to be more careful in the winter season as there may be high wind which can effect the lavender plant. The solution for this is to plant lavender on the side of the block or provide support with a stick.
Fertilizer
It's a good idea to add a handful of compost into the hole when you are first starting lavender plants. Beyond that, feeding is not needed with these plants and can detract from the overall potency of your lavender.
Harvesting Lavender
A major reason lavender is so prized is that its flowers keep their fragrance once dried. For best drying results, harvest the flowers as the buds first begin to open. Hang them in small bunches upside-down in a warm spot with good air circulation until dried.
Aside from being beautiful and aromatic, lavender flowers are also edible. They can be used raw in salads, added to soups and stews, used as a seasoning, baked into cookies, and brewed into tea. Use sparingly; a little lavender flavor goes a long way.
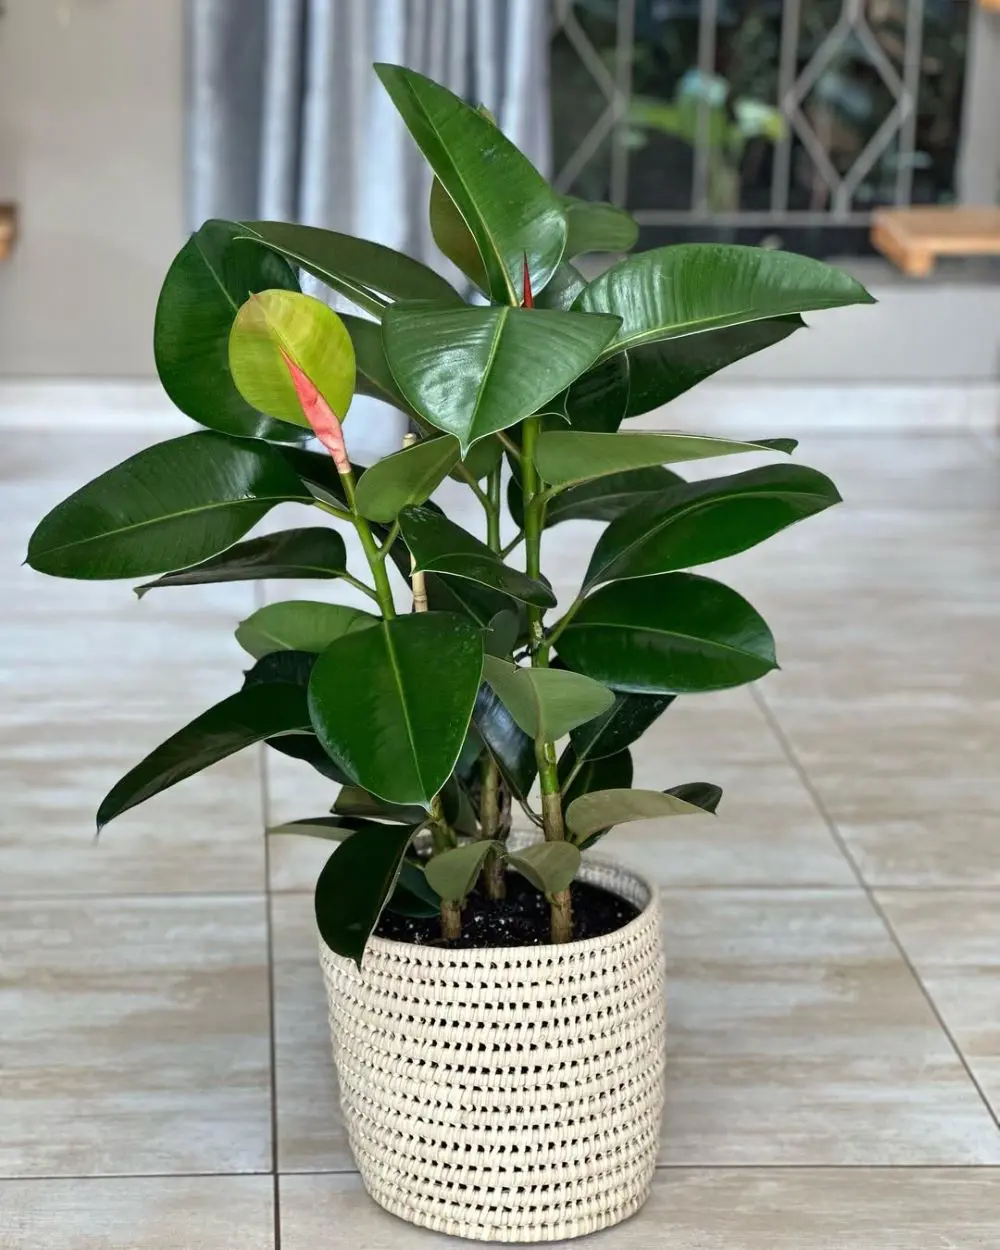
Where outdoor planting is not practical, growing lavender in a ceramic, clay, or terra-cotta pot and moving it around to follow the sun or even bringing it indoors for the winter, will be most efficient. Lavender prefers to grow in a tight space.
A pot that can accommodate the root ball with a couple of inches to spare is a good choice; a pot that is too large will encourage excessive dampness.
Ensure that your container has plenty of holes at its base for drainage. Root rot is one of the few problems experienced by lavender plants. Additionally, you can plant lavender in a clay or terracotta pot to help wick moisture away from the soil and keep it from getting too wet.
Common Problems With Lavender
Lavender plants are fairly trouble-free, but problems can occur. Here are common issues you may encounter when growing lavender indoors or outdoors.
Leaves Turning Yellow
Leaves turn yellow if the soil is too wet. If the lower leaves are yellow, that means you are overwatering the plant. Many lavender plants will perish if their soil gets too wet over the winter months.
Plant Smells Bad
You have probably overwatered your lavender plant. The plant may have root rot. If you have a potted lavender plant that you think has root rot, prune the dead or affected roots with a sharp and sterilized cutting tool and repot the plant to see if it's salvageable.