The start of January brings new life to gardens. While the weather stays cold outside, this month opens doors for planning and growing. Many plants do well when started indoors during winter, making January a busy time for gardeners.
Anyone wondering what to plant in January will find lots of choices, from vegetables to flowers. Starting seeds inside keeps them safe from harsh weather until spring arrives. With just some basic supplies and good timing, January planting sets up a beautiful garden for the rest of the year.
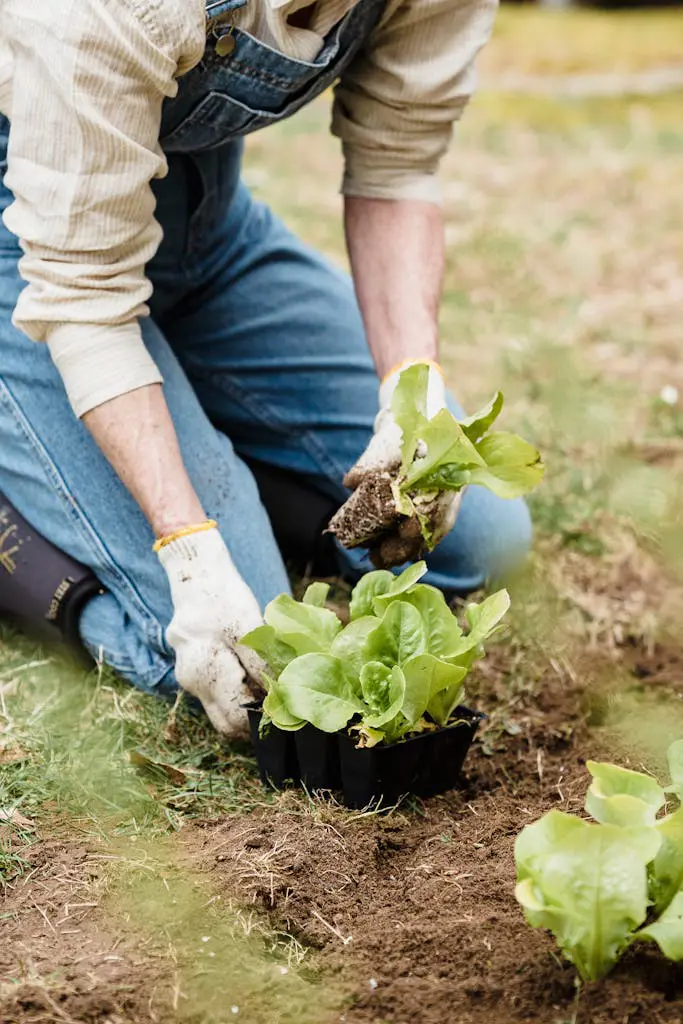
Vegetables To Plant In January
Growing vegetables in January starts your garden journey for the whole year. While the ground outside might be too cold, many vegetables grow happily indoors or in greenhouses this month.
Starting early means fresh homegrown food for your kitchen later. From leafy greens to root vegetables, January offers plenty of planting choices. Here are some multi-purpose vegetables that belong at the top of your planting list.
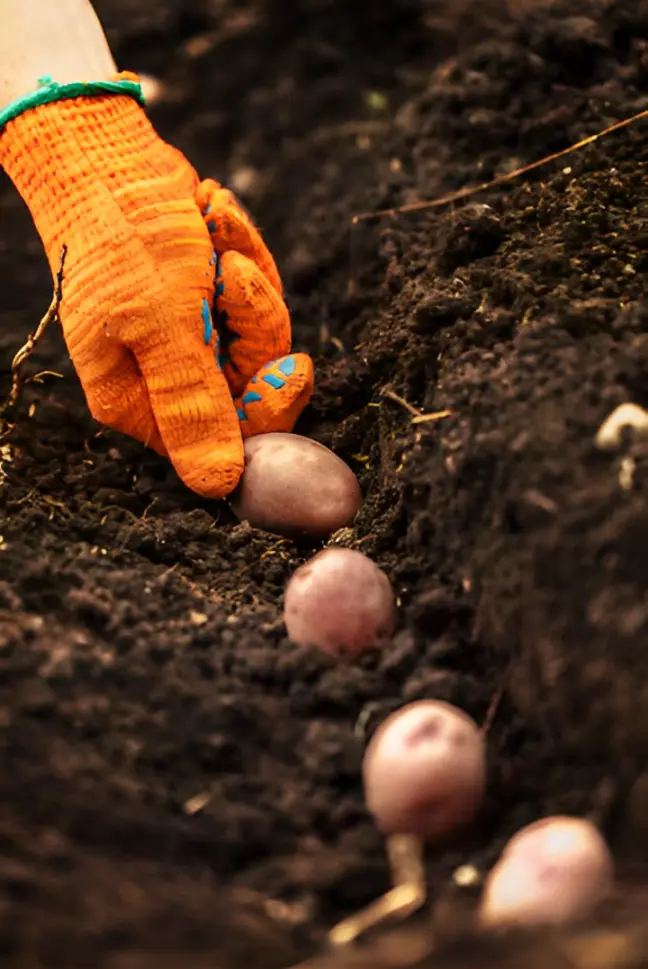
Harvest Time: You can collect your fresh potatoes from March to May, giving you early spring vegetables for your kitchen.
How to grow potato
Start by getting your potatoes ready through a process called chitting, which means letting them sprout. Take your potatoes and stand them up in empty egg boxes. Put these boxes in a place that gets good light but stays cool and free from frost.
This helps the potatoes develop strong shoots before planting. If you want really early potatoes, try growing them in containers, especially the Charlotte variety. Mix some garden compost with well-rotted manure in your container.
Take one potato that has sprouted and push it gently into the soil mix. Make sure the shoots are pointing up and the potato sits about 5 inches deep in the soil.
Once planted, move your container to a spot that gets plenty of sunlight. Remember to water the soil regularly, keeping it moist but not soggy. This easy method helps your potatoes grow strong and healthy.
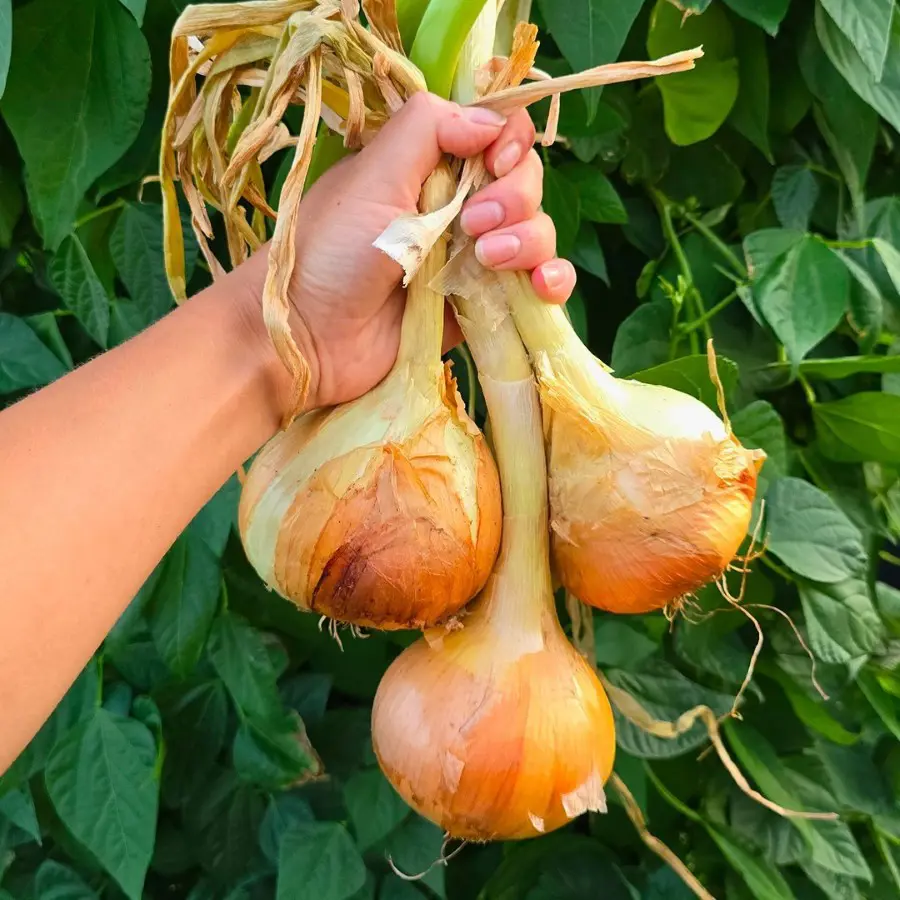
Harvest Time: Your onions will be ready to pick from July to October, perfect for late summer and fall cooking.
How to grow onions
Growing onions is a simple task that starts in January. The Ailsa Craig variety does well when started indoors this month, giving the bulbs enough time to grow big and healthy. Begin by filling seed trays with fine seed compost.
Make small holes about half an inch deep and drop your seeds in. After planting, keep your seed tray warm by putting it in a plastic bag or propagator. The seeds like temperatures between 50-59ºF and will start sprouting in about 10-14 days.
Once tiny green shoots appear, move your onions to a cooler spot. Keep them indoors until the weather warms up, with no more chances of frost.
Water them right away in abundance when you plant them in your outdoor garden. To save your onions from birds and other visitors in your garden, just cover them with a light net or garden fleece. This simple care helps your onions grow strong and flavorful.
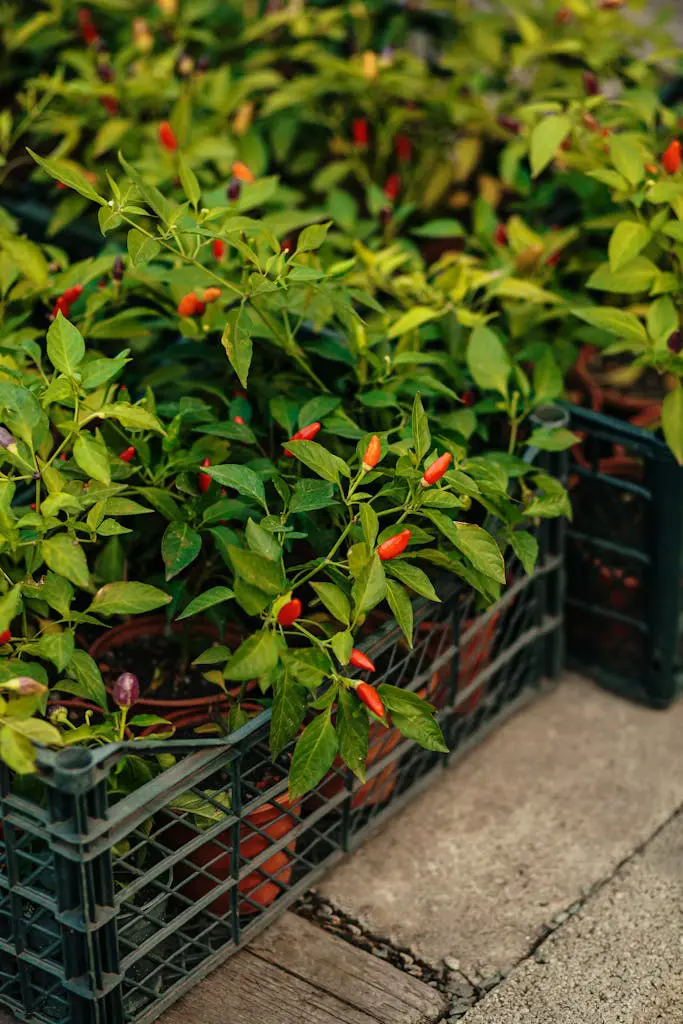
Harvest Time: Pick ripe chilies between July and October. These months provide the ideal harvest season for fresh, homegrown chilies.
How to grow chilies
Start with peat-free seed compost in small pots. Put 2-3 seeds in each pot. Cover them lightly with vermiculite. The seeds need warmth to sprout well - use a propagator set to 21°C.
The seeds will sprout into small green plants. Once this happens, take off the propagator lid and lower the heat to 16-18°C. Extra light from a grow lamp stops the plants from getting too tall and spindly.
When the plants stretch 2-3cm in height, they need more space. Take each plant and move it to its own pot with fresh peat-free compost. Keep them in a warm place - the room should never get colder than 15°C at night. Windows can work well but sometimes get too cold.
Keep using the grow lamp if there isn't much sunlight. Watch for roots coming out of the bottom holes - this shows the plant needs a bigger pot. The plants can live in a greenhouse or sunroom once the nights stay warmer than 15°C.
Steady warmth and good light create strong plants. With proper care, the chillies will grow well and produce many peppers. Each plant makes several chillies throughout the growing season.
The plants respond well to consistent temperatures. Good airflow and the right amount of water help prevent problems. Regular checking helps spot any issues early.
Harvesting Time: Fresh basil leaves grow well from July through October. During these months, the plants produce plenty of leaves for cooking.
How to grow basil
Begin by placing basil seeds in pots or seed trays. Spread them thinly across seed compost. Add vermiculite on top as a light cover. The seeds need warmth to grow - keep them at 20°C.
A heated propagator works well for this. Use a grow lamp to help the small plants grow strong instead of tall and weak.
Once the plants have several leaves and look strong, move them to their own pots. Mix peat-free soil compost with multipurpose compost for the best growing space. Remove the top tips of the plants - this makes them grow fuller with more leaves.
The plants need warmth to grow well. Keep them inside where temperatures stay steady. From June to August, the plants can grow outside. During these months, the weather stays warm enough for healthy growth.
Regular care produces leafy plants that grow well. The right amount of warmth and light leads to strong basil plants with lots of leaves for cooking.
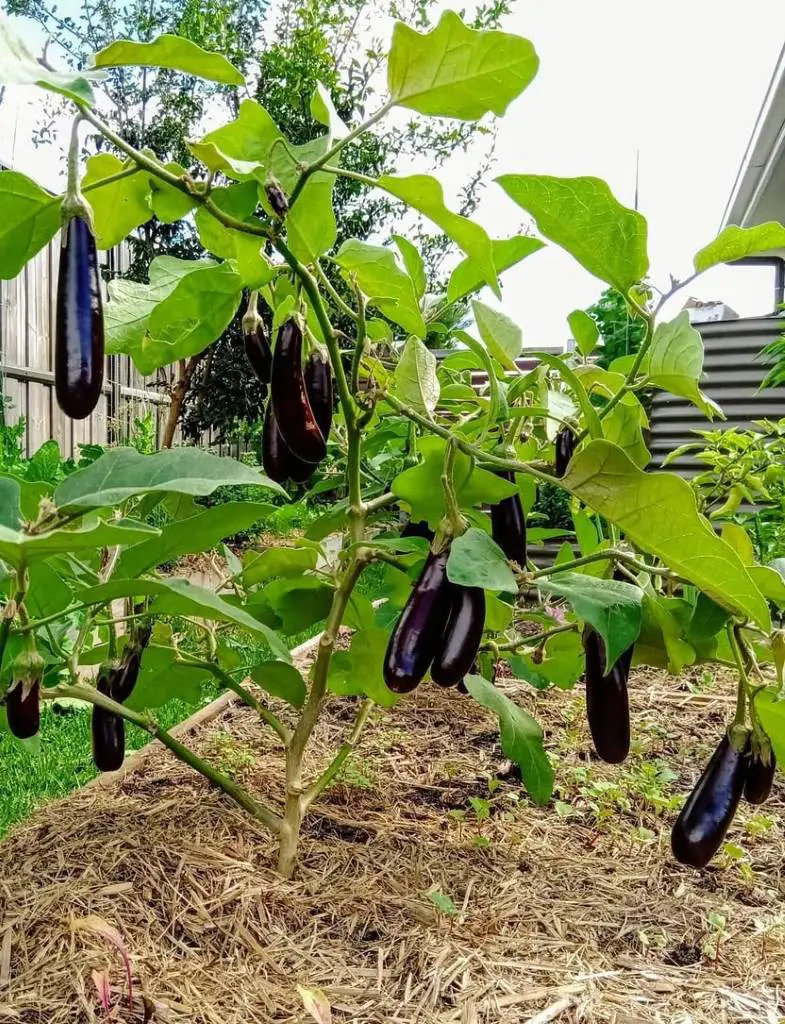
Harvesting Time: Pick fresh aubergines from July through October. This period gives the best harvest of ripe fruits.
How to grow aubergines
Start by sowing aubergine seeds in small pots with peat-free seed compost. Put one seed in each pot. Cover the seeds with vermiculite. Set the propagator temperature to 21°C for good growth.
The seeds will sprout into small plants. When this happens, take off the propagator cover and lower the temperature to 16-18°C. Use a grow lamp to keep the plants strong - this stops them from getting too tall and weak.
Move each plant to its own pot when it reaches 2-3cm tall. Use fresh peat-free multipurpose compost. Place them in warm spots with good light, like windowsills. Watch the temperature near windows at night - move the plants if it drops below 15°C. Keep using the grow lamp if the plants need extra light.
Look for roots coming through the bottom holes. This means the plant needs a bigger pot. Once night temperatures stay above 15°C, the plants can live in a greenhouse or sunroom.
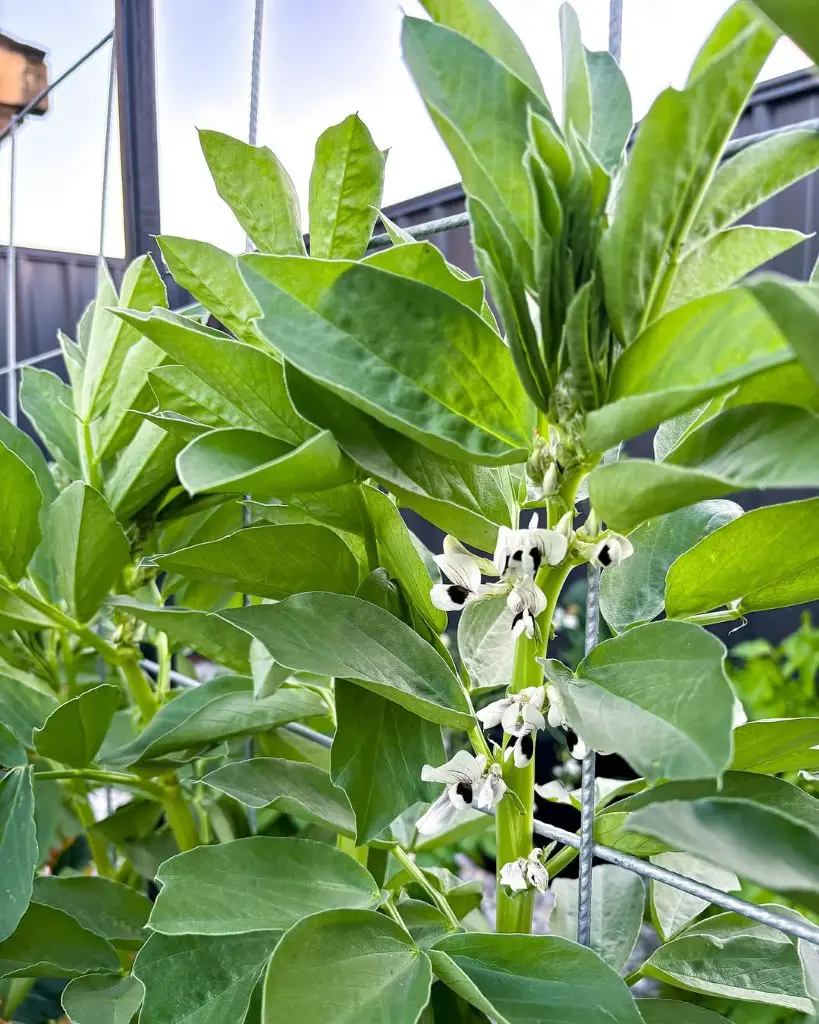
Harvest Time: Broad beans become ready for harvest between May and August. These months provide the best broad beans for cooking and eating.
How to grow broad beans
The planting season depends on your location. People in mild areas can start planting in February, while others need to wait until March. Take each seed and plant it in a separate pot filled with damp peat-free seed compost.
The seeds will start sprouting within three weeks inside an unheated greenhouse or cold frame. Mice enjoy eating these seeds, so protection measures help ensure successful growth.
Water the plants regularly as they develop. At the three-week mark, remove the top part of each plant. This creates fuller, bushier plants with more beans. Let the plants slowly adjust to outdoor conditions before moving them to their permanent garden spot.
The plants need specific spacing in the garden. Plant them using one of these arrangements:
Single rows: Leave 45cm between each plant
Double rows: Place plants 20cm apart, with 60cm spaces between the row pairs
Cold weather protection remains important for broad beans. During times of frost, cover the plants with horticultural fleece or a cloche. This shield prevents frost damage and ensures continued growth.
Flowers To Plant In January
January opens a wonderful door to early flower growing. While winter chills the garden outside, your indoor space becomes a perfect nursery for spring flowers.
With basic tools like a warm windowsill or heated propagator, you can start many flower seeds during this cold month. Starting seeds in January gives them time to develop into strong plants, ensuring your garden bursts with beautiful colors once spring arrives.
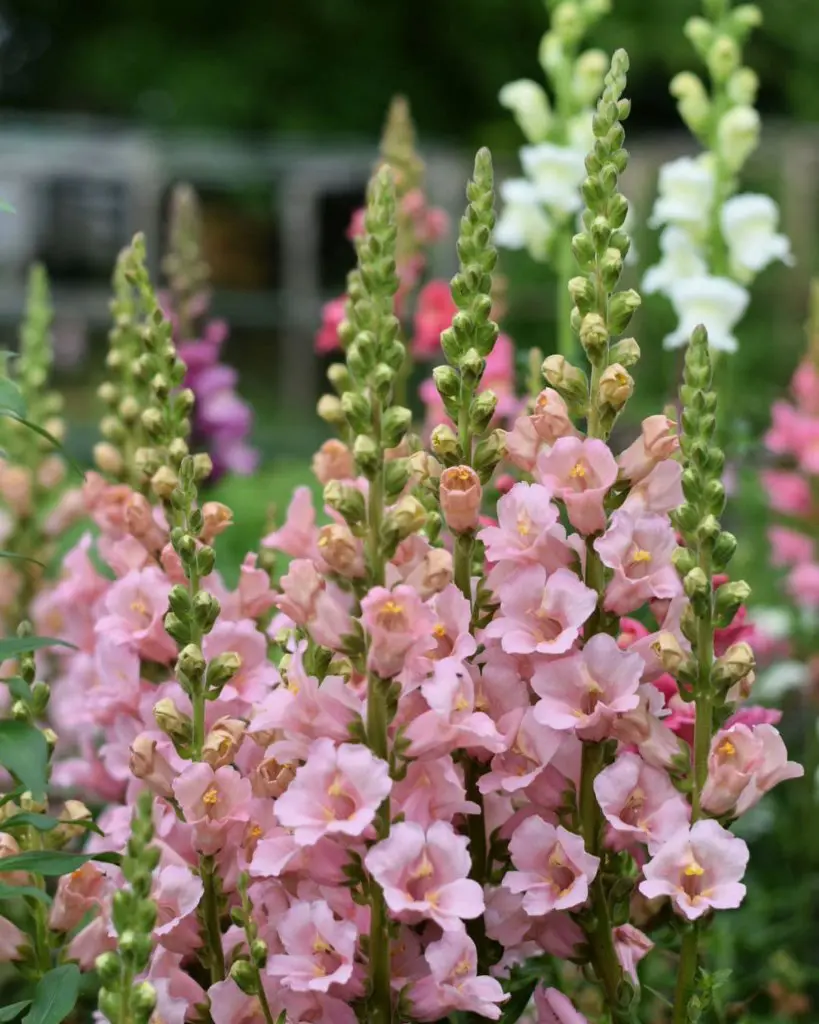
Snapdragons need an early start to produce their beautiful blooms. Begin planting these flowers in January using a propagator to give them enough time to develop fully.
The growing process starts with preparing a tray of damp seed compost. Place the snapdragon seeds directly on top of the soil surface - these tiny seeds stay uncovered as they need light to grow.
The seeds require steady warmth between 68-77F (20-25C) to sprout properly. Place the tray inside a propagator or create a similar environment by wrapping the tray in a plastic bag. The seeds take about 10 to 21 days to sprout into small seedlings.
Once the seedlings become strong enough to move, transfer them carefully into separate growing trays or small pots measuring 3 inches (7.5cm) across. The final step involves preparing the young plants for outdoor life.
Move them outside for increasingly longer periods over several weeks. This helps them adapt to outdoor temperatures. Wait until all danger of frost passes before planting them permanently in your garden.
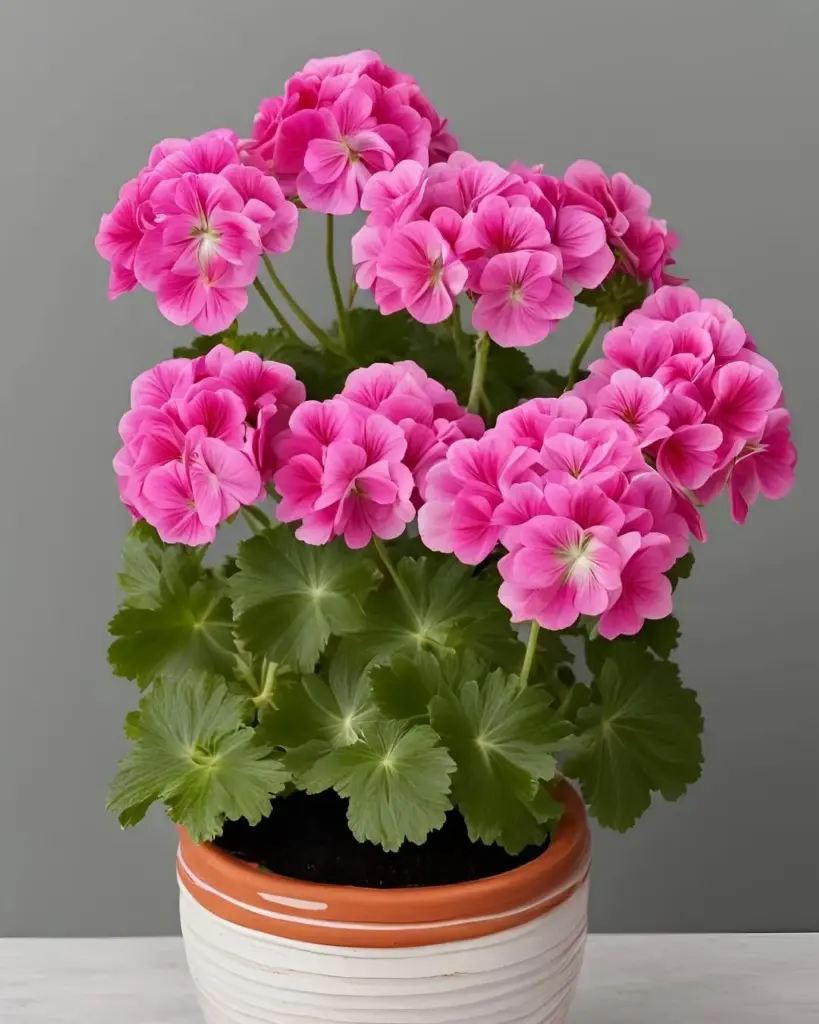
Geraniums bring long-lasting color to gardens, blooming from June all the way through October or November. Starting these cheerful flowers begins with proper seed planting.
Mix regular seed compost with a small amount of grit - about one part grit to every ten parts compost. This creates the perfect growing environment for the seeds.
Take your seed tray and spread the geranium seeds across the surface. Place them thinly apart to give each seed space to grow. The seeds need only a very light covering of the soil mixture - almost sitting right at the surface.
These plants love warmth, so maintain a temperature of 24°C (75°F). A heated propagator works best for providing this steady warmth. With proper care, the seeds sprout into tiny seedlings within three to twelve days.
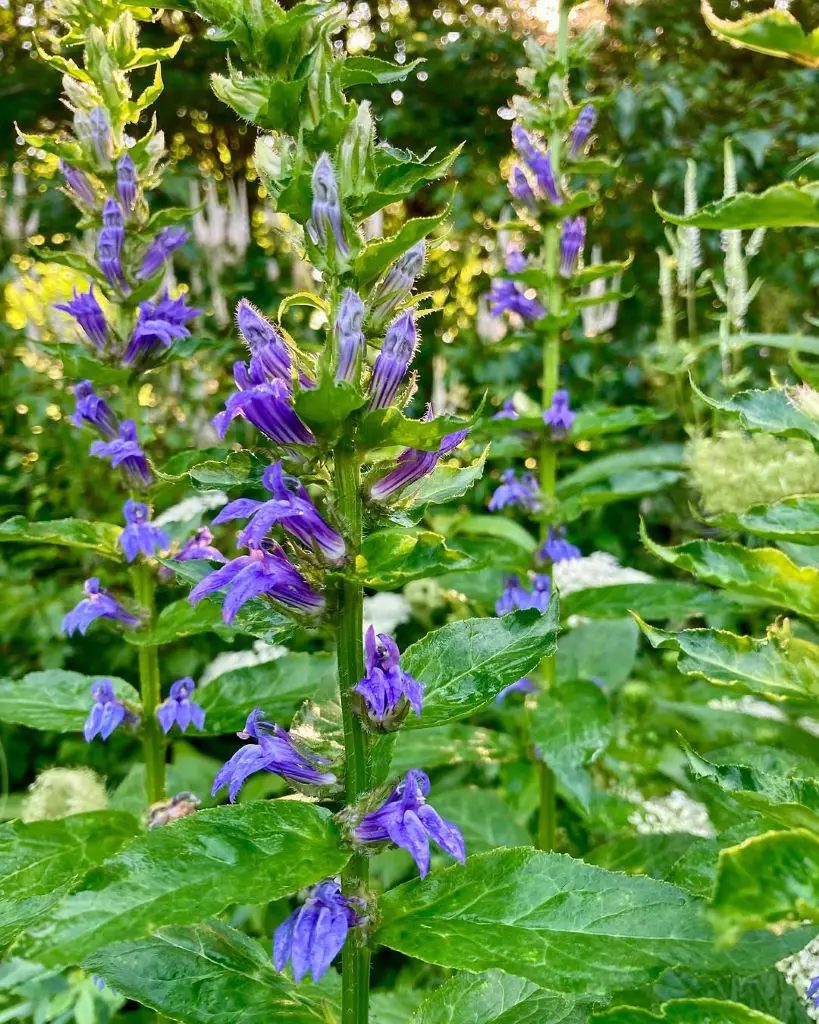
Lobelia adds beautiful color to hanging baskets and containers. Starting these flowers in January creates strong plants for spring gardens. Begin the planting process with a tray of seed compost. Place the tiny lobelia seeds across the surface of the soil and press down softly.
These seeds need steady warmth between 65-75F (18-24C) to grow well. Use a propagator or create a simple greenhouse effect by covering the tray with a clear plastic bag.
Keep the soil lightly moist but avoid making it too wet. The seeds also need plenty of light to sprout properly. Under these conditions, small seedlings emerge in about 14 to 21 days.
Watch the seedlings develop until they become strong enough to move. Transfer each small plant into its own pot. Move the pots to a cooler area and slowly introduce them to outdoor conditions.
This gentle transition prepares them for life in the garden. Once all frost danger ends, plant your lobelias in their final spots in hanging baskets or containers.
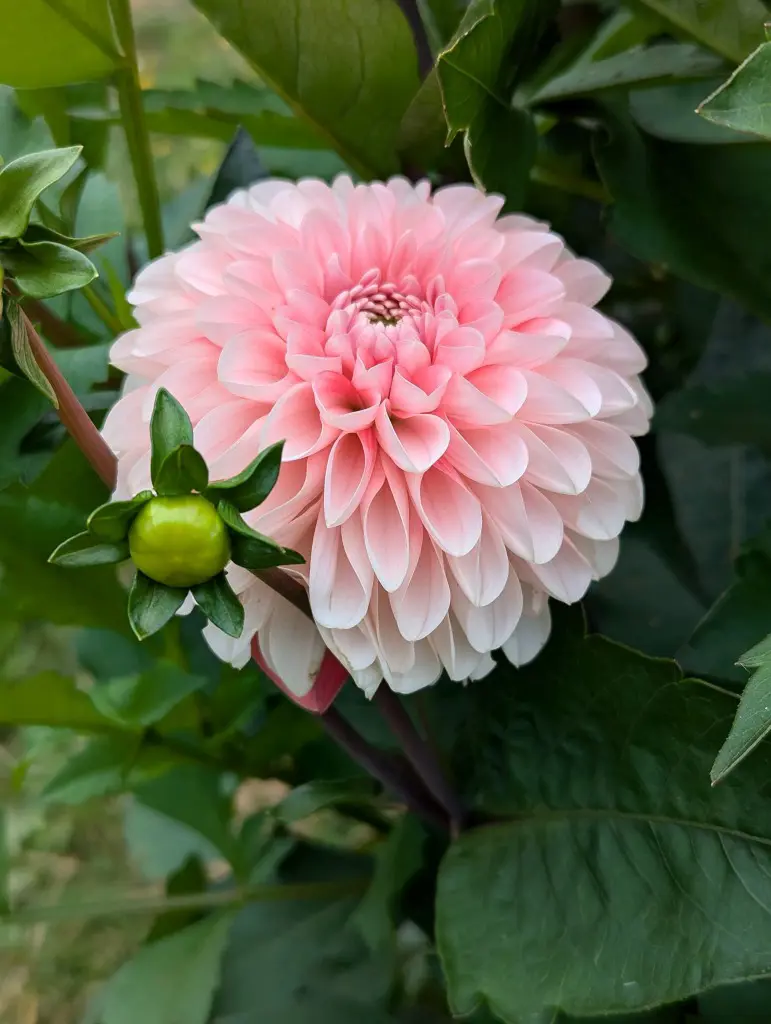
Dahlias create stunning garden displays from July until late autumn, often blooming into October or November. Starting these flowers requires simple but specific steps.
Take a seed tray with individual cells or small pots for planting. Create the right soil mix by combining standard seed compost with vermiculite - use nine parts compost to one part vermiculite.
Place one or two dahlia seeds in each cell or pot. They also require consistent warmth to germinate. The temperature range for the seeds is 18-21°C (or 65-70°F).
Under these conditions, in about five to twenty days, the seeds begin sprouting. Constant heat helps the seeds grow into strong seedlings, promising flowering plants.
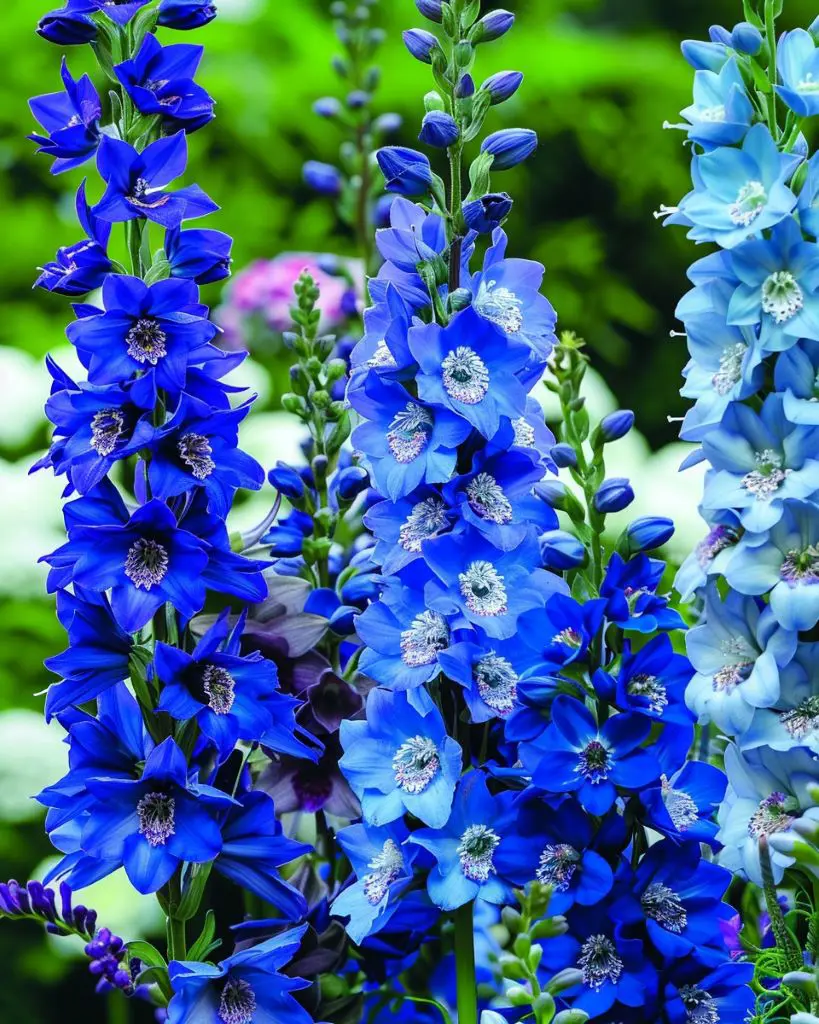
Delphiniums create tall blue, purple, and white flowers that bloom in June and July. The planting process starts with the right soil mix.
Mix your planting soil using regular seed compost combined with vermiculite - use nine parts compost to one part vermiculite. Spread the delphinium seeds thinly across this mixture in seed trays. Add a very light dusting of vermiculite on top of the seeds.
These seeds need an unusual first step. Place the prepared seed tray in the refrigerator for three weeks. This cold period helps the seeds prepare for growth. After their cold rest, move the tray to a warmer spot.
Keep the temperature between 15-21°C (59-70°F). The seeds take between seven to twenty-eight days to sprout. This method copies the natural cycle that delphinium seeds experience in nature, leading to stronger plants.
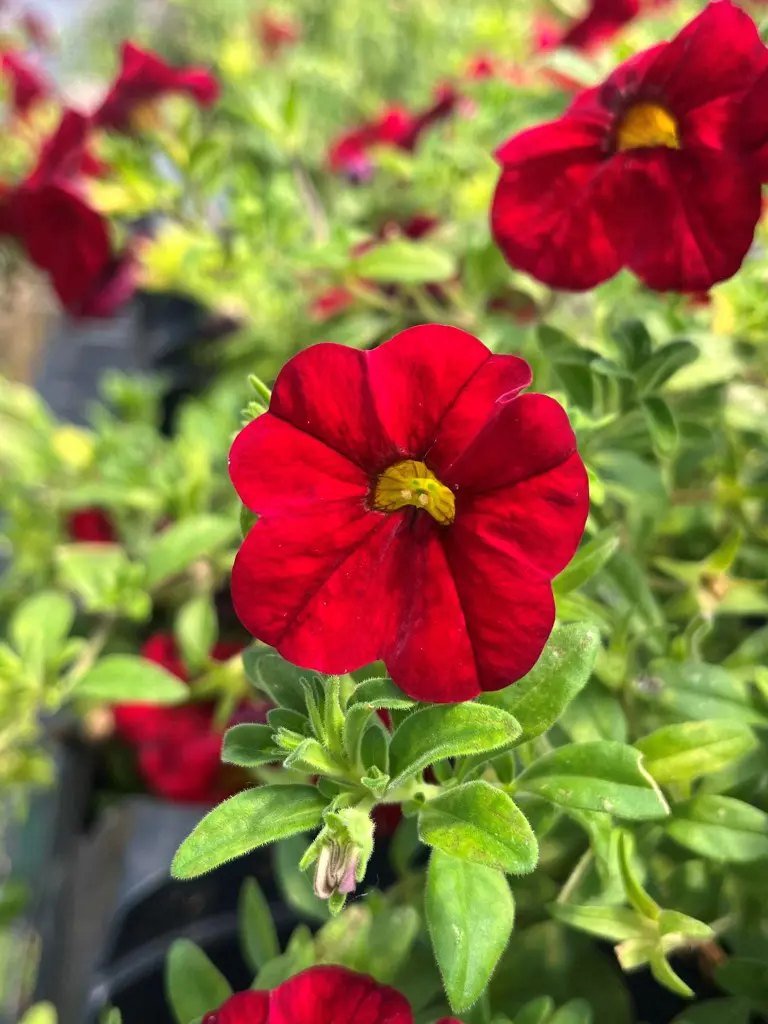
Growing petunias brings beautiful colors to any garden. These bright flowers bloom from late June through September, filling outdoor spaces with their lovely petals all summer long.
To start planting petunias, mix your soil properly. Combine regular seed compost with vermiculite - use one small scoop of vermiculite for every ten scoops of compost. This special mix helps seeds develop strong roots and grow into healthy plants.
Place your growing mix into small planting trays. Spread the tiny petunia seeds across the top of the soil. These seeds need to stay near the surface, so sprinkle just enough vermiculite on top to lightly cover them.
Your seeds will do best in spots with temperatures between 24-27°C (75-80°F). Make sure to put the trays where they get lots of sunshine throughout the day. The bright light helps the seeds turn into strong seedlings.
In about fourteen days, small green shoots will pop up through the soil. Keep the temperature steady and maintain bright lighting conditions until your seedlings grow bigger. Soon these little plants will produce gorgeous flowers that last through the entire summer season.
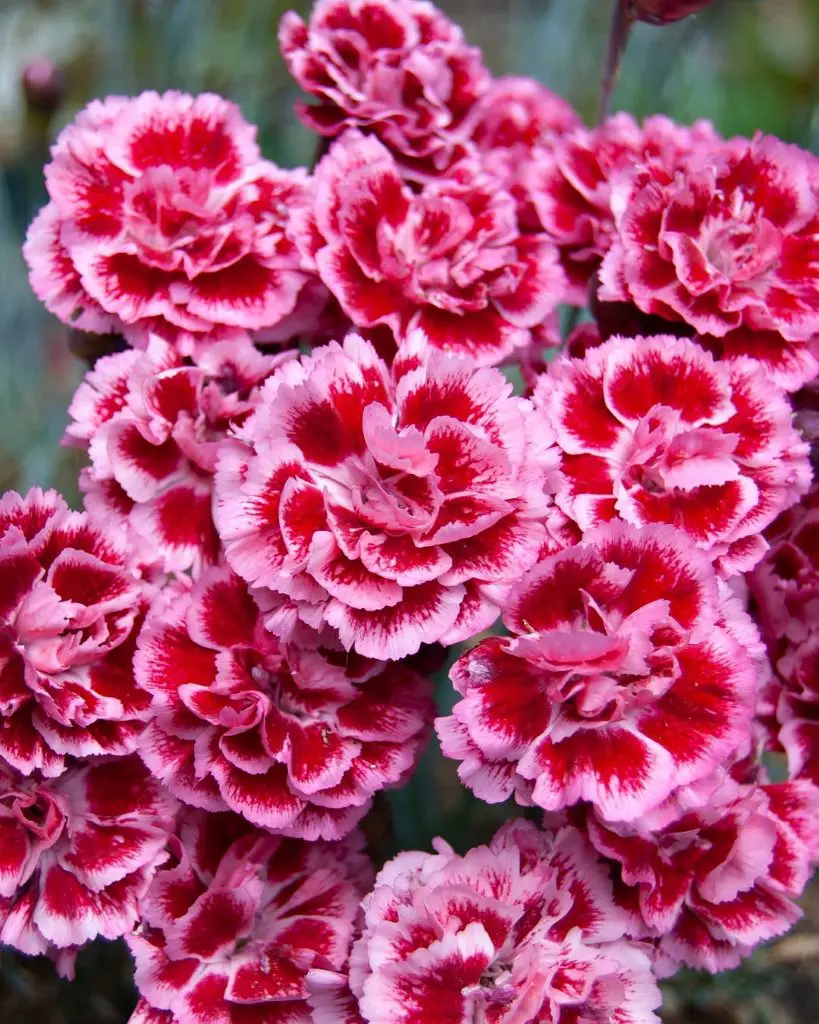
Dianthus seeds need planting between winter and April. Take a clean container and put seed compost inside. Press the soil down until it feels solid. The soil must stay slightly wet at all times.
Drop the seeds onto the soil surface. Sprinkle a small amount of compost or vermiculite to cover them. Set the containers in a space that stays at 64-68ºF (18-20ºC). Sunlight matters for these seeds because they need light to sprout.
Seeds turn into small plants within fourteen to thirty days. Use water carefully to keep the soil damp but never soaking wet. The tiny plants need moving to bigger pots once they grow their first real leaves. Each plant goes into a 3-inch pot with fresh soil.
The young plants must learn to live outdoors step by step. Set them outside for short times each day. Start with two hours. Add more time outside as days pass. This training takes several weeks.
The plants move to the garden once frost season ends. Strong Dianthus plants grow well in garden soil after proper preparation.