If you have decided to grow onions from bulbs rather than transplants or seeds, you should learn how to plant onion bulbs. It is straightforward, but the bulbs might not fully form, as onions can be a bit finicky.
The great thing about planting onion bulbs, however, is their quick establishment and success rate over directly sown seeds or transplants, assuming you do it right. It is also best for growing green onions. Here is all you need to know about planting onion bulbs and some tips and tricks to avoid mistakes and disappointment from low-quality harvests.
How Do You Plant Onion Bulbs
Step 1: Get Your Onion Bulbs/Sets
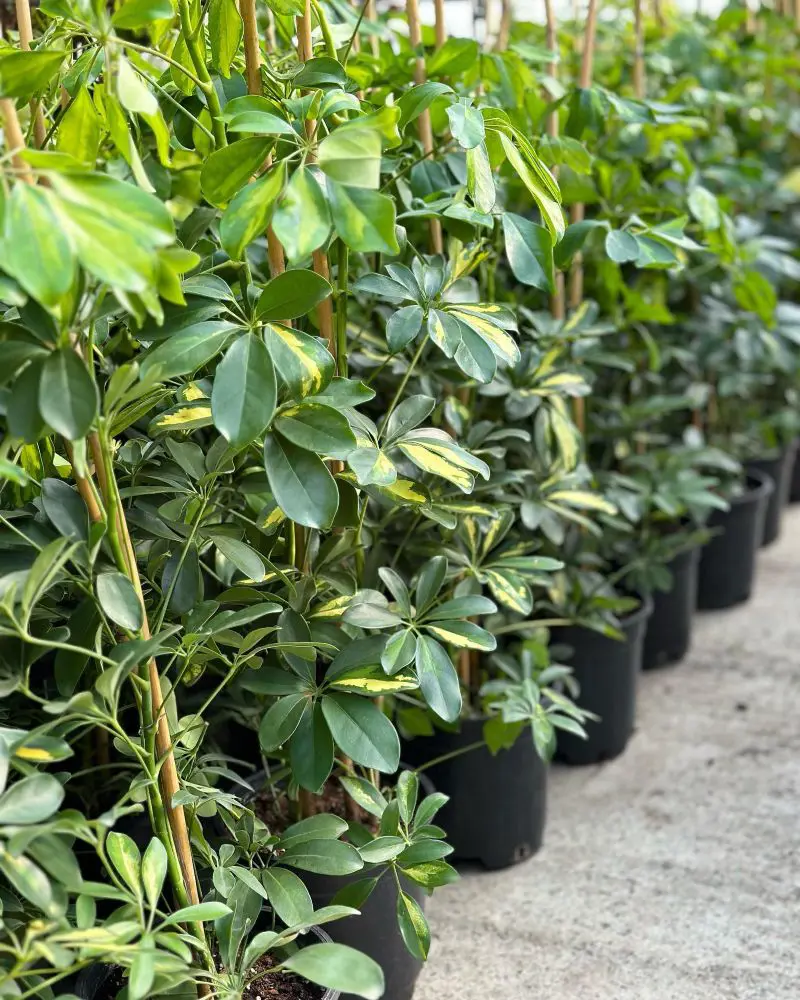
Acquiring an onion bulb is the first step in planting an onion bulb. An onion bulb refers to small or underdeveloped plants harvested before they can grow into full sizes. You can find these bulbs abundantly in garden centers or online in spring. A small collection may be available at the end of summer, often sold as overwintering onions or Japanese onions for an early harvest.
Choose Good Quality Ones
Choose bulbs that are ¾–1 inch in diameter. Bulbs larger than this may bolt, while smaller ones may not produce large onions. Feel the onions to get a better understanding of their viability. They should feel firm and dry and not mushy. They should have consistent color without spots or mold.
Choose the Right Variety for Your Garden
Another thing you should consider besides the quality is the variety. You should choose the right variety for your garden. All onion varieties fall into one of three categories:
Short-day: 10 hours of light per day),
Intermediate-day: 12 to 14 hours of light per day)
Long-day: 14 to 15 hours of light per day)
The one you choose will depend on your USDA hardiness zone. Short-day onion varieties, like Texas Super Sweet, Vidalia, and Red Creole, are best grown in Southern climates like Zone 7.
Intermediate-day onions like Candy, Sierra Blanca, and Red Satin are suitable for all regions, especially zones 5 and 6. Zones 6 and North are best for long-day varieties like Walla Walla, Yellow Sweet Spanish, and Redwing. Ensure you know your gardening zone with this USDA gardening zones guide.
Popular varieties sell out quickly, so buy the variety you want early and close to your planting season to avoid unnecessary storage and potential spoilage. Do not buy ones that have green shoots, as this indicates they’ve started growing prematurely.
Step 2: Soak the Bulbs (Optional)
Soak the bulbs in room-temperature water for 24 hours before planting. This is optional, but the water soak rehydrates bulbs dry from long-term storage. You can carry out this step if you live in an area with a dry climate or are late for planting to give your onions an extra head start.
The water softens the bulb’s outer layers, speeding up germination and root development in dry or compact planting soil. Remember that this is not an obligatory process. There are no negative impacts on the development of the bulbs, provided the medium is well-adjusted to support bulb growth.
Step 3: Prepare the Planting Site
As with anything, preparing your plant site is crucial. Choose a spot that receives sun all day and prepare your planting medium. Onions have a limited root system, so adding very well-rotted manure or compost in the area where you will be planting them can give them nutrients and improve the water-retaining abilities and structure of the soil.
Do not use raw manure, as it may contain harmful bacteria that encourage weed growth. You also cannot use “weed and feed” type fertilizers to tackle the weed problem because they contain weed killers that also kill plants. Onions prefer loose, well-drained, slightly acidic soil rich in organic materials.
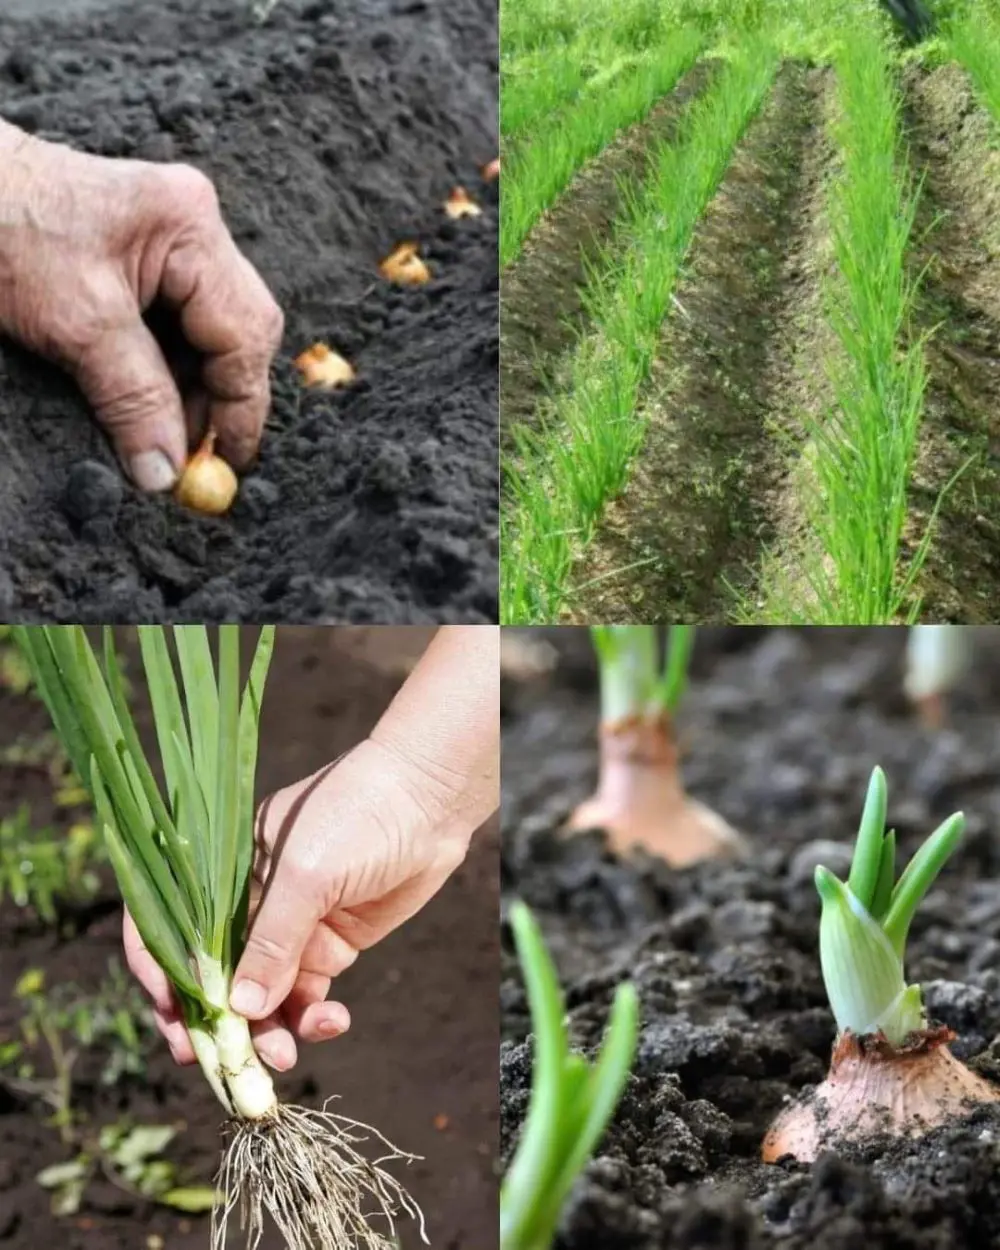
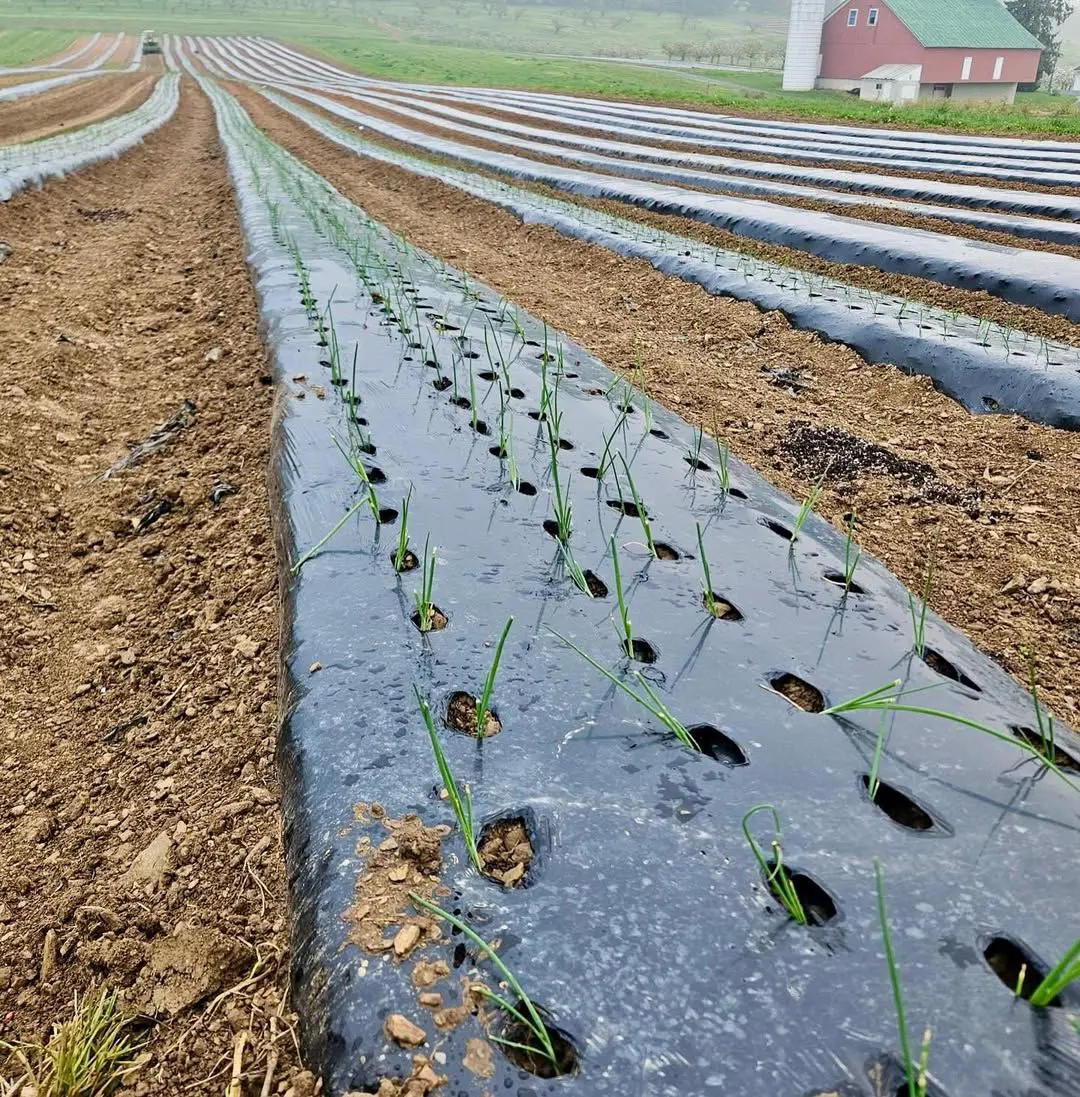
Step 4: Place the Bulbs
Onion sets are dormant and can be planted directly into the ground. If you are wondering how deep to plant onion bulbs, place bulbs flat/root side down 2cm (¾in) deep into loose soil so the tip peeks through the soil surface. Upside-down bulbs rarely sprout, so ensure you do it correctly. Space each bulb four inches apart in rows at least 18 inches apart.
Onions can also be grown in containers if you don’t have space in the ground or your soil is too damp. Sow two bulbs in a container at least 45cm (18in) wide and deep with peat-free soil-based compost. Place the container on a warm, sunny windowsill or outdoors where it can receive ample sun.
Step 5: Set the Bulbs and Cover
Once the bulbs are in the soil, hold the tiny stem upright and cover the bulb until only the stem peeks through from the soil surface. Pack the soil firmly. Otherwise, the stem might tip, which could affect germination. Water well and cover them with fleece until they have rooted in to prevent bird attacks.
Alternatively, you could cover the ground with a black weed-suppressing membrane, then plant the sets through slits. This eliminates weeding, which saves time, and prevents accidental damage to the bulbs when hoeing.
How to Grow Onion Bulbs
These are the best practices to grow onion bulbs in your garden.
Fertilizing
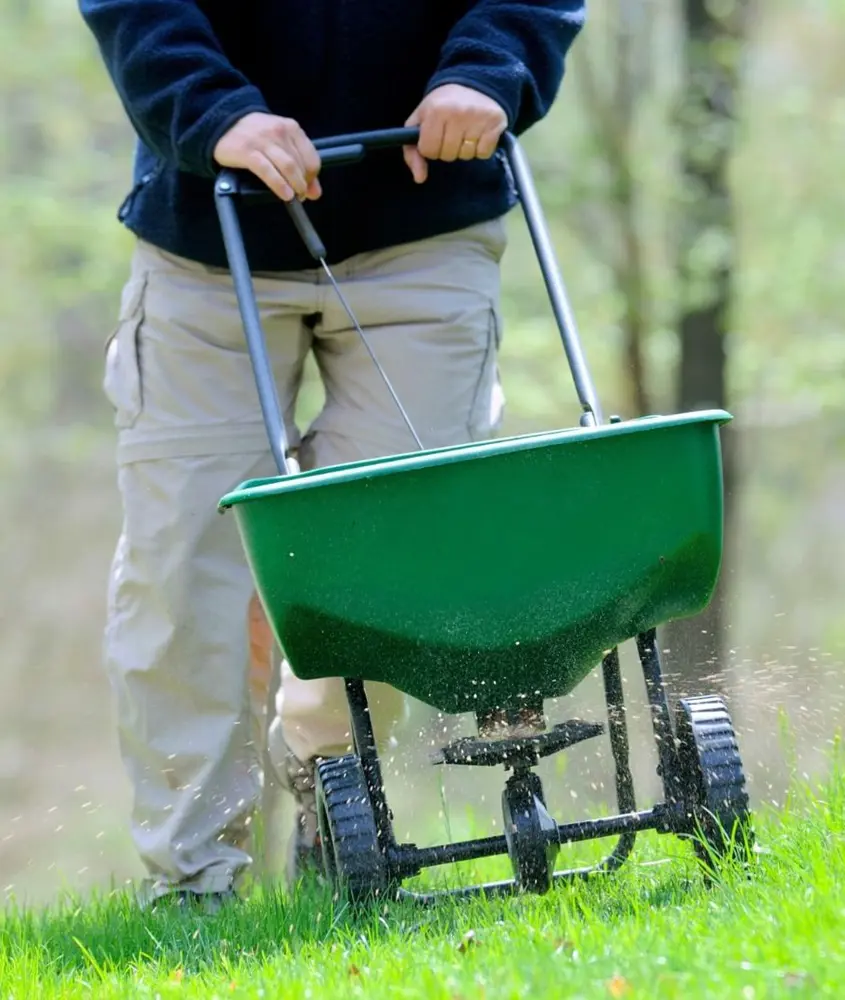
Onions are heavy feeders, so feed onions with a rich fertilizer, such as fish emulsion or organic fertilizer with an NPK 10-10-10, early in the season every two weeks to develop large plants and bulbs.
Give a second feeding about a month after the first feeding, or use organic bone and blood meal once a month. This will boost growth and suppress premature flowering. Stop fertilizing when the onions push the soil away and start bulbing. Additionally, do not put the soil back around the onions, as the bulb needs to emerge above the soil.
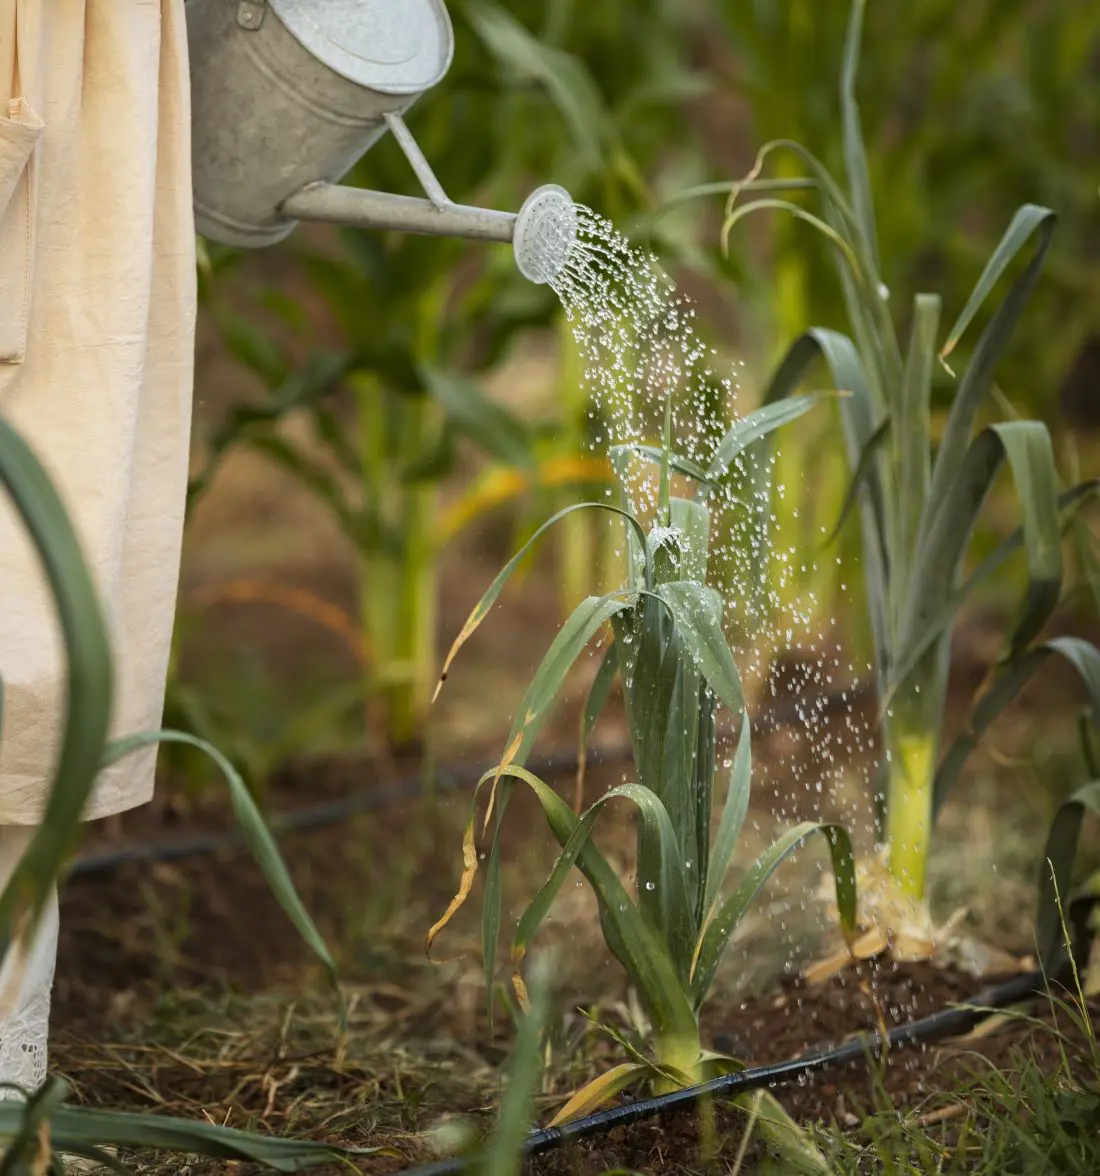
Watering
Onions have shallow roots that require a lot of water for healthy growth. As the bulbs grow and become large, they need constant moisture. Otherwise, dry conditions will cause the bulbs to split. So, give them about 1 inch or 1.6 gallons of water weekly or every 14 days during monsoon, but stop watering once the bulbs have swollen in mid-summer.
Avoid overhead watering, which can encourage fungal diseases, and look for signs of over and underwatering. Overwatering manifests as yellow leaves, which causes disease in the onions and root rot. If the plant is yellow or wilting, it could be a pest infestation from onion maggots, often caused by overwatering. Underwatering can be identified by dry soil.
Weeding
Weeds are a major problem in onion beds because their leaves are thin and strappy, allowing light to pass through and reach the soil where weeds thrive. These weeds compete with onions for resources, which affects their development.
Therefore, you need to keep your onion beds well-weeded. Onions are shallow-rooted, and the bulbs and foliage could get damaged easily by a hoe, so it is better to weed by hand. Pull weeds close to bulbs to avoid up-turning plants and a hoe to cut off the weeds at the soil level.
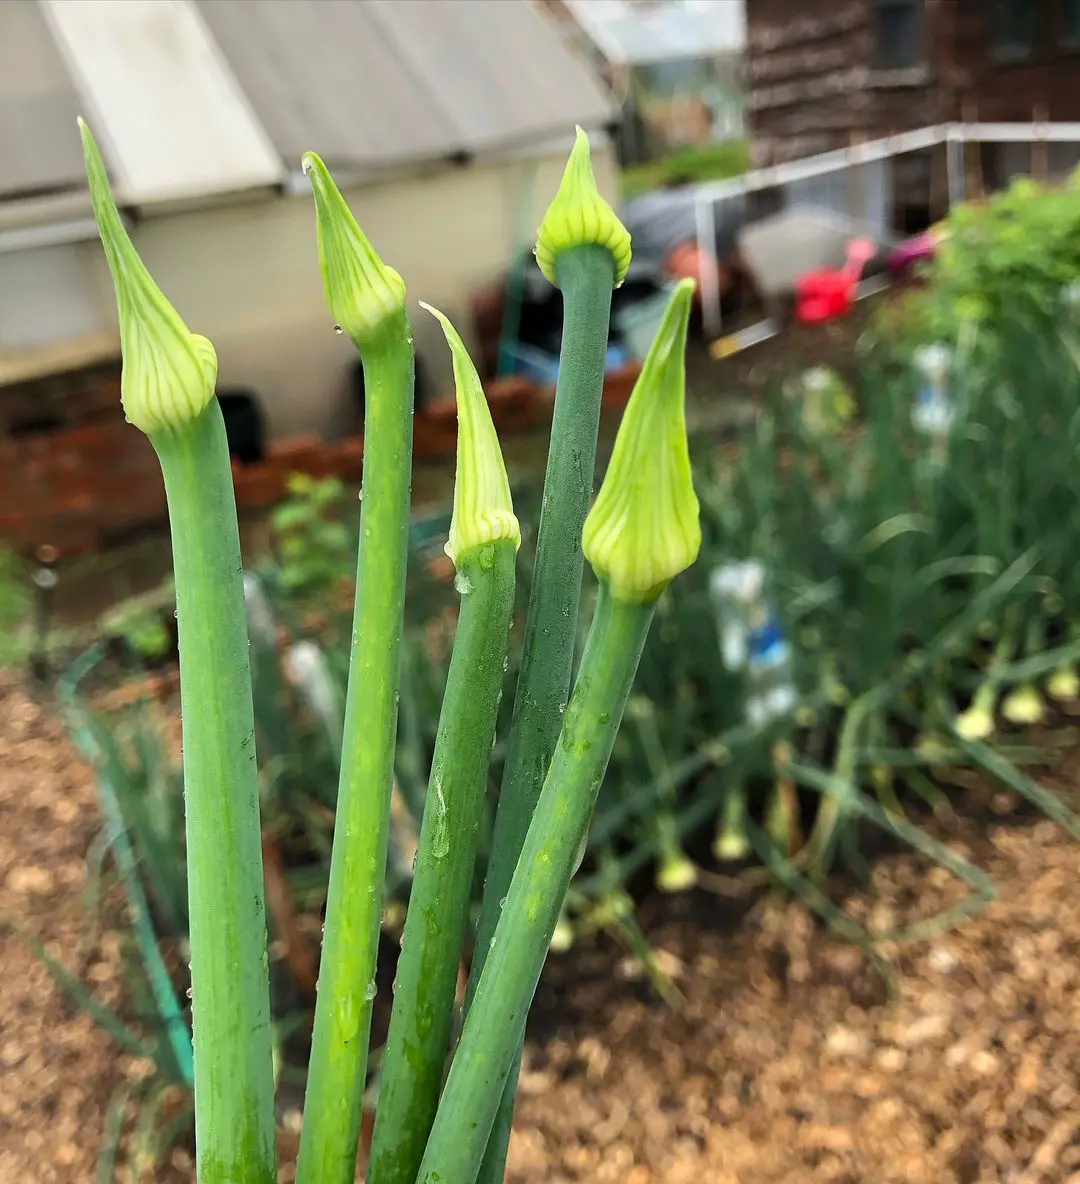
Remove Flowers
Remove any flower stems as soon as they start to form. Otherwise, the plant’s energy will go into producing the flower rather than swelling the bulb. It also means the bulb won’t store well.
Crop Rotation
It is good practice to rotate your crops, where you plant vegetables of the same family in different areas of the garden yearly or according to how you see fit. This rotation prevents a build-up of soil-borne pests and diseases specific to a particular vegetable family.
Onions thrive with a four-year crop rotation plant. In this farming technique, you have four planting sections in your garden. You should not plant the onions in the same garden section for at least 3 or 4 years. If you don’t have space for this, you build raised beds and grow in containers for a season.
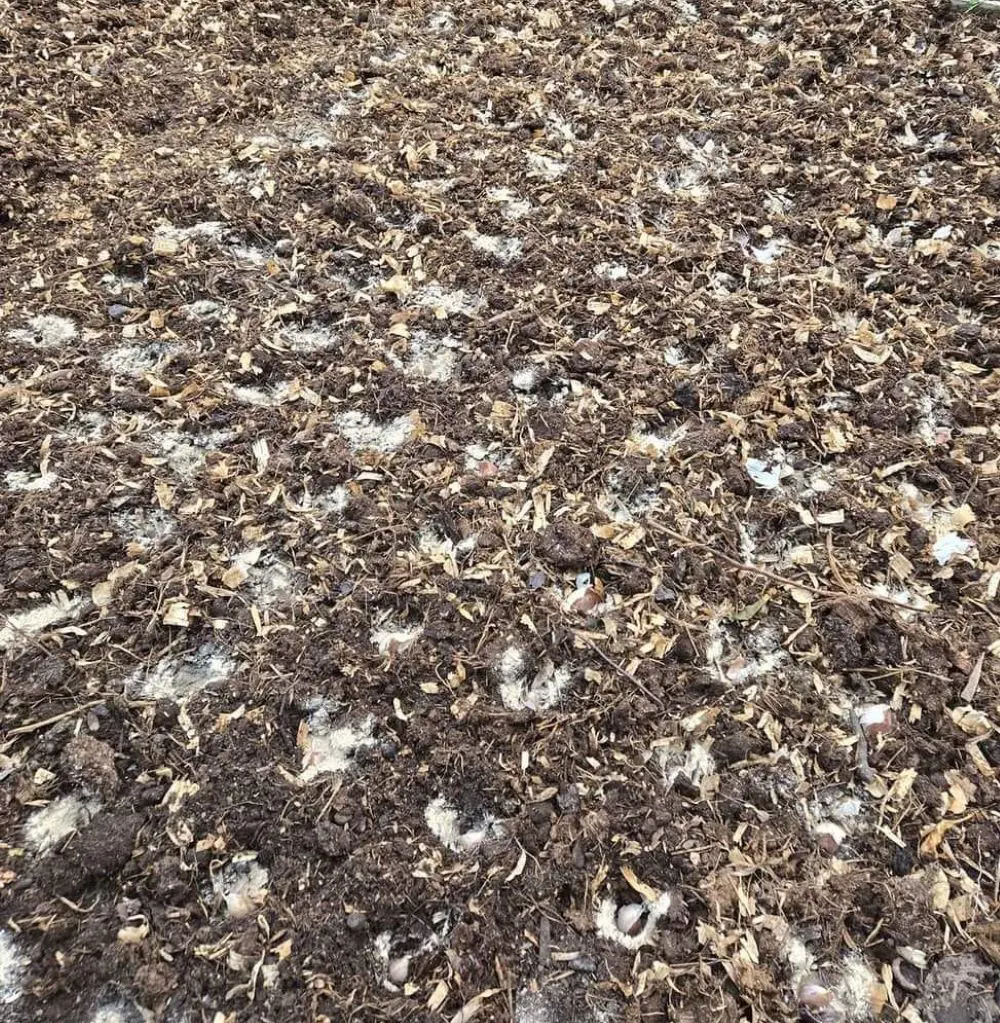
After the soil warms, place a 1 to 2-inch layer of mulch around onions to discourage weeds and conserve soil moisture. Use aged compost or chopped leaves around onions. Keep mulch and soil pulled back from the top two-thirds of developing bulbs to grow large onions,
Spacing
Ensure you get the spacing right when planting your onion bulbs because it will affect the end product. Planting too close can start a competition for sunlight, water, and nutrients. Overcrowding onions can also cause poor airflow. This will encourage diseases like botrytis and downy mildew.
Planting the onions too far apart will not harm the plant, but it is a waste of space, which you could use to increase your yields. The ideal spacing for the most common onion varieties is planting them about 3 inches apart in rows spaced nearly 18 inches apart.
When to Plant Onion Bulbs
Plant onion bulbs in early spring, usually in late March or April, as soon as the ground is thawed and neither too wet nor waterlogged. The temperature will continue to rise above 28°F, which is ideal for bulb growth.
Plant onions in autumn, about a month prior to your first frost, as they will need at least 4 to 6 weeks of warm temperatures to establish themselves in the soil below. During the cool season, the bulbs will be dormant and come back in the spring when the temperatures and soil warm again.
Once established, onions tolerate temperatures of 20 degrees Fahrenheit along with frost and light freezing. Hard freezes damage young plants, so protect bulbs with natural mulch, such as straw, grass clippings, or pine needles. Another way to prevent frost damage is using row covers.
Onions are relatively trouble-free and easy to grow, but issues could still arise. Learn how to remedy each problem with these tips.
Pests
This crop can be infested with onion maggots, but you can prevent that by rotating crops every three to four years. These maggots overwinter in the soil and become active again in early to mid-spring. They feed on their favorite food and multiply once they emerge from the soil. To prevent such infestation, rotate crops every 3 to 4 years.
The best thing to do is to move the onion family crops to another spot every two or three years and cover newly planted beds with light-row covers in early spring to limit an infestation. If you notice pest activity on your onion crop, spray a simple homemade onion and garlic tea to deter further infestation. For the tea, liquify an onion and garlic bulb in a blender, add water for a spray bottle consistency, and apply as necessary.
Mildew
Downy mildew is a disease that can cause onion plants' leaves to turn yellow or develop brown patches. The leaves will eventually collapse.
The disease doesn't necessarily kill the plants but affects bulb size and yield. To reduce the risk of downy mildew, practice crop rotation, and space onions properly to allow good airflow.
Bolting
One problem you should look out for after planting your onions is bolting. It is a situation when a vegetable plant starts to seed or flower before it should. Onions are biennial crops, meaning they should only flower the second year. If they flower in the first year, they are bolting.
When this happens, the onion bulb stops growing, and a flower pod forms atop the stem. The plant will now focus on blooming the flower instead of developing the onion bulb. Bolting is caused by stress resulting from temperature fluctuations and wrong water technique. You cannot save the onion once it bolts because it will not grow even if the flowers are removed.
You can cut off the flower or the entire bolting stem and harvest the onions. If you are not ready to use them, leave them in the ground for a few weeks and harvest them before the leaves turn brown and fall over. Bolted onions, however, may rot if left in the ground too long.
With bolting, prevention is better than cure. You cannot control the weather, so temperature-related stress. Still, there are some things you can do to prevent them.
Choose onions suited to your area.
Plant at the correct time.
Consider growing onions from seed or transplants in hot climates since onion bulbs are prone to bolting.
Using Bolted Onions
Use harvest bolted onions immediately, as they do not store well. You should preserve them by:
Dehydrating: Cut up the onions and dehydrate them. Use them whole, or blend them into powder. Freezing: Slice onions and freeze-dry them. They can be stored and used as is or processed into a powder.
Harvesting
You have to harvest onions 30 to 40 days after planting the bulbs. When the leaves are yellow and “6-8” inches (15-20 cm) tall, with three-quarters of the tops drooping or falling over, use the back of a rake to bend the remaining tops to the ground.
Bending the leaves will stop its growth, allowing the plant to divert its energy towards growing the bulb so that you can harvest faster.
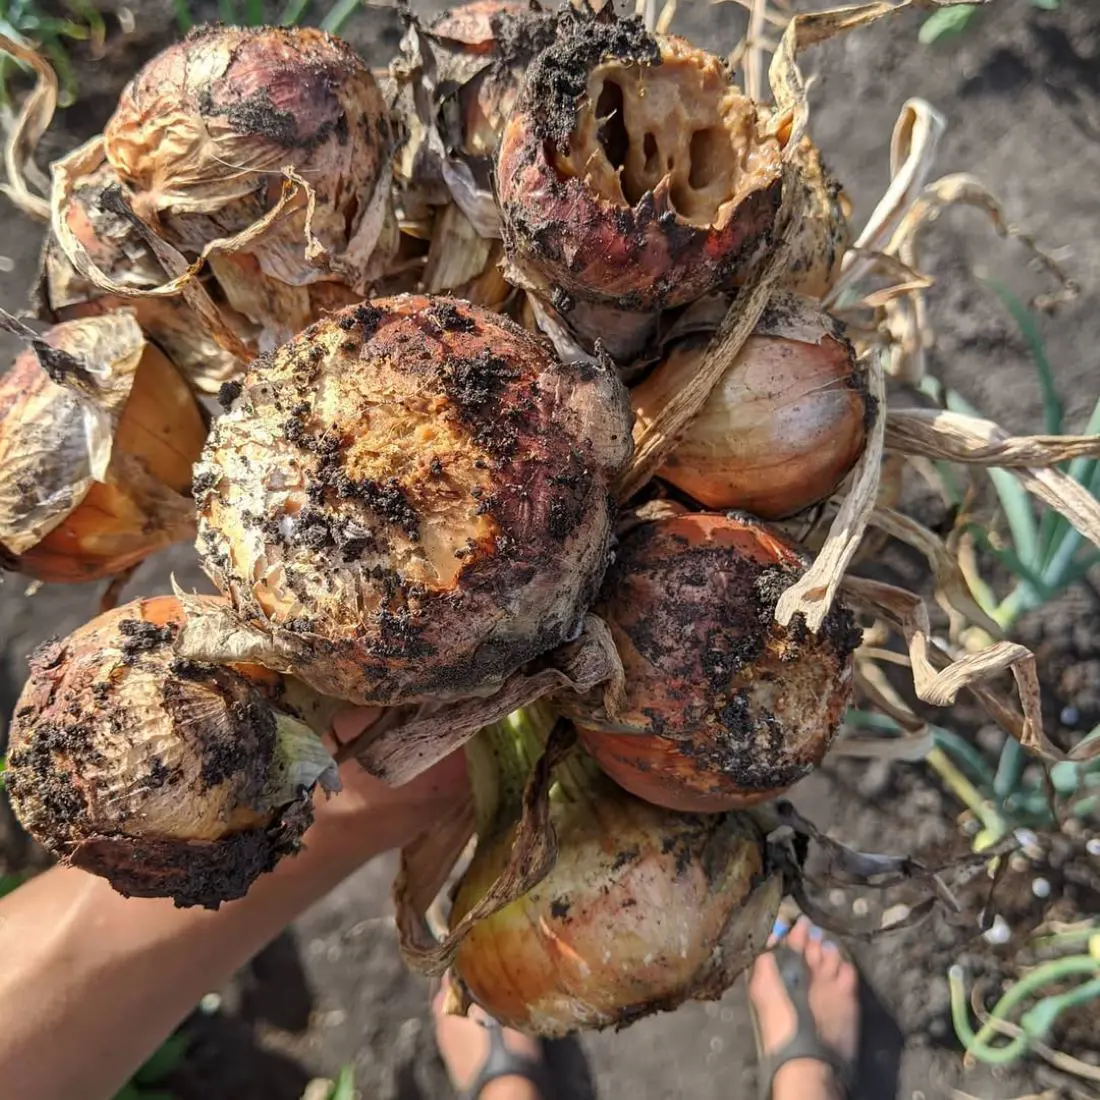
A few days later, when the tops are brown, undercut and lift the bulbs with a garden fork. Never harvest onions in wet conditions, as they may rot during storage. The best time to harvest is in late summer.
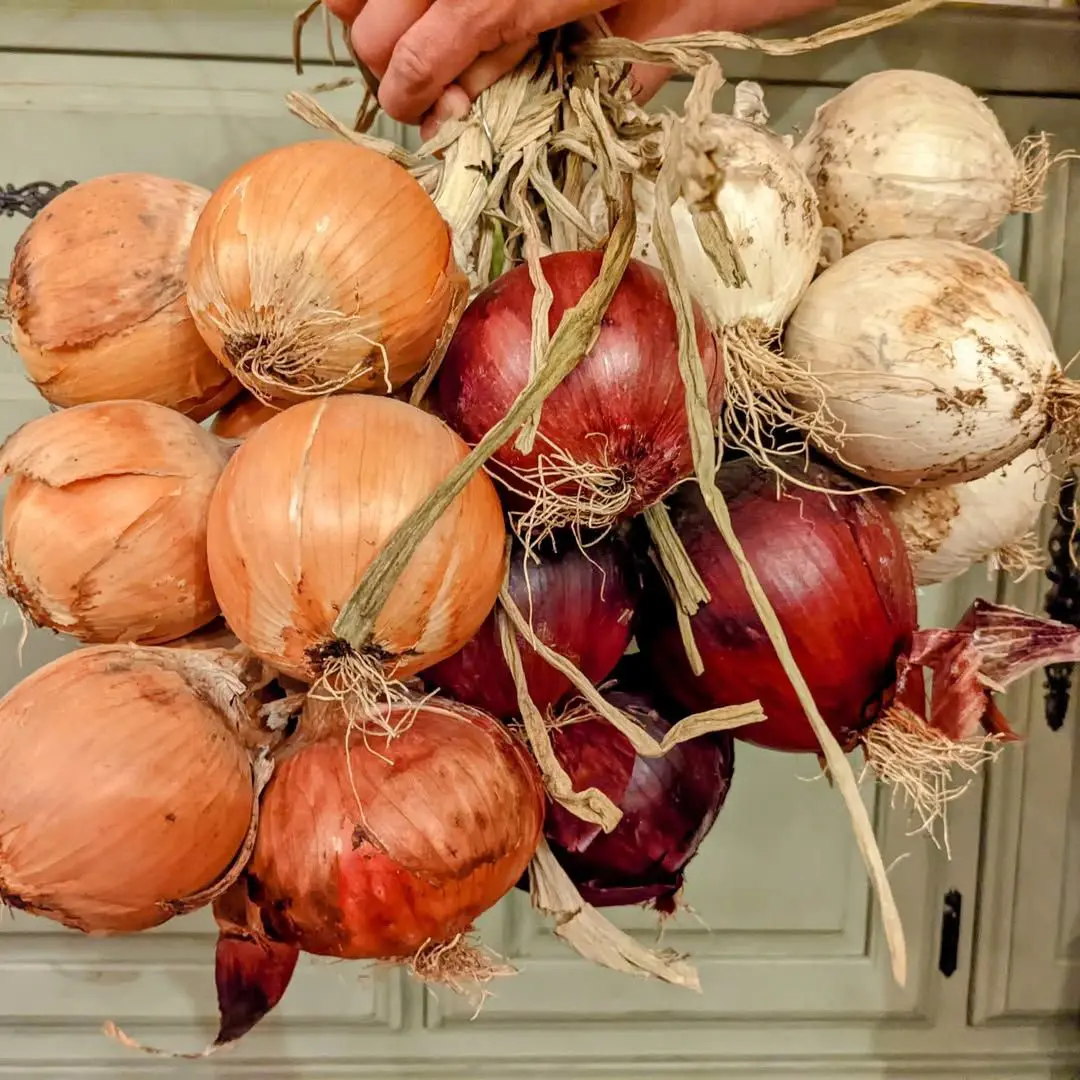
Storing
After harvesting, dry onions in the open for two weeks under direct sunlight, preferably on wire racks to allow air circulation below. Alternatively, if the weather is wet, put them in a bright greenhouse or dry them in a well-ventilated shed.
When everything gets papery and dry, wipe off the soil, cut leaves to around 2.5cm above the bulb, and store it. The onions get blemished if they touch each other, so you can plait them and hang them under a shade or put them in stockings. Put one onion in the stocking and tie a knot before putting another onion and tying it again.
Keep them in a light, cool, dry, and well-ventilated place with a temperature range of 40 to 60°F – don’t store them in the dark, as this encourages sprouting, or in the refrigerator where the moisture will spoil the onions fast.