Money Tree (Pachira aquatica) is a popular houseplant known for its attractive, braided trunk and lush, green foliage.
Native to Central and South America, this plant is often associated with bringing good luck and prosperity, making it a cherished addition to homes and offices.
To ensure your Money Tree thrives, proper care and periodic repotting are essential. This comprehensive guide will walk you through everything you need to know about repotting a Money Tree Plant.
Need For Repotting A Money Tree Plant
Repotting is an essential aspect of plant care that promotes healthy growth, ensures adequate nutrient supply, and prevents issues such as root rot. For Money Trees, repotting helps refresh the soil, provides more space for root expansion, and maintains overall plant vitality.
Benefits of Repotting
- Improved Nutrient Availability: Fresh soil provides essential nutrients that may have been depleted in the old soil.
- Enhanced Root Health: Repotting allows inspection and trimming of unhealthy roots, preventing diseases.
- Increased Growth Space: A larger pot accommodates root growth, supporting overall plant development.
- Better Drainage: Replacing old soil improves drainage, reducing the risk of root rot.
When to Repot a Money Tree Plant?

Knowing the right time to repot your Money Tree is crucial for its health and growth. Here are some indicators that it's time to repot:
Signs It's Time to Repot
- Roots Growing Out of Drainage Holes: If you see roots emerging from the bottom of the pot, it's a clear sign that the plant needs more space.
- Slow Growth: If your Money Tree's growth has slowed significantly, it might be due to root congestion or nutrient depletion.
- Soil Compaction: Compacted soil restricts water and nutrient absorption. If the soil feels hard and dense, it's time to repot.
- Frequent Wilting: If your plant wilts often despite regular watering, the roots might be crowded or the soil might be retaining too much moisture.
Optimal Repotting Time
The best time to repot a Money Tree is during the spring or early summer when the plant is in its active growth phase. Repotting during this period minimizes stress and allows the plant to recover and adapt to its new environment more effectively.
Materials Needed for Repotting
Before you start the repotting process, gather the necessary materials to ensure a smooth and successful transition for your Money Tree.
Essential Materials
- New Pot: Choose a pot that is 1-2 inches larger in diameter than the current one, with drainage holes.
- Fresh Potting Soil: Use a well-draining, peat-based potting mix suitable for tropical plants.
- Gardening Tools: A small trowel, scissors, or pruning shears for root trimming.
- Watering Can: For moistening the soil before and after repotting.
- Protective Gear: Gloves to protect your hands from dirt and potential irritants.
Step-by-Step Guide to Repotting a Money Tree Plant
1. Prepare the New Pot
Select a pot that is one to two inches larger in diameter than the current pot, ensuring it has adequate drainage holes. Prepare a well-draining potting mix by combining peat moss, perlite, and a small amount of sand. This mix will provide the necessary aeration and nutrients for the Money Tree's roots to thrive in its new environment.
Place a layer of fresh potting mix at the bottom of the new pot to create a stable base for the plant. This initial layer helps with drainage and ensures the roots are not sitting directly on the pot's bottom. Having the pot and soil ready beforehand makes the repotting process smoother and less stressful for the plant.
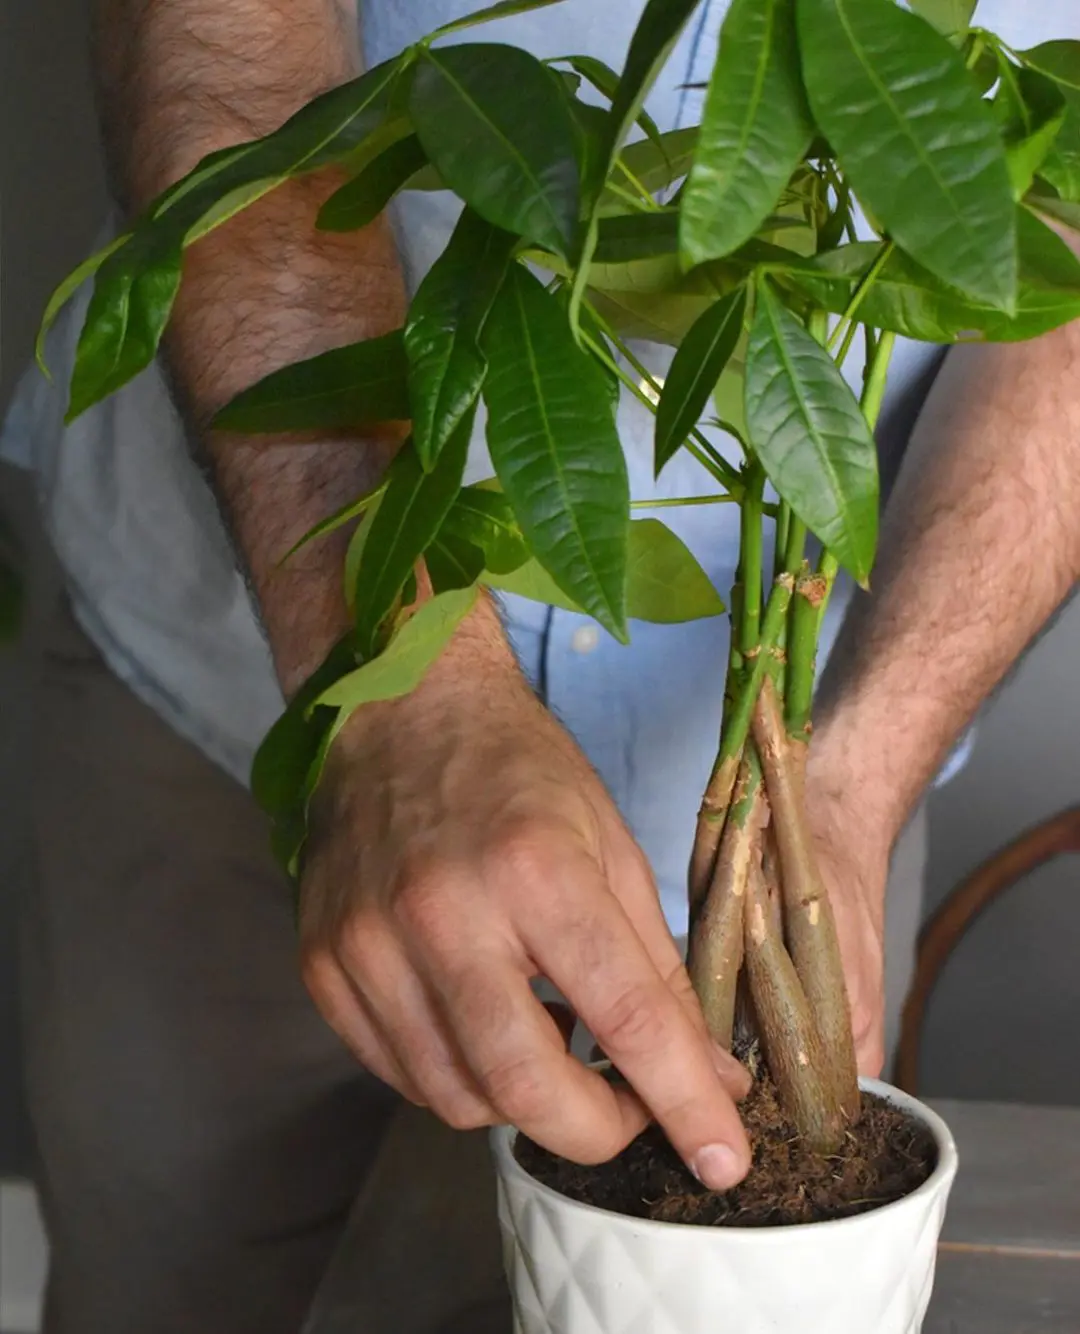
2. Remove the Plant from the Old Pot
Water the Money Tree a day before repotting to soften the soil, making it easier to remove the plant. Gently loosen the soil around the edges of the pot with a small trowel or your fingers to reduce root disturbance. Holding the base of the plant, carefully lift it out of the pot. If the plant is stuck, gently tap the sides of the pot to free it.
Once the plant is out, shake off excess soil from the roots to allow for a thorough inspection. This process helps you identify any root issues, such as overcrowding or rot. Being gentle during removal minimizes root damage, which is crucial for the plant's recovery and adjustment in the new pot.
3. Inspect and Prune the Roots
Examine the root ball for any signs of unhealthy roots, which are typically black, mushy, or excessively long and tangled. Healthy roots are firm and white or light tan in color. Trim away any damaged or unhealthy roots using sterilized scissors or pruning shears to prevent disease and promote healthy growth.
Pruning the roots encourages the development of a strong and healthy root system. Ensure that the remaining roots are not excessively long and can fit comfortably in the new pot. This step is vital for the plant's health and helps prevent potential issues such as root rot or nutrient deficiencies.
4. Prepare the New Pot
Add a base layer of fresh potting mix to the new pot, creating a stable foundation for the Money Tree. Position the plant in the center of the pot, ensuring it sits at the same depth as it was in the old pot. This helps maintain stability and prevents stress on the roots.
Fill the pot with the prepared potting mix, gently pressing down to eliminate air pockets around the roots. Adding soil gradually and pressing lightly ensures the plant is securely positioned. Avoid packing the soil too tightly, as this can restrict root growth and affect the plant's health.
5. Water and Settle the Plant
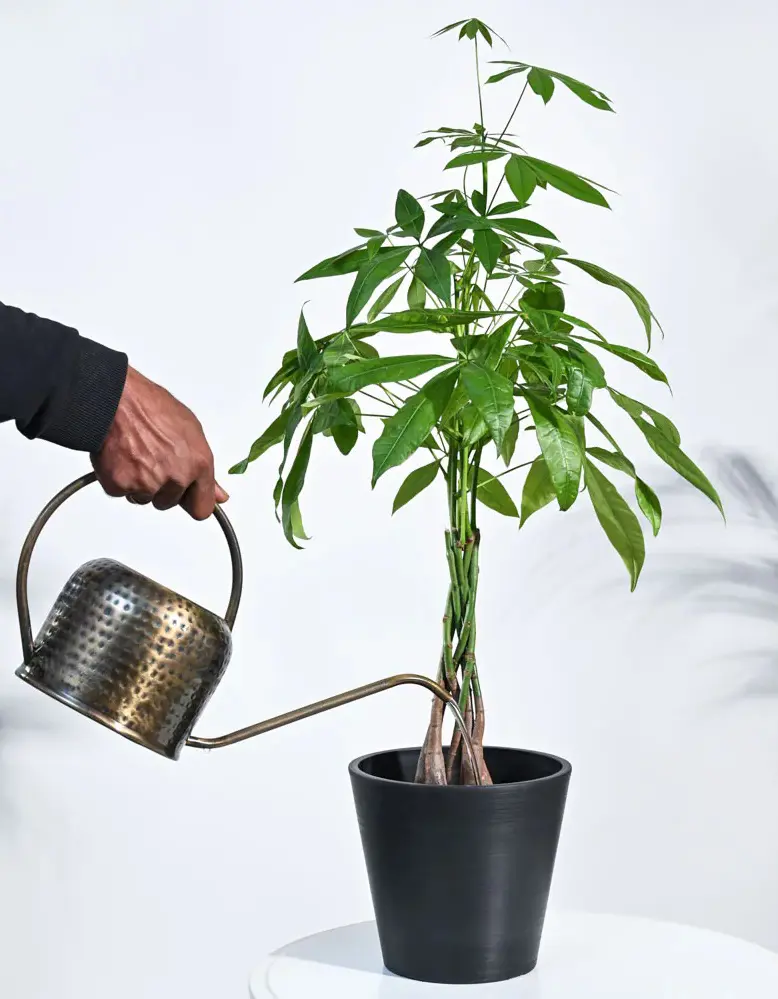
After positioning the plant in the new pot, water it thoroughly to help settle the soil around the roots. This initial watering helps eliminate any remaining air pockets and provides the roots with the necessary moisture to adjust to the new environment. Make sure the water drains well to avoid waterlogging.
If the soil level sinks after watering, add more potting mix to maintain the appropriate level and stability of the plant. Ensuring the plant is stable and properly watered supports its recovery and adaptation to the new pot. Monitor the plant over the next few days to ensure it is adjusting well to its new home.
Caring For A Money Tree After Repotting
Immediate Aftercare
Place your Money Tree in a location with bright, indirect light to minimize stress. Avoid direct sunlight, which can scorch the leaves. Maintain higher humidity levels by misting the leaves regularly or placing a humidity tray nearby, as Money Trees thrive in humid environments.
Monitor your watering routine closely. Water the plant when the top inch of soil feels dry, ensuring the soil remains moist but not waterlogged. Proper watering is crucial to help the Money Tree adjust to its new pot and avoid issues like root rot, which can occur from overwatering.
Long-term Care
Resume fertilization about a month after repotting. Use a balanced, water-soluble fertilizer monthly during the growing season to provide essential nutrients. This promotes healthy growth and ensures the plant remains vibrant and robust.
Regularly inspect your Money Tree for pests such as spider mites or mealybugs. Early detection and treatment with insecticidal soap or neem oil can prevent infestations from spreading. Additionally, trim back any leggy growth to encourage a fuller, bushier appearance, maintaining the plant's aesthetic appeal.
Common Issues And Solutions
Even with proper care, Money Trees can encounter some common issues. Here’s how to address them:
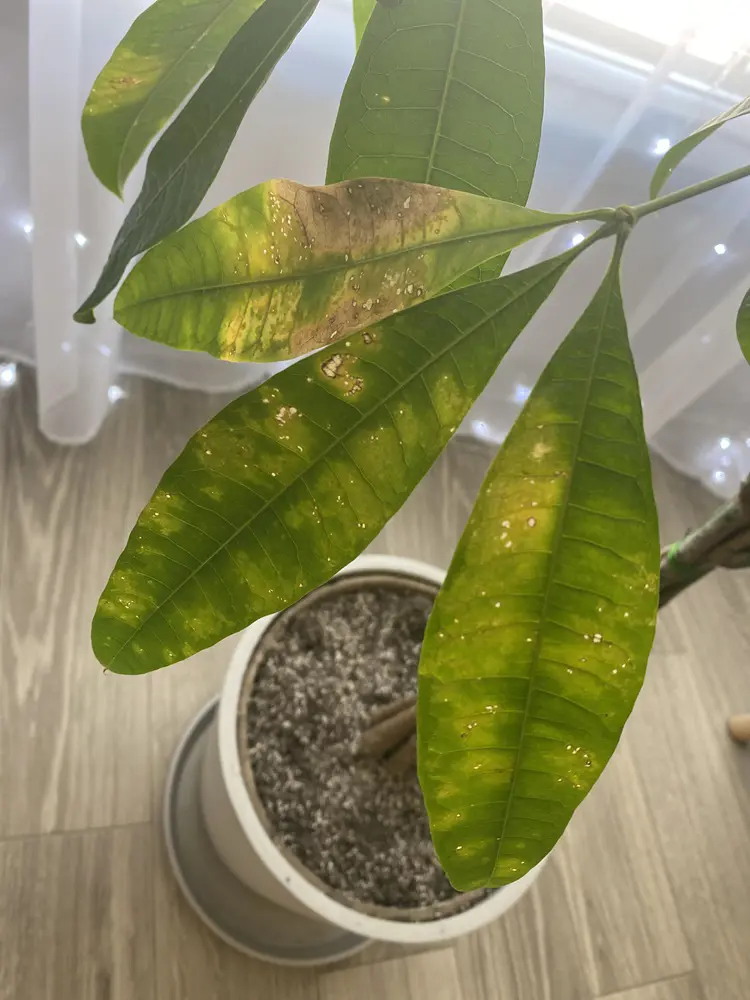
1. Yellowing Leaves
- Cause: Overwatering, poor drainage, or lack of nutrients.
- Solution: Ensure the pot has proper drainage, adjust your watering schedule, and consider fertilizing.
2. Leaf Drop
- Cause: Sudden changes in environment, underwatering, or pests.
- Solution: Gradually acclimate the plant to new conditions, water consistently, and inspect for pests.
3. Root Rot
- Cause: Overwatering or poor drainage.
- Solution: Allow the soil to dry out between waterings and ensure the pot has drainage holes. If root rot is severe, repot in fresh, dry soil.
4. Stunted Growth
- Cause: Root congestion, lack of nutrients, or insufficient light.
- Solution: Repot if roots are crowded, fertilize during the growing season, and provide adequate light.