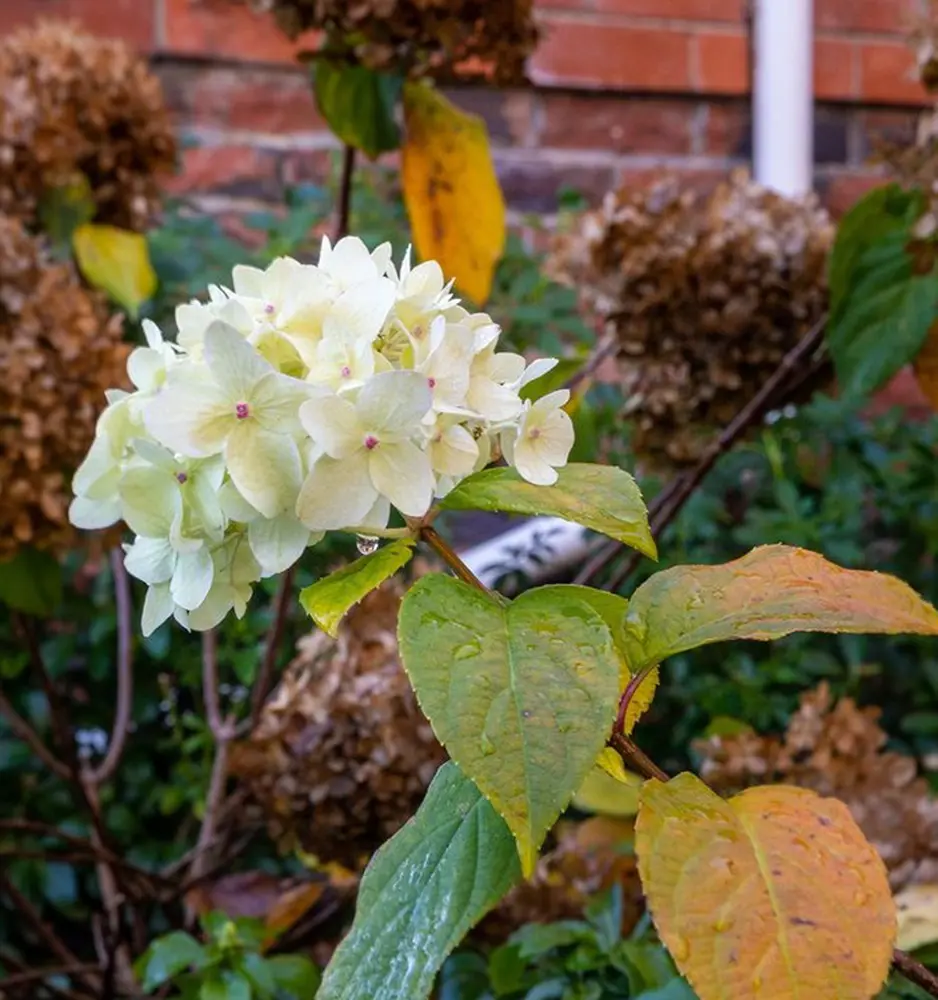
Hydrangeas are beloved for their stunning, voluminous blooms and lush green foliage. However, when the leaves of these beautiful plants start to turn yellow, it can be a cause for concern. Yellowing leaves on hydrangeas can be a sign of several underlying issues ranging from nutrient deficiencies to environmental stresses.
In this comprehensive article, we will explore the common reasons for yellowing leaves on hydrangeas and provide detailed solutions to address these problems. By understanding and rectifying these issues, you can help your hydrangeas thrive and maintain their lush appearance.
Common Reasons for Yellowing Leaves on Hydrangeas
1. Nutrient Deficiency
Nitrogen Deficiency
Nitrogen is an essential nutrient for plant growth, and a deficiency can cause yellowing leaves. In hydrangeas, nitrogen deficiency often presents as older leaves turning yellow while new growth remains green.
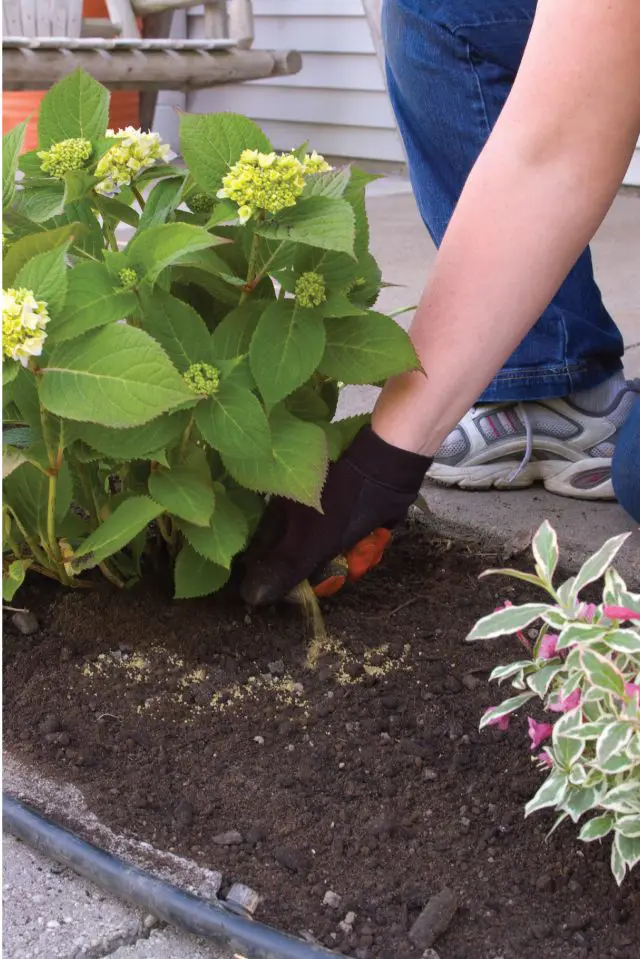
Solution: Apply a balanced fertilizer with a higher nitrogen content. A slow-release fertilizer can help maintain steady nutrient levels. Consider using a fertilizer specifically formulated for hydrangeas, such as a 10-10-10 or 12-4-8 blend. Additionally, organic options like compost or well-rotted manure can improve soil nitrogen levels over time.
Iron Deficiency
Iron deficiency, or chlorosis, is characterized by yellowing leaves with green veins. This condition occurs when the plant cannot absorb sufficient iron from the soil, often due to high soil pH.
Solution: Use an iron chelate soil drench or foliar spray to provide immediate relief. To address the underlying issue, test the soil pH and amend it to a slightly acidic range (5.5-6.5). Lowering soil pH can be achieved by adding sulfur or iron sulfate. Incorporating organic matter like peat moss can also help maintain a more acidic environment.
Magnesium Deficiency
Magnesium is vital for chlorophyll production, and a deficiency can cause older leaves to turn yellow with green veins.
Solution: Apply Epsom salts (magnesium sulfate) to the soil. Dissolve 1-2 tablespoons of Epsom salts in a gallon of water and apply it around the base of the plant. Repeat this treatment every few weeks until the deficiency is corrected.
2. Watering Issues
Overwatering
Consistently waterlogged soil can lead to root rot, causing yellow leaves. Overwatering inhibits oxygen flow to the roots, leading to stress and nutrient deficiencies.
Solution: Improve drainage by amending the soil with organic matter such as compost or pine bark. Ensure the plant is in well-draining soil, and avoid overwatering. Water deeply but infrequently, allowing the top inch of soil to dry out between waterings. Consider planting hydrangeas in raised beds or mounds to enhance drainage.
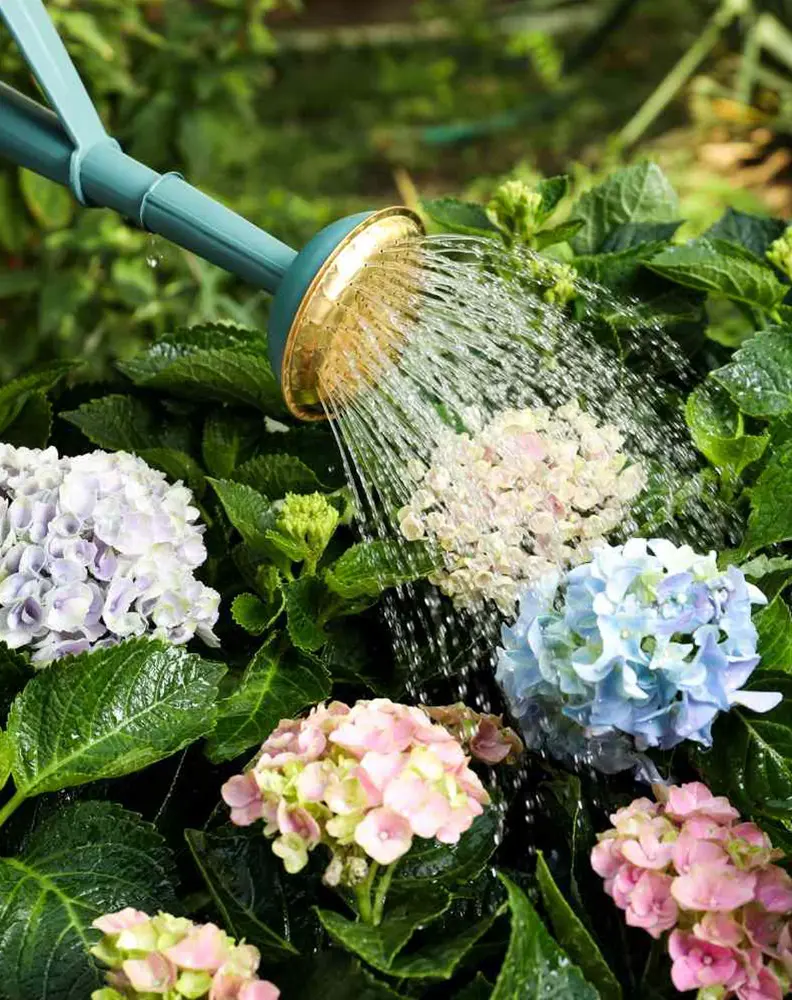
Underwatering
Inconsistent watering can stress the plant, leading to yellow leaves. Hydrangeas require consistent moisture, especially during hot weather.
Solution: Water hydrangeas deeply and consistently, keeping the soil evenly moist but not soggy. Mulching around the base of the plant can help retain soil moisture and regulate soil temperature. Use a soaker hose or drip irrigation system to ensure even watering.
3. Soil pH Imbalance
Hydrangeas prefer slightly acidic to neutral soil. An incorrect pH can inhibit nutrient uptake, leading to yellowing leaves.
Solution: Test the soil pH using a soil test kit. If the soil is too alkaline, amend it with sulfur or iron sulfate to lower the pH. For soils that are too acidic, lime can be added to raise the pH. Regularly monitor the soil pH and make adjustments as necessary to maintain the optimal range.
4. Pests and Diseases
Aphids, Spider Mites, and Other Pests
Pests such as aphids, spider mites, and whiteflies can cause yellowing leaves by sucking sap from the foliage, leading to stress and nutrient loss.
Solution: Inspect the plant for pests regularly, especially the undersides of leaves. Treat infestations with insecticidal soap, neem oil, or horticultural oil. Introducing beneficial insects like ladybugs and predatory mites can also help control pest populations.
Fungal Diseases
Fungal diseases like root rot and leaf spot can cause yellowing leaves. Root rot, often caused by overwatering or poor drainage, leads to root decay and nutrient deficiencies. Leaf spot diseases cause yellow or brown spots on the leaves, which can eventually turn the entire leaf yellow.
Solution: Ensure good air circulation around the plant by pruning overcrowded branches and avoiding overhead watering. Use a fungicide if necessary, following the manufacturer's instructions. For root rot, improve soil drainage and remove any affected roots. Plant hydrangeas in well-draining soil to prevent recurrence.
5. Environmental Stress
Heat Stress
Extreme heat can cause leaf yellowing and wilting, especially if the plant is not adequately watered.
Solution: Provide some shade during the hottest part of the day, especially for newly planted hydrangeas. Mulching can help retain soil moisture and keep the roots cool. Water deeply and regularly during heatwaves to ensure the plant stays hydrated.
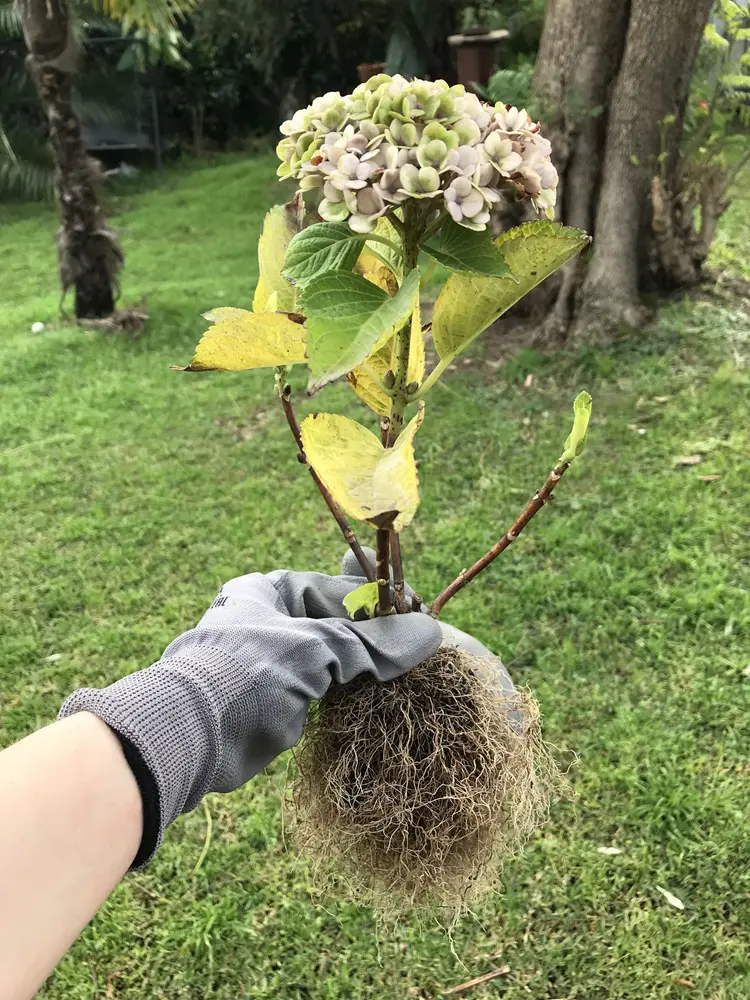
Transplant Shock
Newly transplanted hydrangeas may experience yellow leaves as they adjust to their new environment. Transplant shock is a common issue that occurs when a plant is moved from one location to another, disrupting its root system.
Solution: Ensure proper planting depth, and water adequately, and be patient as the plant establishes itself. Adding a root stimulator or transplant fertilizer can help the plant recover more quickly. Keep the soil consistently moist but not waterlogged during the establishment period.
6. Exposure to Chemicals
Herbicide Drift
Accidental exposure to herbicides meant for other plants or weeds can cause hydrangea leaves to turn yellow. Herbicide drift occurs when chemicals are carried by the wind or through runoff, affecting non-target plants.
Solution: Avoid using herbicides near hydrangeas and take care to protect them if spraying nearby. If herbicide damage is suspected, thoroughly water the plant to help dilute the chemicals in the soil. In severe cases, you may need to remove affected leaves and provide supportive care until new growth appears.
Chemical Fertilizer Burn
Over-application or improper application of chemical fertilizers can cause fertilizer burn, leading to yellowing leaves and root damage.
Solution: Follow the recommended dosage and application instructions for fertilizers. If over-fertilization is suspected, flush the soil with plenty of water to help leach out excess nutrients. Switching to slow-release or organic fertilizers can reduce the risk of fertilizer burn.
7. Improper Light Conditions
Too Much Direct Sunlight
Hydrangeas can suffer from leaf scorch if exposed to intense, direct sunlight for prolonged periods, leading to yellowing and browning of leaves.
Solution: Provide hydrangeas with filtered sunlight or partial shade, especially during the hottest part of the day. In very sunny locations, consider using shade cloth or planting hydrangeas in a spot that receives morning sun and afternoon shade.
Insufficient Light
While hydrangeas do well in partial shade, too little light can lead to poor growth and yellowing leaves due to insufficient photosynthesis.
Solution: Ensure that hydrangeas receive enough light by pruning surrounding plants or relocating them to a brighter spot. Morning sun and afternoon shade provide the ideal light conditions for most hydrangea varieties.
General Care Tips for Healthy Hydrangeas
Maintaining healthy hydrangeas involves providing the right conditions and care throughout the growing season. Here are some general tips to ensure your hydrangeas stay vibrant and disease-free:
1. Location
Hydrangeas thrive in locations with morning sun and afternoon shade. Too much direct sunlight, especially in hot climates, can cause leaf scorching and stress. In cooler climates, hydrangeas can tolerate more sun but should still be protected from intense afternoon heat.
2. Soil
Use well-draining, fertile soil enriched with organic matter. Hydrangeas prefer slightly acidic to neutral soil. Incorporating compost, peat moss, or well-rotted manure can improve soil structure and fertility.
3. Watering
Maintain consistent soil moisture, watering deeply and regularly. Hydrangeas need about 1 inch of water per week, either from rainfall or supplemental watering. Mulching around the base of the plant can help retain moisture and reduce evaporation.
4. Mulching
Apply a 2-3 inch layer of mulch around the base of the plant to conserve moisture, regulate soil temperature, and suppress weeds. Organic mulches like bark chips, straw, or compost are ideal. Keep the mulch a few inches away from the stem to prevent rot.
5. Pruning
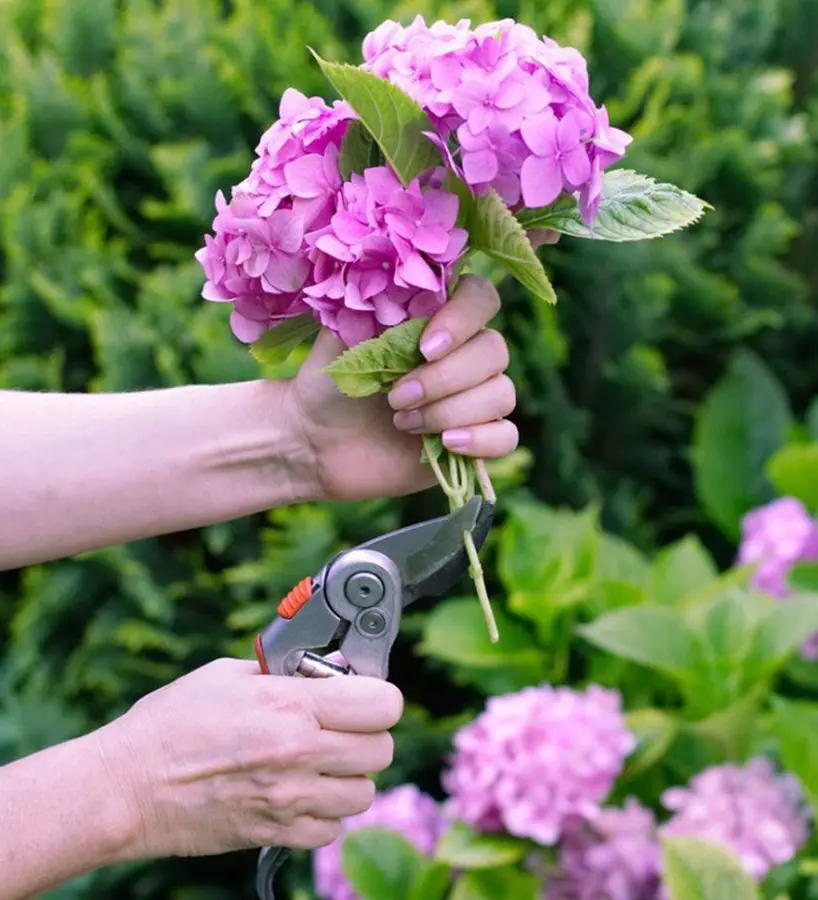
Prune hydrangeas according to their type. Some hydrangeas bloom on old wood (e.g., Hydrangea macrophylla), while others bloom on new wood (e.g., Hydrangea paniculata). Knowing the type of hydrangea you have is crucial for proper pruning. For old wood bloomers, prune after flowering. For new wood bloomers, prune in late winter or early spring.
6. Fertilizing
Feed hydrangeas with a balanced, slow-release fertilizer in spring and summer. Avoid over-fertilizing, as this can lead to excessive foliage growth at the expense of blooms. Organic fertilizers like compost and fish emulsion can also provide necessary nutrients without the risk of over-fertilization.
7. Winter Protection
In colder climates, protect hydrangeas from harsh winter conditions by mulching heavily around the base and covering the plant with burlap or a frost blanket. This helps prevent damage from freezing temperatures and desiccating winds.