How To Grow

How To Plant Pumpkin Seeds In Your Garden

Source : pexels

It's always fun to plant pumpkin seeds in the garden, just tuck one little seed into the soil and in a few months you'll be rewarded with an armful or two of fall's most iconic fruit. Okay, maybe that was a bit of an exaggeration, it's not that easy but learning how to grow pumpkin from seeds will improve your odds and make it look that much easier.

You can even lend a bit of a fairy godmother visage to your nieces as you get these pumpkin seedlings into full pumpkins just in time for Halloween. This guide will lead you to grow pumpkins from seed through sweat and grit in your own backyard.

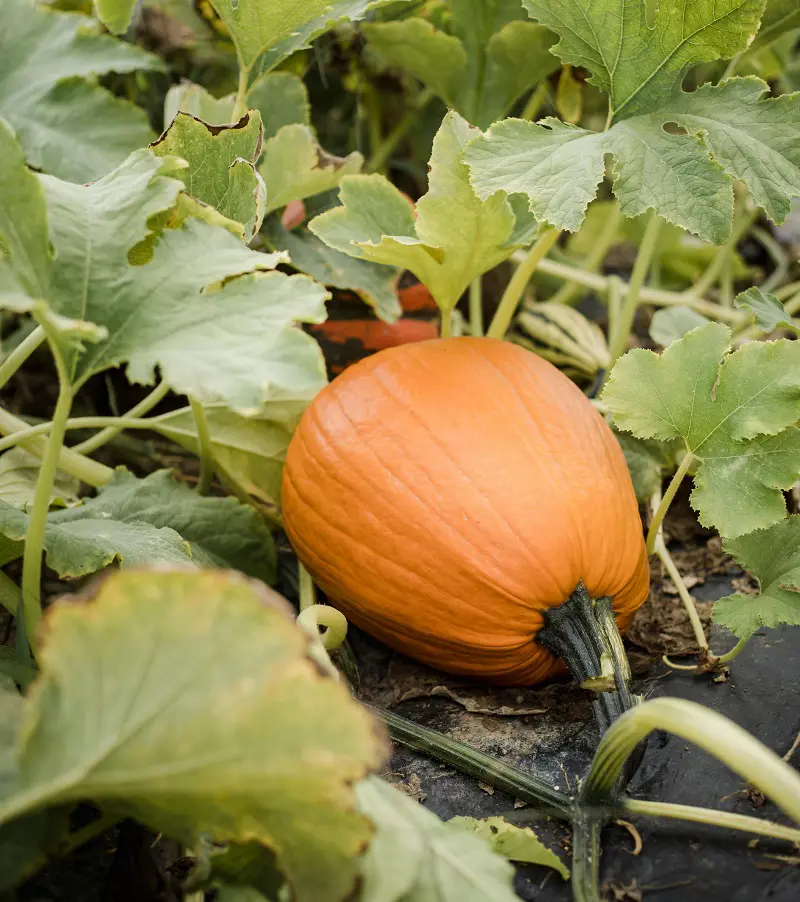
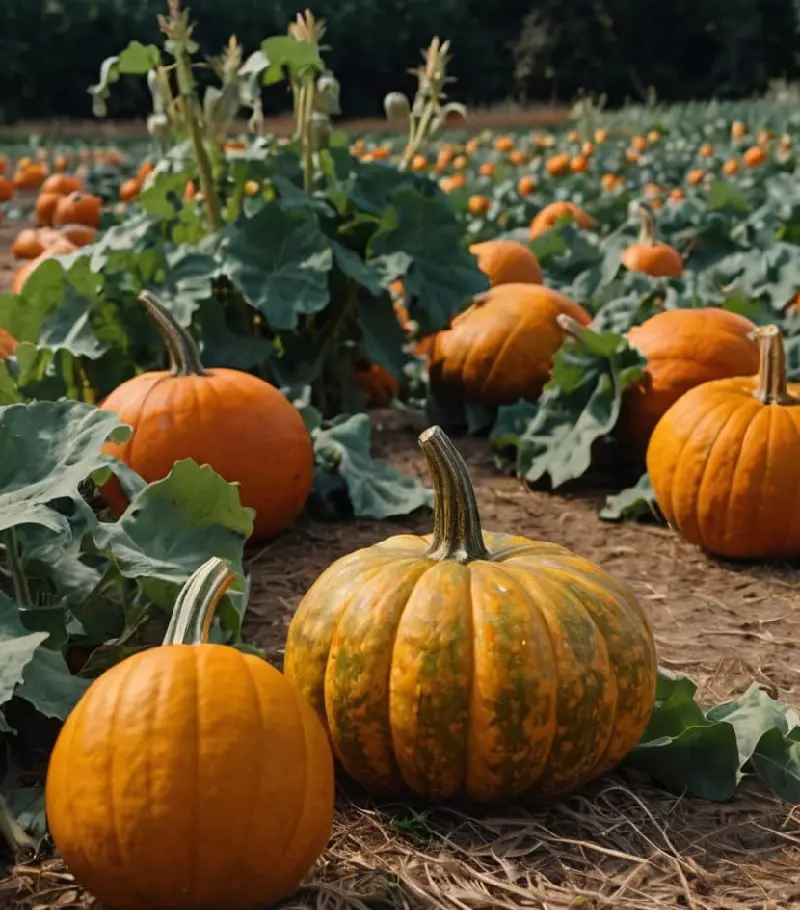
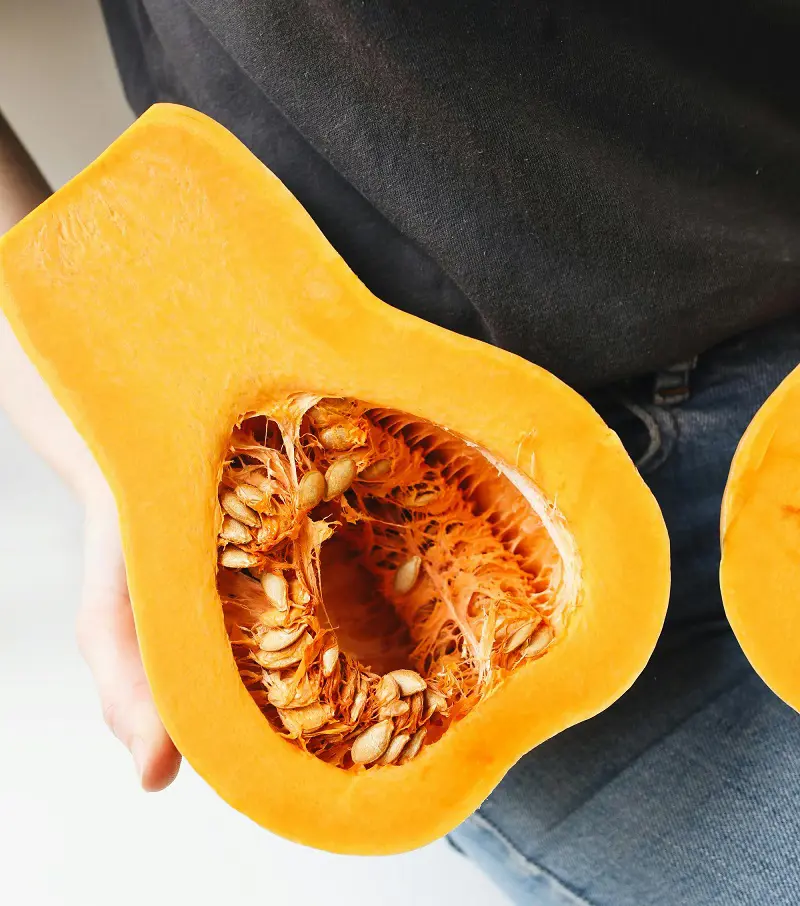
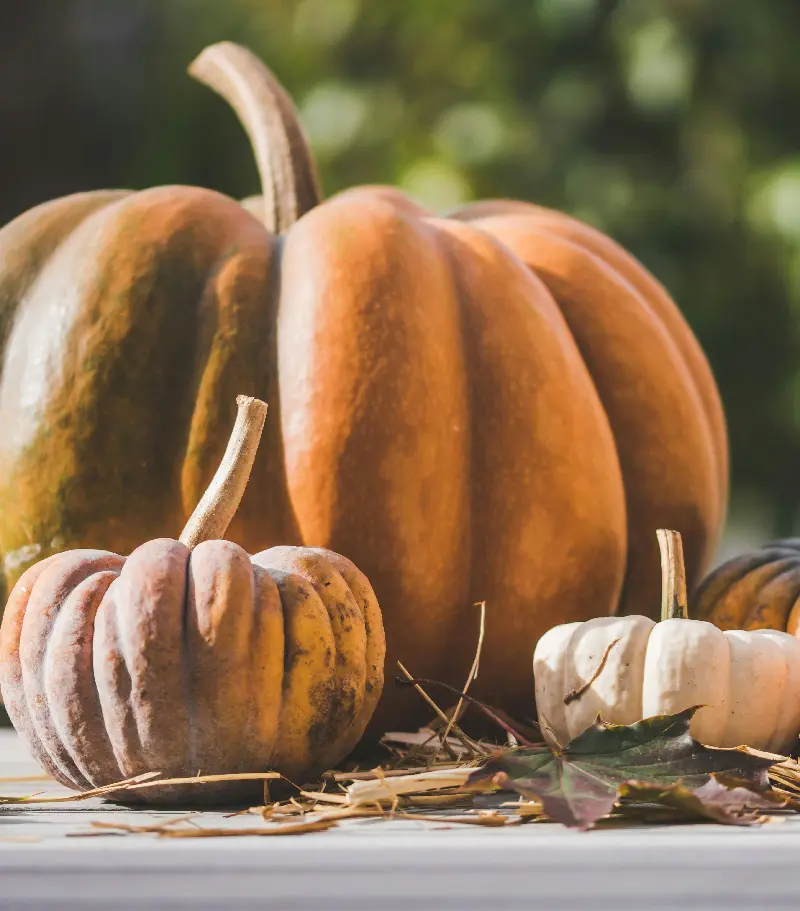
When And Where To Grow Pumpkin Seeds?

Pumpkins are a warm seasonal crop so the ideal time for when to plant pumpkin seeds is in early summer once the last frost has passed. This also ensures that they'll be ready by October as they require about 90 to 120 days to mature after seeding, perfect right? 

If you're going to grow a giant pumpkin cultivar that takes 140+ days to mature then it would be wise for you to start their seeds indoors a month earlier and then transplant them into the ground as the weather clears up.

Source : pexels

Soil Requirement

The place where you will be planting pumpkin should be sandy loam type of soil perfect for draining and has an organic matter content. There is a general preference, though, that most pumpkins thrive in a 6.5-7.5 pH range, although this can also vary with specific pumpkin breeds.

Planting pumpkin seeds can be easily started in any soil considering how easy to grow they are, however, if you're concerned and want a higher guarantee of success then you can make use of any one of the seed-starting soil mixes.  

Sunlight Requirement

Generally, pumpkins need around 6 hours of sun exposure every single day but for optimum growth, if you want your plant to be successful then you will have to give them sunlight for about eight to ten hours every single day.

That, however, does not entail simply planting them in the open since the vines in pumpkins are very fragile. Very delicate, pumpkin vines are. Therefore, ideal positions for them would be windy areas that do not have a lot of impediments to their spread.

Temperature Requirement

Ideally, the pumpkins prefer warm soil between 70-90°F, so depending on your USDA hardiness zone and last frost dates, it means planting in late spring or early summer. If you want to get pumpkins ready on time for Halloween then you can start pumpkin seeds indoors 3-4 weeks before the last frost.

This gives you a head start while also having the seedlings mature enough that you can plant them outside once the weather warms up sufficiently. Make sure to mound up the soil around pumpkin seedlings as it gives a superior surface area to absorb heat from the sun and drains water better.

Fertilizer Requirement

Source : instagram

If you are planting your pumpkin plants in mass then assuming you already have good rich soil with sufficient nitrate, you would require about 44 pounds of nitrogen, 18 pounds of Phosphorous, and 18 pounds of Potassium per acre. This means you can generally go for a balanced 20-10-10 NPK fertilizer and do just fine. 

However keep in mind that no two soils are the same so before you start applying fertilizer, make sure to get your soil tested to get more specialized information and instructions on amending your soil and feeding the pumpkins. Lastly, fertilize in small batches to avoid leeching of nitrogen to the soil.

Water Requirement

Pumpkins are shallow-rooted, so excessively wet, damp, or poorly draining soil can easily rot their roots. When watering pumpkins, water slowly with at least 1 inch of water per week if rainfall in your area is inadequate. 

More water may be required when it gets extremely hot during windy summer days or during a severe heat wave. However, make sure to water during the morning or early afternoon hours so the foliage dries by evening in order to prevent leaf diseases from taking root.
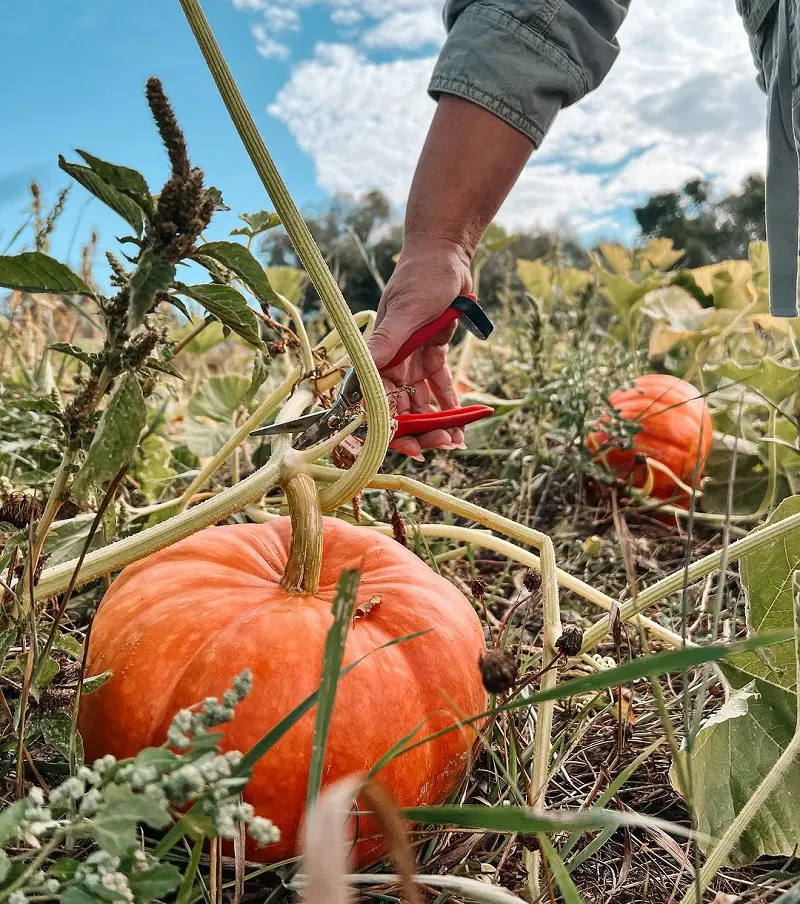
Spacing Requirement

The pumpkin vines can extend for about 20 to 30 feet which means, they cannot be accommodated in a small space. However, it is possible to begin them in a limited area where after a couple of weeks from germination you should move them to a larger area if you desire to harvest pumpkins in plenty.

How to Grow Pumpkin From Seeds?

Source : pexels

Having discussed the location and the season suitable for raising the pumpkin seeds, let us dig in and understand the processes involved in growing the pumpkin seeds. It is a process that you can easily learn and do on your own time with the help of the instructions provided below.

1. Prepare Soil

Naturally, we must begin with the necessary steps in preparing the soil, is this surprising? No plant will flourish in conditions that do not suit its needs. Pumpkins are planted in dense humus soil that is well-drained and neutral to mildly acidic in pH.

There is a need to incorporate a lot of organic materials like compost or old animal waste and also make sure the soil is light and fluffy. This is so because of the deep roots of pumpkins that require a lot of growing space.

If your soil is too clay heavy consider planting them in raised beds or mounds which help with drainage and root development.

2. Prepare Seeds

Source : pexels

Although this step isn't strictly necessary, it can help with your germination rates especially since most giant cultivar pumpkin seeds have an extremely thick coating which can delay the germination process.

Gently file the edges of the seed with sandpaper or a nail file while taking care not to touch the pointed tip at all. After filing, soak the seeds for up to an hour or two in hot water just before planting to help your seeds have a greater chance of sprouting seedlings.

3. Planting Pumpkin Seeds

Now when your soil and the seeds are in order and ready, you may be thinking "How do I plant pumpkin seeds?" Quite easy by the way, plant the pumpkin seeds into the ground 1-2 inches deep and as spaced as 3 feet apart since pumpkins take a lot of space to grow. 

In addition, if you want your soil to retain more heat and improve drainage, you can also make small mounds approximately 18 inches high and 3 feet wide and plant about 3-4 seeds per mound.

4. Watering Seeds

Source : instagram

After sowing the seeds they need to be watered immediately after planting. Doing so can improve the chances of your pumpkins germinating as high as 50% so it makes a significant difference. 

Pumpkin seeds need to be kept moist until they germinate which can take anywhere from 7 to 14 days, thus until it breaks through the soil you need to water the seeds every day lest they dry out and die.

5. Watch Your Pumpkins Grow

Now if you have followed all the previous steps correctly, you should be able to see a small pumpkin seedling break through the soil for a breath of fresh air before taking root. You can now reduce your watering frequency to about 1 inch of water per week assuming no rainfall.

Your pumpkins will grow quickly and you will see vines extend far and wide with vibrant green leaves growing to deck out the space. If you want to transplant the pumpkin then the time to act is now otherwise later it will be simply impossible.

How To Grow Pumpkins In A Pumpkin?

Source : instagram

I'm sure you have heard of the new online trend of growing pumpkins in pumpkins, but wait you might go "Can you grow pumpkins from pumpkin seeds inside basically a cramped unsuitable environment?" The answer might be more surprising than you think!

The pumpkins provide the same level of heat retention support that regular soil mounds do so you can grow plants in a pumpkin by filling the pumpkin halfway with compost placing seeds in it covering it with more compost and watering it regularly. 

Better yet, once your pumpkin seedlings have sprouted, you can transplant the pumpkins directly into the soil rinds and all, they're biodegradable and act as fertilizers for your seedlings. 

How to Prune a Pumpkin

Source : facebook

Pruning a pumpkin is usually not required as it spreads out sufficiently given that it gets plenty of sunlight.  However, sometimes you might be in a situation where you don't have enough space and it's getting overcrowded or you want the plant to focus its energy on the fruits instead.

Using sharp sterile pruning shears, if you are cutting the main vine then cut it only 10 to 15 feet beyond the position of the last blossoming pumpkin fruit. However, if you are dealing with secondary vines cut them 10 to 12 down from the main vine while tertiary vines can be removed as they develop.

It's important to retain these 10 feet of additional vines as they contain energy which are necessary for the pumpkin fruits to develop and to avoid stressing out the plant.

How To Transplant Pumpkins?

Now that you know how to grow pumpkins, if you started your pumpkin seedlings indoors in small pots or any inconveniencing small location then transplanting your plants can help them grow larger and more robust once the seedlings are 4-6 inches tall or if the plant grown is stunted. But how to transplant pumpkins?

You can transplant your pumpkins in early spring or when there's no threat of frost, gently remove the pumpkin from its current pot without damaging the roots. Then, place the pumpkin in the new pot or outside with the top of it's rootball being situated just below the ground as the pumpkin is a shallow-rooted plant.

How To Harvest Pumpkins?

Depending on the variety of pumpkins you are growing, they can usually take about 90-120 days to mature. Harvesting the pumpkins has a lot to do with the color, hardness, and skin of the pump bins but just to be on the safe side, here are some other ways in which you can tell whether they are ready or not:

Source : instagram

  • Knocking: Tap the surface of the pumpkin; it should produce a hollow sound inside which means it is ready for harvesting.
  • Stem Color: The stem of a matured pumpkin should have shrunk and turned brown, if it hasn’t then the pumpkin has not matured properly and it is advisable to leave it for a few more days.
  • Leave Some Stem: When cutting pumpkins from the vine with a serrated knife, always leave at least 2 inches of shutter in order inline placement with storage as during this period the moisture exposure is limited for the compression of the liquid content and decay of the pumpkin up to 1-3 months depending on the type of pumpkin.
  • Curing Pumpins: if you want to keep your pumpkins well for a longer period of time then you can do this by curing the pumpkins before storage which is done by keeping the pumpkins in a dry and warm place for two weeks or so prior to storage. This will not only thicken the skin of the fruit but will also help to improve its storage characteristics.

How To Store Pumpkins?

After harvest is done with the pumpkins, there are also some measures that you can take to preservation of the pumpkins that you have harvested so that they will not spoil easily. Saving pumpkins is especially vital because when you save them, you can save them for quite a number of months if you do it right.

Here are several things that you can do to store pumpkins starting from curing them:

Inspect The Pumpkins

Source : instagram

Obviously, you need to first inspect all the pumpkins before you can cure them as there is little reason for you to cure and store pumpkins that won't last you for several months without refrigeration. Pumpkins that have not been ripened properly on the vine are highly likely to go moldy.

Likewise, check your ripened pumpkins for any bad spots or frost damage as all of them will not store well thus should be consumed as soon as possible. You can look up some unripened pumpkin recipes as well as cut off bad spots off the pumpkin before cooking with them. 

Curing Pumpkins

Now that you've gotten all the bad batches out, let the pumpkin cure in the sun for 7-14 days until its outer skin becomes hard and stiff. You will know that it has cured successfully once its stem becomes brown and withered as well as its rind is impossible to mark or puncture with your fingernails. 

If you don't have good access to the sun, you could cure pumpkins in a greenhouse, polytunnel, or a cold frame as good alternatives.

Store Properly

Source : instagram

Naturally, it is pointless to only examine the steps in how to cure pumpkins for storage. In the end, if the pumpkins are not stored in the right conditions to extend their shelf life, the previous processes do not count. Pumpkins should be kept in a cool dry area sheltered from direct sunlight which includes a garage or a storage room.

Only ensure that the place where you will be stored has a temperature of between 55–60°F and relative humidity of 50-70%. Where these conditions are not available, there is a need to consider installing air conditioning and humidifiers to control climate and humidity.

Store Upside Down

Another easy trick to easily extend the storage life of pumpkins is, believe it or not, to simply store them upside down with their stalk resting on the bottom! You'll thank us once you notice your pumpkin spoiling less and less often. 

Additionally, you should also place your pumpkins on a piece of cardboard or any other material to keep them off the floor to prevent the cold from reaching the pumpkin. 

Avoid Overcrowding

Source : instagram

One more consideration when storing gourds is that they need a certain amount of free space in order to promote proper air circulation with the stored pumpkins. The air circulation aids in the removal of contaminants like bacteria and fungal spores in addition to excess water and unpleasant smells.

Fortunately, achieving that doesn't require any special effort from you; just place the pumpkins on shelves, or straw, or wooden surfaces, or simply hanging them with a rope or a sling.

How To Care for Your Pumpkin Plants?

Even if you have successfully managed to get your pumpkin seedlings to germinate and grow into fine vines, lack of proper care or mismanagement on your part can easily turn all your efforts into naught.

Alongside planting some pumpkin companion plants, this is another how-to if you want to avoid your pumpkin plants going to waste:

Source : pexels

Watering

Pumpkin vines have large thirsty leaves, and therefore the soil should be kept moist throughout the dry spouts. Water deep into the soil at the base of the plant and do not sprinkle water on the leaves to prevent cases of disease.

Fertilizing

As said earlier, we all know pumpkins do not grow without feeding. Being heavy feeders, global positions indicate that females will need a lot of nutrients in order to grow quickly. So, balanced fertilizer should be applied once the pumpkins are over one foot in size and that is when the high phosphorus fertilizer can be applied when fruiting bears on the plants.

As well, any organic fertilizers such as compost teas and fish emulsions will do the job perfectly well.

Monitor And Prune Vines

As the pumpkin plants grow, supposedly, the vines will stretch out and there will be the presence of broad, rich green leaves all over. Later on, when the plants start to develop flowers, tiny pumpkins will come out and grow and become bigger in no time so you need to watch out for them as they may be completing along with other vines.

In cases where there are limitations of space or the pumpkin vines take up each other's fruits, the vines will be cut back so that the energy of the plant can be directed to making more flowers and feeding existing fruits also enabling better airflow and less chances of transmitting diseases.

Pollination

There are male and female pumpkin flowers and for there to be fruit, pollination is necessary. Generally, bees and other helpful insects ensure this mechanism is possible. Where there are no bees to perform this function in your garden, one may do so by use of a paintbrush and transfer pollen from the male flowers into the female ones.

Lift Pumpkin Off Soil

Once you have noticed pumpkins forming and eventually developing into large squash, raise them off the ground and keep them over a piece of cardboard, board, or any other soft surface such as a straw or mulch to provide cushion.

This can help prevent rot as prolonged contact with damp soil greatly increases the chances of your pumpkin harvest being ruined.