Creating compost at home is an easy and eco-friendly way to recycle kitchen scraps and yard waste into nutrient-rich soil.
With a few simple steps and minimal equipment, anyone can turn organic waste into valuable compost for gardens and plants. This guide will walk you through the essentials of composting, from selecting the right materials to maintaining your compost pile, ensuring you produce high-quality compost with minimal effort.
Start your journey to sustainable living with home composting today!
What is Composting?
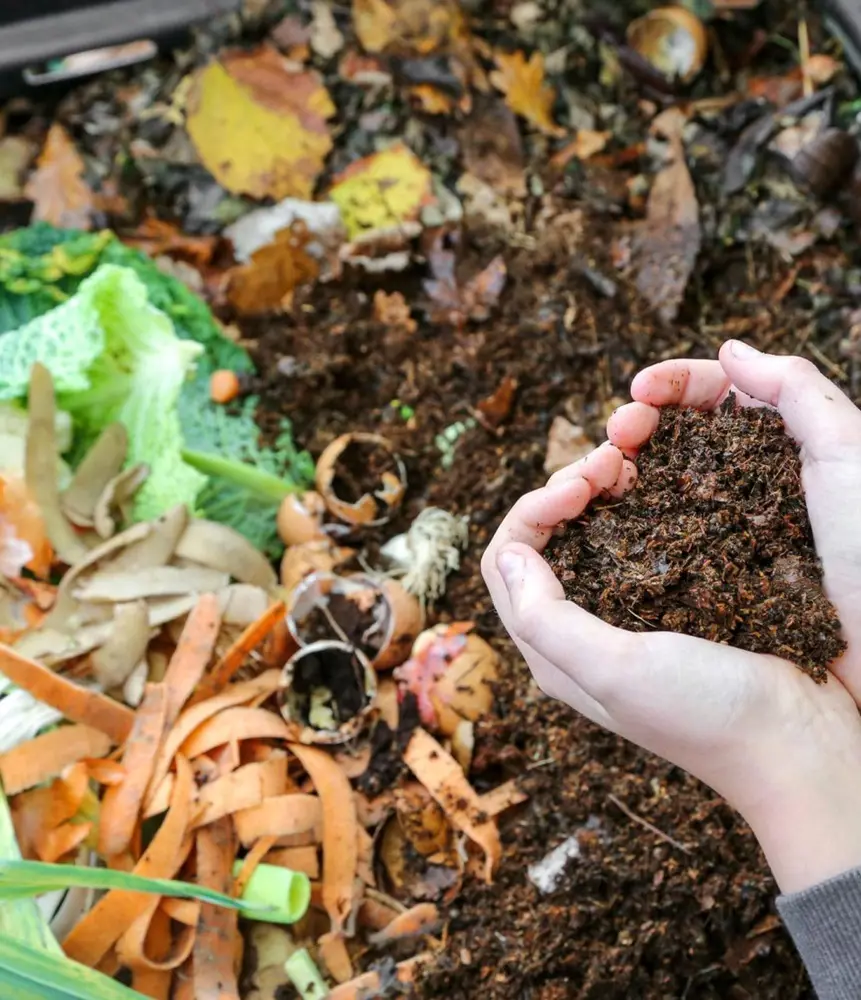
Composting is a natural process that transforms organic materials such as kitchen scraps, yard waste, and even paper products into a rich, dark substance known as humus or compost.
This process mimics the natural decomposition of organic matter that occurs in forests and fields, speeding it up under controlled conditions to produce a valuable soil amendment.
At its core, composting involves the decomposition of organic material by microorganisms, primarily bacteria and fungi, under aerobic (oxygen-rich) conditions.
These microorganisms break down the organic matter, releasing carbon dioxide, water, and heat as byproducts. The end result is a nutrient-rich material that can significantly enhance soil quality and fertility.
The composting process can be divided into several stages:
-
Mesophilic Stage: Initially, the compost pile is colonized by mesophilic microorganisms, which thrive at moderate temperatures (around 20-45°C or 68-113°F). These organisms begin breaking down the easily decomposable organic materials, such as sugars and starches. This stage lasts for a few days and generates heat as a byproduct of microbial activity.
-
Thermophilic Stage: As the temperature of the compost pile rises, thermophilic microorganisms take over. These heat-loving bacteria thrive at temperatures between 45-70°C (113-158°F). During this stage, the breakdown of more complex organic compounds, such as proteins, fats, and cellulose, occurs. The high temperatures help to kill pathogens and weed seeds, making the compost safer for use in gardens. This phase can last from a few weeks to several months, depending on the conditions and materials used.
-
Cooling Stage: After the most readily decomposable materials have been consumed, the compost pile begins to cool down, and mesophilic microorganisms return to complete the decomposition process. This stage can last several months and results in a stable, mature compost that is ready to use.
-
Curing Stage: Finally, the compost enters a curing stage, where it continues to stabilize and mature. During this phase, which can last several months, complex organic materials continue to break down, and the compost develops a fine, crumbly texture. Fully cured compost is dark, earthy-smelling, and rich in nutrients, making it an excellent amendment for soil.
Several factors influence the composting process:
-
Carbon-to-Nitrogen Ratio (C:N Ratio): The ideal C: N ratio for composting is about 30:1. Carbon-rich materials (browns) include leaves, straw, and cardboard, while nitrogen-rich materials (greens) include food scraps, grass clippings, and manure. Balancing these materials is crucial for efficient decomposition.
-
Moisture Content: Composting microorganisms need water to survive, but too much moisture can create anaerobic conditions (lack of oxygen) that slow down decomposition and produce unpleasant odors. The optimal moisture content for a compost pile is around 50-60%.
-
Aeration: Oxygen is essential for aerobic decomposition. Turning the compost pile regularly helps to introduce oxygen, speeding up the process and preventing foul odors.
-
Particle Size: Smaller particles decompose faster because they provide a larger surface area for microorganisms to work on. Chopping or shredding materials before adding them to the compost pile can accelerate the process.
Composting offers numerous benefits beyond waste reduction. It enriches the soil, helps retain moisture, reduces the need for chemical fertilizers, and promotes healthy plant growth.
Additionally, by diverting organic waste from landfills, composting helps reduce methane emissions, a potent greenhouse gas. Overall, composting is a practical and environmentally friendly way to recycle organic waste and improve soil health.
How to Choose a Compost Bin?
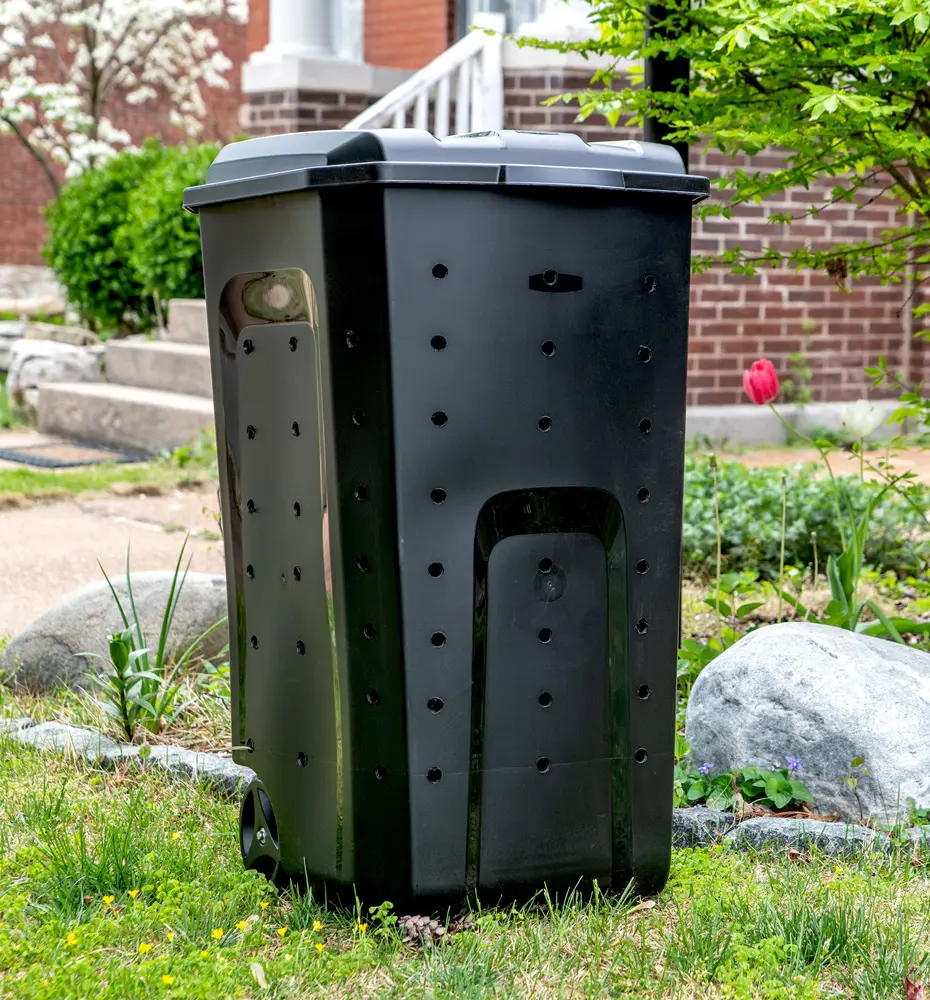
Choosing the right compost bin is a crucial step in starting your composting journey. With various options available, each with its own set of features and benefits, selecting the best compost bin for your needs requires consideration of several factors. Here’s a comprehensive guide to help you make an informed decision:
1. Types of Compost Bins
a. Tumbler Bins:
- Description: Rotating bins mounted on a frame.
- Pros: Easy to turn, accelerates decomposition, keeps pests out.
- Cons: Limited capacity, can be expensive.
- Best For: Small to medium gardens, those who want quick composting and minimal effort.
b. Stationary Bins:
- Description: Static bins, often with a lid and bottom ventilation.
- Pros: Larger capacity, cost-effective, low maintenance.
- Cons: Requires manual turning, slower decomposition.
- Best For: Larger gardens, people who produce a lot of compostable waste.
c. Worm Bins (Vermicomposters):
- Description: Bins that house worms to break down organic material.
- Pros: Produces high-quality compost, efficient for kitchen scraps, no turning needed.
- Cons: Requires specific conditions for worms, not suitable for large volumes of yard waste.
- Best For: Indoor use, small spaces, those interested in vermiculture.
d. Open Piles or Bins:
- Description: Simple open structures or heaps.
- Pros: Very large capacity, no cost if DIY, natural aeration.
- Cons: Exposed to pests, slower and less controlled composting.
- Best For: Rural areas, large yards, experienced composters.
2. Capacity
Consider the amount of organic waste you generate. If you have a large yard with plenty of garden waste, a larger bin or an open pile might be necessary. For smaller households or apartments, a compact tumbler or worm bin could be sufficient.
3. Material
a. Plastic:
- Pros: Lightweight, durable, weather-resistant.
- Cons: Can become brittle over time.
- Best For: All climates, those who need a lightweight and portable option.
b. Metal:
- Pros: Durable, rodent-proof.
- Cons: Can rust, heavy.
- Best For: Areas with rodent problems, those who prefer a long-lasting bin.
c. Wood:
- Pros: Aesthetic appeal, natural material.
- Cons: Can rot, heavier.
- Best For: Gardens where appearance matters, those who prefer eco-friendly materials.
4. Features
- Aeration: Good airflow is essential for aerobic decomposition. Look for bins with ventilation holes or slats.
- Ease of Access: Consider how easy it is to add materials and remove finished compost. Tumblers often have easy-access doors, while some stationary bins have removable panels.
- Pest Protection: Ensure the bin has a secure lid and is designed to keep out rodents and larger pests.
5. Location
Think about where you will place the bin. Tumblers and stationary bins are suitable for backyards, while worm bins can be used indoors or on balconies. Ensure the location is convenient for adding materials and turning the compost.
6. Budget
Compost bins range from inexpensive DIY options to high-end models. Determine your budget and find a bin that meets your needs without compromising on essential features.
7. Aesthetic Considerations
If the appearance of the bin is important, consider designs that blend well with your garden or outdoor space. Wooden bins often look more natural, while some plastic bins come in neutral colors.
By selecting a suitable bin, you'll be well on your way to producing rich, organic compost to nourish your garden and reduce your household waste.
Materials Needed To Make Compost
To make compost effectively, you'll need a few basic materials and tools. These essentials ensure that your composting process is efficient and successful, transforming organic waste into nutrient-rich compost for your garden. Here’s a detailed list of what you’ll need:
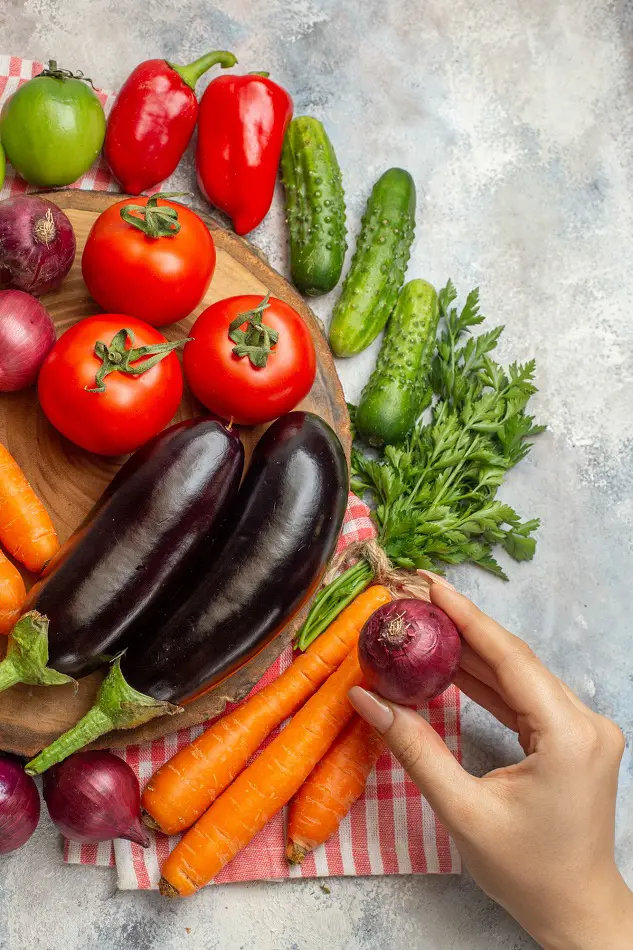
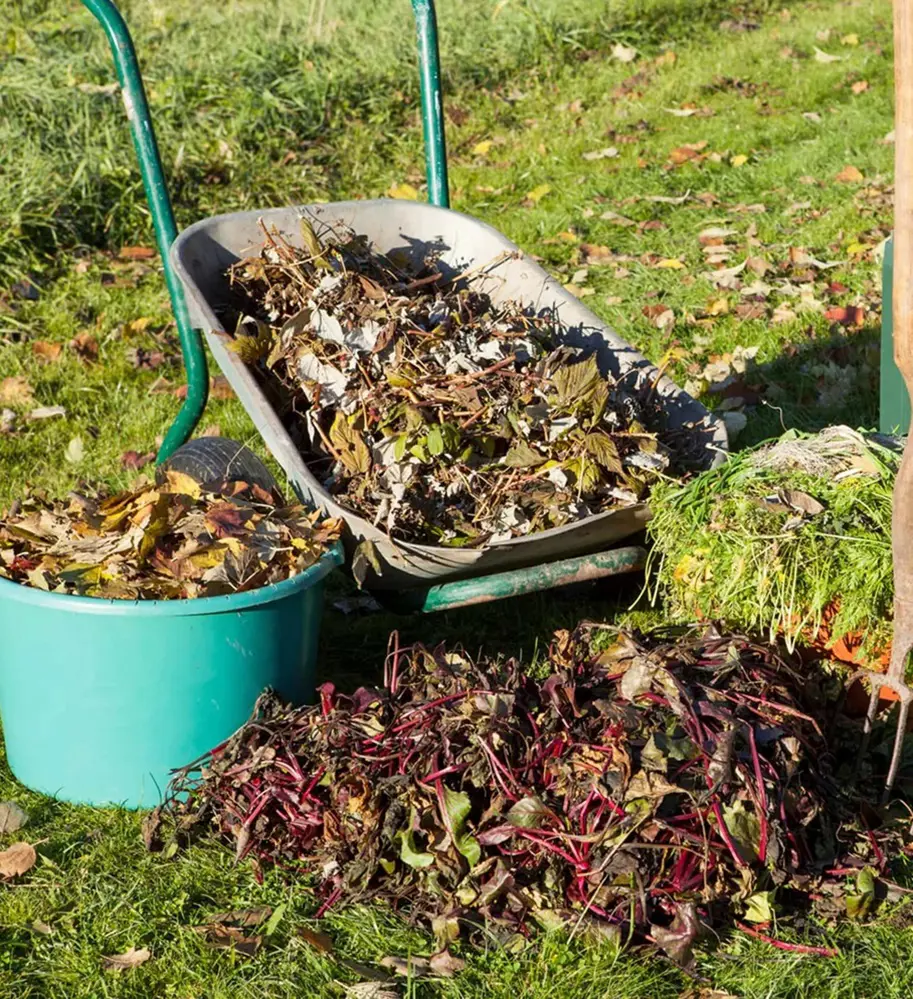
1. Organic Materials
a. Greens (Nitrogen-Rich Materials):
- Kitchen Scraps: Vegetable and fruit peels, coffee grounds, tea bags.
- Grass Clippings: Freshly cut grass.
- Manure: From herbivores like cows, rabbits, and horses (avoid pet waste).
b. Browns (Carbon-Rich Materials):
- Leaves: Fallen, dried leaves.
- Straw and Hay: Dry, stalky materials.
- Paper and Cardboard: Shredded paper, cardboard, and paper towels (avoid glossy paper).
2. Compost Bin or Pile
a. Bin Options:
- Tumbler Bins: For easy turning and faster composting.
- Stationary Bins: For larger capacity and less frequent turning.
- Worm Bins: For vermicomposting, ideal for small spaces.
b. Open Piles:
- Simple Compost Heaps: For large quantities of yard waste.
3. Tools and Accessories
a. Pitchfork or Garden Fork:
- Purpose: Turning and aerating the compost pile.
b. Shovel or Spade:
- Purpose: Adding and mixing materials, as well as retrieving finished compost.
c. Compost Thermometer:
- Purpose: Monitoring the internal temperature of the compost pile to ensure it’s in the ideal range (between 135-160°F or 57-71°C).
d. Water Source:
- Purpose: Keeping the compost moist, as moisture is critical for microbial activity. A garden hose or watering can is ideal.
4. Additional Ingredients
a. Soil or Finished Compost:
- Purpose: Adding a small amount of soil or finished compost can introduce beneficial microorganisms to your compost pile.
b. Activators (Optional):
- Purpose: Commercial compost activators or natural materials like fresh manure or alfalfa meal can help jumpstart the composting process.
5. Location
a. Shaded Area:
- Purpose: Choose a spot that gets some shade to prevent the compost from drying out too quickly.
b. Convenient Access:
- Purpose: Ensure the location is easily accessible for adding materials and turning the pile.
6. Understanding Ratios
a. Carbon-to-Nitrogen Ratio:
- Purpose: Maintain a balance of about 30:1 carbon to nitrogen ratio. This typically means mixing roughly two parts browns to one part greens.
7. Protective Gear
a. Gloves:
- Purpose: Protect your hands while handling compost materials.
b. Mask (Optional):
- Purpose: Prevent inhalation of dust and mold spores, especially if you have allergies or sensitivities.
8. Patience and Time
a. Timeframe:
- Purpose: Composting takes time, ranging from a few months to a year depending on conditions and materials.
With these elements in place, you can successfully transform organic waste into valuable compost, enriching your garden and promoting environmental sustainability.
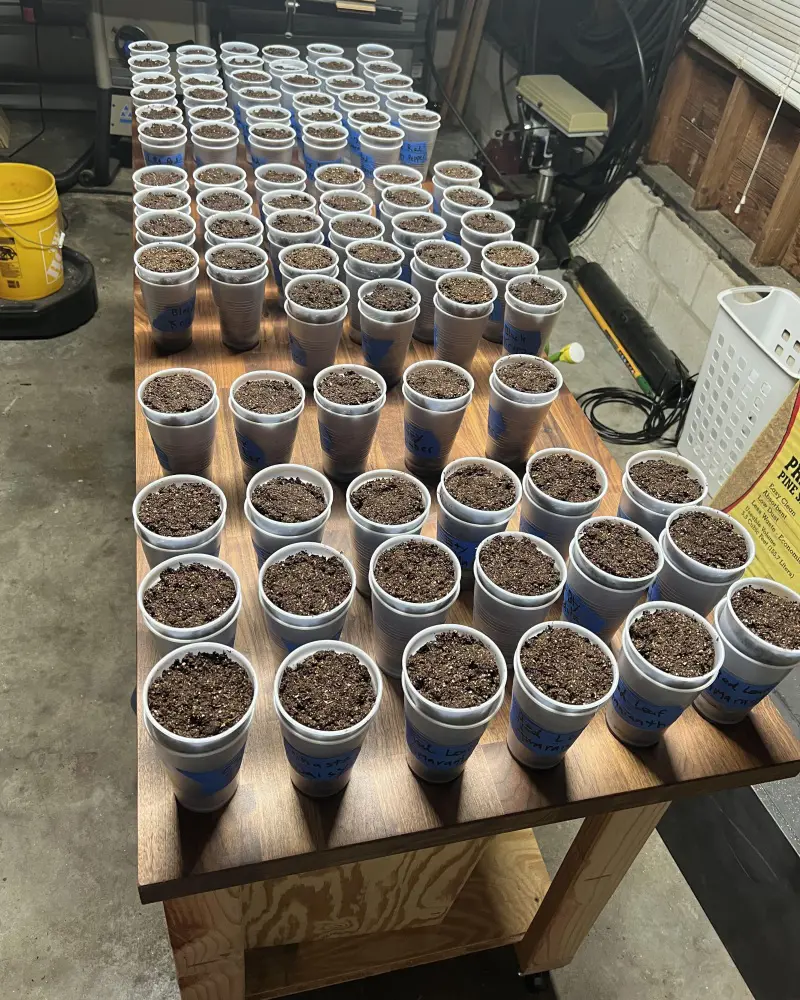
How To Make Compost?
Making compost at home is a straightforward process that involves collecting organic materials, balancing their ratios, and maintaining the right conditions to facilitate decomposition. Here’s a step-by-step guide to help you create compost at home efficiently:
1. Choose a Composting Method
a. Compost Bin:
- Select a compost bin suitable for your space and needs (tumbler, stationary bin, or worm bin).
b. Compost Pile:
- If you have a large yard, an open compost pile or heap may be ideal.
2. Select a Location
- Choose a spot that is convenient for adding materials and turning the compost.
- Ensure the area has good drainage and partial shade to prevent the compost from drying out too quickly.
3. Gather Materials
a. Greens (Nitrogen-Rich Materials):
- Vegetable and fruit scraps
- Coffee grounds and tea bags
- Fresh grass clippings
b. Browns (Carbon-Rich Materials):
- Dry leaves
- Straw or hay
- Shredded paper and cardboard
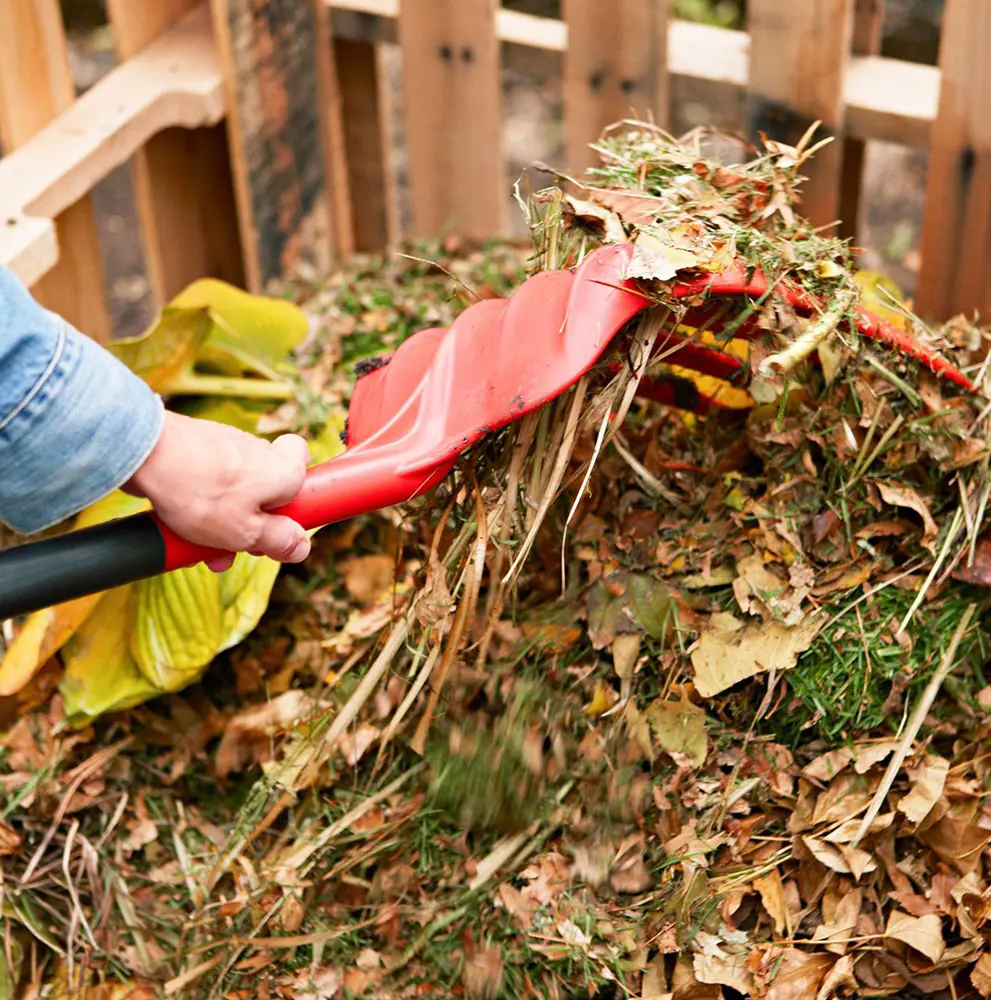
4. Prepare the Compost Pile or Bin
a. Start with a Layer of Browns:
- Begin with a base layer of coarse materials like straw or small branches to help with aeration and drainage.
b. Add a Layer of Greens:
- Add a layer of nitrogen-rich materials like kitchen scraps and grass clippings.
c. Alternate Layers:
- Continue layering greens and browns, maintaining a ratio of about two parts browns to one part greens.
5. Maintain Moisture and Aeration
a. Moisture:
- Keep the compost pile moist, like a damp sponge. Water it if necessary, but avoid making it soggy.
b. Aeration:
- Turn the compost pile regularly with a pitchfork or shovel to introduce oxygen, which speeds up decomposition and prevents odors.
6. Monitor the Compost
a. Temperature:
- Use a compost thermometer to check the internal temperature. Ideal composting temperatures range between 135-160°F (57-71°C). High temperatures indicate active decomposition.
b. Decomposition Progress:
- The compost should heat up and then gradually cool down. When it cools, turn the pile to restart the heating process.
7. Add Water and Turn Regularly
- Add water if the compost becomes too dry and turn the pile every few weeks to maintain aeration and mix the materials.
8. Wait and Observe
- Composting takes time. Depending on the materials and conditions, it can take a few months to a year for compost to mature.
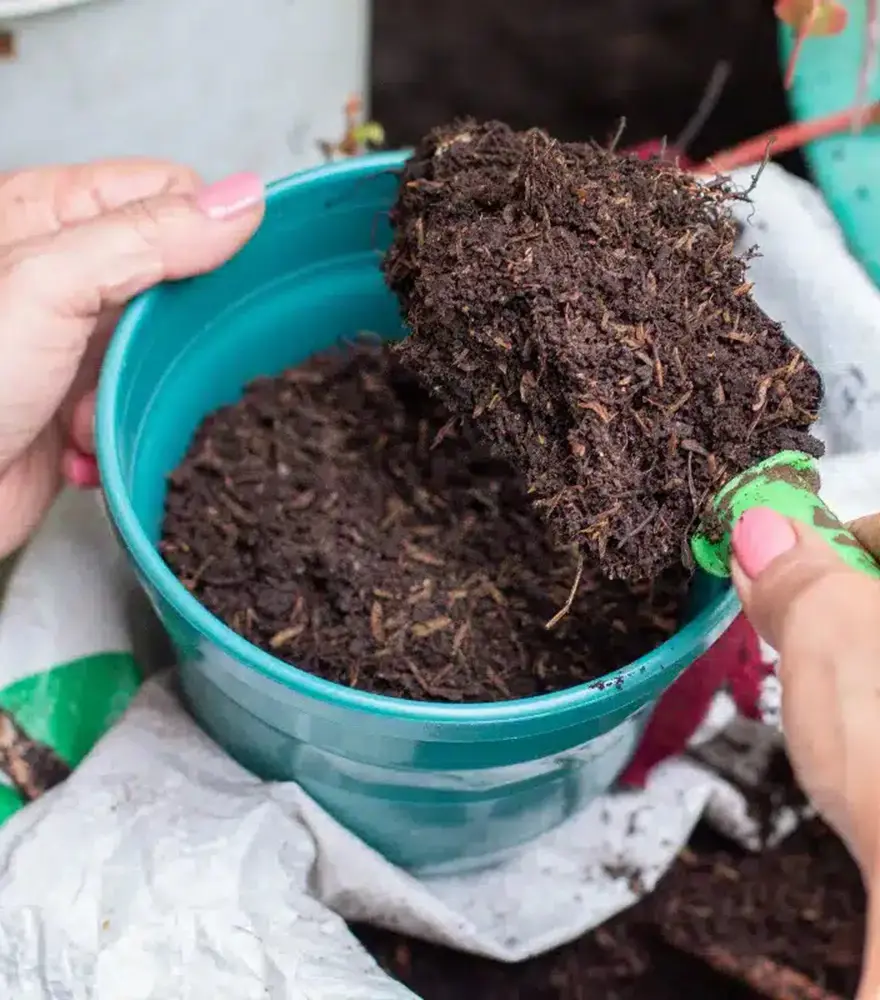
- The compost is ready when it’s dark, crumbly, and earthy-smelling, with no recognizable food or yard waste.
9. Harvest the Compost
- When the compost is ready, sift it through a screen or mesh to remove any large, undecomposed pieces, which can be returned to the compost pile.
10. Use the Finished Compost
- Apply the finished compost to your garden beds, mix it into potting soil, or use it as a top dressing for plants. Compost enriches the soil, improves moisture retention, and provides essential nutrients for healthy plant growth.
Tips for Successful Composting
- Balance: Maintain a proper balance of greens and browns to ensure efficient decomposition.
- Chop Materials: Chop or shred larger pieces of organic waste to speed up the composting process.
- Avoid: Avoid adding meat, dairy, oily foods, and pet waste to the compost pile as they can attract pests and create odors.
Following these steps and maintaining the right conditions, you can successfully create your compost at home, turning kitchen scraps and yard waste into valuable soil amendments for your garden.
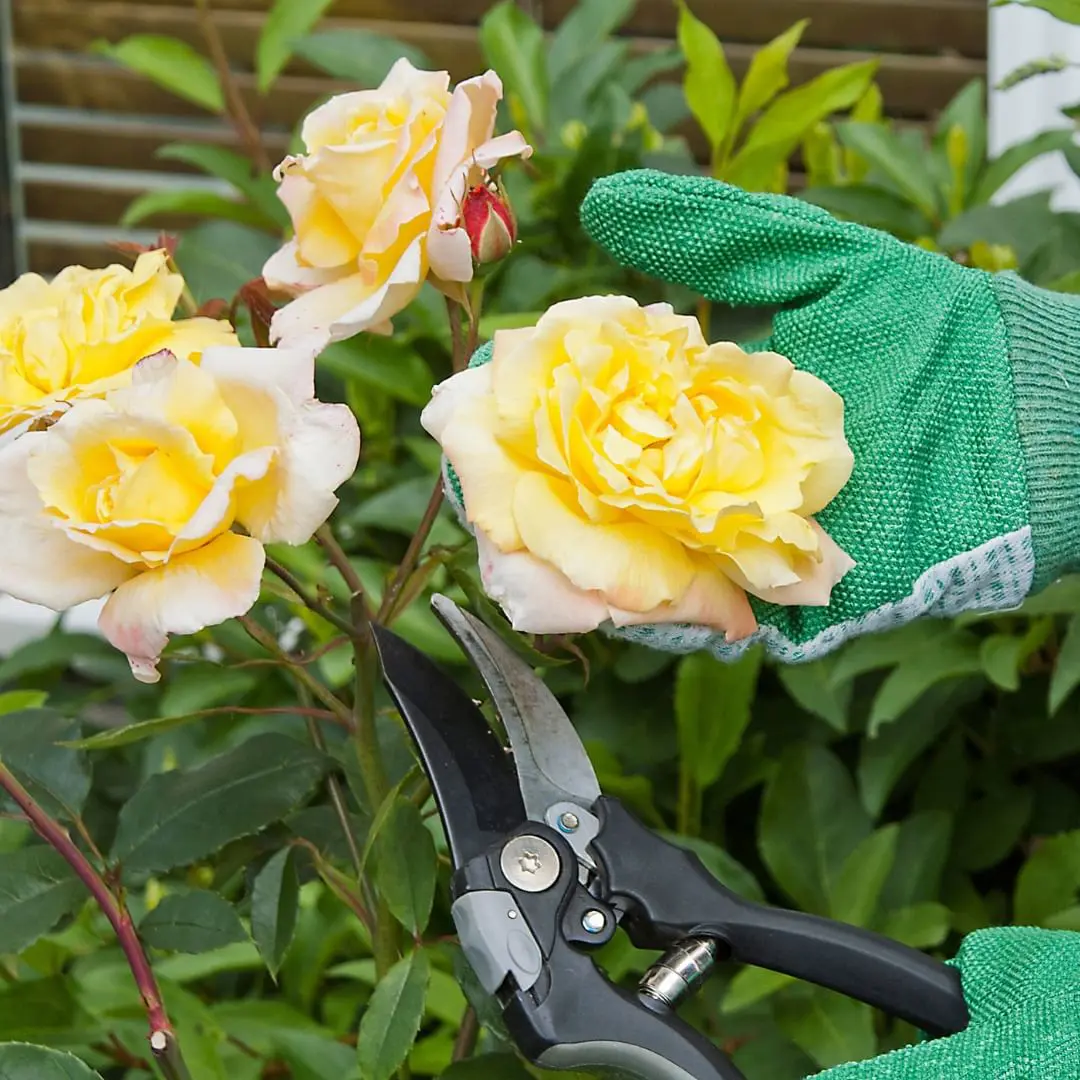
How To Use Your Compost?
Using your compost effectively can significantly enhance the health and productivity of your garden. Here are several ways to utilize your compost and some tips to maximize its benefits:
1. Soil Amendment
a. Incorporating into Garden Beds:
- Spread a 1-2 inch layer of compost over your garden beds.
- Mix it into the top 6-8 inches of soil using a garden fork or tiller. This improves soil structure, water retention, and nutrient content.
b. Preparing New Beds:
- For new garden beds, mix compost with the native soil at a ratio of about 1:1.
- This provides a rich, fertile base for planting.
2. Top Dressing for Plants
a. Around Trees and Shrubs:
- Spread a 2-3 inch layer of compost around the base of trees and shrubs, keeping it away from the trunk.
- This helps to conserve moisture, suppress weeds, and gradually feed the plants.
b. In Flower and Vegetable Gardens:
- Apply a 1-2 inch layer of compost around plants as a mulch.
- It will slowly release nutrients into the soil and improve soil structure.
3. Compost Tea
a. Making Compost Tea:
- Fill a bucket with water and add a shovelful of compost.
- Let it steep for a few days, stirring occasionally, then strain out the solids.
b. Using Compost Tea:
- Use the liquid to water plants or as a foliar spray to provide a quick nutrient boost.
4. Lawn Care
a. Top Dressing Your Lawn:
- Spread a thin layer (1/4 to 1/2 inch) of compost over your lawn.
- Rake it to ensure even distribution. This can improve soil health, encourage beneficial microbial activity, and reduce thatch.
5. Potting Mix
a. Enhancing Potting Soil:
- Mix compost with store-bought potting soil at a ratio of 1:2.
- This enriches the potting mix with nutrients and beneficial microorganisms, promoting healthier plants.
6. Seed Starting
a. Making Seed Starting Mix:
- Mix compost with sand and peat moss (or coconut coir) in equal parts.
- This provides a nutrient-rich, well-draining medium for starting seeds.
7. Erosion Control
a. Preventing Soil Erosion:
- Apply compost to slopes and bare patches in your garden.
- Compost helps to bind soil particles together, reducing erosion and promoting the establishment of vegetation.
Tips for Using Compost
a. Avoid Over-Application:
- While compost is beneficial, too much can lead to nutrient imbalances. Apply it judiciously based on the needs of your plants and soil.
b. Monitor Plant Response:
- Observe how your plants respond to compost applications. Adjust the amount and frequency as needed to achieve optimal growth.
c. Continue Composting:
- Keep adding organic materials to your compost bin or pile to maintain a steady supply of compost for your garden.
d. Sift Compost:
- If your compost contains large, undecomposed pieces, sift it through a screen before use. Return the larger pieces to the compost pile to continue breaking down.
Incorporating compost into your gardening routine, you can enhance soil fertility, improve plant health, and contribute to a more sustainable environment. Using compost in various ways ensures that all parts of your garden benefit from its rich nutrients and organic matter.
Things Not To Put In Compost
Avoiding these materials ensures that your compost pile remains healthy, decomposes efficiently, and produces high-quality compost. Here’s a quick recap of what not to put in your compost:
- Meat, fish, and bones
- Dairy products
- Cooking oil, grease, and fat
- Human and pet waste
- Treated wood and synthetic materials
- Diseased plants
- Weed seeds and invasive plants
- Pesticide- and herbicide-treated plants
- Large quantities of citrus peels and onions
- Whole eggshells
- Glossy and colored paper
- Coal or charcoal as
By adhering to these guidelines, you'll be able to create rich, nutrient-dense compost that benefits your garden while minimizing potential issues.