Plant lovers hold a special reverence for the miracle of germination, that moment when life bursts forth from something so small. Imagine nurturing that spark of life right on your windowsill, watching it transform into a thriving plant you can nurture.
Unlike the unpredictable nature of outdoor planting, indoor seed starting offers a more controlled environment, empowering you to create ideal conditions for those precious seeds to flourish. This guide provides you with the techniques to excel at starting seeds indoors.
1. Preparation
The journey from seed to seedling begins with proper preparation. So, here's a complete breakdown of the essential steps to get your indoor seed-starting adventure off to a thriving start:
Choose Your Seeds
The very first act in this process is to choose high-quality seeds. This is an exciting step, brimming with endless possibilities. So, don't hesitate to invest in high-quality seeds from reputable sources. Look for reliable seed companies or garden centers that offer fresh, viable seeds. This increases your chances of successful germination and ultimately, a bountiful harvest.
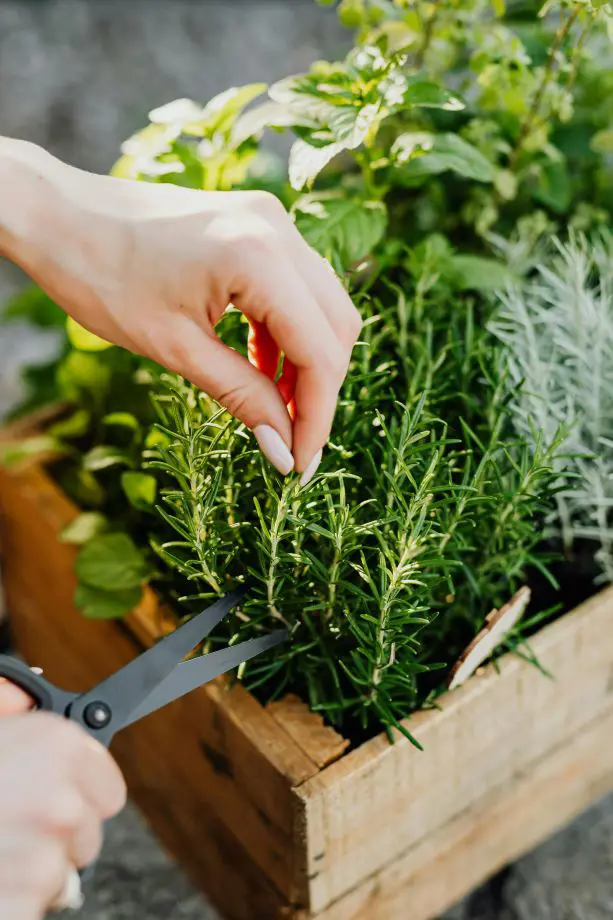
If you're a beginner, opt for seeds with high germination rates and easier growing requirements. Herbs like basil, parsley, and cilantro are popular choices for beginners. As your confidence grows, you can experiment with more challenging vegetables or flowers.
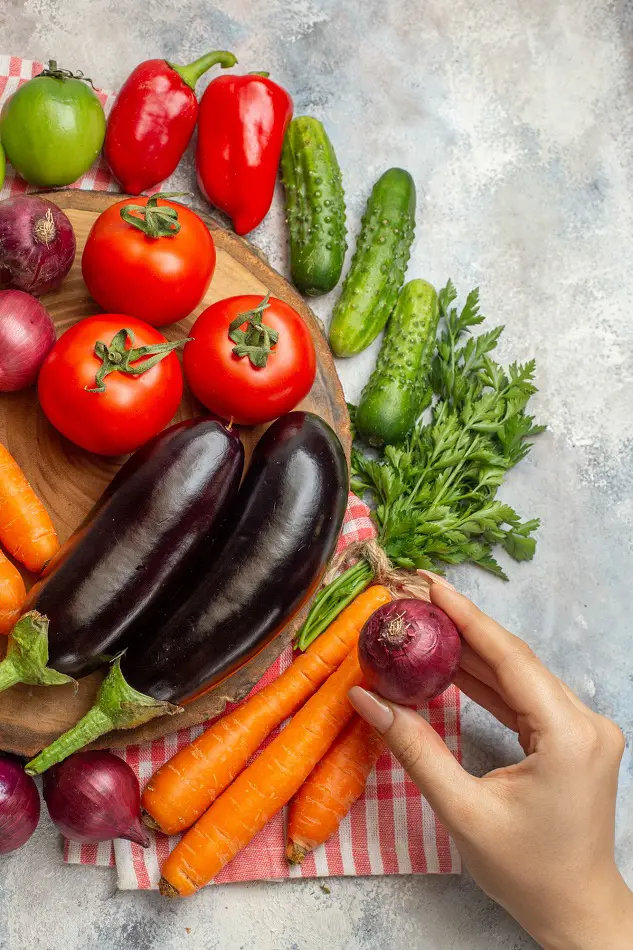
Also, consider the amount of natural light you have available indoors. Some plants, like tomatoes and peppers, require a lot of sunlight. So, if your windowsills receive limited light, choose shade-tolerant varieties like lettuce or spinach.
Think about when you want to enjoy your harvest. Fast-growing vegetables like lettuce or radishes are ideal for those who want quicker results. For slower-growing plants like peppers or eggplants, starting seeds indoors well before the last frost in your area allows them to mature and produce a harvest later in the season.
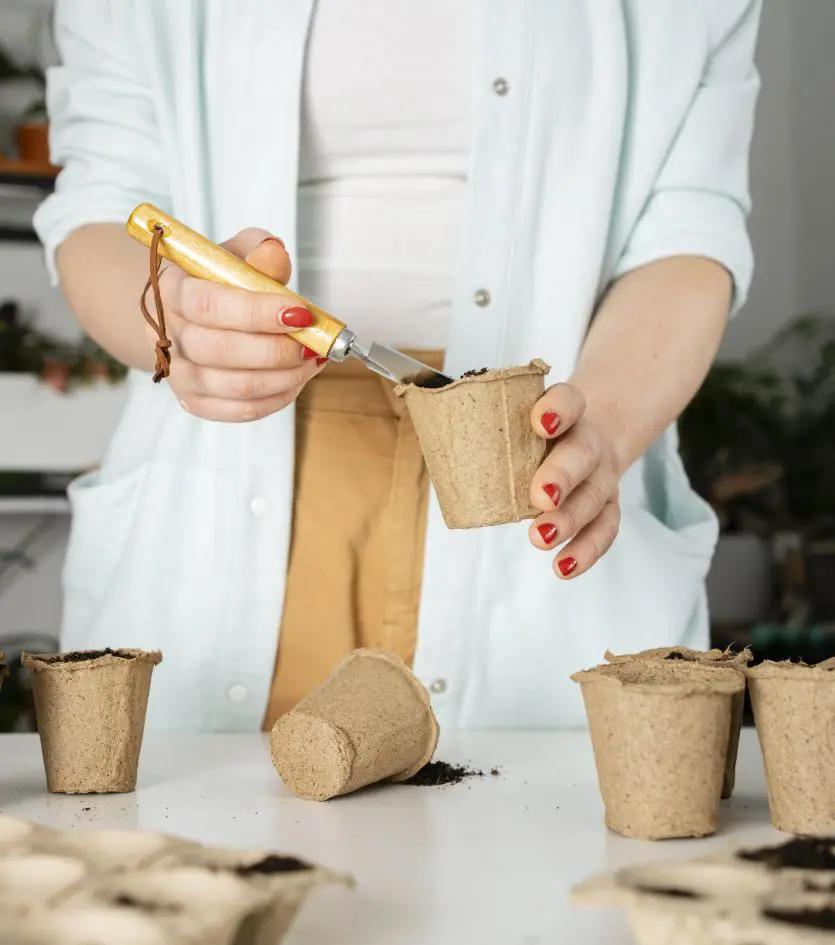
Pick Your Containers
Choosing a container to grow seeds indoors is all about creating a comfortable and nurturing environment for your soon-to-be seedling. Therefore, there are several options to consider, such as
• Seed Starting Trays: These popular choices feature multiple cells, allowing you to grow many seedlings at once efficiently. Look for trays with drainage holes, as proper drainage is crucial to prevent waterlogging and root rot.
• Recycled Containers: Embrace your creativity! Upcycled yogurt cups, egg cartons, or even plastic bottles (with drainage holes poked) can serve as cost-effective and eco-friendly containers. Just remember, adequate drainage is key for healthy root development.
• Size Matters: Don't underestimate the importance of choosing containers appropriate for the mature size of your seedlings. Plants with larger root systems, like tomatoes, require deeper containers to accommodate their growth. The right container size ensures your seedlings have enough space to thrive before transplanting outdoors.
When selecting your growing medium, it's important to move away from your usual garden soil. So, regular potting soil isn't ideal for starting seeds. Instead, opt for a specially formulated seed starting mix. This lightweight, sterile, and well-draining mix provides the perfect foundation for your seed-starting symphony.
The airy texture allows for optimal oxygen flow around the seeds, promoting successful germination.
Moisten the Mix
The next step in your seed-starting symphony involves moistening the growing medium. Just like actors need proper hydration for a stellar performance, your seeds require a perfectly balanced moisture level to germinate successfully. Thus, aim for a consistency similar to a damp sponge to start seedlings indoors. You can achieve this by:
• Adding Water Gradually: Pour water slowly and evenly over the seed starting mix, mixing gently as you go. Stop when a few drops of water trickle out from the drainage holes – this indicates the mix is sufficiently moist but not soggy.
• The Squeeze Test: For a more hands-on approach, grab a handful of the mix. If it crumbles easily but feels slightly damp to the touch, you've achieved the perfect moisture level. Conversely, if it feels clumpy or water pools on the surface, you've added too much water. Simply adjust by adding more mix or allowing excess water to drain.
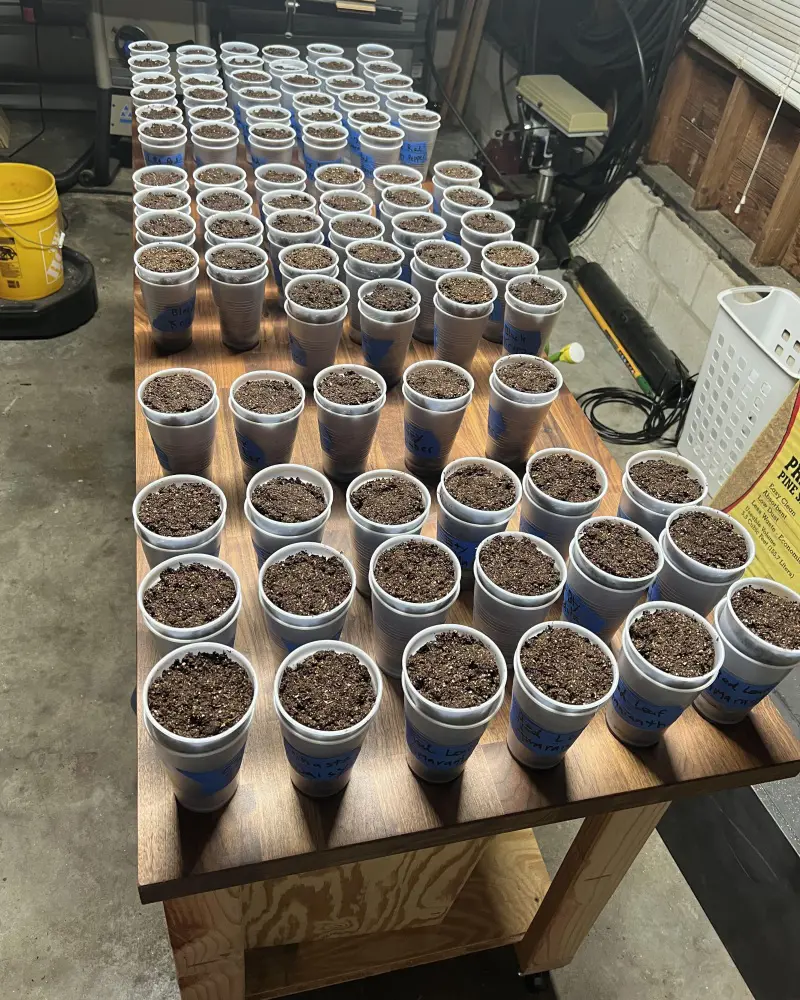
Fill the Containers
• Now that your seed starting mix is perfectly moistened, it's time to set the stage for your planting seeds. Filling the containers is delicate, requiring a balance between providing enough space and ensuring proper drainage. Here's how to achieve this:
• Gently pack the moistened seed starting mix into your chosen containers.
• Use your fingers or a spoon to ensure there are no air pockets, as these can hinder root development.
• Aim to fill the containers to within ½ inch to 1 inch from the rim. This leaves adequate space for watering without causing spills and ensures good drainage to prevent waterlogging.
2. Planting the Seeds
Read the Seed Packet
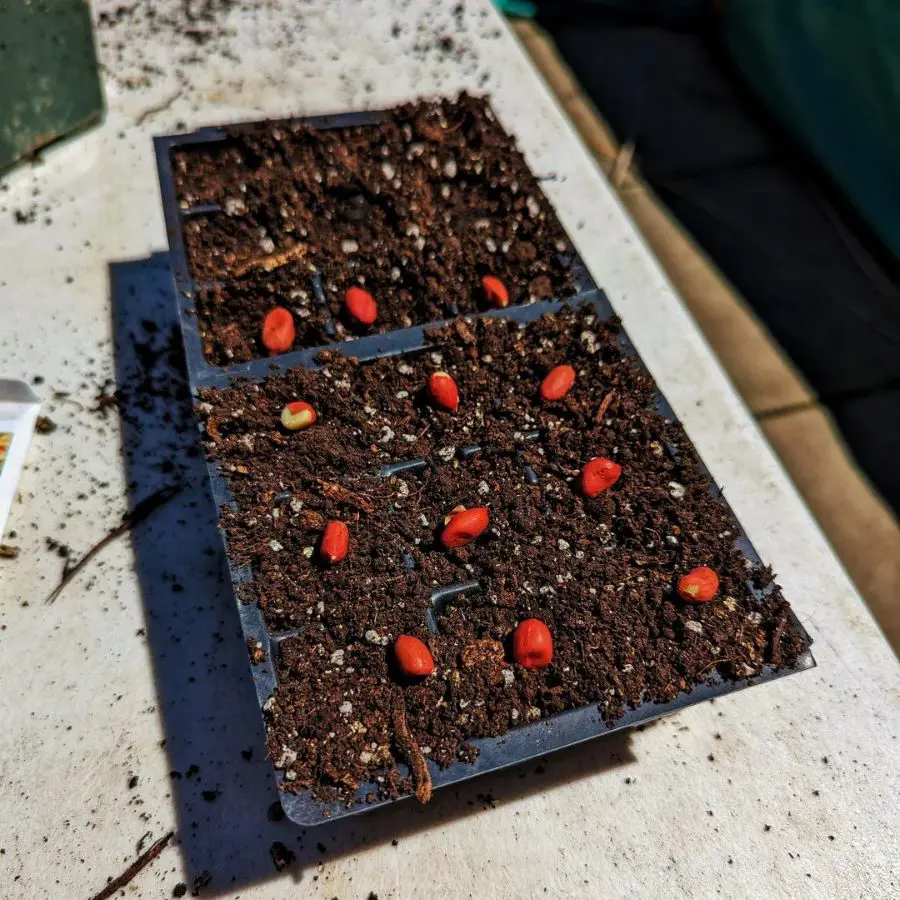
It's time to put your seeds in their new home! But before you dig in, grab that seed packet again because the packet tells you how deep to plant each seed. Some seeds like beans need a deeper hole, while tiny herb seeds just need a gentle press into the soil.
For bigger seeds like beans or peas, use your finger or a pencil to make a small hole in the soil. Pop one seed in each hole and cover it back up with soil according to the seed packet instructions.
For tiny seeds like lettuce or herbs, don't worry about making individual holes. Just sprinkle the seeds evenly over the top of the soil. You can then gently pat them down with your fingers to make sure they have good contact with the soil. Don't overcrowd the pot as a light sprinkle is all you need.
Sow the Seeds
The seed packet you checked earlier will be your guide once again as this handy package tells you exactly how deep to plant each seed. For larger seeds like beans or peas, use your finger or a pencil to make a small hole in the moistened seed starting mix.
Gently place one seed in each hole and cover it back up with the mix according to the depth information on the seed packet. For tiny seeds like lettuce or herbs, you don't need to make individual holes. Simply sprinkle the seeds evenly over the surface of the mix.
After sprinkling, gently pat the seeds down with your fingers to ensure good contact with the moist mix. Remember, don't crowd the seeds because a light sprinkling is all you need to give them enough space to sprout.
Covering your seeds after planting is an optional step, but it can be helpful for some varieties, especially tiny seeds. This creates a slightly more humid environment around the seeds, which can aid germination. But this step is completely optional. However, if you choose to cover your seeds, drape a sheet of clear plastic wrap loosely over the top of your containers.
This will trap moisture and humidity around the seeds, mimicking a greenhouse environment. Once you see tiny sprouts emerge, remove the plastic wrap to prevent your seedlings from becoming weak and stretched out due to lack of airflow.
But, if you're using seed starting trays, some might come with a humidity dome, a clear plastic lid that fits snugly on top. This functions similarly to the plastic wrap, creating a controlled humid environment. Just like the wrap, remove the dome once your seedlings sprout to allow for proper air circulation.
3. Germination and Seedling Care
Your seeds are planted, the stage is set, and now comes the exciting act of germination! But nurturing these tiny sprouts into healthy seedlings requires a few key ingredients such as light, water, temperature, and optionally some TLC in the form of thinning and fertilizing. Here's how to keep your seedlings thriving:
Light
As seedlings crave light, place your containers in a bright location, preferably near a sunny window. Aim for at least 12-16 hours of light per day. If natural light is limited, consider using grow lights as a supplement.
Watering
Seedlings need consistent moisture but not soggy soil. Water deeply when the top inch of the mix feels dry to the touch and avoid overwatering, which can lead to root rot.
Temperature
Most seeds germinate best in warm temperatures, typically between 70-80°F (21-27°C). Aim to maintain a consistent temperature around your seedlings. So, avoid placing them near cold drafts or vents.
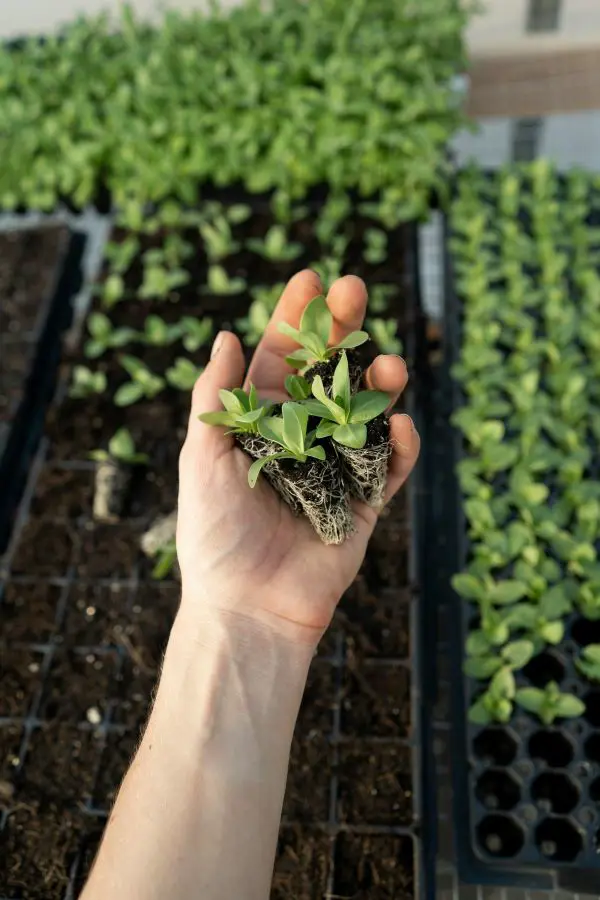
Thinning
Thinning might be necessary for some seeds sown densely. Once seedlings have a few sets of true leaves, gently remove any weak or crowded ones to allow stronger plants more space to grow.
Fertilizing
While seedlings don't require heavy feeding initially, a weak solution of liquid fertilizer can be applied once they have a few sets of true leaves. Therefore, follow the fertilizer instructions carefully to avoid overdoing it.
Starting from seed your seedlings have thrived under your care, and now it's time to prepare them for transplanting outdoors. Seedlings accustomed to the gentle, controlled indoor environment must be gradually introduced to harsher outdoor conditions.
This process, called hardening off, is crucial to prevent transplant shock and stunted growth. A week or two before transplanting, begin taking your seedlings outdoors for short periods during the day.
Start in a shady spot protected from wind and gradually increase the duration and intensity of sunlight exposure over time. If possible, try to match outdoor temperatures during the hardening-off process. Bring your seedlings back indoors at night or during cold spells.
Here's how to ensure a smooth transition and set your plants up for success in their new home:
• Avoid overwatering during hardening off to encourage deeper root growth.
• Choose a cloudy day to minimize stress from sunlight.
• Prepare the planting site because it ensures loose, fertile, weed-free soil. Dig holes slightly larger than the root ball.
• Gently remove seedlings from containers.
• Lastly, plant them at the same depth they were growing indoors, and backfill soil and water thoroughly.
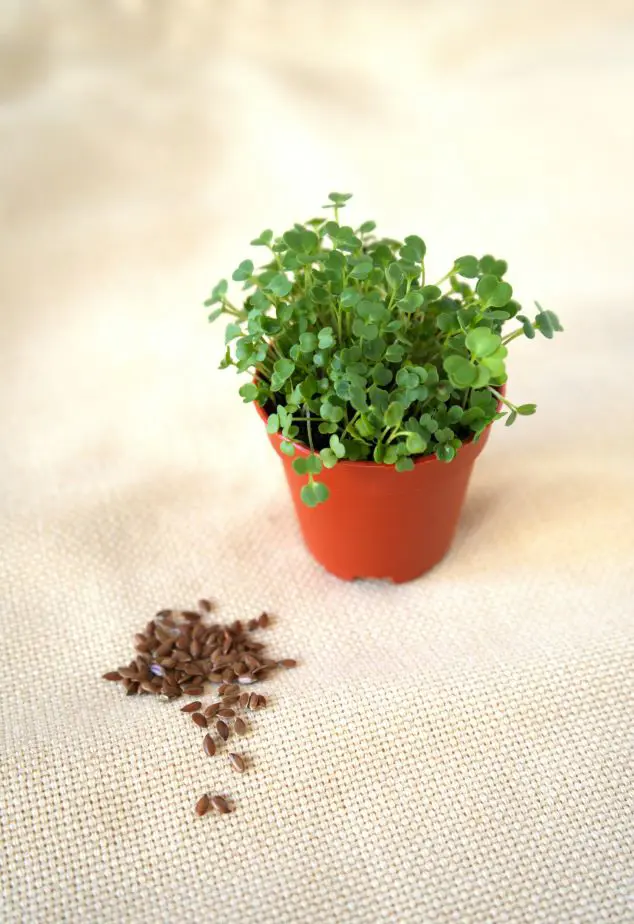
While it's true that old seeds might have a lower germination rate, avoiding them altogether might not be necessary. The viability of seeds depends on the type. Some seeds, like lettuce or cucumbers, can last for several years, while others like corn or peppers might have a lower success rate after two years.
Similarly, seeds appropriately stored in cool, dark, and dry conditions will generally last longer than those exposed to heat, light, or moisture. So, when deciding whether to plant old seeds or invest in new ones, gardeners face a classic time-versus-cost dilemma.
Old Seeds
On the surface, planting old seeds you already have might seem like a time-saving advantage. You can skip the research and purchasing process and diva straight into planting. However, this initial time benefit can be negated by potential germination issues.
Older seeds often have lower germination rates, meaning fewer seeds will sprout. This can lead to uneven growth and the need to replant, ultimately delaying your harvest. The initial cost of planting old seeds is certainly lower. You're utilizing what you already own, avoiding the expense of buying new ones. However, this advantage can be deceptive.
If your old seeds perform poorly and require extensive replanting, you might end up spending more on seeds overall. Additionally, the frustration of dealing with lagging growth and patchy results can be a hidden cost that detracts from the enjoyment of gardening.
Opting for new seeds involves a slightly longer lead time because you'll need to research varieties, locate a reputable supplier, and purchase them before planting. However, this initial investment in time often translates to faster results in the long run. New, high-quality seeds generally boast higher germination rates, leading to a more even and successful planting.
This translates to quicker seedling growth and potentially a faster harvest compared to using old seeds. While buying new seeds might seem more expensive upfront, it can be a cost-effective choice in the long run.
Seeds with good germination rates require less replanting, saving you money in the long run. Additionally, the satisfaction of seeing your seeds sprout readily and thrive into healthy plants can be a rewarding experience, enhancing the overall enjoyment of gardening.
Seed Life by Category
Not all seeds are created equal, so here's a guide to help you manage your seed stash:
• Up to 1 Year: Onions (use these first!)
• Up to 2 Years: Fennel, Parsley
• Up to 3 Years: Sweet Corn, Leeks, Okra, Parsnips, Sage
• Up to 4 Years: Beans, Carrots, Peas, Chamomile, Cilantro, Dill, Lavender, Marjoram, Mint, Oregano, Rosemary, Thyme