You can transform your bare, patchy yard into a lush, green lawn real quick by laying sod. Even though the process may seem complicated, it can be made simpler by dividing it into smaller steps.
In this article, we will guide you through 15 crucial steps to lay sod effectively to achieve a beautiful, and healthy lawn. You can get a perfect result by following these simple steps, whether you are a beginner or a professional.
1. Plan Your Layout
For the smooth installation while laying sod, planning plays a vital role. You need to consider the following while planning for it:
Measure and plan
Firstly, you will need to measure the whole area of your lawn which will help you to determine how much sod you will need. While planning you can even mark the areas that consist of any obstacles or features.
Prepare the soil
To prepare the soil for laying sod, you should remove all the grass, weeds, and other debris. This will ensure that the soil is loose and at the same level. Your lawn should also be well-drained.
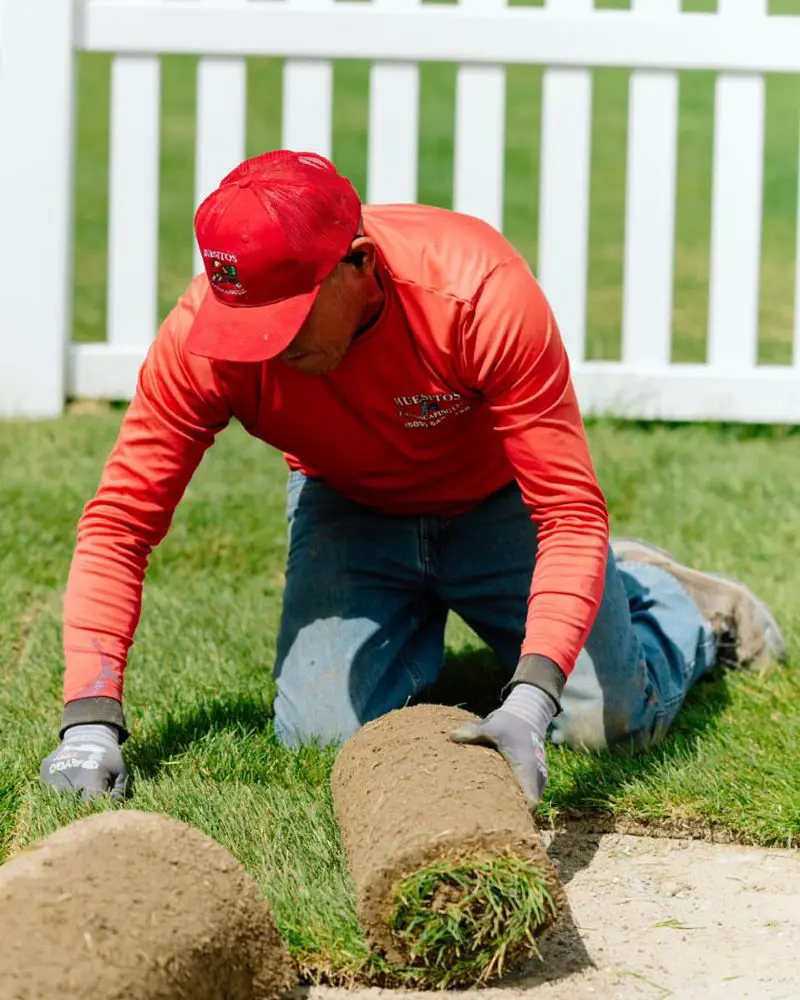
Lay the sod
You can begin sodding your lawn along a straight edge, such as a driveway or sidewalk. To avoid apparent lines and create a natural effect, you should space out the seams of each row in a manner reminiscent of brickwork.
Cut and Feed
The edges of sod pieces should be trimmed precisely, to perfectly fit the obstacles or uneven edges. This avoids any irregular placing and helps the sod pieces to fit perfectly avoiding any gaps in between them.
Watering
To obtain a successful establishment, you need to water properly while laying sod. You should water the sod immediately after its installation to make sure that both the soil and sod are moistened properly.
Water your garden lightly twice to thrice daily for the first two weeks, adjusting the amount based on the weather. Once the initial period has passed, progressively cut back on the watering frequency; aim for 1-2 deeper watering sessions per week.
Roll and Maintain
To make sure that the soil and sod are connected properly, you need to roll it and keep the soil moist. You can use a lawn roller to press down the sod which can ensure the elimination of the air from the soil.Additionally, To keep it from drying out, give it light but frequent watering.
You should remove the existing grass, weeds, and other wastes to prepare the soil. Then you can level the surface by losing the top 2-4 inches with a rototiller or garden fork.
Add compost to sandy or heavy soils to enhance nutrients and texture. Lastly, to establish a solid foundation for the sod, you can gently compact the soil. This guarantees a healthier lawn and improved root establishment.
3. Level the Soil
For leveling the soil, you need to loosen and rank it, by using a garden rake to get an even surface. You should look for any low areas in the soil and add more to fill them in, then rake everything again to make it smooth.
You can guarantee an even surface with a board or leveling tool for a more accurate level. This encourages a healthy lawn and lessens the chance of uneven sod growth.
4. Improve Soil Quality
To begin with, to improve soil quality, first conduct a pH and nutrient level test on the soil. To improve fertility and structure, you can amend the soil based on the findings by adding organic matter, such as compost or well-rotted manure.
While compost helps sandy soils retain more water and nutrients, adding sand and organic matter can help heavy clay soils drain better. In addition, to address nutrient deficiencies, think about applying a balanced fertilizer.
5. Water the Soil
Make sure to water the soil thoroughly before laying the sod, trying to evenly moisten the top 6 to 8 inches, but not too wet. This facilitates soil settling and establishes a solid foundation for sod germination.
To allow the soil to absorb the moisture, you should water the area a day or two before laying the sod. Keep the sod consistently moist after it has been laid to aid in the establishment of the grassroots and lessen stress on the newly created lawn.
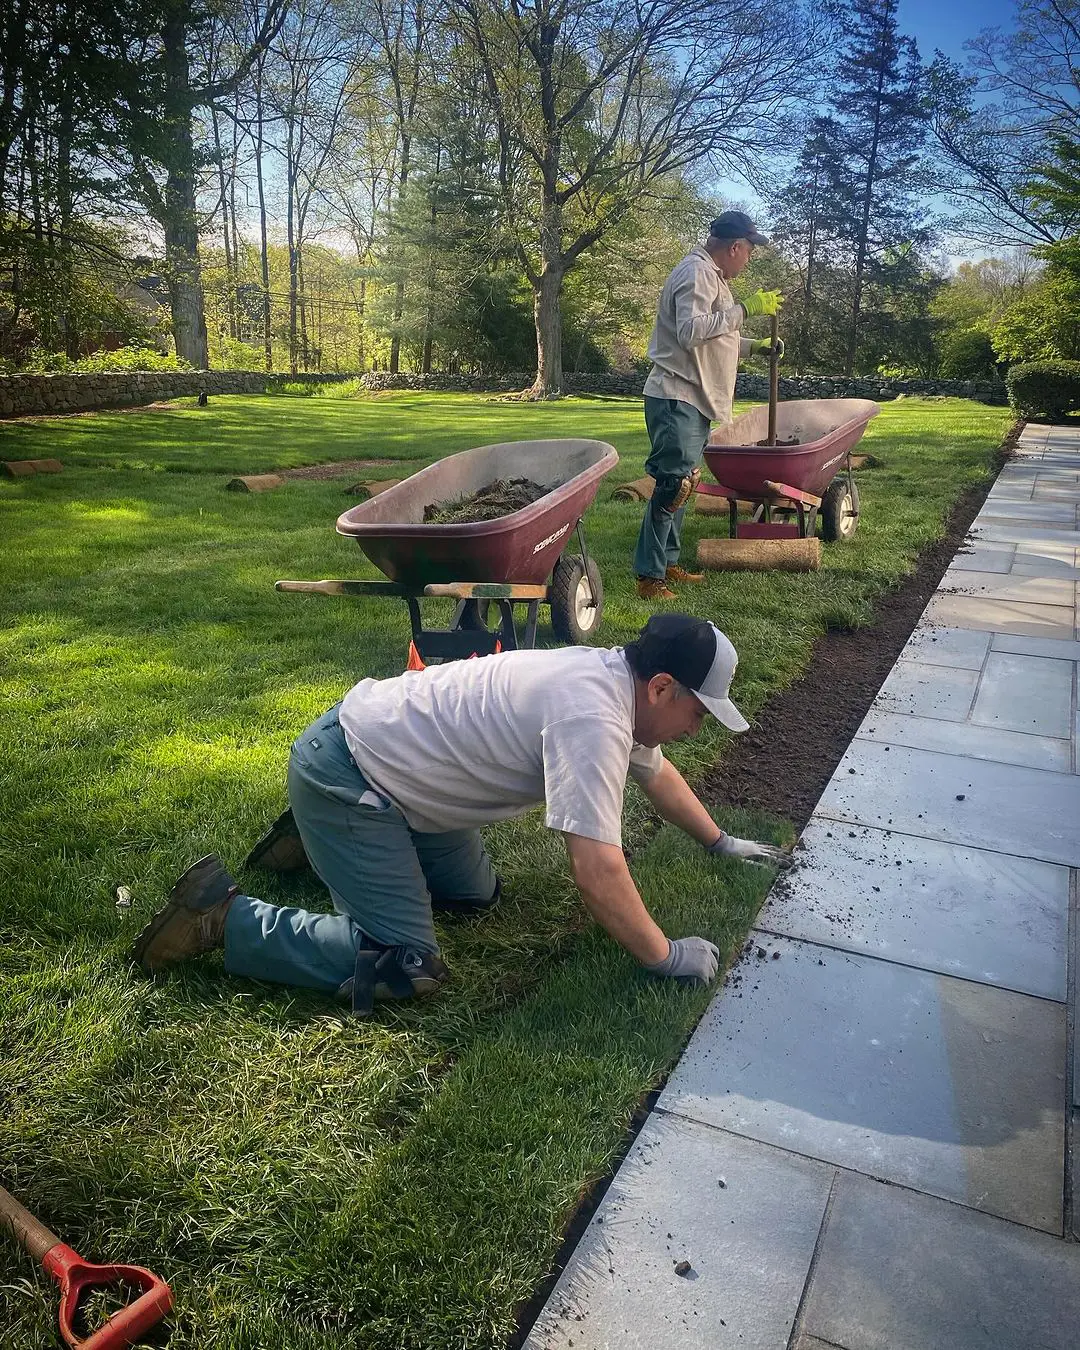
You should place the sod pieces in the first row, spacing them apart like bricks to hide any seams. Avoid overlapping the pieces as you press the edges together to seal any gaps. As you proceed, keep everything level and aligned.
Using a utility knife, trim any pieces that are too large to fit around corners or obstructions. After all of the sod has been installed, use a lawn roller to ensure that it has made good contact with the ground. Then, give it a thorough watering to encourage the roots to take hold.
7. Stagger the Joints
Arrange the sod pieces such that the seams don't line up in straight rows to stagger the joints. As an alternative, you can place them with each row offset from the previous one, much like bricks in a wall.
This design produces a more natural appearance and helps to hide visible lines. Because the sod pieces knit together more effectively, it also guarantees a stronger and more even lawn.
8. Cut and Fit Sod
You should use a saw or utility knife to make precise cuts to fit and cut sod. Measure and label the regions that require trimming, such as the edges and obstructions.
Make sure the edges of the sod fit tightly against the surrounding pieces by carefully cutting it to fit the space. To ensure there are no gaps, you should place the cut pieces in their proper positions and press them down. This guarantees a smooth, properly fitted lawn.
9. Press Down Sod
After placing the sod, you need to press it down to ensure good contact with the soil. You can use a lawn roller to gently roll over the sod, which helps eliminate air pockets and promotes root-to-soil contact.
If you don’t have a roller, you can walk on the sod with firm, even steps to press it down. This step helps the sod establish better and prevents it from shifting or lifting.
You need to water the sod well after it has been laid and compacted. To wet the top layer of soil, you can begin by giving it a gentle, even soak. To aid in the establishment of the roots, make sure the water reaches a depth of 6 to 8 inches.
Over the next few weeks, keep the sod consistently moist by watering it lightly but frequently, especially in hot or dry conditions. This encourages healthy root growth and aids in the new sod's integration.
11. Avoid Foot Traffic
For a few weeks at least, make sure to keep foot traffic off the freshly laid area to aid in the sod's establishment. This keeps the sod from getting damaged or disturbed, enabling the roots to properly bury themselves in the soil.
You can use stepping stones or boards to distribute weight and lessen the impact on the sod if you must access the area. Minimizing foot traffic is one way to guarantee a lush, healthy lawn.
12. Continue Watering
For the first several weeks, you should keep watering the sod regularly. It is very necessary to maintain a constant moisture level in the sod, but don't overwater it as this can cause other problems.
You can gradually cut back on how often you water the sod as it starts to take hold, switching to deeper, less frequent waterings to promote deeper root growth. It is important to monitor weather patterns and modify irrigation schedules as necessary to ensure ideal soil moisture levels.
13. Check for Rooting
You should check the rooting after a few weeks by carefully lifting a corner of the sod. A healthy sod establishment is indicated if you feel confident in the sod and notice that new roots are extending into the soil beneath it.
You can give the sod additional time to establish if it lifts easily or if the roots haven't taken hold. Keep an eye on the sod to make sure it's growing healthily and make any necessary care adjustments.
You should wait until the sod is well-established and about 3–4 inches tall, which is usually after 4-6 weeks, before cutting it short for the first time. You can mow the grass on a higher setting to prevent overly short grass, which can strain a newly planted lawn.
To promote healthy growth, you should only cut the top third of the grass height. For a neat cut, make sure your mower blades are sharp, and steer clear of wet grass when mowing to avoid damage.
15. Maintain the Lawn
After maintaining regular care and attention, you can keep your lawn healthy and vibrant all over the season. These are the practices that you need to follow to maintain a law:
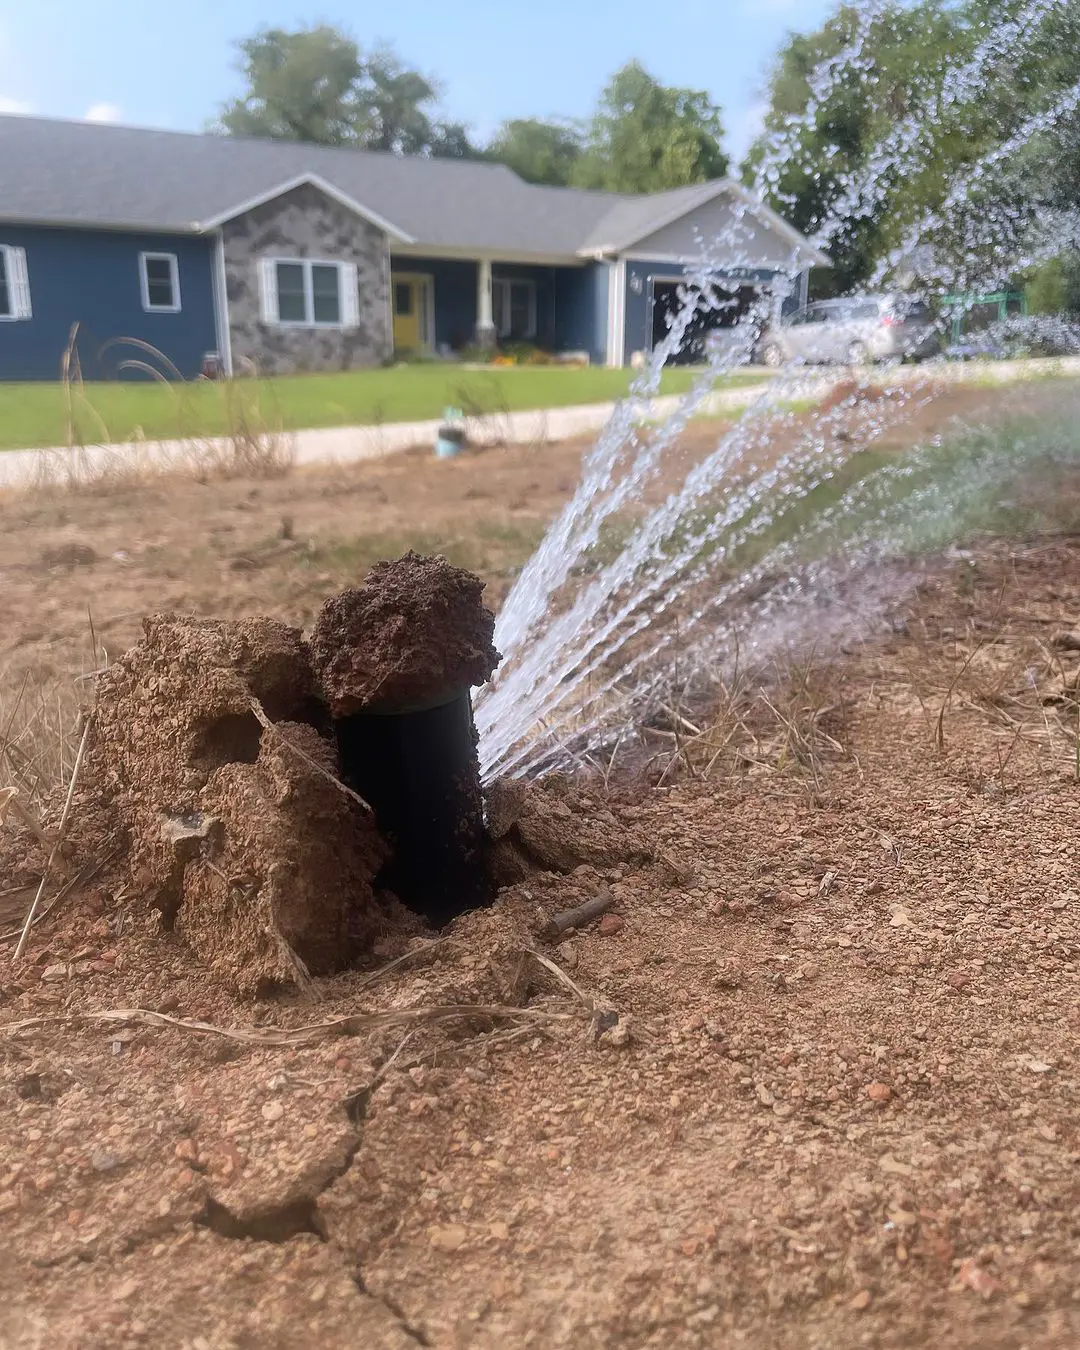
Watering
Regular and proper watering is crucial to maintaining a healthy lawn. You should water the lawn frequently, adjusting based on the weather conditions and the needs of your specific grass type.
The goal is to encourage deep root growth by watering deeply but infrequently. For a stronger root in the soil, lawns require about 1 to 1.5 inches of water per week, either from rainfall or irrigation.
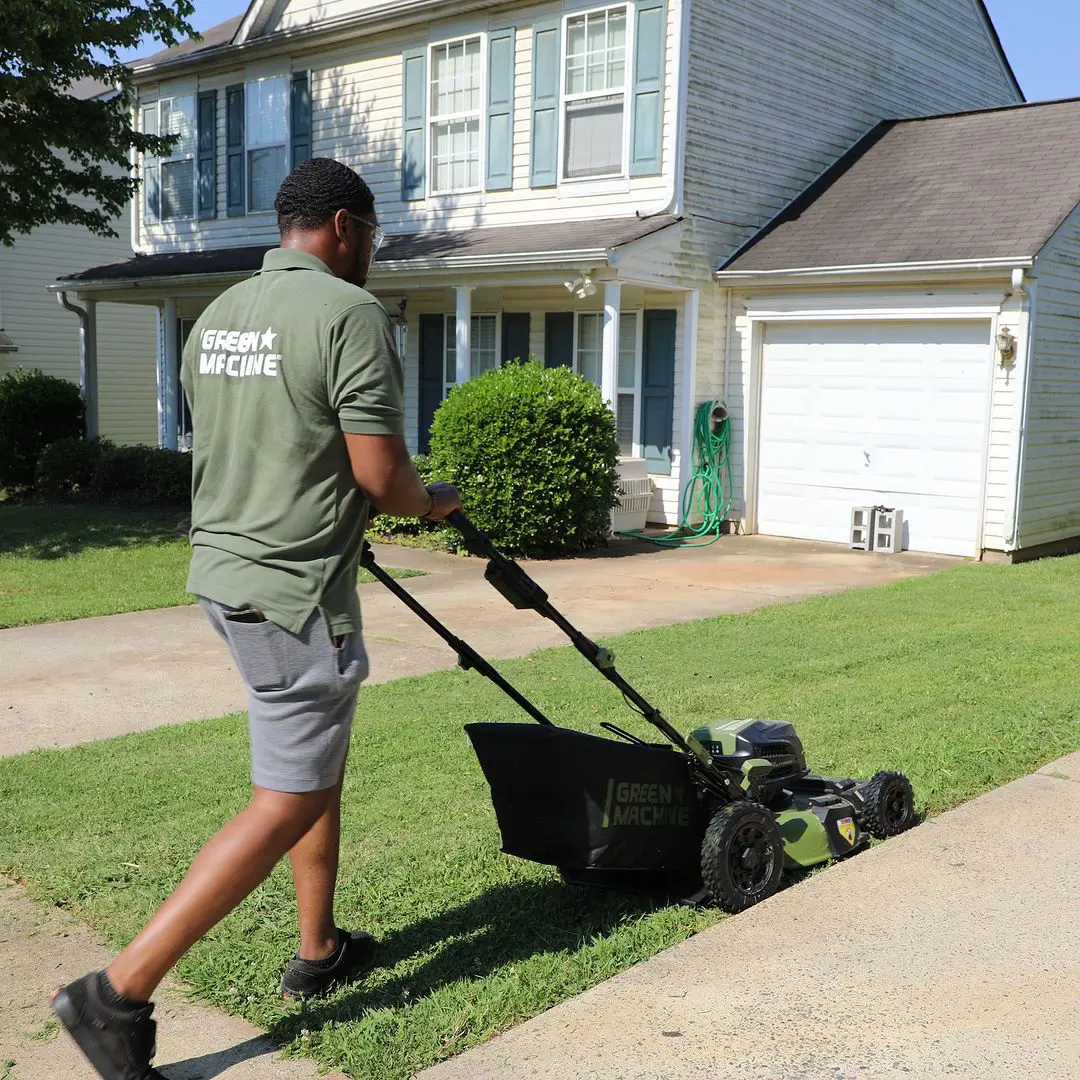
Mowing
Mowing your lawn regularly is essential for maintaining its health and appearance. You should mow at the appropriate height for your grass type, as cutting too short can stress the grass and make it more susceptible to weeds and disease.
Generally, it’s recommended to remove no more than one-third of the grass blade at a time to prevent shock. Keep your mower blades sharp to ensure clean cuts, which heal faster and reduce the risk of disease.
Fertilizing
Fertilizing your lawn provides the essential nutrients needed for strong, healthy growth. Depending on your grass type and soil conditions, you should apply a balanced fertilizer, especially during the growing seasons of spring and fall.
Nitrogen is the most crucial nutrient for grass, promoting green growth, but phosphorus and potassium are also important for root development and overall plant health.
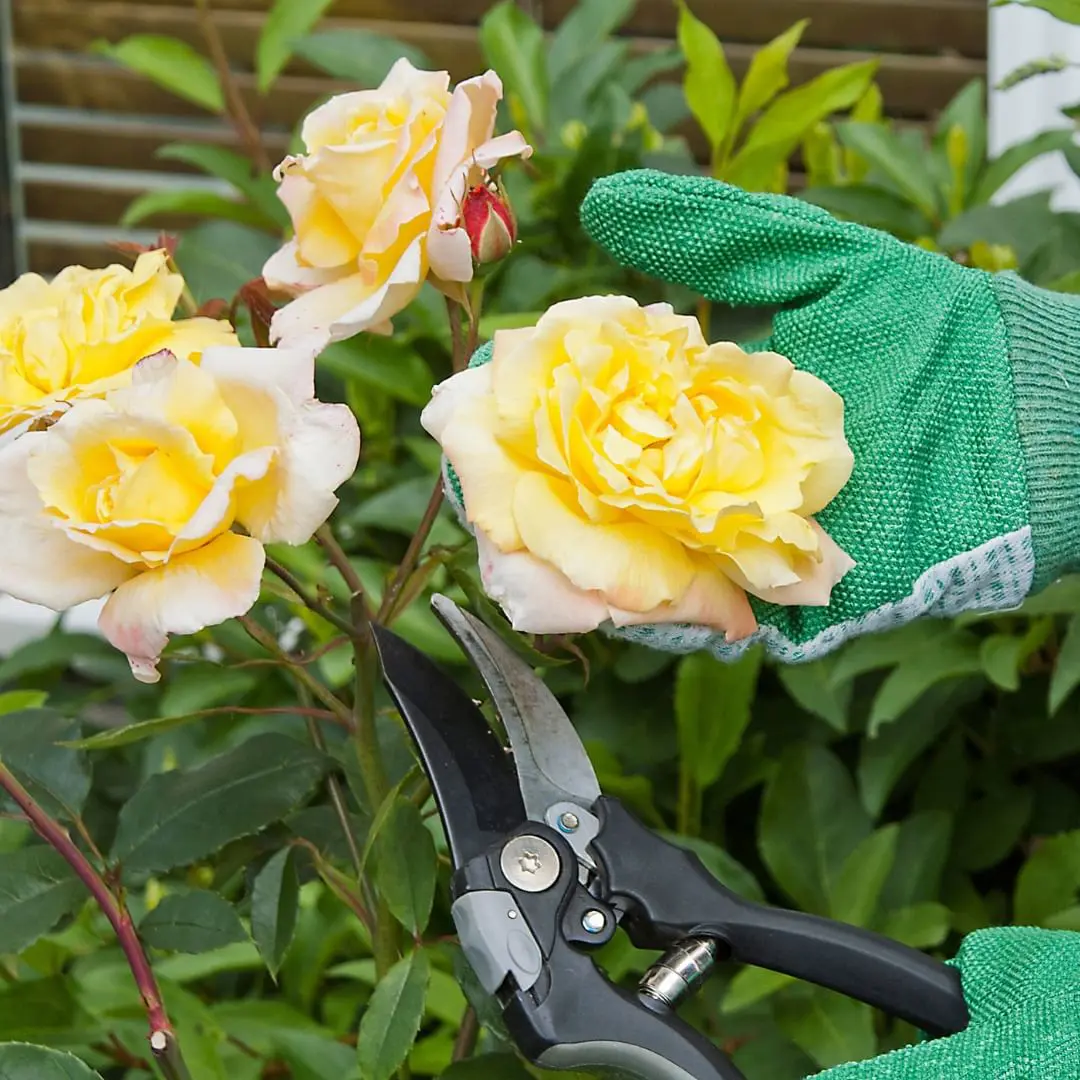
Weed and Pest Control
Weeds and pests can quickly take over a lawn if not managed properly. You have to regularly inspect your lawn for signs of weeds or pests. Early detection is key to effective control.
You can use pre-emergent herbicides in early spring to prevent weed seeds from germinating and spot-treat weeds with selective herbicides as they appear. For pests, use targeted treatments or integrated pest management practices to minimize damage while protecting beneficial insects and the environment.
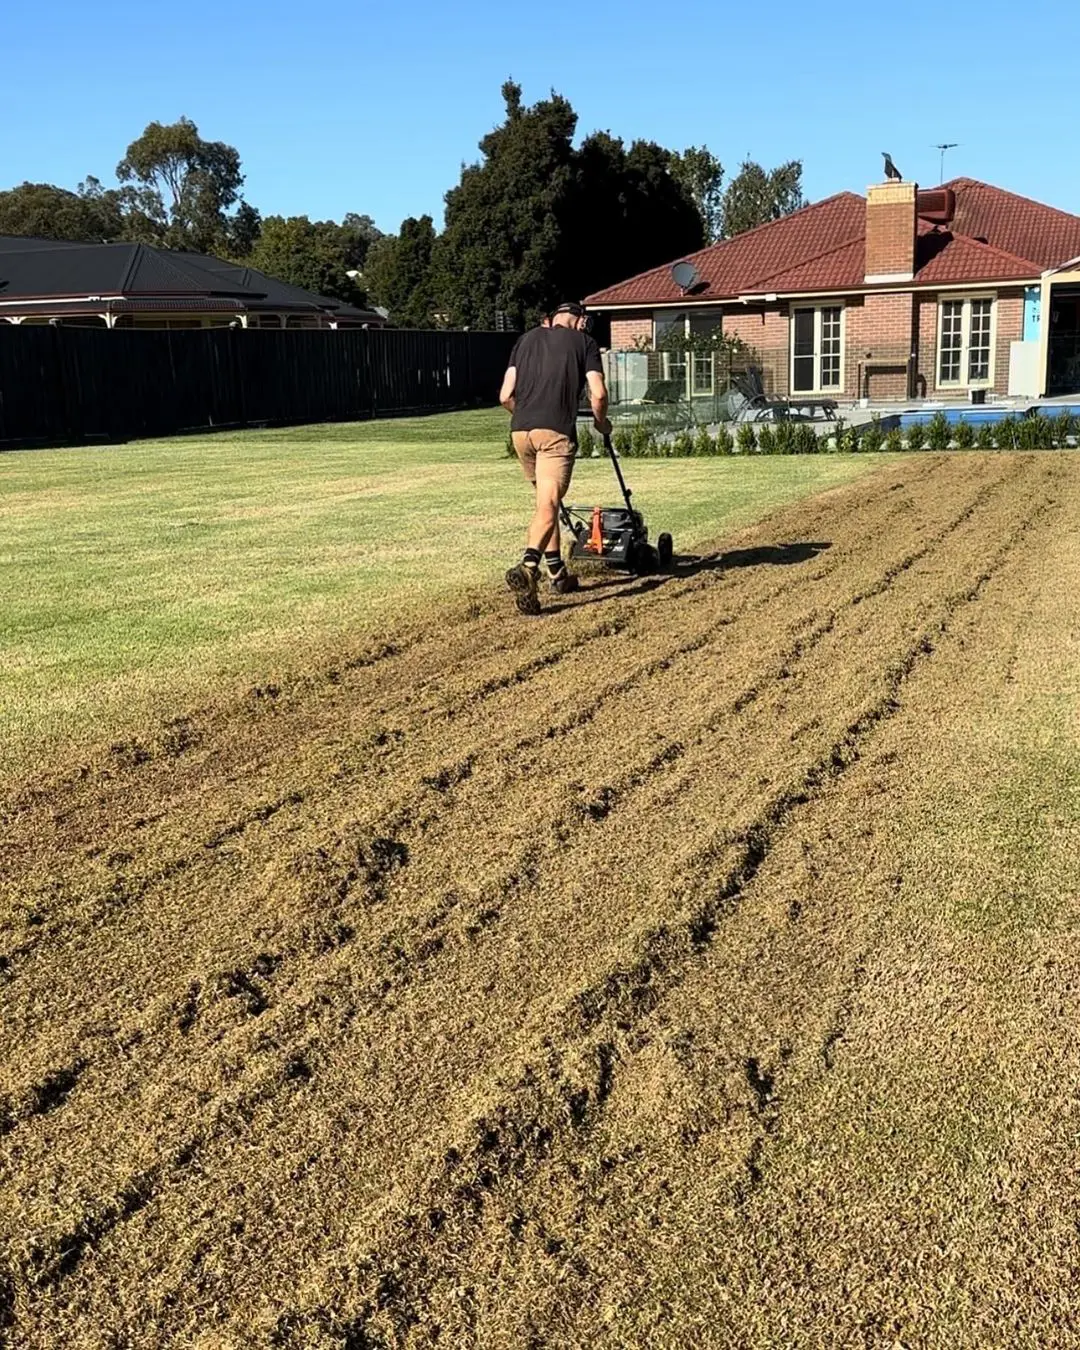
Aeration
Lawn aeration is a crucial practice that involves creating small holes in the soil to allow air, water, and nutrients to penetrate the grass roots. This process helps reduce soil compaction, which can inhibit root growth and lead to poor lawn health.
Aeration also enhances the effectiveness of fertilizers and promotes better water absorption. The best time to aerate your lawn is during the growing season when the grass can quickly recover, typically in the spring or fall.
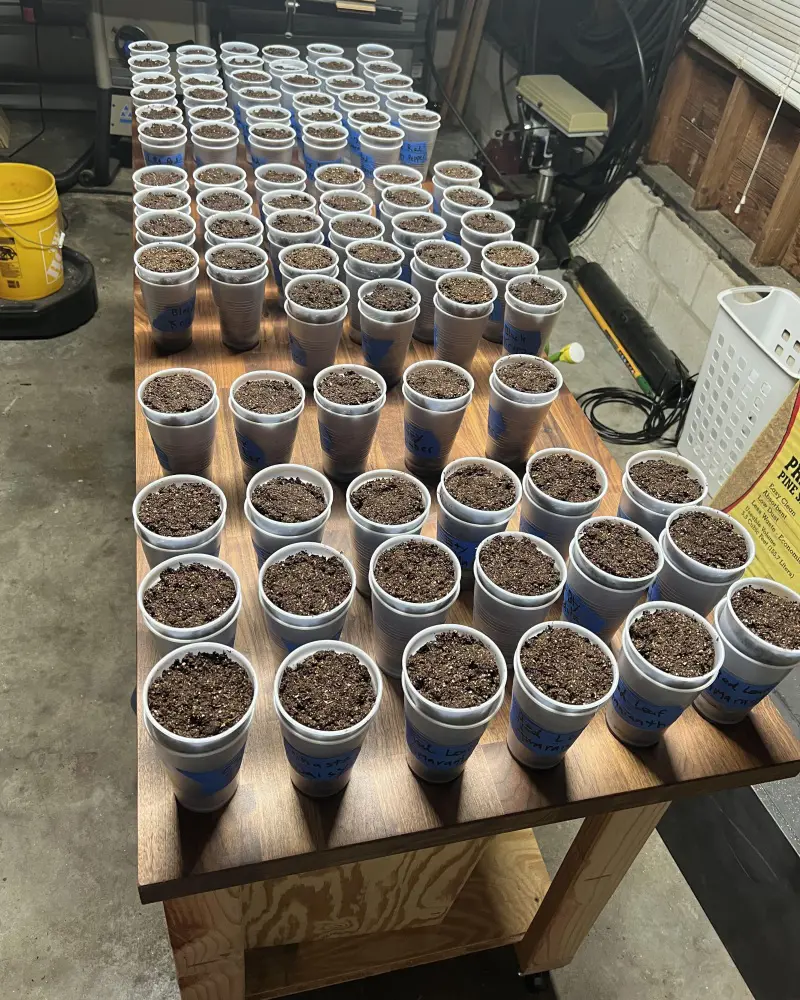
Seeding
Over time, your lawn may develop thin areas or bare spots due to wear, disease, or environmental factors. Reseeding, also known as overseeding, is the process of adding new grass seed to an existing lawn to increase its density and improve its overall appearance.
For best results, choose a seed mix that matches your existing grass type and apply it during the appropriate growing season. After seeding, keep the soil consistently moist until the new grass is well-established.
What Direction Should You Lay Sod?
It is generally recommended to lay sod in a staggered, brick-like pattern. This means starting each new row with a half piece to counterbalance the seams from the previous row.
This technique ensures a smoother, more uniform surface and helps to minimize the visibility of seams, resulting in a more aesthetically pleasing lawn.
Direction
When it comes to direction, you have to consider placing the sod parallel to the longest section of your lawn or towards the direction of the predominant wind. After following this approach, the sod blends in better and makes the lawn more natural-looking.
Installing sod perpendicular to a sloping lawn can improve water drainage and encourage even growth, reducing the risk of erosion and uneven settling.
How Long Do You Have to Stay Off of New Sod?
It is better to avoid walking on freshly installed sod for a minimum of two to three weeks. This allows the sod to take root and become firmly established in the underlying soil, which is crucial for the long-term health of your lawn.
During this period, the roots grow actively and anchor themselves, making them particularly vulnerable to disruption. It is advised to avoid putting too much foot traffic on the sod or interfering with root growth during this time.
Generally, the cost of sod installation ranges from $1 to $2 per square foot, including both the sod and installation labor. However, factors like type of sod, labor cost, and installation charges can make the price difference. Premium grass varieties like Zoysia or Bermuda may cost more.
To get a more accurate estimation, you can obtain quotations from local landscapers or sod suppliers. They will provide a detailed breakdown depending on your specific needs and current market prices.