Stinging nettle has been a staple in herbal medicine since ancient times. Its scientific name, Urtica dioica, comes from the Latin word uro, which means “to burn,” because its leaves can cause a temporary burning sensation upon contact.
Stinging nettles requires correct location, soil preparation, and plant spacing. The information provided in this guide will include instructions to follow to grow stinging nettle, and tending them for proper yield.
Where & When to Plant Stinging Nettle
Location and Light
Stringing Nettle requires sunlight enough to foster growth but not so much as to cause stress or scorching. Too little light can lead to leggy plants stretching for the sun, while too much can cause the leaves to lose their vibrant color.
Use reflective surfaces to distribute light evenly and monitor the plant's growth, adjusting the setup as needed.
Soil Requirements
Soil requirements play a crucial role in the taste of nettle. It seems the dryer the spot in the spring they are growing in and/or the later in the season, the poorer the taste.
The tastiest seem to grow in damp, rich soils by river banks as soon as you can get them. If you need to find or make a location that is damp in the spring where the soil is very rich.
Stinging nettles should be planted at appropriate intervals to allow sufficient space for growth and production. Space individual plants 18-24 inches apart to cover the ground.
This type of spacing is useful so they do not congest hence being prone to diseases due to poor air circulation. It is recommended that one should space the rows 3-4 feet apart when planting in rows.
Planting Time
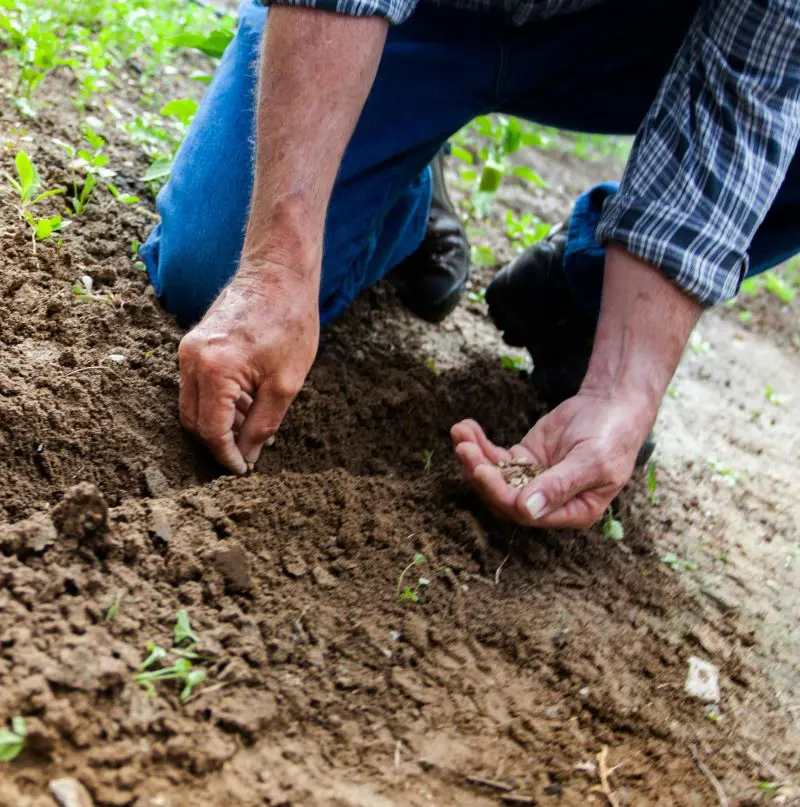
Nettles are easily grown from seeds sown where you want the plants to grow in late winter or early spring. Nurseries seldom sell potted plants, but any gardener who has nettles will have plenty of plants to share.
Early spring is the best season to dig and move stinging nettles. Young plants need water to become established, but become more drought tolerant with age.
How To Grow Stinging Nettle: Step-By-Step Instructions
Prepare the Soil
When deciding on where to grow your stinging nettles, start by tilling the earth to create the best environment for the plant. Select an area that has loamy soil that is capable of draining well and contains a good amount of organic compost.
Also, amend the soil using compost or aged manure to enhance soil fertility and tilth.
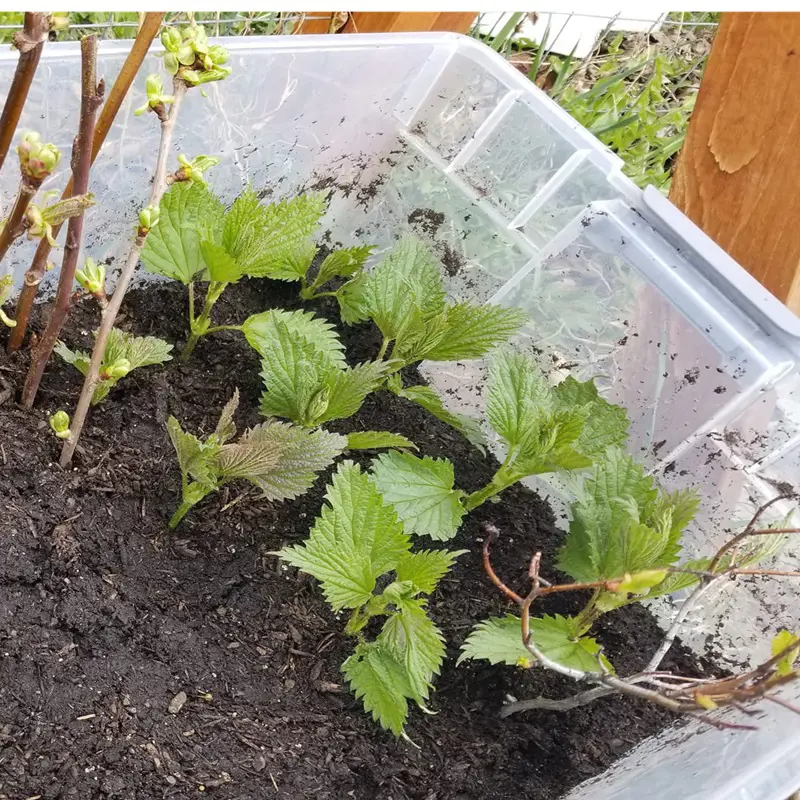
After the soil is ready, plant the seeds directly onto the garden bed or the containers. Wait until the soil is out of frost if direct sowing in the garden. Place the seeds an inch deep into the soil with 2-3 inch spacing between them. Plant them in rows, or small hills to enhance drainage, and subsequently soil heat.
Watering
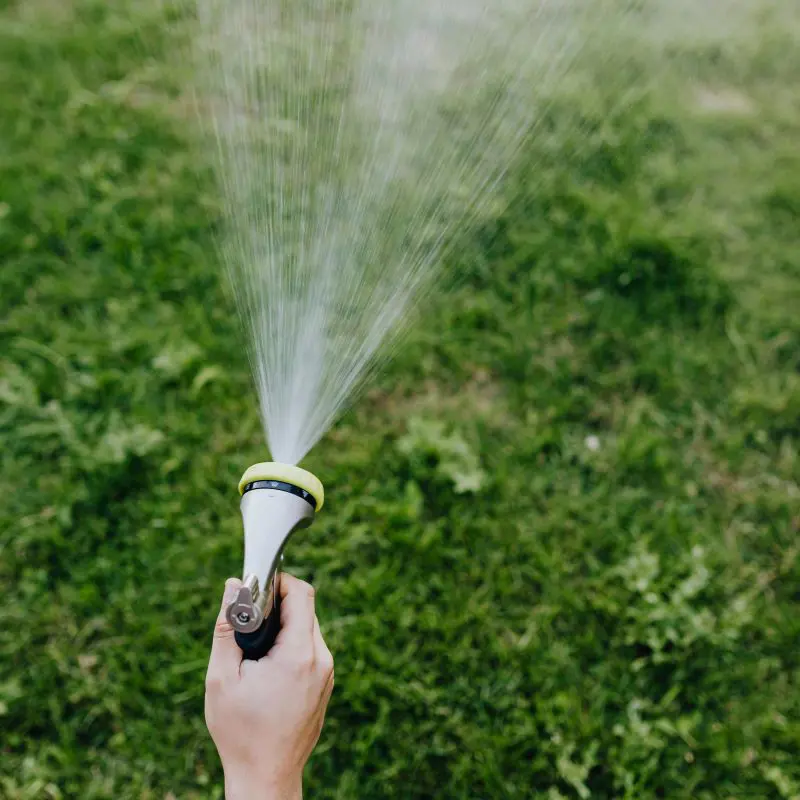
After planting, ensure that the seedbed is well irrigated to enable germination to take place. It should be moist but not too wt-it helps to maintain humidity level throughout the entire process. During dry weather, one needs to water the plants more often especially to provide enough moisture for the growth of the plants.
Thinning Seedlings
While growing, some plants will require thinning so they will have enough space to grow properly. After two weeks, select the healthiest and most robust plants and thin them 7.5-30cm apart.
Spacing enables air to circulate, minimizes disease transfer, and enables the plants to reach their full optimum size. If you planted in hills, take out all seedlings except one per hill.
Supporting the plants
Stinging needles are in bush form. Though stinging nettles are strong enough may require little support or some sort of support structure. Select the support stand while planting to provide support to the growing plant then go straight to sky facing. Make sure that the supports are strong and can take the weight of the plant.
Monitoring Growth
Try to check the growth of your stinging nettles frequently. Check for symptoms that indicate certain nutrient deficiencies or, the presence of pests and diseases.
Look to see if the leaves have developed any blotches or spots and examine the stems and soil for signs of blight or infestations. Make sure that the plants have enough space and light as they grow.
How to Care for Stinging Nettle
Growth Habit
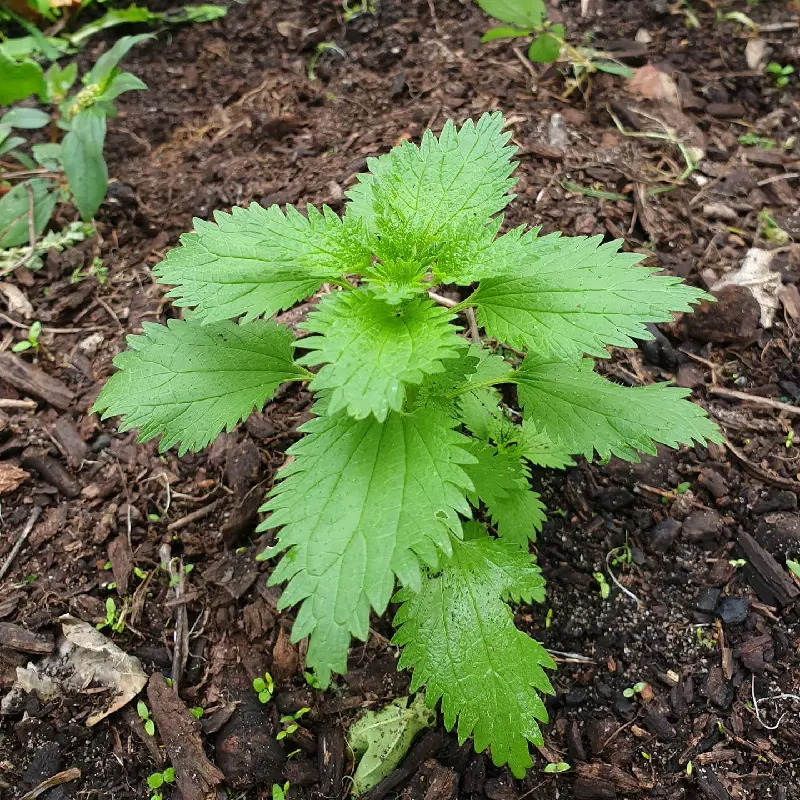
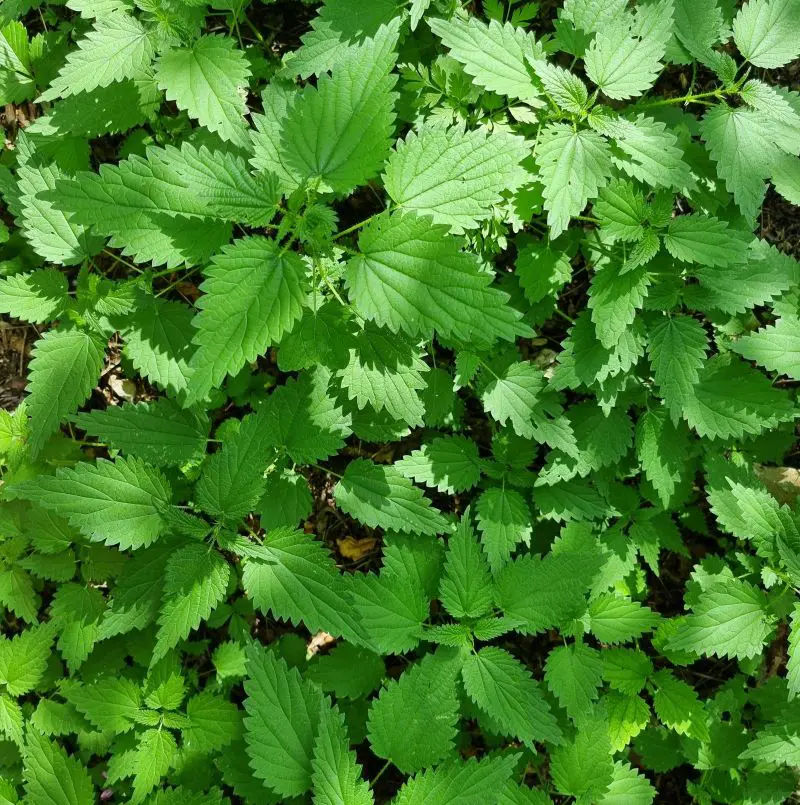
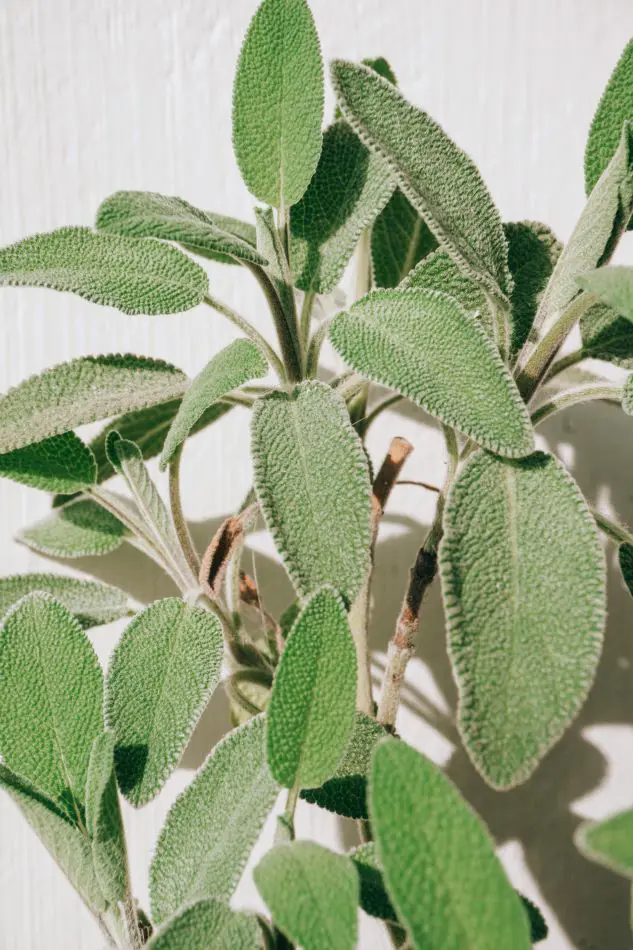
Stinging nettles typically reach up to the maximum height of 2 to 7 feet with straight stems covered in stinging hairs. the leaves are dark green colored, heart-shaped, and grow in opposite directions.
Each leaf has edges and is covered in stinging hairs, facing the sky and ground. nettles thrive in moist, nutrient-rich soils and can form dense colonies due to their extensive rhizome system.
Irrigation is almost important in every form of plant. The soil should be kept moist at all times but must not be waterlogged. Water deeply and more often to stimulate root development to minimize the frequent necessity of water. To minimize diseases such as powdery mildew, it is recommended to water the plant at the base rather than the leaves.
Fertilizing
Stinging nettles need to be fed often to provide energy for their growth as well. Organic matter such as a balanced fertilizer or well-aged compost should be applied every 4-6 weeks throughout the growing season not over-fertilize the plants because this will lead to more development of foliage rather than fruits.
Mulching
There are various advantages of mulching around nettle plants. Top the soil with a 2-3 inch layer of mulch including straw, grass clippings, or shredded leaves around the stem of the plants. By maintaining the soil moisture content, modulating the soil temperature, and controlling the growth of weeds.
End-of-Season-Care
Pruning
Cutting stinging nettle enhances the rate of airflow and minimizes disease incidence. Prune, first, involves the removal of dead or diseased leaves from the plant. Pinch off some of the excess growth if the plants are too crowded so that the plants do not compete for light and air.
Cutting should be done with clean, sharp scissors or pruners so as not to cause harm to the remaining plant parts. This practice is important in managing the overall health of the plant.
Harvesting Seeds
If you want seeds of stinging nettles for planting for another season and another space, then follow these instructions. Collect the seeds wearing protection gear. Dry the seeds in a paper bag and store them in a cool and dry place.
Soil Management
Apply a layer of organic mulch for better structure of soil and better air circulation. Maintain space on the stem and surface while mulching to avoid rot. Mulching helps to protect the roots during winter and avoids weeds. It is recommended to add compost to the soil to boost the soil quality and prepare plants for next season.
Protection
Measures such as covering stinging nettle plants from adverse weather and insects can improve the general health and yield of the plants. Employ row covers to protect young plants from pests and adverse conditions.
In regions with high temperatures use shade cloth to avoid overheating of the plants. Make sure that the row covers are removed or raised at the time of flowering so that pollination occurs. In colder regions, it is advisable to use cloches or cold frames to help the plant grow longer and shield it from frost.
How to Propagate Stinging Nettles: Step-by-Step Instructions
Transform your garden into a nettle haven with these foolproof propagation techniques for endless greenery.
Identifying the right candidates for division is crucial. Mature Stinging Nettle plants will have reached a sizeable spread, typically around 0.6 x 1 meter, and may show signs of flowering.
Look for robust growth and a healthy root system, as these will ensure the best start for your new plants. Choose early spring when new growth is just beginning.
Seed Propagation
Seed collection
Collecting seeds from Stinging Nettle is a straightforward process, but timing is key. Aim to gather seeds in late summer to early fall when they have matured and turned brown.
Wear gloves to protect your skin from the plant's stinging hairs. Look for mature seed clusters that are dry and brown. Snip the seed heads off and place them in a paper bag to dry further if necessary.
Sowing seeds
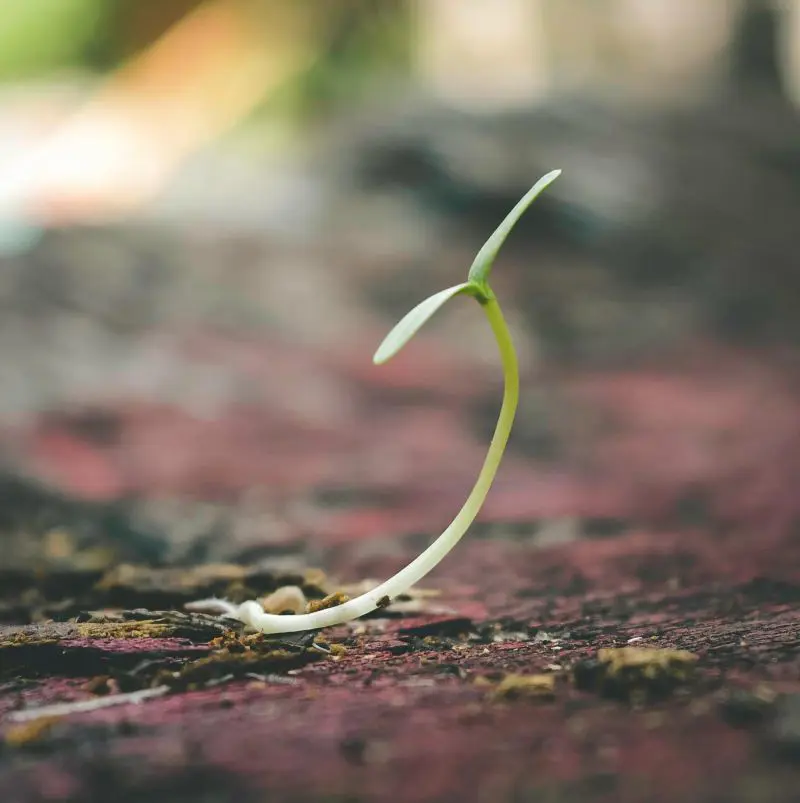
Sowing Stinging Nettle seeds requires a gentle touch and a bit of patience. Fill a tray with a quality potting mix and scatter the seeds on the surface. Press the seeds lightly into the soil without completely burying them; they need light to germinate. Mist the soil to keep it lightly moist, ensuring it's not waterlogged.
Creating the ideal conditions for seed germination will give your Stinging Nettle the best start. Place the tray in a warm area with indirect light; a consistent temperature is crucial.
Keep the soil moist but not soaked to prevent mold or rot. Expect to see sprouts within 14 to 21 days, after which you can begin to gradually acclimate the seedlings to outdoor conditions.
Stem cuttings
Taking cuttings
Stinging Nettle stem cuttings are your ticket to new plants, and timing is everything. Aim for spring or early summer when the plant's vigor is at its peak. Choose healthy stems with a robust appearance.
Snip a section about 10cm (4 inches) long, just below a leaf node, as this is where roots are eager to emerge. Use clean, sharp scissors or pruning shears to make a clean cut.
Rooting cuttings
Rooting your cuttings is like setting the stage for a grand performance; it's all about the right environment. Insert the cutting into a moist, well-draining substrate, such as a mix of peat and perlite. Ensure the leaf node is buried, as this is where roots will develop. Cover with a plastic bag or place in a propagator to maintain humidity.
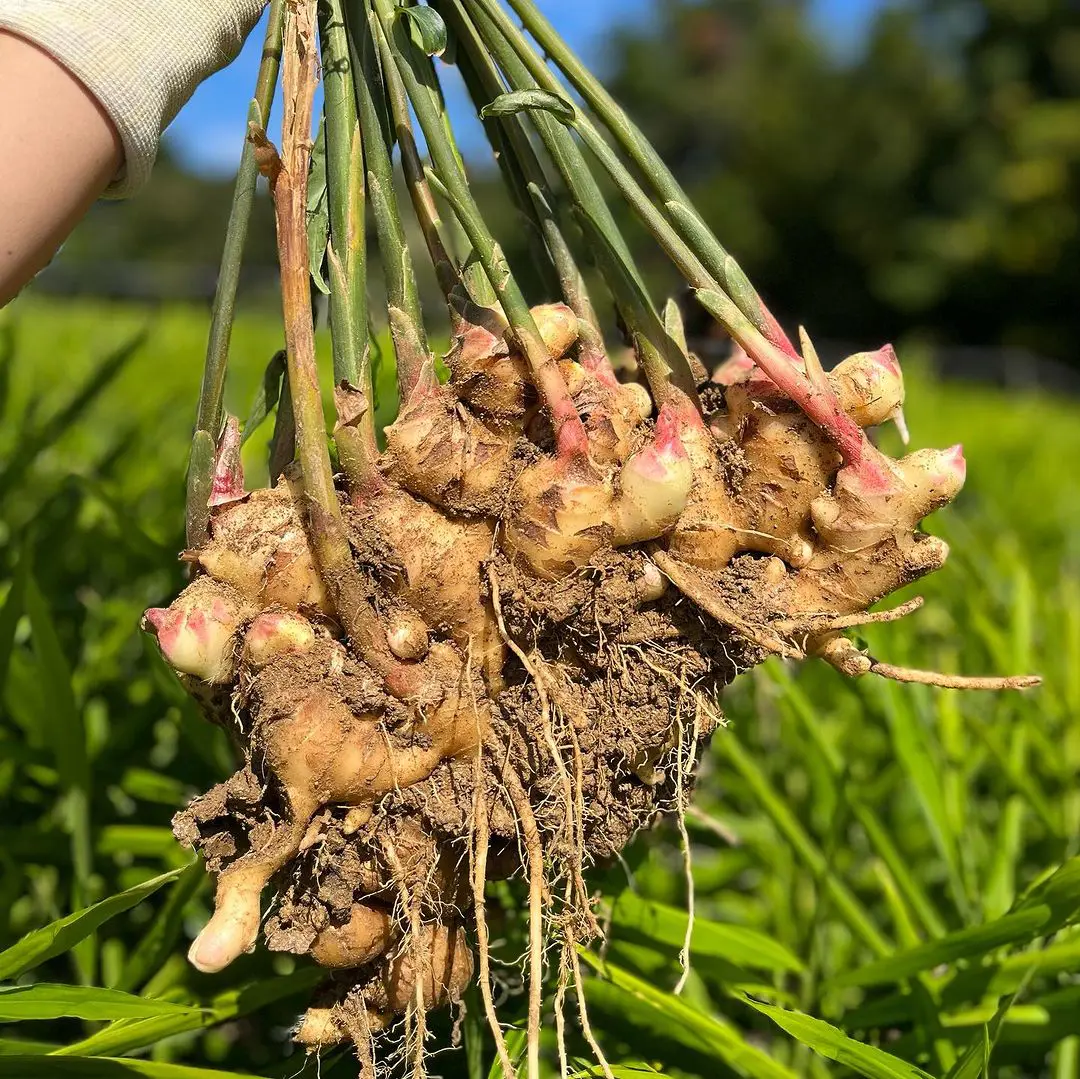
Rhizome Cuttings
Harvesting Rhizomes
Harvesting rhizome cuttings from Stinging Nettle is all about timing and technique. Choose early spring or late autumn as your harvesting windows. This is when the plant's energy is concentrated in the roots.
Look for rhizomes that are large and firm, indicating at least 2-3 years of growth. Wear gloves and long sleeves to protect yourself from the sting.
Planting Rhizomes
Prepare a planting bed with rich, well-draining soil. Plant the rhizome sections horizontally, about 1-2 inches deep. Space the cuttings about 12 inches apart to give them room to grow. Water the soil thoroughly after planting.
Transplanting Nettle
Timing
The prime time for transplanting stinging nettle is during the gentle warmth of late spring to early-mid summer. This period provides optimal conditions for root establishment, as the soil is warm and the harshness of summer heat has not yet set in.
Moving stinging nettle during this season ensures it has ample time to adapt and thrive, benefiting from the longer days and mild temperatures.
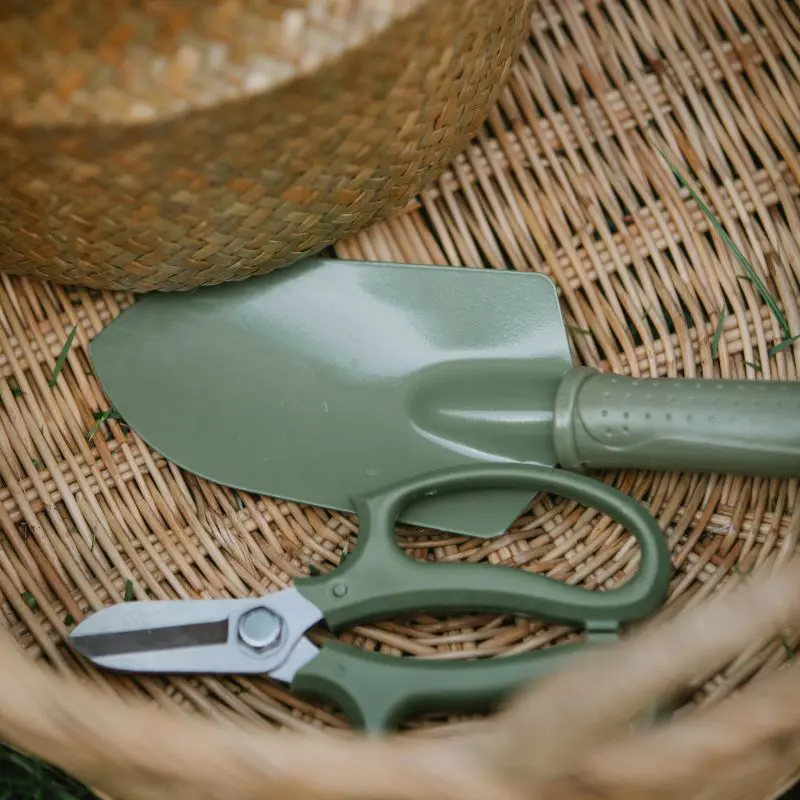
To protect your hands from the stinging hairs of the stinging nettle. It is used to dig a hole for planting and remove the plant from its original location. This smaller tool can be used for transplanting stinging nettle from pots or seedling trays. It can be used to trim damaged or excess stems and roots to promote new, healthy growth.
Transplanting: Step-By-step
Step 1: Digging
Using your shovel or spade, prepare a hole that's twice as wide as the root ball of your stinging nettle. The depth should be the same as the root ball height.
Step 2: Preparing the Plant
If the stinging nettle plant is root-bound, gently tease out the roots with your fingers.
Step 3: Planting
Place the stinging nettle in the hole. Make sure the top of the root ball is level with the soil surface. Backfill the hole with soil, gently firming it as you go along.
Step 4: Watering
Once planted, water stinging nettle plant thoroughly. Continue to water regularly throughout the first few weeks after transplanting.
In early spring, as soon as plants show new growth, use scissors to snip off 4-inch (10 cm) stem tips. Wear gloves to protect your hands from stings. Thoroughly wash harvested nettles in a colander, spin or shake dry, and store in the refrigerator. Cleaned nettles can be dried for use as a nutritional supplement for humans or animals.
Lightly steam fresh spring nettles before using them in soup, pesto, or other cooked dishes. Any form of cooking destroys the stinging hairs. In late summer, plants can be cut back by half to control their size and prevent reseeding, with the foliage incorporated into compost to add nutrients.
Types of Stinging Nettle
Stinging nettle, or Urtica dioica, is a common plant that grows in the United States, Canada, and Europe. It primarily grows in damp, fertile soil. However, people may refer to many plants in the Urtica family as stinging nettle. Some of the types are mentioned here.
Urtica galeopsifolia
This has no stinging hairs, and people often refer to it as the stingless nettle. It is even found on dried-out mires and in eutrophic places such as livestock feeding stations on high mountains.
It often becomes overwhelmingly abundant beside lowland rivers, where fertilizers and topsoil washed down from farmland create ideal conditions.
Urtica gansuensis
This type of nettle has stinging hairs and is local to eastern Asia. It is a perennial or rhizomatous geophyte and grows primarily in the temperate biome. It has social uses, such as animal food, poison, and medicine, and for food.
Urtica gracilis
People may refer to this as the American stinging nettle. It is not frost-tender. It is in flower from June to August. The species is dioecious (individual flowers are either male or female, but only one sex is to be found on any one plant so both male and female plants must be grown if seed is required). and is pollinated by Wind.
This may have stinging hairs or are hairless, and it is native to central and southwestern Asia. it is considered invasive because of its nuisance value even within its native range, particularly in waste places, especially since its stinging hairs can cause painful welts on human and possibly animal skin.