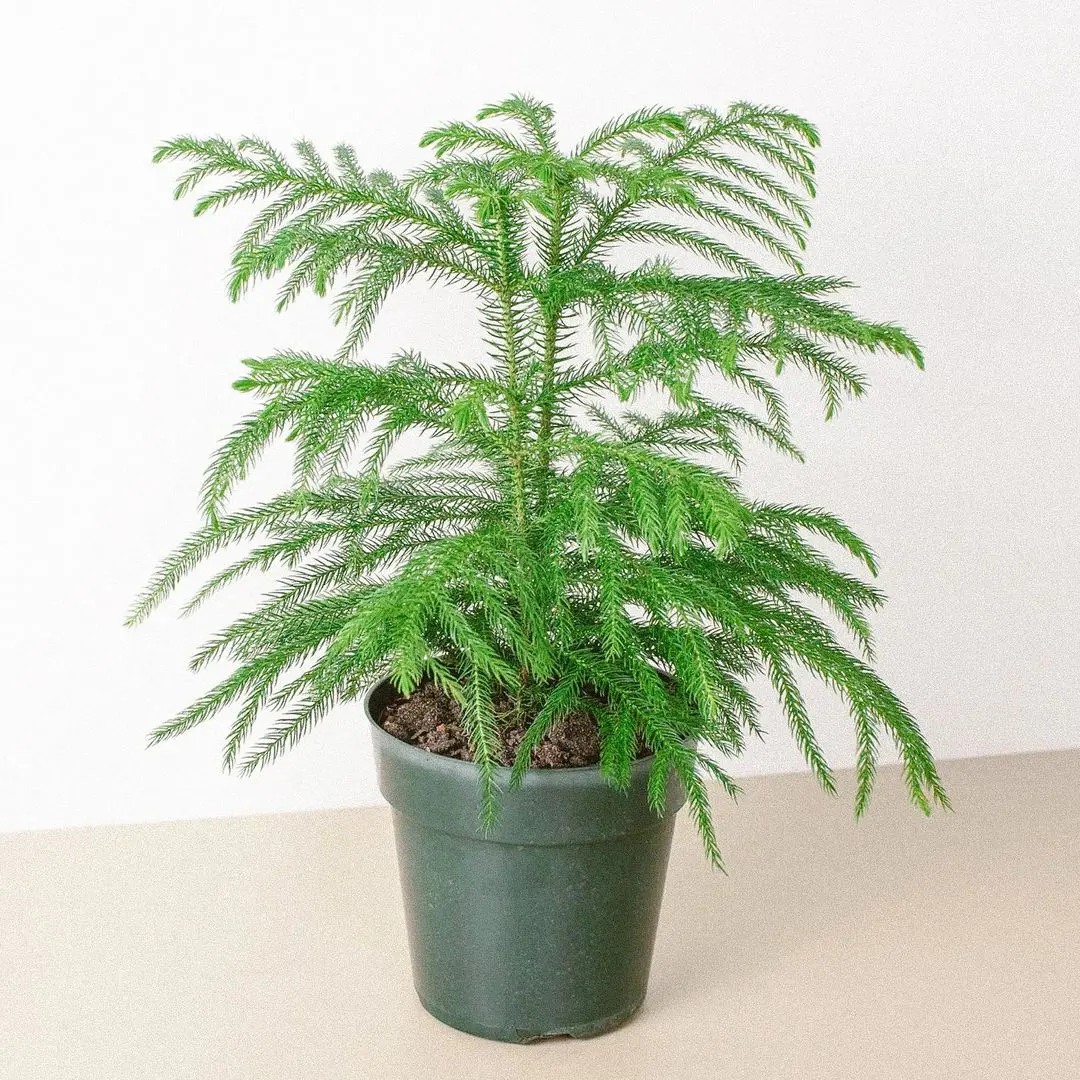
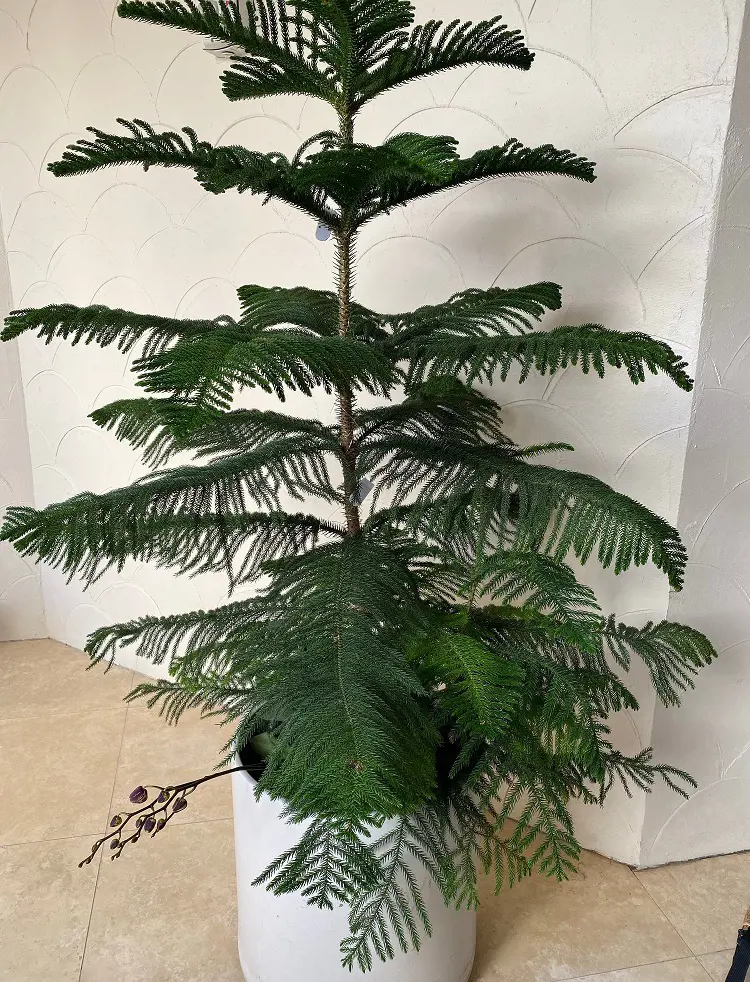
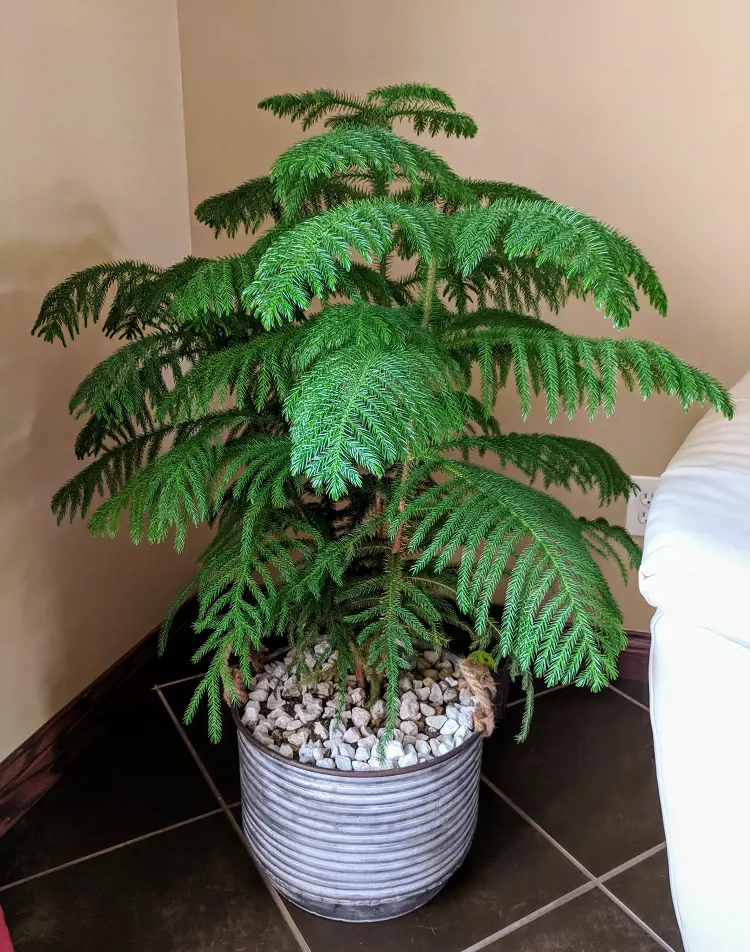
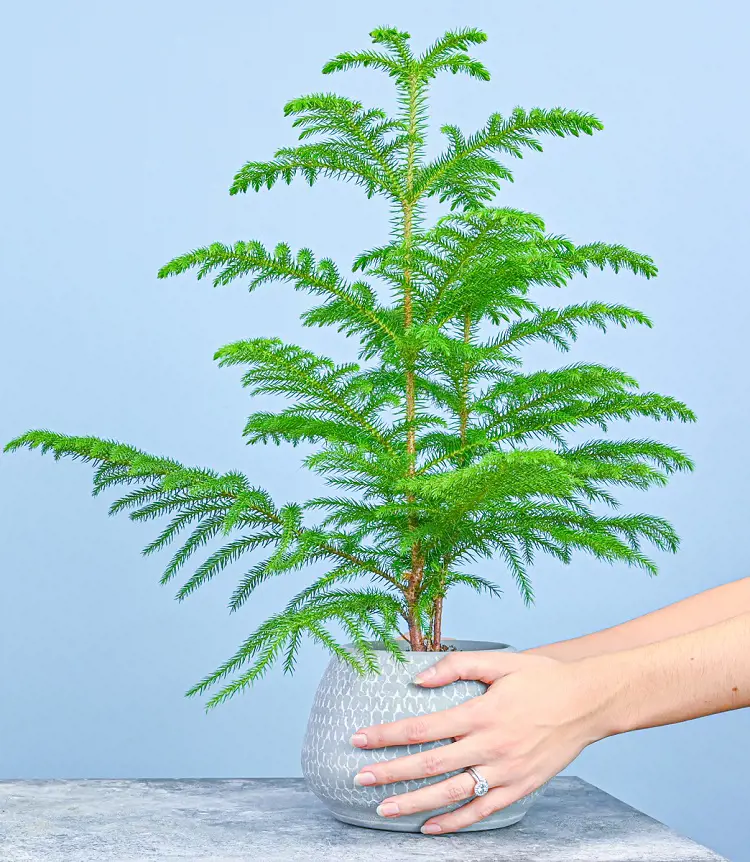
Norfolk Island Pines are not only a delightful addition to indoor spaces but also boast ease of care. While these plants are commonly associated with the holiday season, they are available year-round and are not limited to festive occasions.
Despite its popular name, the Norfolk Island Pine doesn't belong to the pine family; instead, it is part of the ancient Araucariaceae lineage, a group of cone-bearing trees.
This article will delve into the characteristics of this unique plant and provide a comprehensive guide on how to care for and cultivate it, so read till the end to understand this tall houseplant.
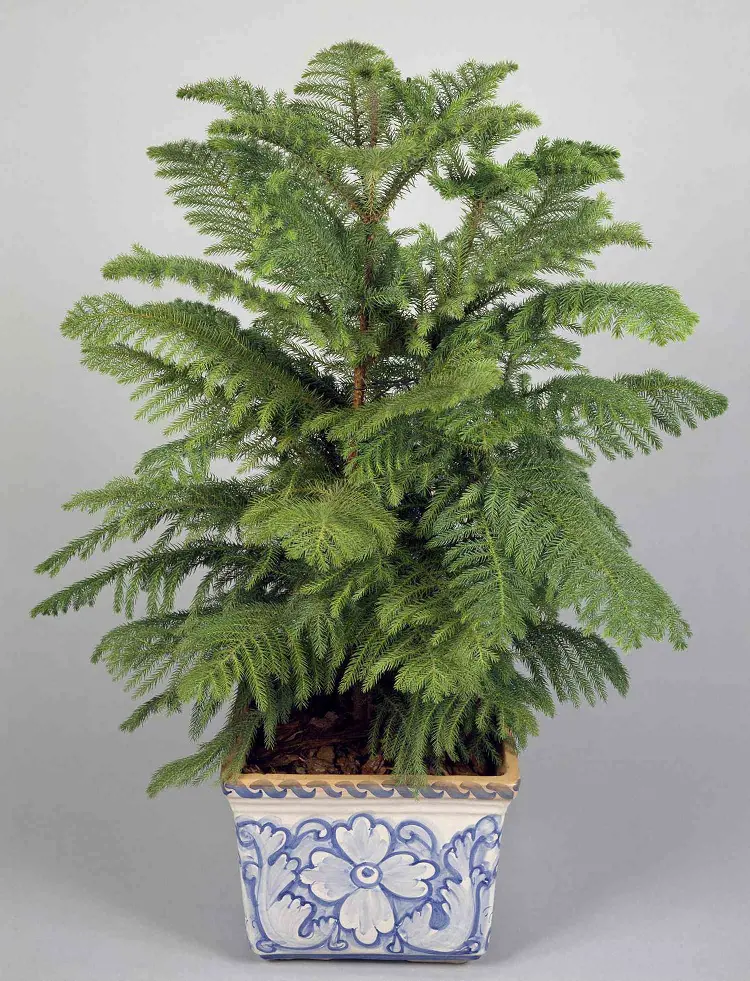
The Norfolk Island Pine, scientifically known as Araucaria heterophylla, is a distinctive and popular plant among enthusiasts for its unique characteristics. Here's some additional information about this tropical gem:
Common Names: Norfolk pine, Norfolk Island pine, Australian pine.
Botanical Name: Araucaria heterophylla.
Family: Araucariaceae.
Plant Type: Tree.
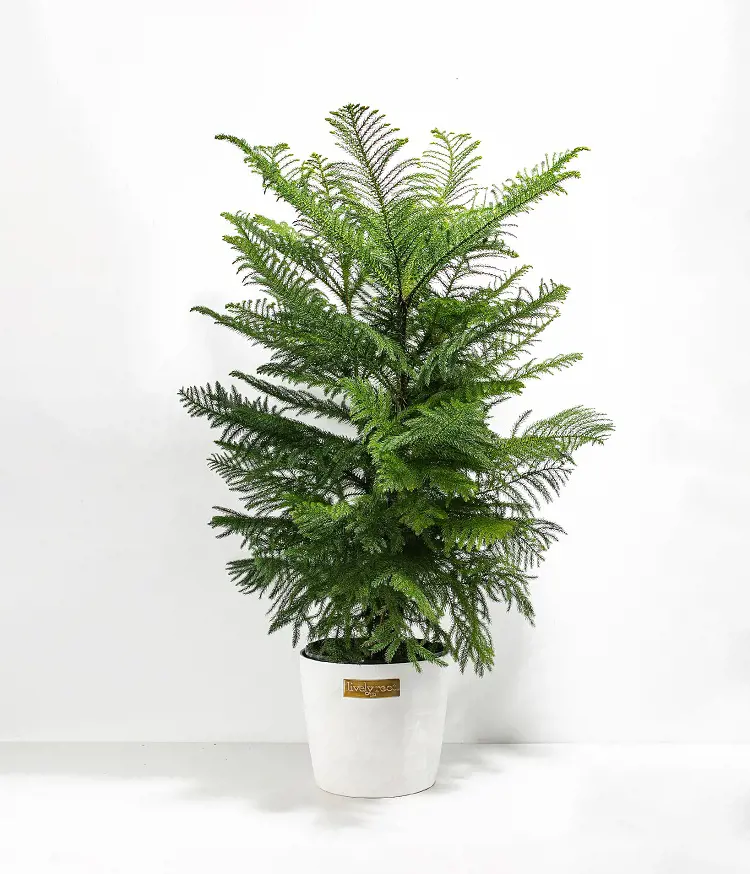
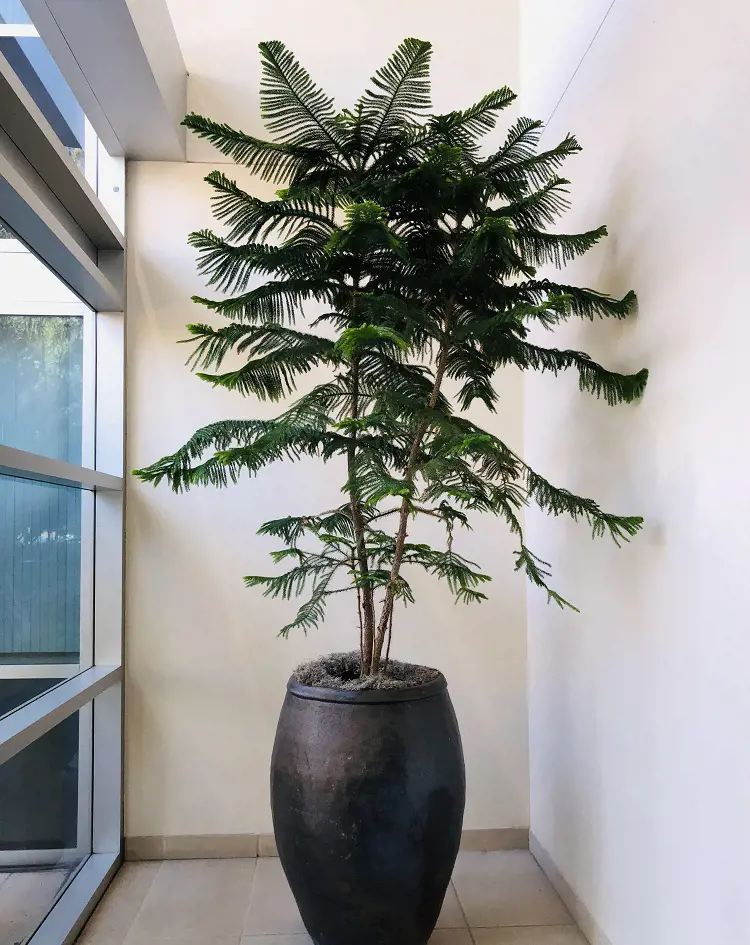
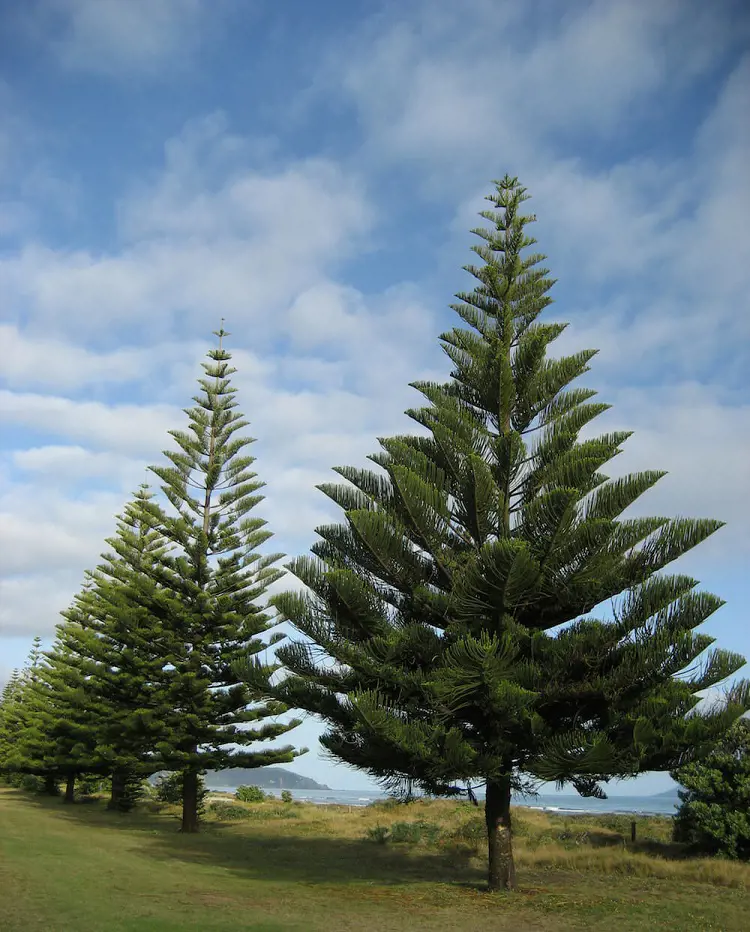
Mature Size: The Norfolk Island Pine can reach heights ranging from 3 to 200 feet, with a width of 3 to 25 feet.
Sun Exposure: It thrives in full to partial sunlight.
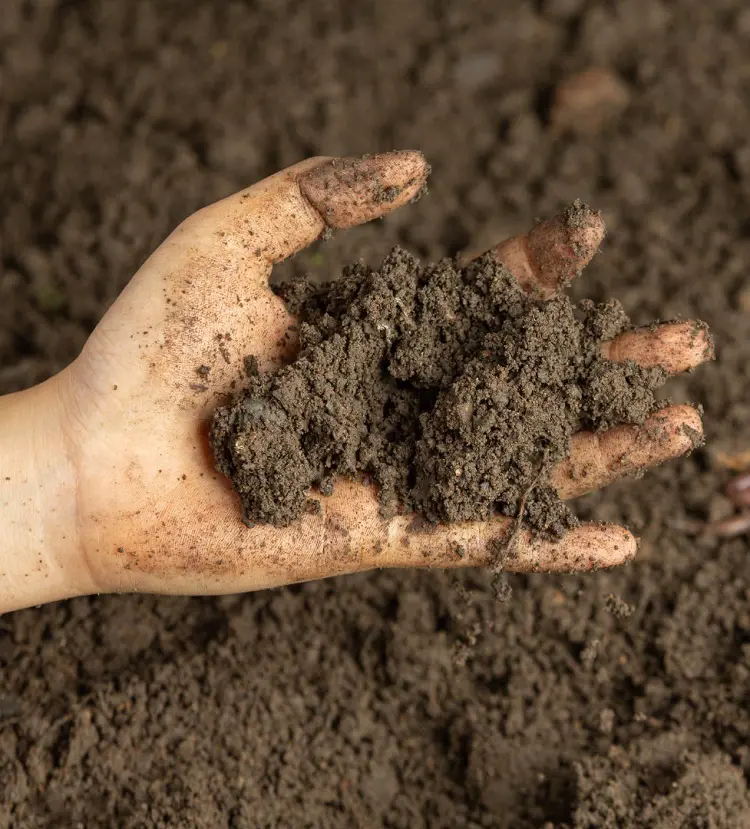
Soil Type: Well-draining, sandy soil is preferable for this plant.
Soil pH: It prefers acidic soil conditions.
Hardiness Zones: Norfolk Island Pine is suitable for USDA hardiness zones 10-11.
Native Area: Indigenous to the Pacific region, specifically Norfolk Island.
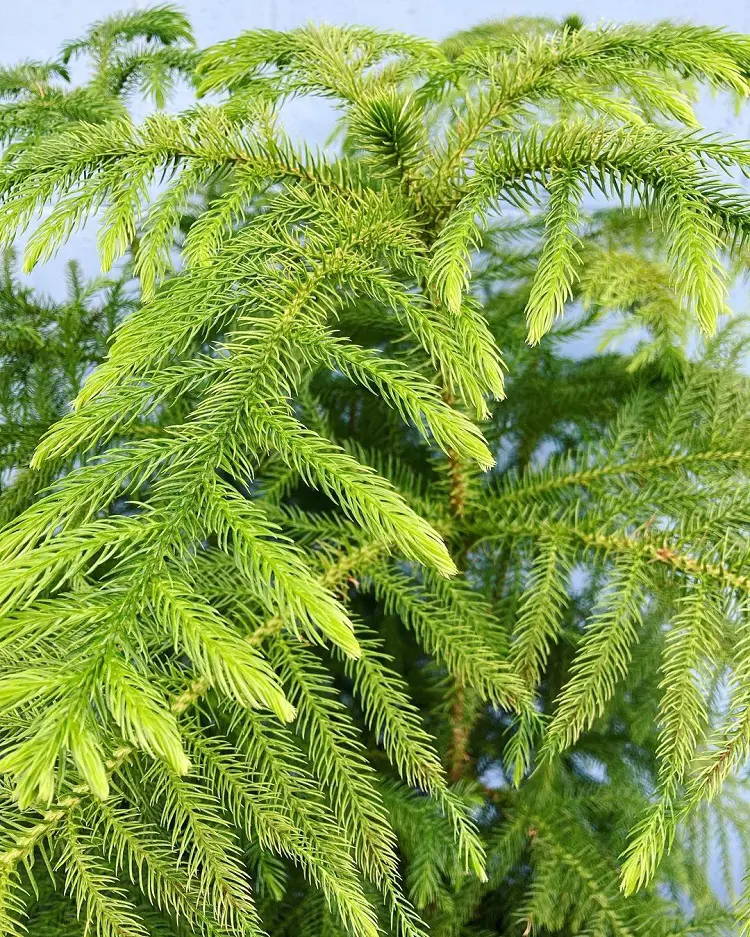
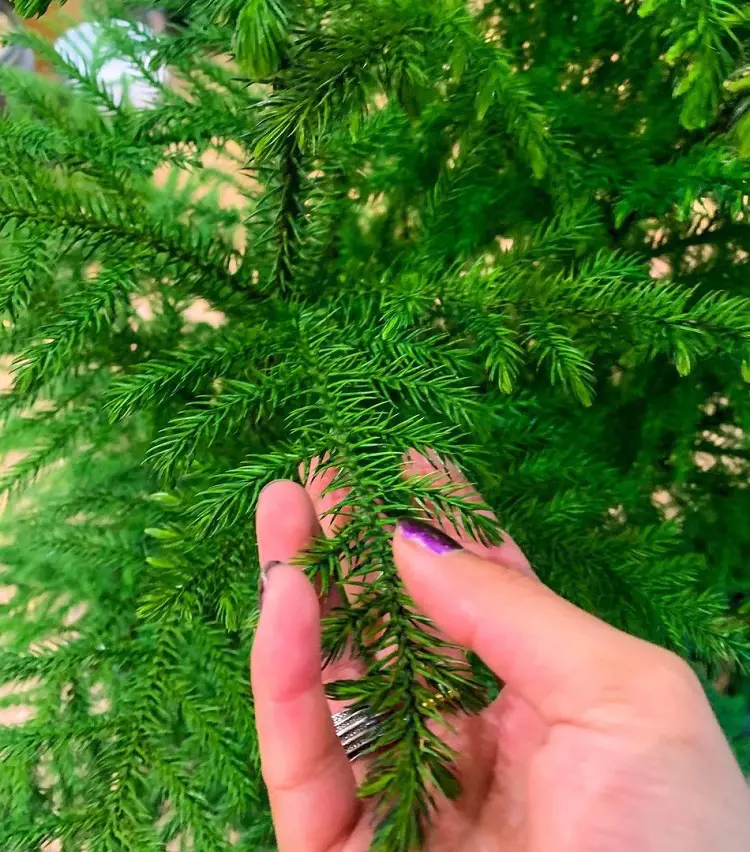
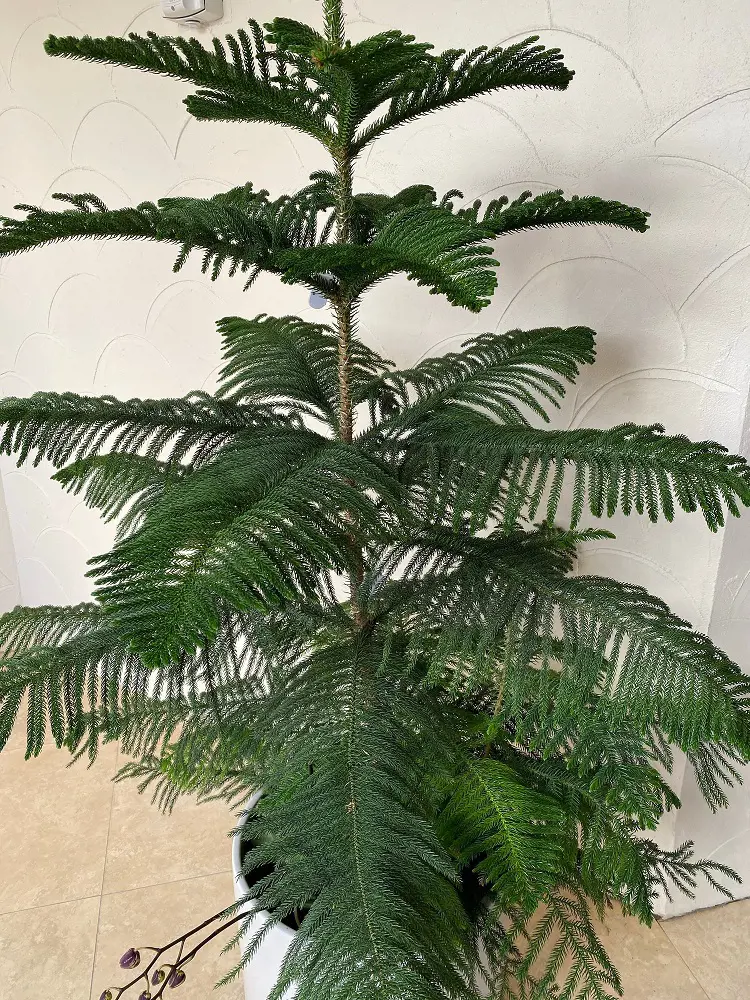
Needle-Like Branches: The plant is characterized by delicate, needle-like branches that give it a distinct appearance.
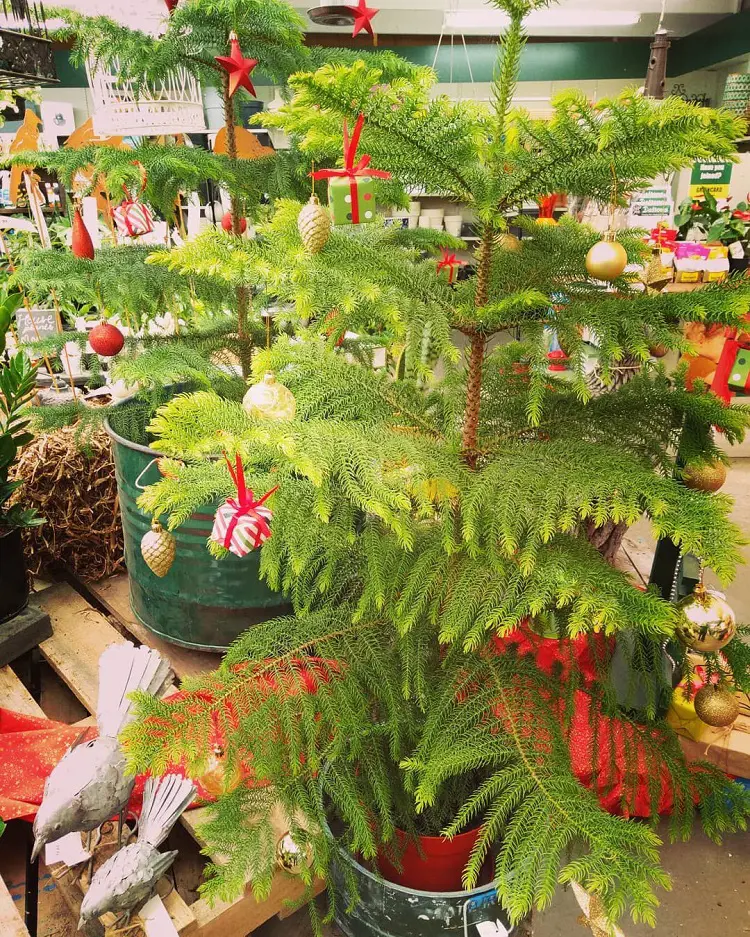
Versatility: Often used as a mini Christmas tree during the holiday season due to its charming structure, the Norfolk Island Pine remains attractive and stylish throughout the year.
Greenery and Elegance: Even without holiday decorations, the plant maintains its innate elegance and cheerful greenery, providing a sense of calm and joy to any space.
To ensure your Norfolk Island Pine thrives and maintains its vibrant greenery, follow these guidelines on care, growth, and pruning.
Norfolk Island Pines plant, native to the South Pacific, loves bright but indirect sunlight. They're like Goldilocks; not too much, not too little. Set them by a window with soft, filtered sunlight.
Direct sunlight for too long might make their needles sunburn, so it's like finding the perfect balance; not too hot, not too shady. Keep them in that sweet spot, and your Norfolk Island Pine will be a happy, sun-kissed delight, thriving in its new home.
For a happy Norfolk Island Pines indoor plant, choose soil that lets water flow easily, preventing root drowning. They like slightly acidic conditions, so a blend of peat moss, pine bark, and perlite works great.
If it starts feeling cramped in its pot, give it more space every 2-3 years. It's like moving to a bigger home when you outgrow your space. This keeps your pine friend thriving and content.
Keep your plant's soil like a damp sponge; consistently moist but not soggy. Think of it as finding the sweet spot between a dry desert and a waterlogged swamp. Let the top layer (about an inch) take a breather and dry out before giving it a drink again.
When it's time to hydrate, use room-temperature water; your plant likes it lukewarm. And here's a tip: make sure the pot has good drainage, so excess water has an escape route. This prevents a soggy situation and keeps your plant's roots happy, avoiding a drowning risk called root rot.
Keep your Norfolk Island Pine cozy by maintaining temperatures between 65-72°F (18-22°C). They enjoy a bit of humidity, so consider giving them a mist or placing a water tray close by; think of it as a little spa treatment.
Shield them from drafts and sudden temperature swings, much like you'd avoid chilly breezes or abrupt changes in your own comfort zone. By creating a stable and pleasant environment, you're ensuring your Norfolk Island Pine feels right at home and can thrive happily in its preferred temperature and humidity range.
During the spring and summer months when your Norfolk Island Pine is actively growing, you should fertilize it every 6 to 8 weeks with a balanced liquid fertilizer. During times of increased metabolic activity, this deliberate nutrient application helps to maintain the plant's health and vitality.
But, since the plant slows down its growth in the autumn and winter, you must be very careful when applying fertilizers during those times. In order to best accommodate the plant's natural dormancy and decreased metabolic needs, it is advised to either reduce or completely stop fertilizing during these times.
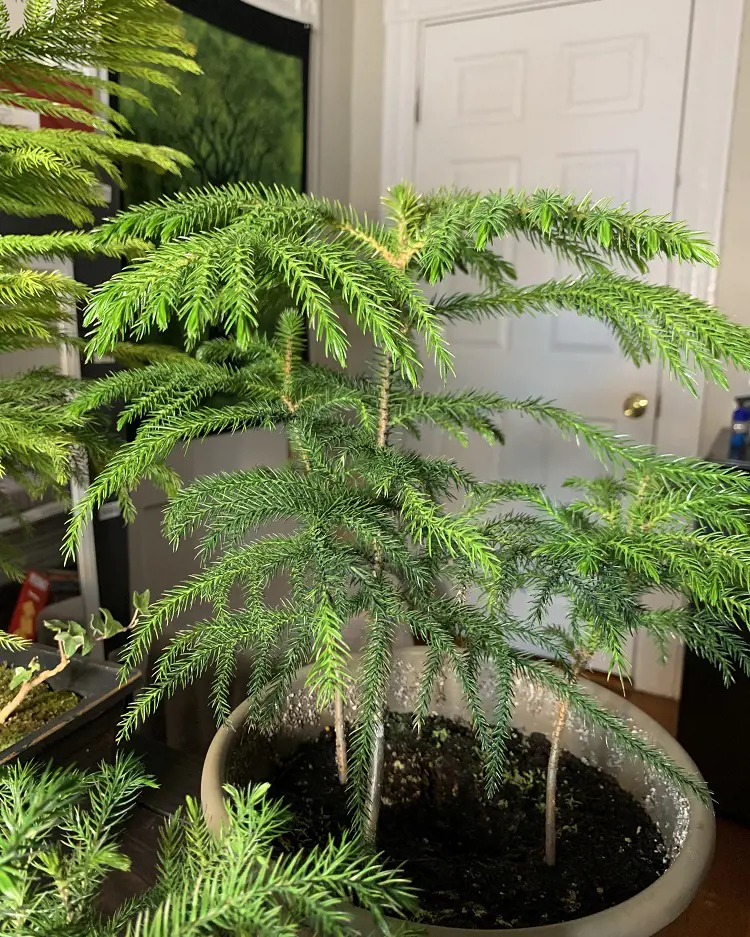
Because of their evergreen status, Norfolk Island pines can grow to be quite tall indoor plants. Pruning the growing tips on a regular basis will help control their size and encourage desired growth traits.
With this technique, soft, emerging foliage is carefully clipped or pinched in order to encourage a bushier, more compact form. Take care not to remove too much foliage in one sitting, as this could be detrimental to the overall health of the plant.
With the use of these size management strategies, it is possible to maintain an attractive and well-managed growth pattern for Norfolk Island Pines in an indoor environment.
Caution: Never cut off the tips of the Norfolk pine trees, and trim side branches only very infrequently for balance.
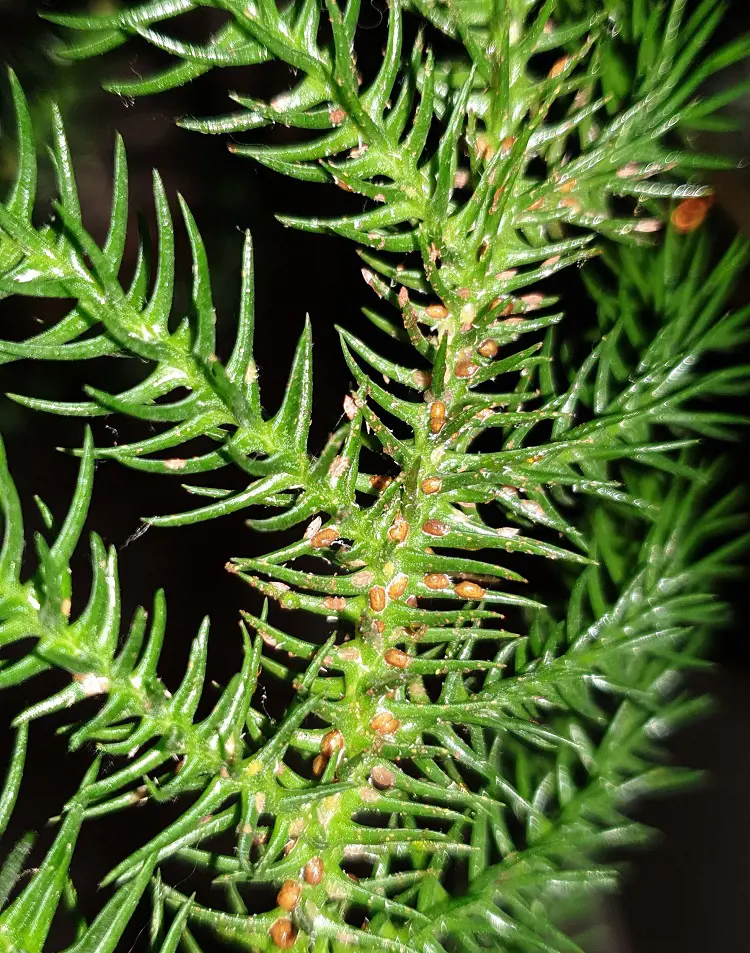
Keeping an eye out for common pests like scale and spider mites is essential to keeping your Norfolk Island Pine healthy. Check your plant frequently for indications of infestation. If pests are found, it's best to deal with them right away using insecticidal soap or neem oil, among other appropriate measures.
These treatments minimize damage to the plant while working effectively against specific pests. If there is an infestation, you should think about severing the afflicted Norfolk Island Pine to stop the pests from moving on to other plants in the area.
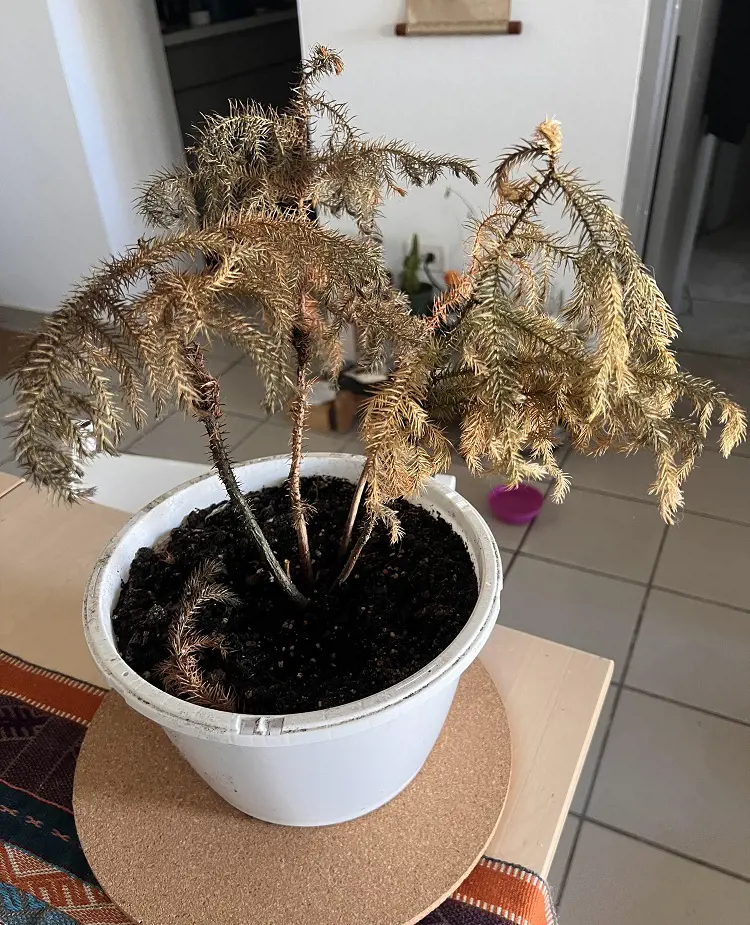
Indicators like yellowing needles, browning tips, or early leaf drop could indicate several problems, such as flooding, submersion, or inadequate light exposure. To address these issues and maintain the Norfolk Island Pine's ideal state of health, prompt action is required.
Make careful measurements of the surrounding environment and make appropriate adjustments to your watering schedule. Ensure there is enough light by moving the plant if needed. By taking a proactive approach to troubleshooting, the issues that have been identified are reduced, allowing the Norfolk Island Pine to grow.
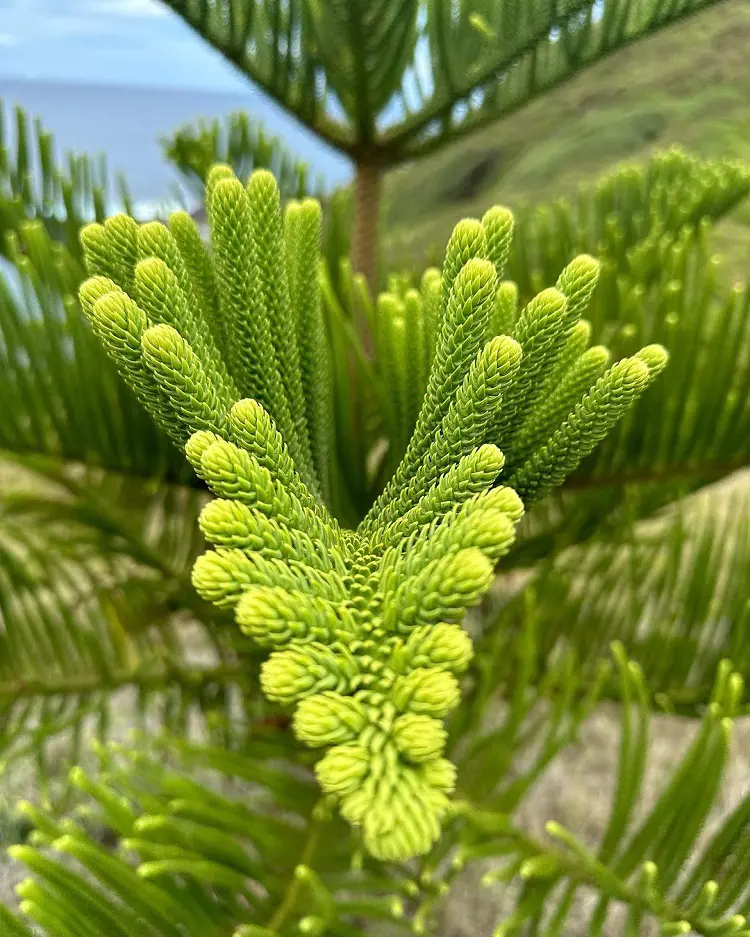
Although Norfolk Island Pines trees are capable of producing cones, it is worth noting that indoor-grown specimens rarely reach the cone-development stage. Cone formation in an indoor environment is a sign of a robust and mature plant. This phenomenon implies that the plant's reproductive processes have been aided by the environmental conditions; light, humidity, and general care.
Cones represent an important stage in the Norfolk Island Pine's life cycle and are an indication of the plant's established health and preparedness for reproduction when they appear in indoor cultivation.
As the seasons change, modify your Norfolk Island Pine's care regimen. Reduce both fertilizer and watering during the winter months when daylight is shorter. During this time, the plant's metabolic activity slows down, requiring a corresponding change in the amount of water and nutrients it receives.
To lessen the effects of decreased light exposure, you might also consider moving the plant to a brighter location when the amount of sunlight decreases. This way you can make sure that the Norfolk Island Pine's care follows its natural cycles and creates a peaceful environment that supports its health despite the different conditions that each season brings.
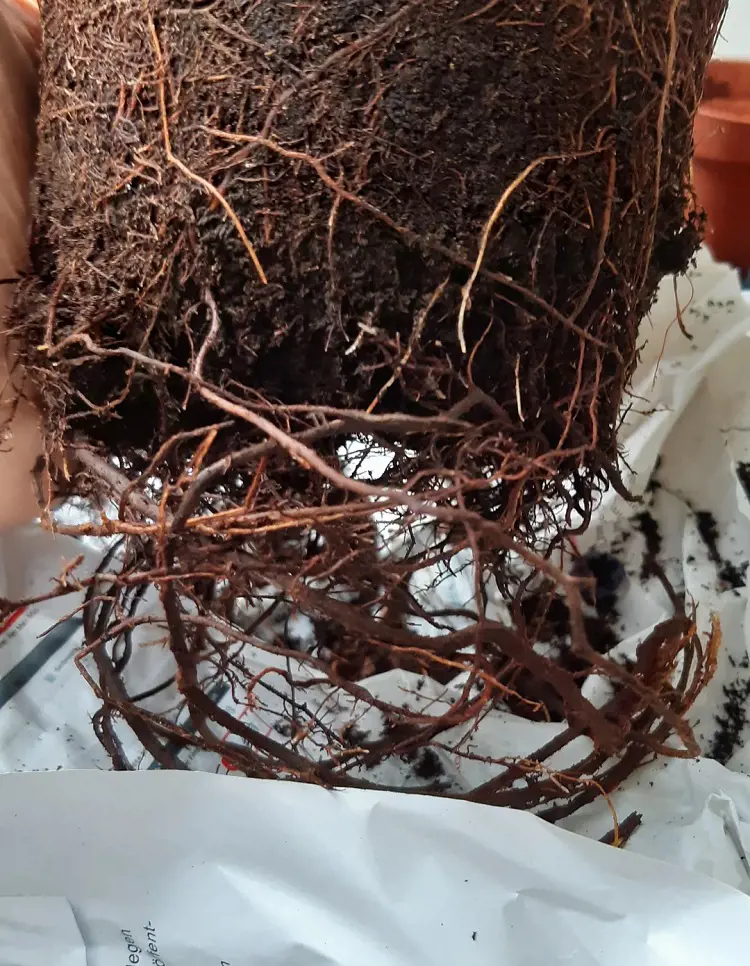
Transplant your potted Norfolk Island Pine only when it outgrows its current container, showing signs of root-binding or roots emerging from the drainage holes. Given their relatively slow growth in their early years, repotting every other year may suffice instead of an annual routine.
Spring is the ideal season for repotting, and for larger specimens, opt for a pot with sufficient weight, filled with a peaty, sandy, slightly acidic mix. Choose a container only slightly larger than the current one, ensuring ample drainage holes.
As the Norfolk Island Pine matures, its growth accelerates, necessitating periodic repotting for sustained health and stability.
The best way for Norfolk Island pine to grow is by seed. The germination medium, such as a moist, peaty, sandy mix, should have the seeds spread out flat and uncovered. Give the seed a light mist or cover it to promote germination.
It is recommended that bright, indirect light or, if outside, partial sun be used for propagation, with only three to four hours of direct sun exposure. When a seed sprouts top growth and a tap root, it has germinated. Keep the seedlings slightly damp, but not drenched.
Remember: Since Norfolk Island pines do not regrow new growth in the same spot as other plants, it is not advisable to try propagating them from cuttings. This tree spreads quickly through seed (10 to 15 days).
Norfolk Island Pines are native to a specific subtropical region and are best suited for indoor cultivation in most climates. They thrive in USDA hardiness zones 10-11, where temperatures remain mild throughout the year. In these regions, they can be grown outdoors as landscape plants. However, in colder climates, they are not frost-tolerant and can be damaged or killed by freezing temperatures.
If you reside in a climate outside the recommended zones, consider cultivating the Norfolk Pine as a container plant that can be moved indoors during colder months. Ensure they receive bright, indirect light and appropriate care to replicate their native habitat for optimal growth and health.
Norfolk Island Pines have the potential to reach significant heights when grown outdoors in their native habitat. In their natural environment, they can grow up to 200 feet (60 meters) tall. However, when cultivated as indoor houseplants, their growth is considerably more restrained.
Indoor-grown Norfolk Island Pines typically range from 6 to 10 feet (1.8 to 3 meters) in height, depending on factors such as age, environmental conditions, and care. Regular pruning can help manage their size and encourage a more compact and bushy growth habit.
Understanding and meeting their specific care requirements will contribute to the overall health and appearance of the Norfolk Island Pine as a houseplant.
Ways To Decorate Norfolk Island Pine During Christmas?
Decorating a Norfolk Island Pine for Christmas can add a festive touch to your home. Here are a few creative ways to adorn your Norfolk Island Pine for the holiday season:
Miniature Ornaments: Use small and lightweight ornaments to decorate the branches. Miniature baubles, tiny string lights, and delicate ornaments can add a festive charm without overwhelming the tree.
String Lights: Wrap the Norfolk Island Pine with strings of small LED lights. Opt for warm white or colored lights to create a magical and cozy atmosphere. Make sure the lights are safe for indoor use and not too heavy for the branches.
Tiny Gift Boxes: Attach small gift boxes or wrapped candies to the branches with miniature ribbons. This adds a playful and gift-like appearance to the tree.
Handmade Ornaments: Create your own ornaments or involve the family in crafting personalized decorations. This could include paper snowflakes, salt dough ornaments, or any other DIY decorations that suit your style.
Garlands and Ribbons: Adorn the Norfolk Island Pine with festive garlands or ribbons. You can choose traditional red and green colors or coordinate with your existing decor. Ensure that the decorations are light enough to avoid stressing the branches.
Tree Topper: Crown your Norfolk Island Pine with a small and lightweight tree topper. Options include a miniature star, angel, or even a festive bow to complete the Christmas look.