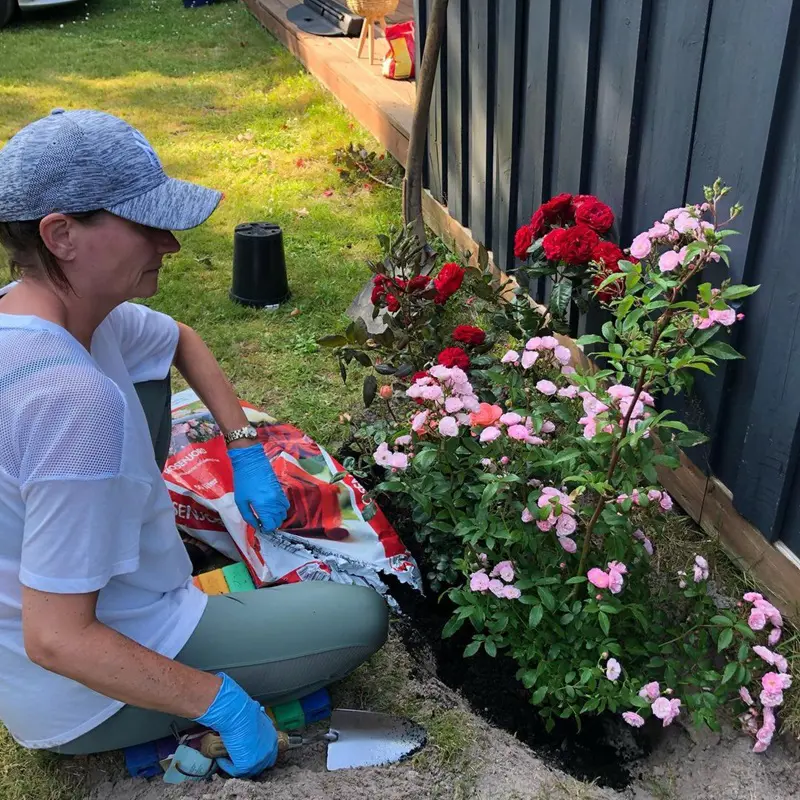
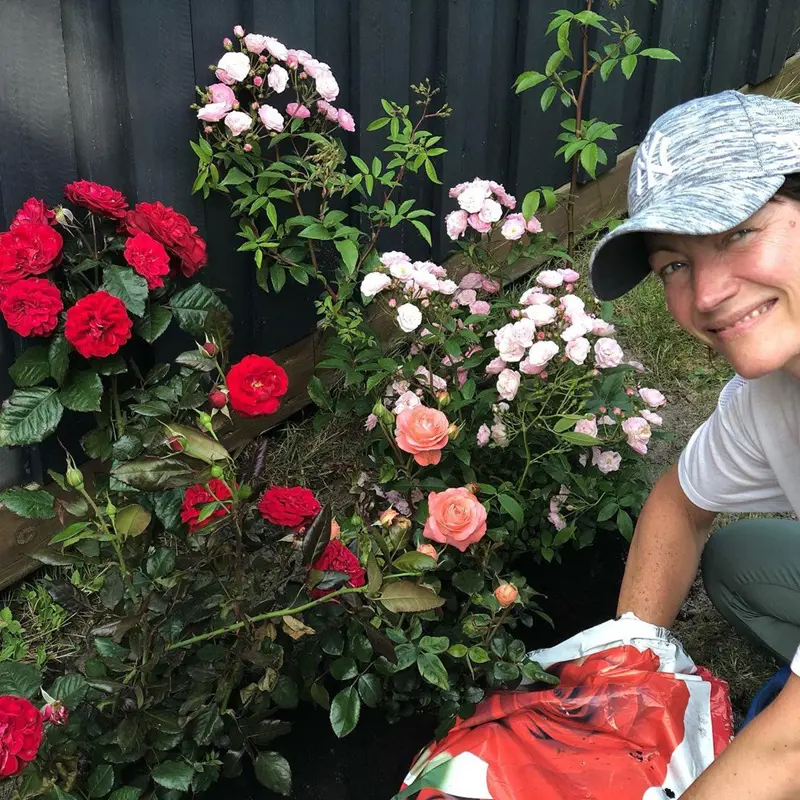
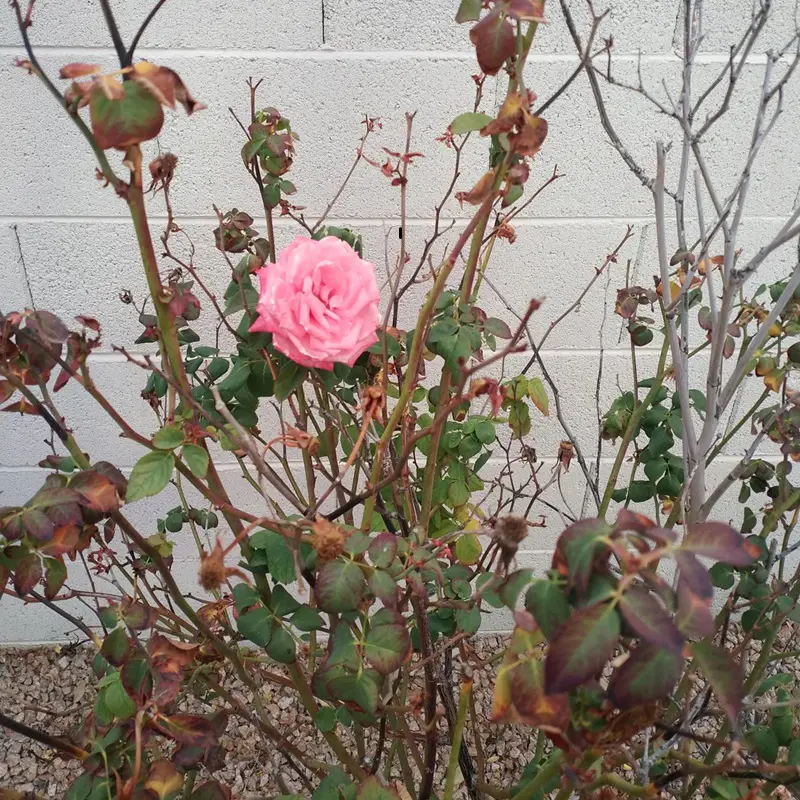
Transplanting roses is an activity that requires a great deal of forethought, patience, and some gardening know-how. Whether you're moving a rose bush to a brighter location, making space for some other plant, or simply dividing up an overgrown rose can make the difference.
Roses are pretty resilient, but they do have their likes, and delicate handling at the time of relocation is key to continuing their health and potential to bloom. This in-depth guide will take you through 20 step-by-step details, broken down into an easily understandable yet comprehensive explanation.
Step 1: Choose the Right Time to Transplant
Roses must be transplanted at the right time. The best time in which roses are to be transplanted is when they are dormant, which is generally in the late winter or early spring before they start into a new active growth stage.
This means most of the energy is focused on the roots at this point rather than on the leaves and flowers, making it far easier for the rose to recover from transplant stress. Do not ever opt for the summer months for planting because the shock of transplant is aggravated by the combination of heat and active growth, decreasing the chances of plant survival.
Choosing the right location for your rose bush is important to set it up for the long term so it can produce for you. Roses need a garden location that receives at least six hours of good, direct sunlight exposure every day.
Roses grow best in soil that is well-drained and contains a good dose of organic matter. Also do think about the growth habit of roses: whether climbing roses that need some sort of vertical support, or shrub roses that need room to spread out.
Step 3: Prepare the New Planting Hole
The new planting hole should be prepared before one even thinks of digging up the rose bush. This keeps the time out of the ground to a minimum and ensures root stress is reduced.
Such a hole should be wide and deep enough to hold the rose root ball, roughly about twice the width and depth of the root ball. As you are preparing this hole, you want to set the soil aside so you can add compost or well-rotted manure to it to improve the planting site.
If you deeply water your rose bush one day in advance, it will be better equipped to handle the stress of transplanting. Watering would serve the purpose of rehydrating the roots entirely, which would cause them not to go into shock after transplanting.
It helps soften the soil around the roots, too, and this will make the job of digging up the plant much easier without causing any form of damage to its root system. If the soil is compacted, it may be worth having water repeatedly over several days before transplanting.
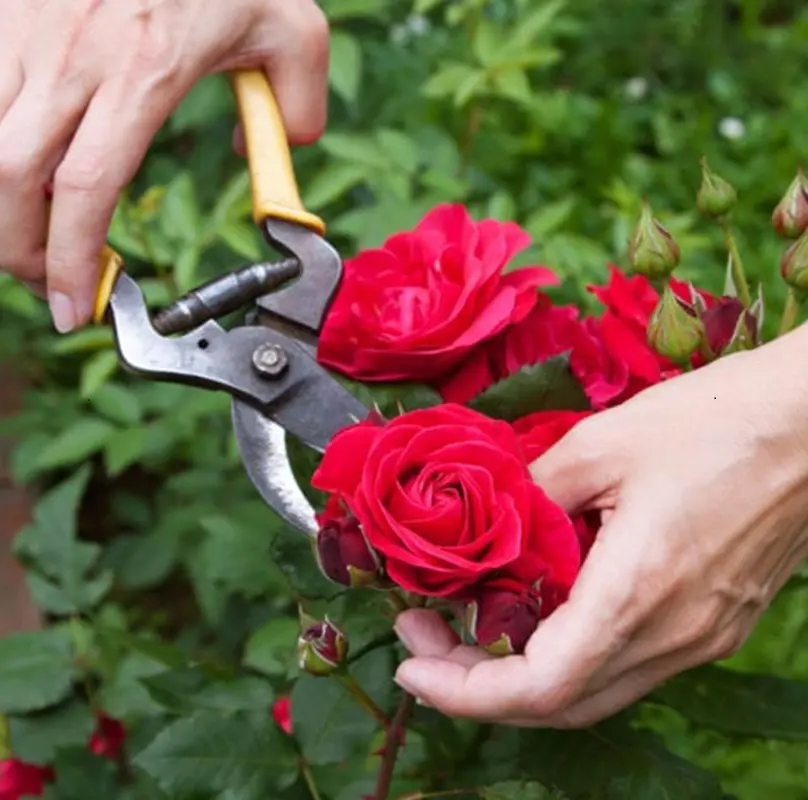
Step 5: Prune the Rose Bush
Pruning before transplanting accomplishes many things. It achieves this firstly by cutting away some of the foliage that the roots must support right away; this helps to transition the plant into its new location. It also allows for easier handling of the plant during the transplanting process.
Prune out any dead, sick, or damaged wood first. Then reduce the remaining canes by about one-third to one-half. Not only does this remove stress from the plant, but it also serves to stimulate new growth once the rose is established in its new home.
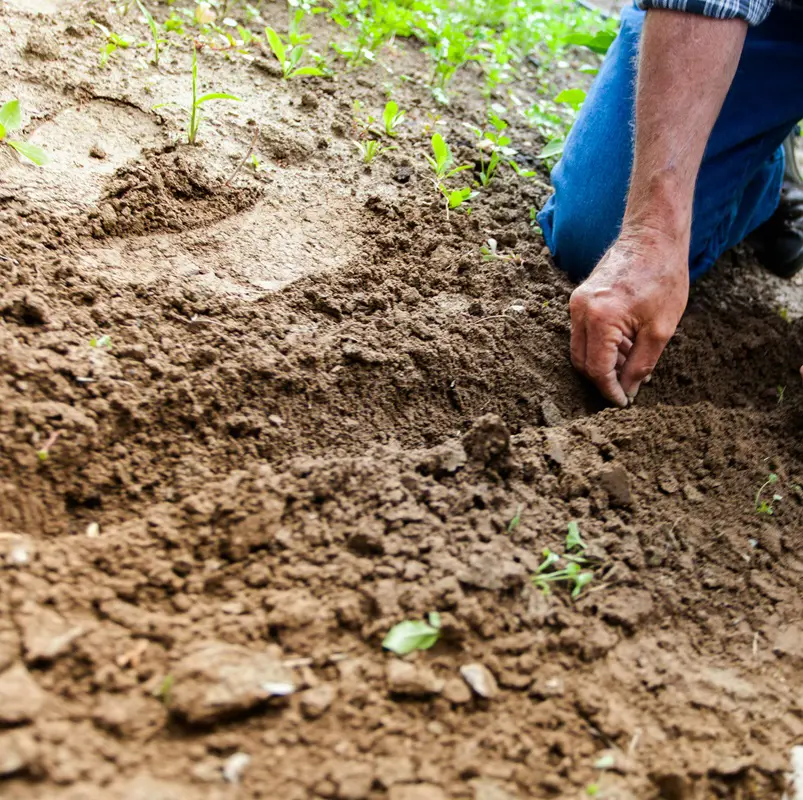
When the time comes to dig, mark a wide circumference around the base of the rosebush. The idea is to capture as much of the root system as possible, so aim for about 12 to 18 inches away from the base of the plant depending on the size.
Using a sharp spade or shovel, circularly dig around the rose to cut the soil. You will need to be digging down to at least 12 inches since this particular root system is so deep. The wider and deeper your perimeter, the better chance you have of preserving the root ball intact.
Step 7: Lift the Rose Carefully
Lifting the rose bush out of the ground requires strength but also care. Once you've dug around the plant, use your shovel to gently pry the root ball loose from the surrounding soil. Work your way slowly and carefully around the entire perimeter.
Pull not on the canes but instead use the leverage of your shovel to lift the plant. Should the root ball be very large or heavy, have another person help to safely lift the root ball. Once freed, carefully support the root ball with your hands.
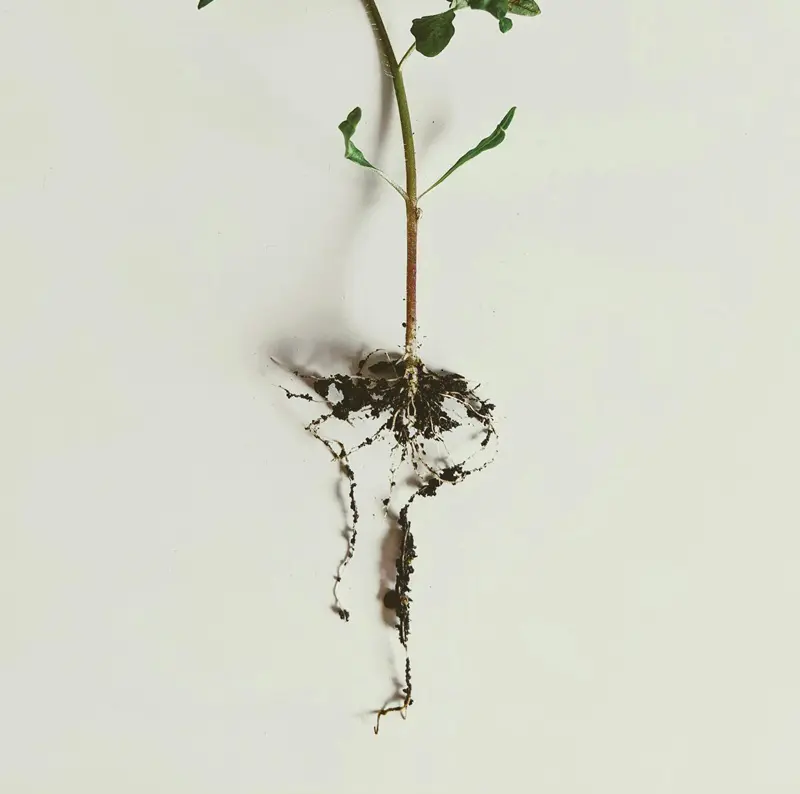
Now that the rose is finally out of the ground, take a moment to inspect the root ball. Healthy roots are firm, white, or light tan and show no signs of disease or damage. Black, mushy, broken roots should be removed using clean, sharp pruners.
Removing damaged roots helps prevent further disease and encourages the growth of new, healthy roots. If it is particularly dry, soak in a bucket of water for about 30 minutes to rehydrate the dehydrated roots.
Step 9: Keep the Roots Moist
While following up on the transplanting process, moist and healthy roots should be kept in ways that will not expose them to any destruction or desiccation. If planting is to be delayed, wrap the root ball in a wet cloth or burlap to keep it moist.
One can also mist the roots with water periodically if one needs to move the plant or if it's in the sun and wind for a period. Dry roots can result in transplant shock, and this can be very bad for the ability of the rose to take up its new home.
Proper planting of the rose in the new hole is extremely critical to its success. Center the rose bush in the hole and be sure that the root ball is in at the same depth it was previously.
This orientation prevents issues like rot, allowing the plant to grow healthily. You should spread the roots out gently if need be, ensuring none of them is crowded and twisted. A rose bush that is planted in a proper position is sure to thrive in its new home.
Step 11: Backfill the Hole with Soil
With the plant in position fill in around the root ball with the soil dug out. Begin by placing the amended soil around the root ball and tamp lightly with each layer to remove any air pockets. Do not tamp soil down back too hard which will allow for little root growth and very minimal water penetration.
Backfill the hole with soil until the rose is planted at the proper height and the soil in the hole is even with the grade of the surrounding landscape. Good backfilling builds a solid foundation for the rose at its new site.
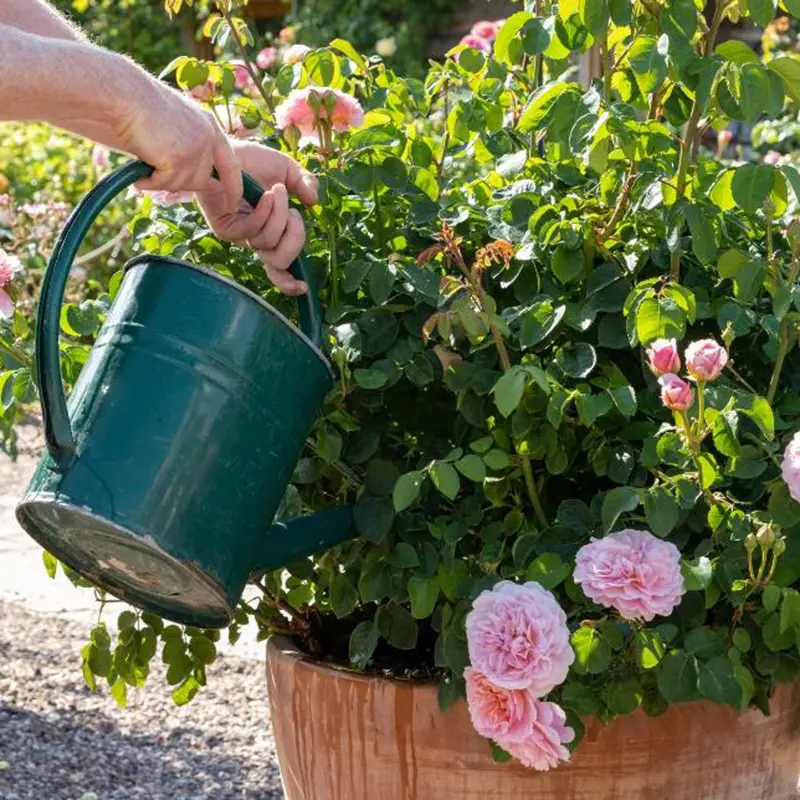
Step 12: Water the Transplanted Rose
After the rose has been planted, this is the right time when you should water the soil to make it settle around the roots, and give moisture to the plant. Water deeply and slowly, allowing the water to percolate into the soil rather than run off.
This may take several waterings to ensure the root ball is wetted thoroughly. The object of establishing watering is to help the new plant to become acclimated to the environment. After watering, check that the rose has not come to rest too deeply in the soil.
Mulching is an important activity that you will need to undertake from time to time when transplanting your rose. Place a 2-3-inch layer of organic mulch like wood chips, bark, or compost around the base of the plant.
Mulch maintains soil moisture, regulates soil temperature, and inhibits weeds; these collectively play a role in the recovery of the rose after transplanting. Do ensure to always keep the mulch a few inches away from the basal area of the plant to prevent rot and allow air circulation around the stems.
Step 14: Monitor the Rose for Transplant Shock
Transplant shock is common during the moving of plants, and roses don't escape it either. Transplant shock may be evidenced through general wilting, yellowing of leaves, or slow and stunted growth.
To cut down on the shock, keep the soil uniformly moist without waterlogging, and avoid fertilizing the rose for the first few weeks after transplanting. You can also provide temporary shade if the weather is particularly hot or sunny, which will help reduce stress on the plant.
Step 15: Fertilize After a Few Weeks
Once the rose has had a few weeks to root into its new location, a good shot of nutrients will provide a great start towards healthy growth. Apply a balanced, time-released formula designed for roses and follow recommendations on the product label for application rates.
Too much fertilizing too soon after transplanting can put excessive stress on a plant, so wait until you see new growth before feeding your rose. Regular fertilization during the growing season will provide bloom support and general health, helping your rose thrive in that new location.
Pruning after transplantation gives the rose a shape and promotes the growth of new shoots. After about one month from transplanting, wherein the plant has awakened in its new home and started to grow, any dead, damaged, or weak growth is pruned back.
This is helpful for the plant to direct its energy toward the generation of strong, healthy canes and blooms. Pruning also allows you to shape the rose into your preferred form and take out crossing or crowded branches that would lead to disease
Step 17: Protect the Rose from Pests and Diseases
Newly transplanted roses are more prone to pest and disease issues. Keep an eye out for some of the more common rose issues: aphids, black spots, and powdery mildew. Keep your rose regularly checked for signs of problems like discoloration on the leaves, spotting, and insects.
If you notice any of these things, you should treat them accordingly with organic or chemical controls. This will help your rose to get established much more quickly and reduce any potential for long-term problems when it is most vulnerable.
Where you're transplanting a climbing rose, be sure to give it adequate support in its new home. Install a trellis or fence, or some other sturdy structure to support the rose, and you can gently begin to start tying canes to this support as they grow.
Not only is this good for the rose, growing in the direction you want, but it can also prevent damage if the wind or the heavy blooms become too much for it to handle. As the rose becomes more established.
Step 19: Water In Regular Patterns
One of the main keys to establishing your rose transplant is uniform or regular watering. Roses would prefer to be deeply watered less frequently rather than shallowly watered more often. Water the plant deeply once or twice a week, depending on the weather conditions and soil type.
During dry or hot days, one may be obliged to water more frequently because one must maintain the soil at the same level of moistness at all times. Do not allow the soil to dry up completely; this also can stress the plant.
Step 20: Patience Is the Watchword
Rose transplanting requires some amount of patience since the rose bush may take weeks or even months before it can finally adjust itself to its new home and start to bloom. In the meantime, you can tend the growth by regular watering, observing the plant for any signs of pests and diseases, and not over-fertilizing.
Be patient and give the rose some time to adjust to its new environment. The transplanted rose will take some time and TLC but will reward you with beautiful blooms and good health.
Best Time to Transplant Roses
The best time to transplant rose bushes is during their period of dormancy. This happens in late winter or early spring when there is an opportunity just before the new growth resumes. The timing allows this plant to get settled into the new position before the start of the growing season and lessens the stress on the plant.
In areas that have milder winters, late fall is a good time for transplanting, too. The cooler temperature and increased moisture can ease its acclimatization to the new situation. Avoid summer transplanting right in the middle of its active growth period.
Following replanting in the garden, the rose tree demands close care with the aim of establishment and proper development. The crux lies in the first weeks right after their roots get a chance to accommodate in the new environment.
Water the rose generously but not frequently, ensuring the soil remains moist and not waterlogged. In the initial stages of their planting, you would have to water every third day until the rose is planted. It is very good to mulch around the rose's base because it retains moisture, controls soil temperature, and smothers weeds.
Other Things To Consider
Apply 2 to 3 inches of organic mulch around the base of the plant, but keep it back a few inches away from the stem to avoid rotting it. Within weeks, once the rose reveals some new growth, apply a balanced fertilizer to promote healthy root growth and foliage.
Watch for transplant shock, which will manifest itself with wilting or yellowing of the leaves, and take measures by giving more water or protection from the burning sun. Check regularly for infestation and infection and take immediate measures to prevent further weakening of the bush.
How To Care For Transplanted Roses In Pots
However, transplanting roses in pots takes a little different approach, though still most of the basics are observed in caring for them. After transplanting, keep the pot in a location where the rose will get appropriate sunlight, for a minimum of six hours a day.
Watering is one important process because the plants in pots tend to dry out much faster compared to the ones at ground level. Check the soil moisture quite occasionally and water deeply when the upper inch feels dry. Ensure good drainage so that the pot does have holes at the bottom to avoid water logging, which will eventually lead to root rot.
Maintainance for Potted Rose
The rose will require fertilizing with a slow-release fertilizer or a liquid rose fertilizer about four weeks after transplanting, according to the recommended dosage. Mulching Potted roses also enjoy mulching, which maintains moisture retention and cools the roots. Keep it back from the stem, though, or it may rot the plant.
Consider the size of the pot-as time goes on and your rose is growing, you may want to transplant it to a larger pot for its roots to spread. Regular pruning will help maintain its shape and promote new blooms. Finally, look out for signs of stress from the rose, like yellowing leaves or stunted growth. Adjust the care routine with care.
Additional Care Tips for Transplanted Roses
Water Well but Not Excessively
Consistent watering is so important to the recovery and growth of the new transplants. The water helps in making the newly transplanted roses set well in their new place through root growth.
However, one needs to be very careful not to water them too much because excess water would cause a waterlog condition which consequently causes root rot. Well, water so that moisture can soak the soil enough to be absorbed by the roots. In general, the plants should be watered once or twice a week, depending on weather conditions.
Mulching is an important practice in rose transplantation. Mulch maintains more water inside the soil, hence retaining water inside the roots for a longer period before the need to water them. Mulch controls soil temperature against summer heat or winter's chilling cold.
Another advantage of mulch is its weed-suppressing nature, given that weeds contend for nutrients with the rose plants. Apply an organic layer about 2-3 inches thick around the base of the plant. Just be careful not to pack that against the stem, because it can cause rot.
Feeding for Strength
Roses are heavy feeders, and, after transplant, they will have to be fed to help facilitate their recovery process and to get them into a vigorous growing mode once again. Allow at least four to six weeks after transplanting roses before feeding starts. At this time, a slow-release general fertilizer or one high in phosphate, like a rose special, can be applied.
This will offer the following needs of the plant: healthy foliage, root development, and production of flowers in terms of nitrogen, phosphorus, and potassium. Apply the recommended dosage, but not more than that, as stated on the package of the fertilizer, to avoid plant damage.
Pruning for Maintenance and Shaping
Pruning plays an important role in rose care, especially when working with transplanted roses. Pruning helps maintain the shape of the plant, encourages new growth, and removes damaged or diseased wood. Prune heavily after transplanting, but wait for new growth before making further substantial pruning.
Then, cut back dead or weak branches and shape the whole plant to allow good air circulation. This will also reduce disease problems substantially during the growing season and ensure plenty of blossoms on your rose.
Newly transplanted roses are occasionally more susceptible to pests and diseases while recovering from the move. Keep an eye out for your plants to show any signs of trouble: yellow leaves, black spots, or chewed foliage.
The common rose pests are aphids, spider mites, and beetles, while of the diseases, powdery mildew and black spots are the most problematic. Apply proper insecticides or fungicides if you happen to observe any problems, or go for the organic approach of insecticidal soap or neem oil.
Protection from Inclement Weather
Newly transplanted roses are less likely to take severe weather conditions such as intense heat, frost, or winds with ease. If the plants are transplanted during the fall season, protect them from early frost by covering the plants with frost cloth or burlap.
If you're planting in a hot climate, protect the plant from full sun during the intense heat of the day until it becomes better established. If conditions in your area are quite windy, weak transplants can also be damaged by strong winds, so staking or otherwise restraining the plant may be a good idea until it establishes itself.
Ways to Encourage Deep Root Growth
If you want your transplanted roses to develop robust roots, water them deeply but not frequently. Deep watering encourages the growth of deep roots, reaching into the soil for water reserves, therefore making the plant more resistant to drought.
Watering should not be superficial, keeping the roots near the surface of the soil, therefore making it more prone to water and temperature stress. The deep roots will stabilize the rose in the new planting site and provide more access to nutrients.
Don't Let Them Suffer from Transplant Shock
One major problem that may affect roses after they have been transplanted is transplant shock. To minimize this, water well several days before and after transplantation, handling the root ball as little as possible.
After that, water often keeps the soil consistently moist, and afternoon shade is provided on hotter days. If your rose is demonstrating transplant shock, such as wilting or yellowing of leaves, continue with the care and wait patiently—the plant could rebound in time.
Gradual acclimatization to full sun is very important after your rose has been transplanted. If the plant is suddenly exposed to the intensive sun, it may become stressed, with such problems as sunscald or wilting.
Place your rose first in a partial sun location and gradually increase sun exposure over one to two weeks. It allows the plant to get used to the new light conditions without being unnecessarily shocked.
Encouraging Bloom Production
Roses are a bit slow getting back into their blooming cycle following transplanting. To guarantee bloom production, the plant should be exposed to full sun for a minimum of six hours of direct sunlight daily.
Regularly remove the spent blooms when flowers have completed their blooming cycle, as this should help the plant continue to produce new flowers. Healthy feeding and watering also play a significant role in bloom production, so care must be continued consistently.