Many people love growing cactus in their homes. They are attractive, low-maintenance, and perfect for a bright, sunny windowsill. The cacti from nurseries often come in pots with a generic potting mix that might not be ideal for long-term home care.
Therefore, you might need to repot it. Repotting allows you to use a more appropriate cactus-specific soil mix that enhances drainage and growth. With that, here is a detailed guide on how to repot cactus.
1. Gather Your Supplies
Before you begin ensure you have all these items:
Gardening Gloves
Newspaper or thick cloth for handling the cactus
New pot with drainage holes
Well-draining cactus mix. You can buy them from nurseries and garden centers or create your own with perlite, pumice, and potting soil
Watering can
Trowel or spoon (optional)
Sharp shears or pruners (optional)
Newspaper or mat to protect your work surface
2. Choosing And Preparing The Pot
Picking the right pot is crucial for your cactus. The wrong pot can stop water from draining properly, which can cause the roots to rot. If the pot is too small, the roots cannot grow well. This will tangle the roots and hinder the cactus' growth.
If the pot is too big, it can hold too much water, causing root rot. Also, a pot that is too small or light might not hold the cactus up well, causing it to tip over.
Select a pot with several drainage holes so the plant is not waterlogged.
The pot should be 1-2 inches larger in diameter than the current pot.
Clay pots are popular for cacti, as they allow better airflow and evaporation. Plastic pots work, too.
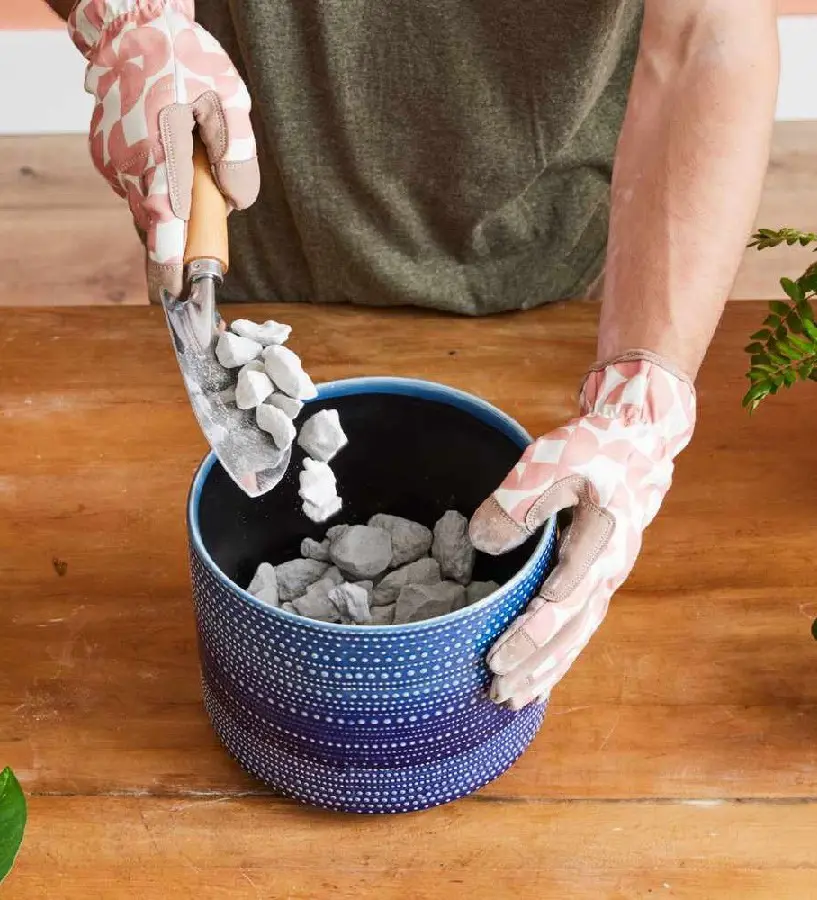
Preparing the pot
Add a layer of cactus mix to the bottom of the new pot for drainage.
If you are using terracotta pots, add a base layer of inorganic material to encourage proper drainage.
Use small, broken pieces of terracotta to create a 1/2-inch to 1-inch layer at the bottom of the pot.
A thin layer (around 1/4 inch) of coarse gravel can also work.
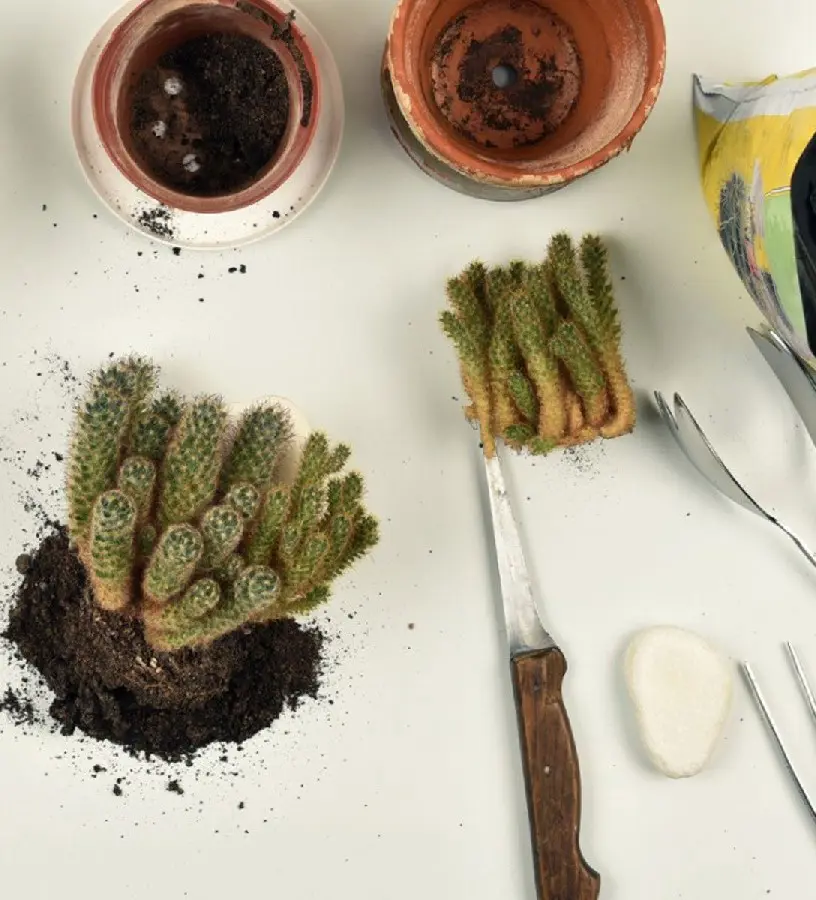
3. Prepare The Cactus
A few days before repotting, stop watering your cactus. Wet soil is heavier and clumps together, making it harder to remove the cactus from its pot without harming the roots. Dry soil crumbles easily, allowing you to gently loosen the cactus and reduce the risk of breaking delicate roots.
Repotting disturbs the root system, and damaged roots are more prone to rot. Working with dry soil reduces the chance of root rot after repotting. It also improves air circulation around the roots, promoting healing and preventing rot.
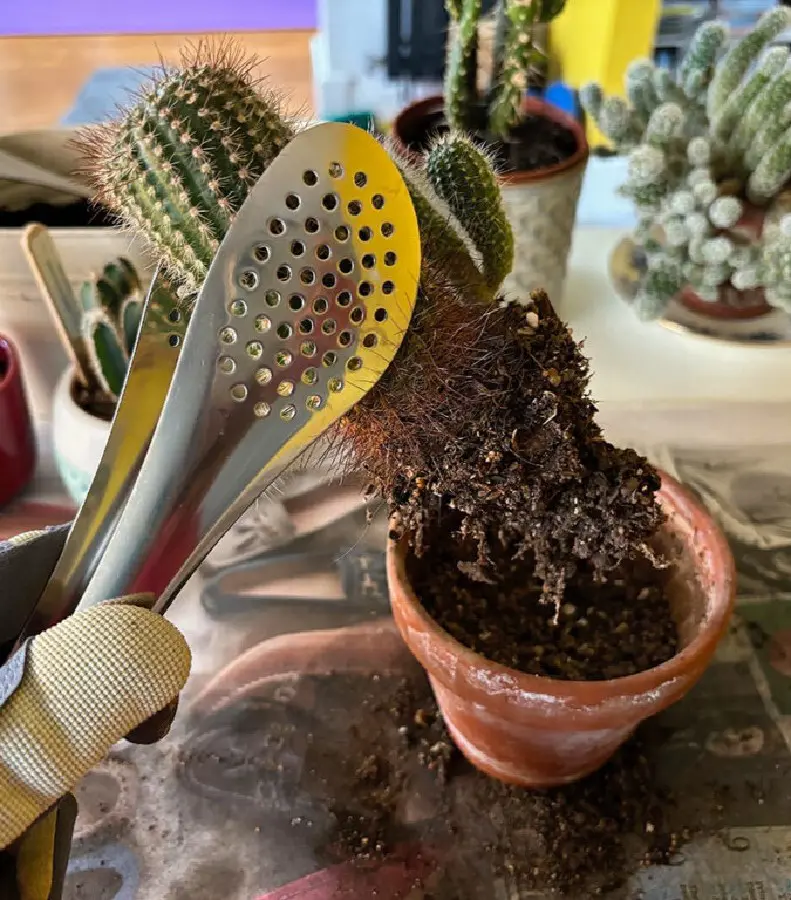
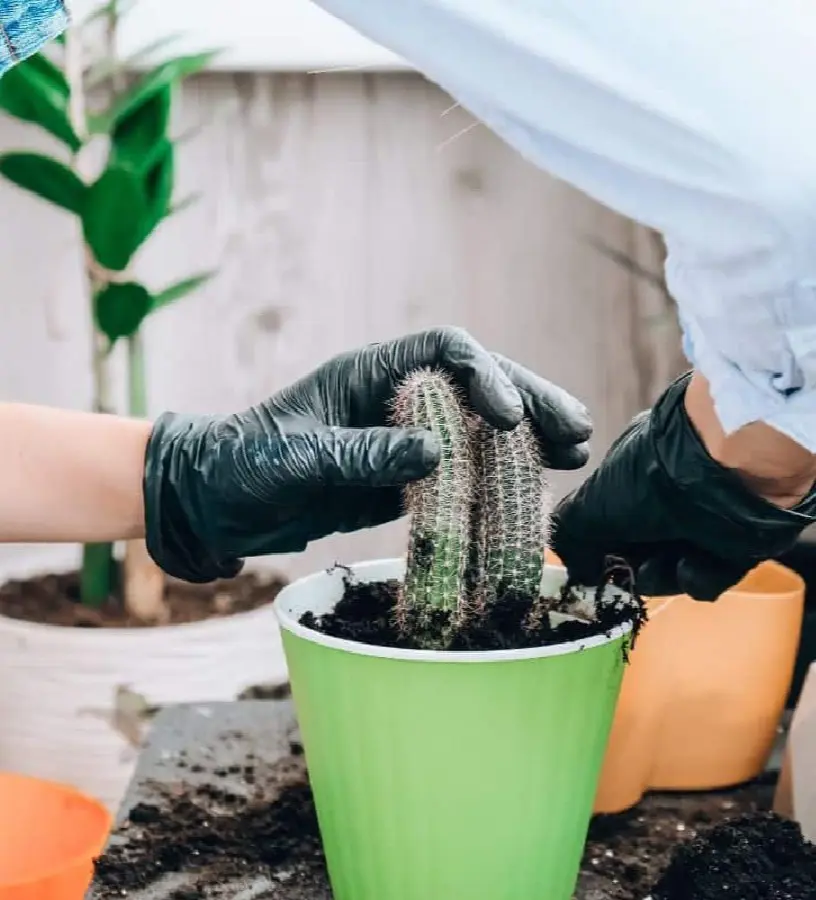
Wear gloves to protect your hands from the spines. Hold the cactus upright with one hand, firmly gripping the base where the stem meets the soil. Gently tap the pot on the sides with your other hand to loosen the root ball from the pot.
Once the pot feels looser, tilt it slightly and gently wiggle the cactus back and forth. Avoid pulling the cactus straight up, as this can damage the roots. If the cactus is hard to remove, use a trowel or spoon to carefully loosen the soil around the pot's edges gently to avoid damaging the roots.
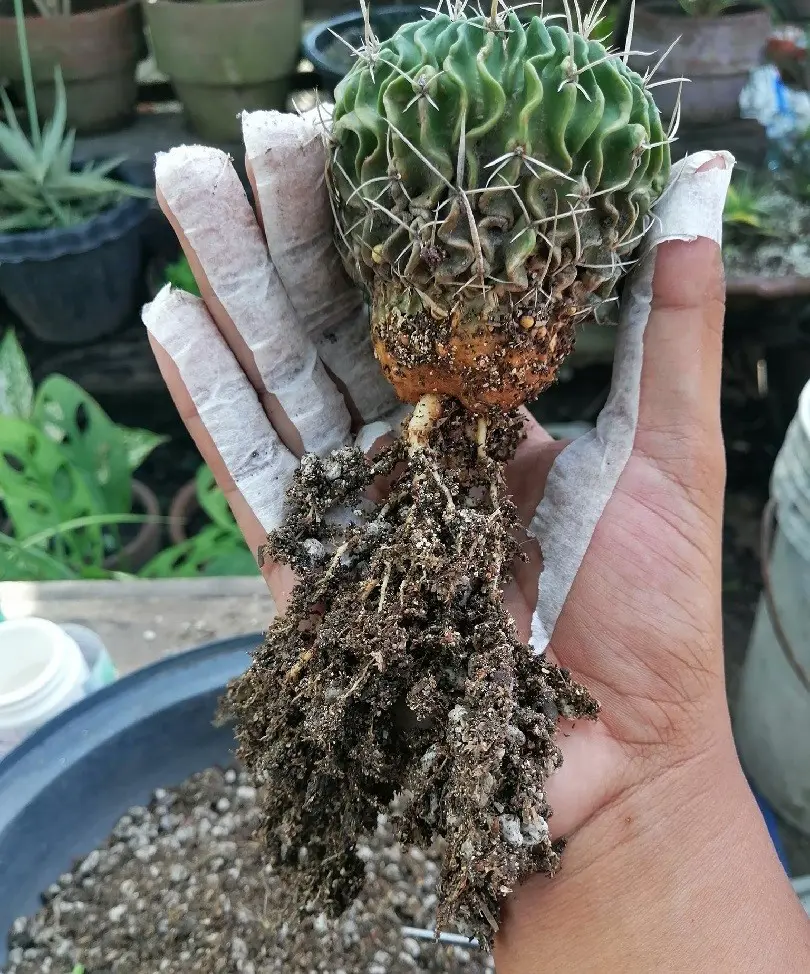
5. Inspect The Roots
Once you have removed the cactus from the pots, inspect the roots. The purpose of this is to check for major issues. Carefully lay the cactus on its side on your work surface and look for signs of trouble. Healthy cactus roots are typically firm, white, or light brown and may have fine root hairs.
Meanwhile, signs of unhealthy roots include mushy, brown, or discolored roots. These roots may also feel soft and easily break off when touched. Do note that extensive root inspection and manipulation can stress the cactus. If the roots appear healthy, avoid excessive cleaning or trimming.
If you find rotten roots during your cactus inspection, trim them. Sterilize your pruning shears or pruners to prevent infection. Carefully cut away the rotten parts of the roots, making clean cuts just above the discolored area, and remove any mushy, brown, or soft sections.
You can apply a fungicide to the cut areas to prevent further infection. Use a fungicide specifically for cacti and follow the instructions carefully. Allow the cut surfaces of the roots to dry and form a callus for a few days before repotting the cactus.
7. Bare-rooting
If the cactus is severely rootbound or the soil is very compacted, making it difficult to remove the roots, bare-rooting might be necessary. Bare-rooting involves removing most of the old soil from the roots. Soak the root ball in water for 10 to 15 minutes to loosen the soil and make removal easier without damaging the roots.
Using your fingers, gently massage the old soil away from the roots without pulling or breaking any healthy roots. Using sterilized shears or pruners, carefully cut off all the rotten parts. After that, let the roots dry for a day or two.
Carefully place your cactus in the center of the new pot, ensuring it is planted at the same depth as in the old pot. The base of the cactus, where the stem meets the roots, should be level with or slightly below the pot rim to avoid rot.
Gently fill the gaps around the root ball with your fresh, well-draining cactus mix. Use one hand to hold the cactus upright while you add the mix gradually. Ensure it is evenly distributed around the roots and fill any air pockets. Avoid packing the mix too tightly; it should be slightly loose and airy.
9. Placement
After planting, place your cactus in a location with bright, indirect sunlight. They need plenty of light for healthy growth, and a south-facing window provides the most sunlight. Avoid placing it in direct sunlight immediately after repotting, as the stressed roots might not be able to handle the intense light.
If there is a harsh afternoon sun where you have placed your cactus, consider filtering the light with a sheer curtain to prevent scorching. If your cactus is stretching toward the light source dramatically, it is likely not getting enough light. Move it to a brighter location.
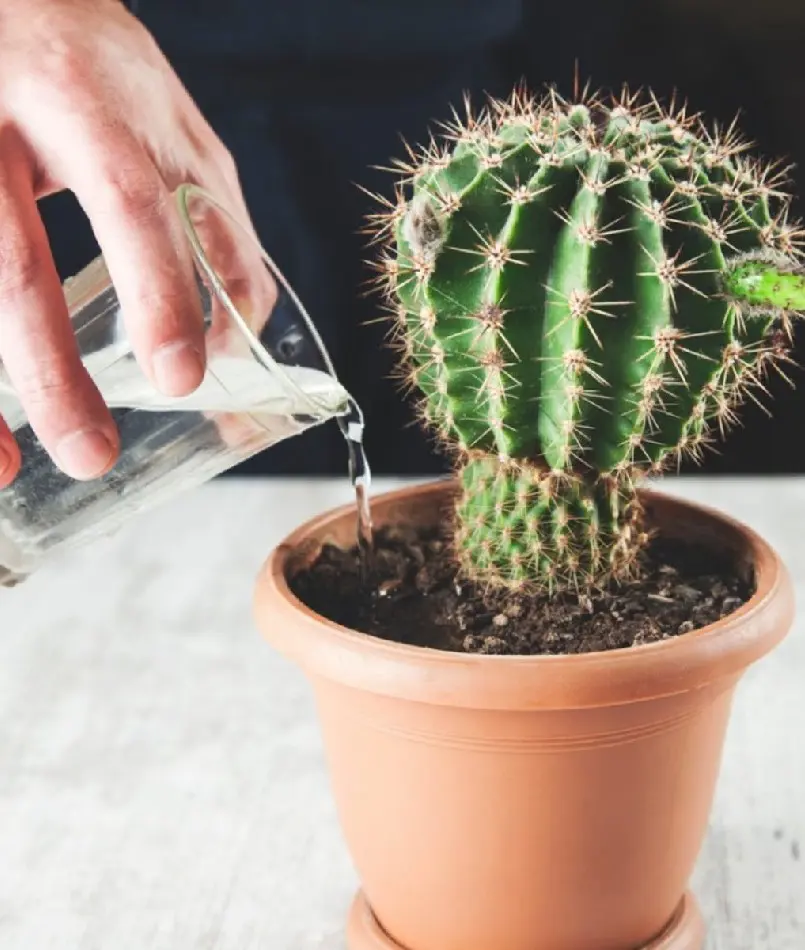
Do not water your cactus right after repotting. The repotting process can damage some roots, and watering immediately increases the risk of rot. Wait at least 7 to 10 days, allowing the soil to dry completely before watering for the first time. You can check for dryness by inserting your finger into the soil about an inch deep.
As for watering frequency, you should water your cactus based on the soil condition, not a set schedule, because it depends on many different factors. Aim for a deep watering that soaks the entire root ball, but avoid leaving the cactus sitting in water.
11. Fertilizing
Wait 4-6 weeks after repotting before fertilizing your cactus. This gives the roots time to heal and adjust to their new home. The best time to fertilize is spring and summer when the cactus is actively growing.
Choose a fertilizer made specifically for cacti, as these are lower in nitrogen and higher in phosphorus, which is better for cacti.
When you fertilize for the first time after repotting, dilute the fertilizer to half the recommended strength to avoid stressing the recovering cactus. Cacti generally do not need frequent fertilizing; once a month during the growing season is usually enough.
Common Problems You Might Encounter
Sometimes, due to various factors, your cactus might encounter problems even with proper care and maintenance. Here are some common issues and way to address them.
Limp, discolored leaves
Cause: Repotting disrupts the root system, and the cactus needs time to recover and establish itself in the new pot.
Solution: Be patient! Provide proper light and avoid overwatering. The cactus should bounce back within a few weeks to a few months.
Root rot
Cause: Overwatering or waterlogged soil
Solution: Avoid overwatering. The soil should be dry between watering sessions. If root rot is manageable, salvage the cactus by repotting with good drainage. In severe cases, the cactus cannot be saved.
Brown, discolored spots with fuzzy patches or webbing on cactus
Cause: Moist conditions, especially if the cactus is already stressed from repotting.
Solution: Isolate the cactus and improve air circulation. Try using a fungicide specifically labeled for cacti, following the application instructions carefully. Ensure proper drainage and avoid overwatering to prevent recurrence.
Cause: Cactus was not acclimated properly to a brighter location after repotting.
Solution: Provide the cactus with afternoon shade or move it to a location with indirect light
Split and crack in cactus flesh
Cause: Splitting can occur from overwatering, sudden temperature changes, or repotting stress.
Solution: Avoid overwatering and maintain consistent temperatures. For minor splits, you can leave them be. For severe splits, the affected part of the cactus might not be salvageable.
Repotting Benefits
Repotting your cactus provides several important benefits that contribute to its overall vitality. Here is a detailed look at the main advantages:
Improved Growth
As cacti grow, their roots expand and may outgrow their current pot. Repotting into a slightly larger container gives the roots more room to grow, which encourages healthier and faster growth for the cactus.
Prevention or Treatment of Rootbound Issues
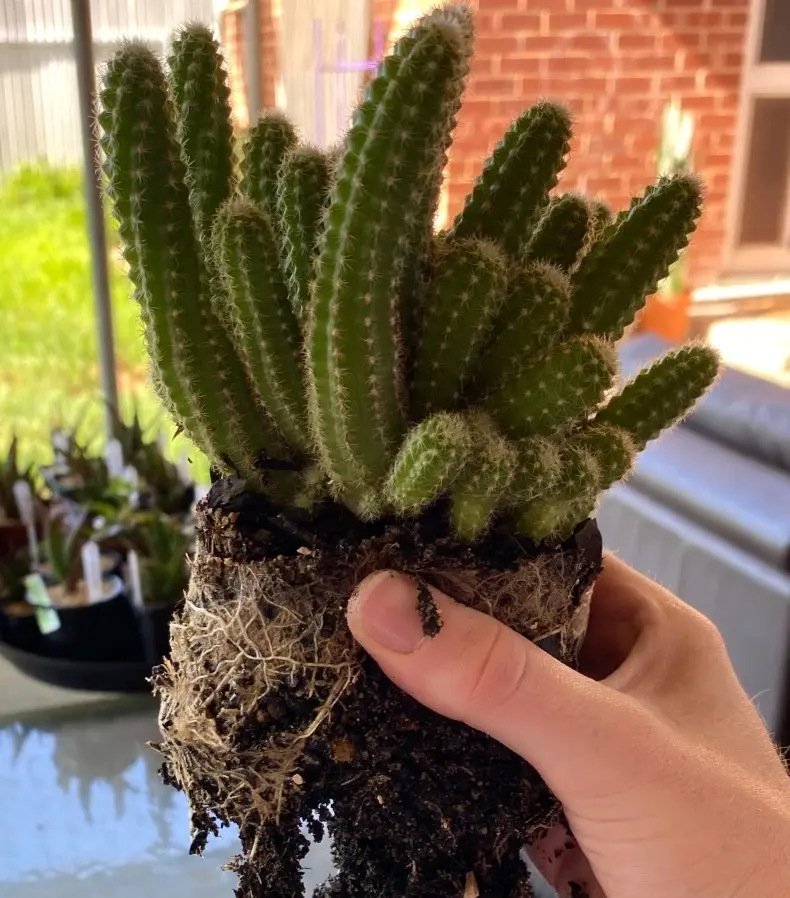
When a cactus becomes rootbound, its roots fill the entire pot and begin circling inside. This limits root growth and can make it harder for the cactus to take in water and nutrients properly. Repotting solves this problem by giving the roots new space to spread out and grow.
Enhanced Drainage
Over time, the potting mix can break down and become compacted, losing its ability to drain water properly. This can result in water buildup, leading to root rot. Repotting with fresh cactus mix ensures good drainage, preventing water buildup and supporting healthy root growth.
Renewed Nutrient Access
Over time, the nutrients in the potting mix can run out, especially without regular fertilizing. Repotting with fresh mix replenishes these nutrients, giving your cactus the boost it needs to thrive.
Addressing Specific Problems
If your cactus has pests or a soil-borne disease, repotting lets you remove the affected soil and replace it with fresh mix. This helps manage the issue and gives your cactus a clean environment to heal.
Overall Plant Health
By dealing with these issues, repotting encourages strong root growth, enhances nutrient and water absorption, and boosts overall plant health. This can result in more vigorous growth, greater potential for flowering in certain cacti, and a longer life for your cactus.
When To Repot Cactus
There is no perfect time to repot a cactus, but there are a few factors that determine if your spiky plant needs a new pot:
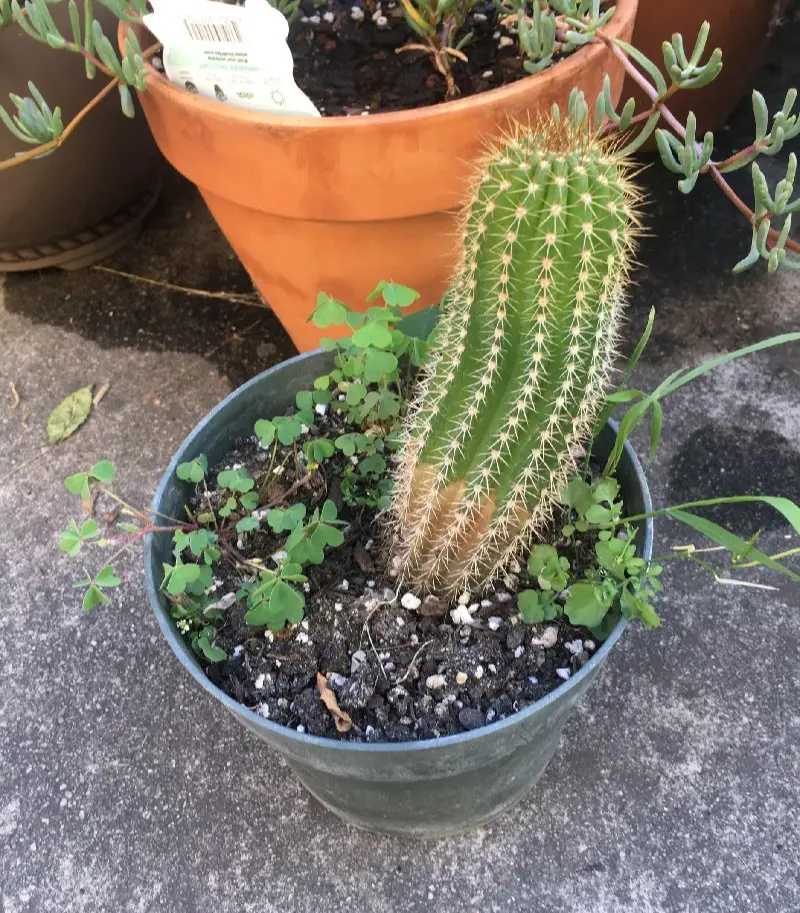
Rootbound: If your cactus's roots have outgrown the pot and are circling inside or coming out of the drainage holes, it is likely rootbound.
Stunted Growth: If your cactus is not growing much or has stopped growing altogether, there is a lack of nutrients and space for healthy growth.
Poor Drainage: If water sits on top of the soil or drains very slowly, the old soil mix might not be draining well anymore.
Soil Degradation: Over time, the nutrients in the soil get depleted. Your cactus could benefit from fresh soil if you have not repotted or fertilized in a while.
Pests or Diseases: If your cactus has pests or a soil-borne disease, repotting lets you remove the old soil and replace it with a new, healthy mix.
Best Time to Repot (General Rule)
For most cacti, the best time to repot is during their active growing season, usually in spring or early summer. This season is when they are growing new shoots and are more resilient to the stress of repotting.
Also, during summer, warmer temperatures and increased sunlight help the soil dry out faster after watering. This drying is crucial because cacti are susceptible to root rot if the soil stays moist.
Exceptions
There are a few exceptions when you can repot your cacti anytime. First is when you have a fast-growing cactus. These spiky plants might need repotting more frequently than slow-growing varieties. You might consider repotting them during their active growth season whenever they show signs of rootbound roots.
Another exception is if your cactus has severe root rot or another urgent issue requiring a complete removal from the soil, you can repot it any time of year. However, note that the cactus might be more stressed and require extra care to recover, and the risk of rot might be slightly higher.