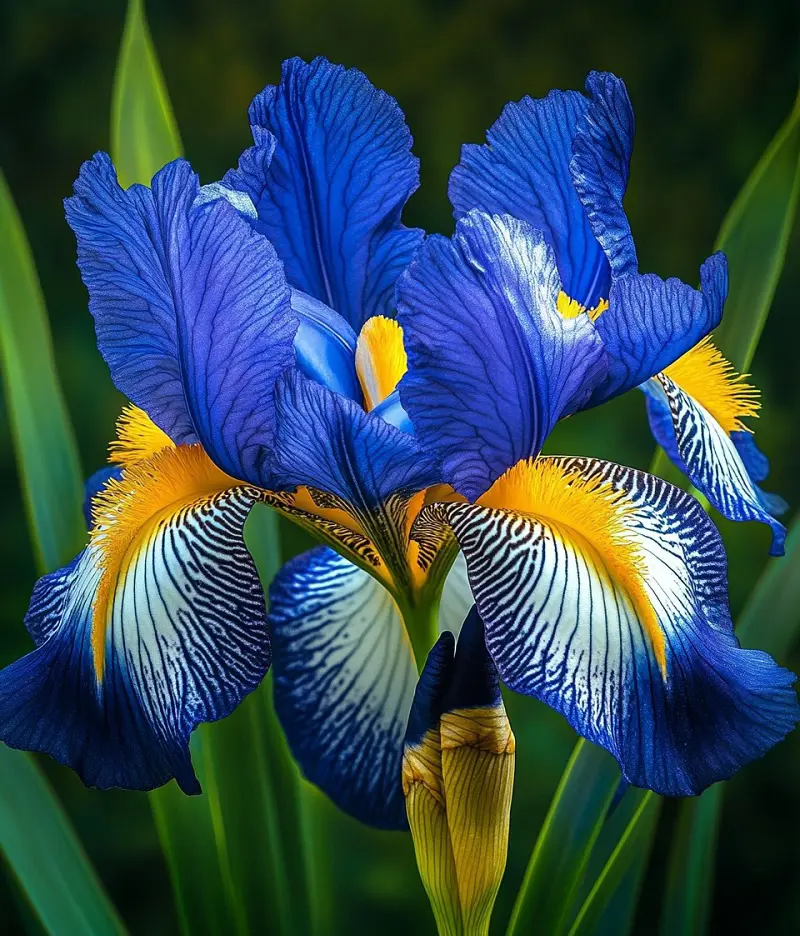
Irises with their big floppy blooms come in a huge variety of colors and cultivars that are capable of creating a rainbow in your garden landscape. They are fairly easy to grow and have a lovely but subtle fragrance.
Pruning the iris is important to maximize the plant’s health and your garden's appearance. Learn when to cut back iris to protect their beautiful blooms, as the cooler months approach.
Iris Pruning
Irises pruning is essentially the controlled removal of the selected branches, stems, flowers, rhizomes, and foliage. Knowing when to cut back iris leaves allows you to realize the ideal growth, flowering, and health of the plants.
While there might be some variation for specific varieties, the basic approach of iris trimming is essentially the same for most cases. Some of the key aspects of iris include:
Removal of dead or diseased wood
Removal of browning tissue
Shaping and controlling the size
Timing of pruning
How To Prune Iris Plant
Once you have taken the time to learn how to grow and cut back irises, the irises make wonderful additions to your garden. Cut back irises annually to ensure your plant remains healthy through the winter in preparation for the following spring and their delicate blooms and soft colors will stand out beautifully come spring.
Iris pruning requires you to pay attention to the plant's growth patterns and flowering cycles. This general guideline will help you cutback iris effectively.
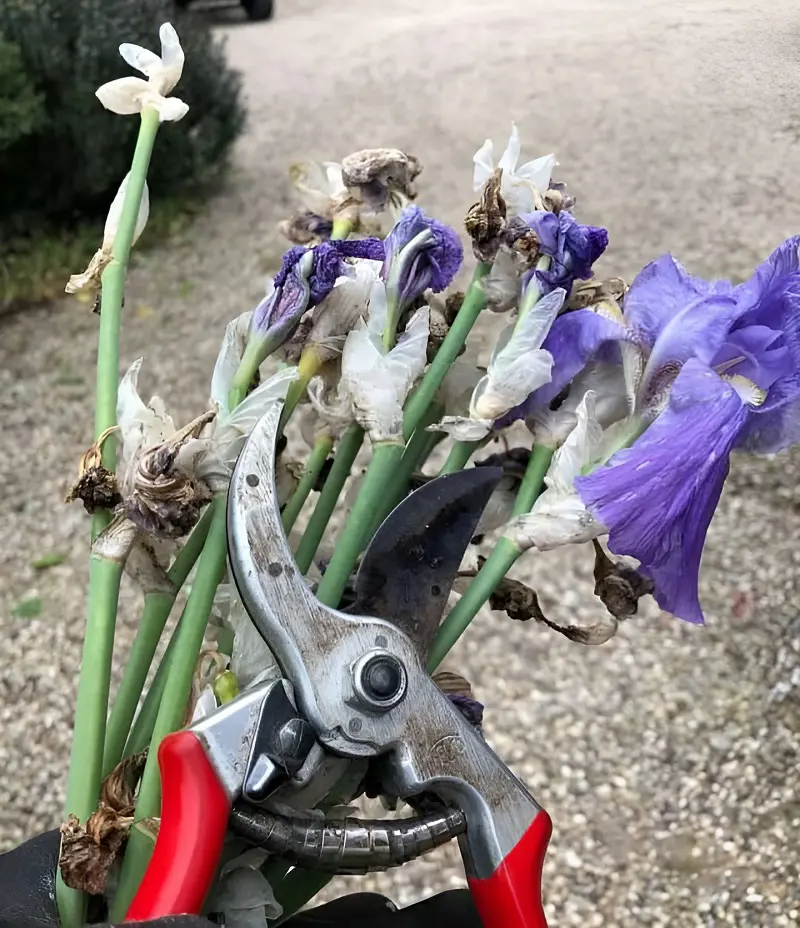
Deadheading is an essential method for removing the spent or faded blooms from your iris plant. Deadheading isn't strictly necessary because although there might be some specifically bred reblooming iris cultivars, irises are in general not rebloomers.
However, it will prevent diseases such as botrytis from setting in the spent and decayed flowers which can spread to the whole plant. Furthermore, it also preserves the energy of the plant by preventing seed formation which helps in fighting off diseases.
How To Deadhead Irises
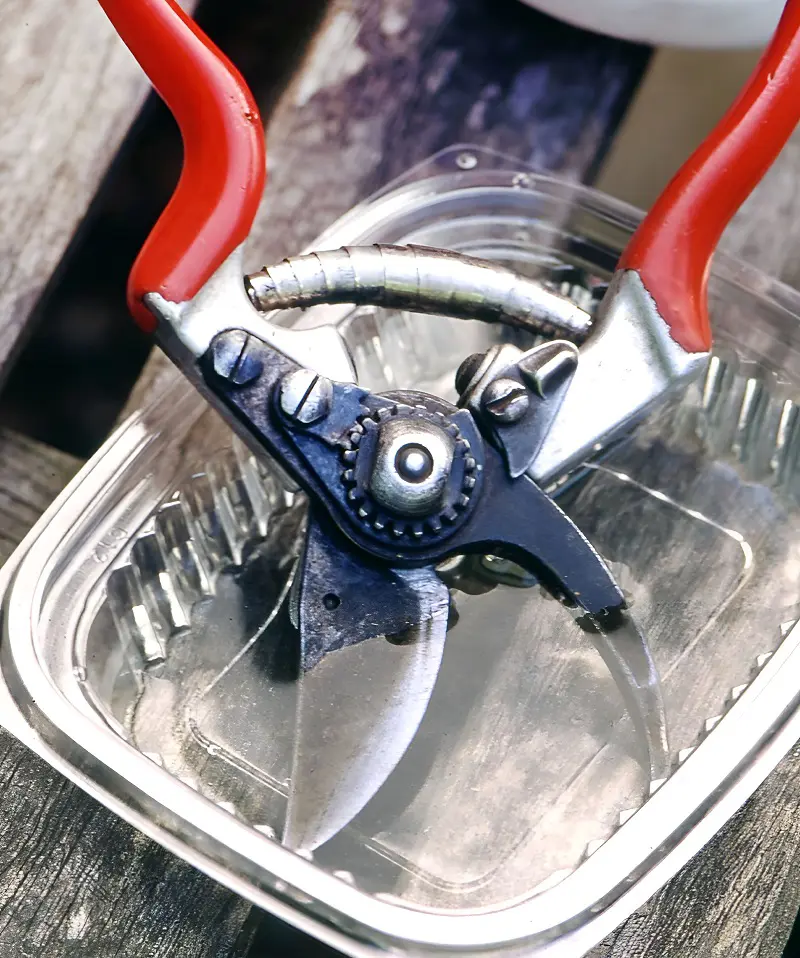
Before you deadhead, sharpen and clean the pruners with alcohol to prevent harming the plant and to prevent the spread of diseases. Instead of removing individual dead flowers, trim off the entire flower stalk a few days after the bloom fades.
Follow the stem down to the base where it meets the rhizome and trim it off only three inches off the soil. Always cut the stem at an angle to prevent the collection of rainwater on the cut surface which can lead to crown rot.
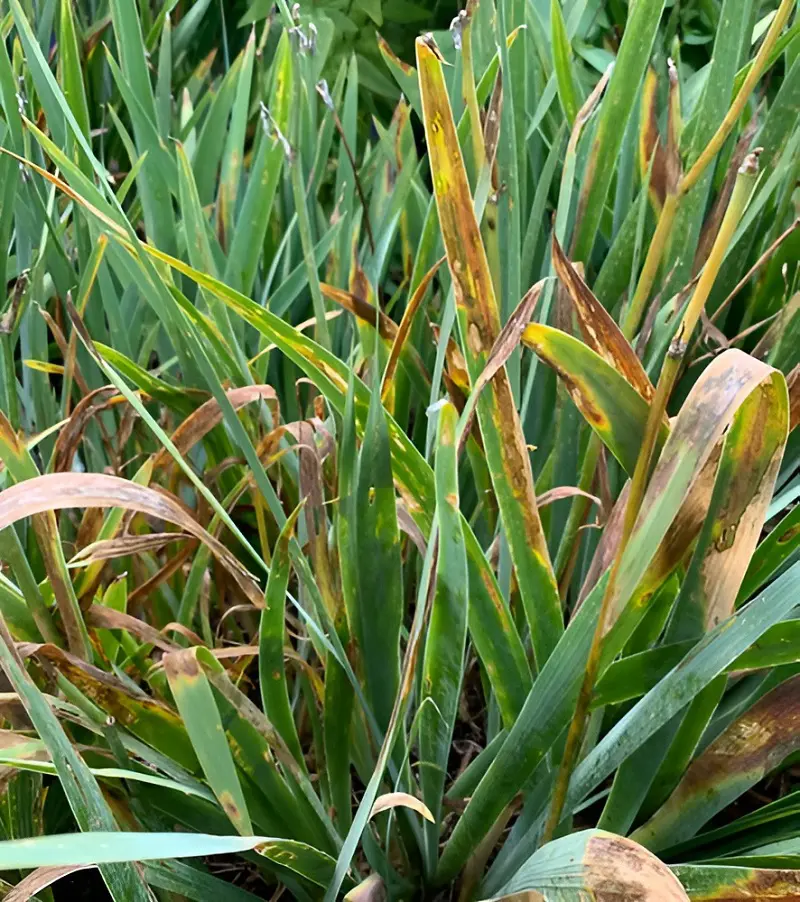
As we have stated, irises are severely prone to several different diseases such as bacterial leaf blight, botrytis, ink spot, soft rot, leaf spot, etc. Without any cutback maintenance, the irises in your garden will be marred with brown spots while also causing rotted mushy rhizomes before dying resulting in the garden looking ugly.
Most of these diseases are caused by damp or humid conditions, and encouraging good air circulation can help prevent these diseases from taking root most of the time or at least mitigate some of the damage.
How To Cut Back Diseased Iris
If you see leaves with signs of disease such as spots, streaks, or blotches trim them immediately and throw them into the garbage. Irises grow from rhizomes meaning a single root structure can sprout multiple stems, so feel free to cut off the stem as close to the rhizome as possible.
Doing this prevents the iris from wasting any energy on diseased stems. To keep the plants healthy and good-looking, we recommend doing this two or three times through June and July.
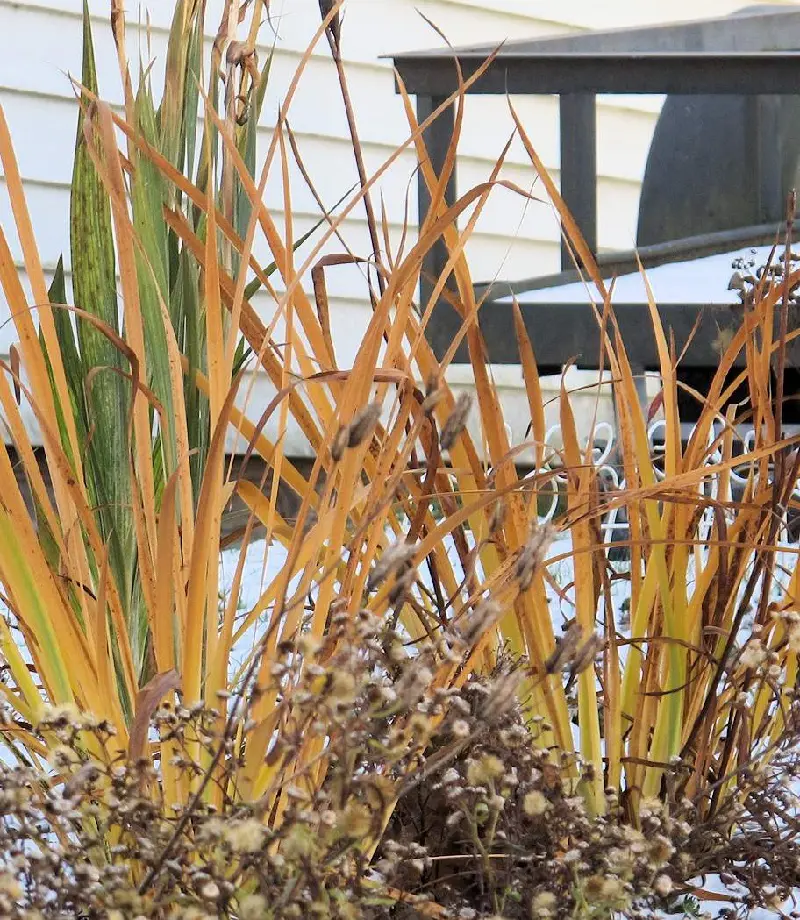
The huge leaves are necessary for the irises to gather up the necessary energy from photosynthesis. However, come fall the huge leaves are not only an unseemingly sight but also a hindrance as they prevent air circulation and trapping of moisture which makes the iris susceptible to diseases.
Thus, fall is the perfect time to trim back the clump of iris leaves which continue to produce energy as long as temperatures remain above freezing albeit at a reduced rate. By carrying out the "fan trim", you can keep your irises healthy and encourage consistent annual blooming.
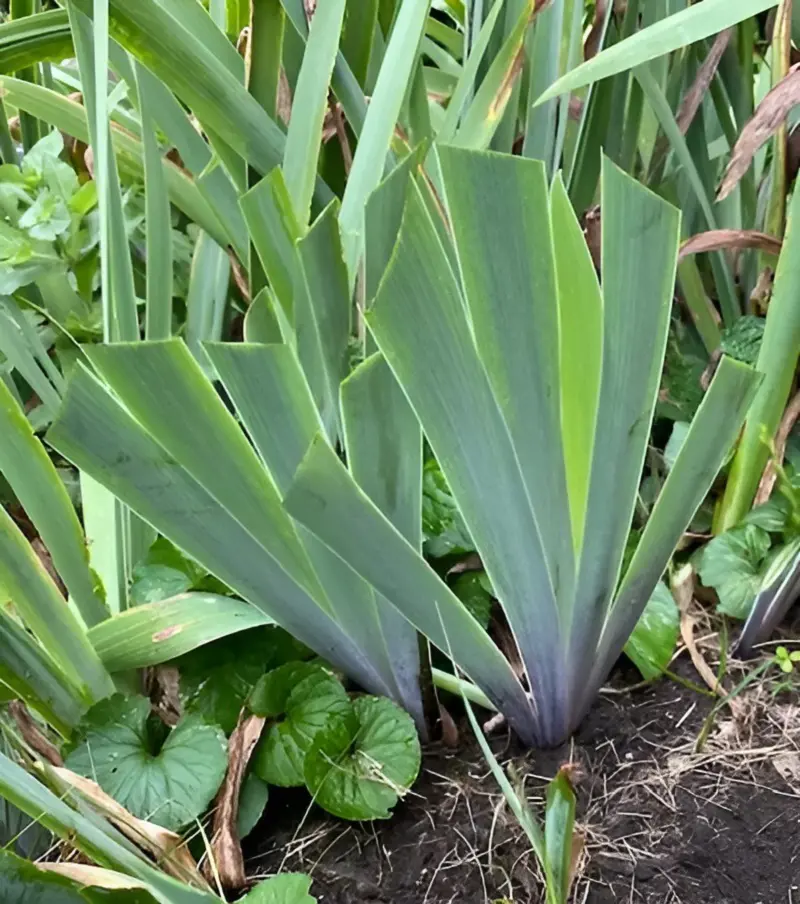
How To Fan Trim
Take clean sterile scissors and grab the iris leaves. Best start from the middle of the clump as these will be cut taller. Refer to the image and cut at a downward angle while making a graduated fan shape which is 4-5 inches tall at the peak while the outside leaves are 2-3 inches tall.
This fan shape keeps the leaves healthy by preventing accumulation of moisture preventing rhizome root rot and other diseases. Without diseases, your irises are free to dedicate all of their energy towards blooming.
Once the cold temperatures of the winter encroach and have reached a steady constant after the growing season has ended, most if not all the iris leaves will die back naturally due to the frost. Most Iris diseases overwinter on this leaf debris.
Thus, getting rid of the foliage proactively limits the presence of any overwintering fungal spores. If you aren't sure what to do, read the instructions provided below.
How To Trim Foilage After Frost
When removing dead foliage, experts recommend removing most of the leaves while leaving just a half-inch to an inch of foliage above the root rhizome. Remember to clean, sharpen, and sterilize the shears/pruners.
Make angled cuts similar to fan trimming to prevent the build-up of moisture and have good air circulation. This is delicate work and breaking or pulling of the spent leaves should be avoided as it can damage the rhizome.
Irises despite their propensity for easily catching diseases constantly are actually pretty hardy plants. There are many cases and stories of irises bouncing back from a state of completely dried out or no leaves the next year because people waited too long or replanted it too late.
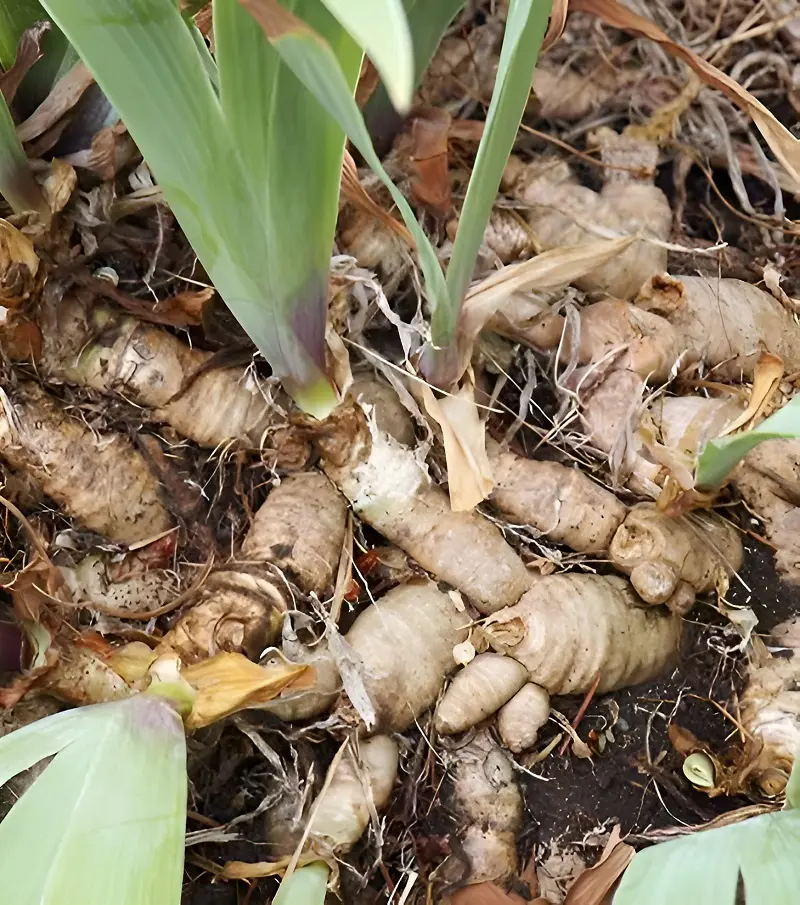
The secret of this regrowth hardiness of the irises lies in their rhizomes. The rhizomes make up the core of iris and once all the leaves have wilted, they remain dormant during the winter until the sunlight hits the rhizome top in spring which causes the rhizomes to wake up and grow new leaves.
How To Cut Back Rhizomes
Since the rhizomes are the core of the plant where they store energy for winter, they need to be in good health. Keep in mind that, unlike the leaves, we are only cutting bad rhizomes as rhizomes store energy for winter.
Run your hands over the plant's base check for spent or soft rhizomes and cut them out. They could be a sign of rot or disease which will expend unnecessary energy. Make sure to cut between damaged and healthy rhizomes instead of uprooting the entire rhizome.
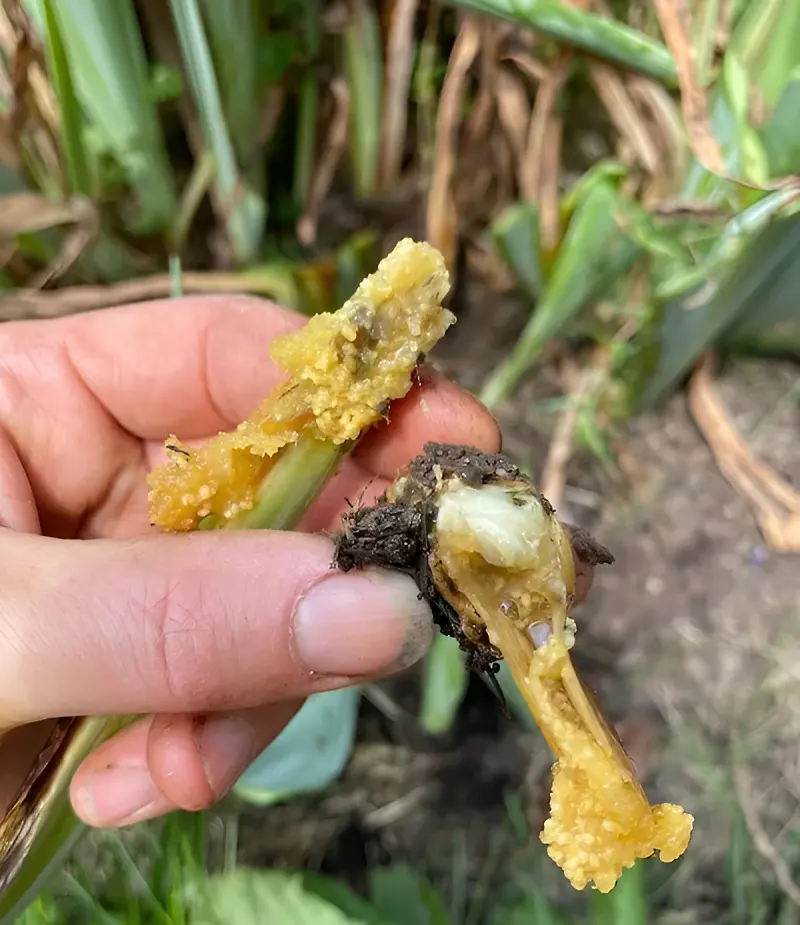
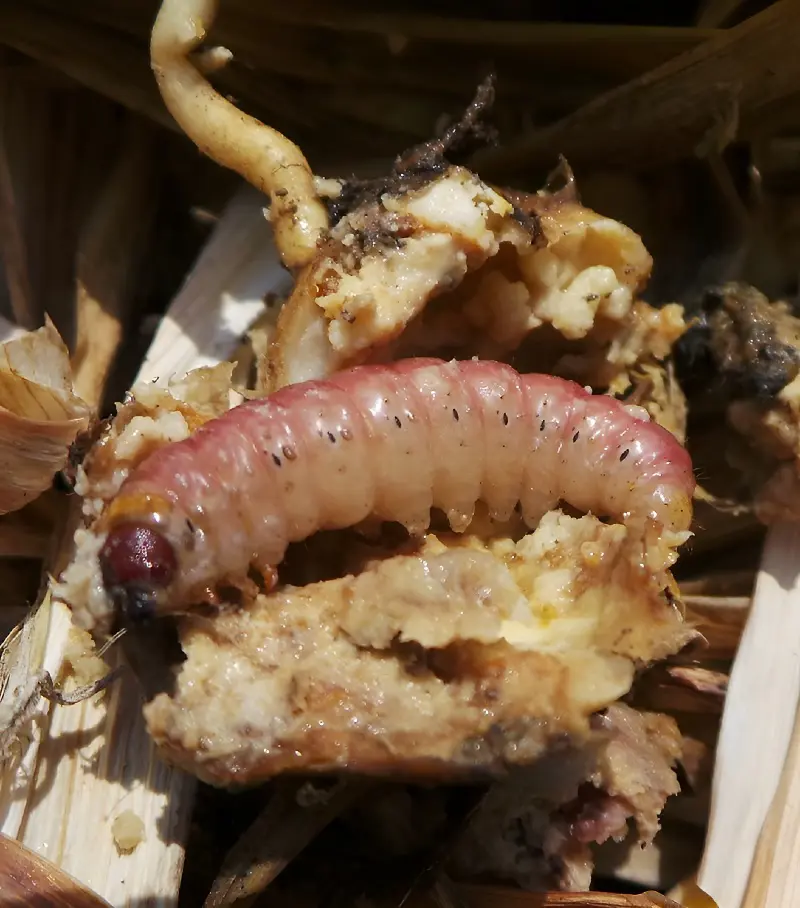
Iris borers are an infamous pest of irises and their most common cause of death. They are a species of moth larva that feed on the iris rhizomes causing rot and turning the foliage slimy and yellow. It's easy to identify as it results in a putrid smell around the iris.
The female moths lay eggs on the foliage in late summer where these eggs winter on the foliage before hatching in spring. The hatched caterpillar larvae then burrow into the newly emerging leaves and feed on them while working their way to the rhizome.
How To Prevent Iris Borer
Once a single caterpillar bores into the leaf base, they go into the rhizome, and by mid-summer, a single borer has killed an entire iris rhizome leaving a dead foul-smelling mess behind.
Since the eggs overwinter on the foliage, timing off the leaves to the rhizomes, and disposing of the leaves properly is a good way to prevent both overwintering fungal diseases and borer caterpillars.
Why To Cut Back Irises
While irises put quite a show for two to three weeks during spring, once their blooms fade spent flowers look a lot less attractive. Triming off the spent flowers keep the garden looking its best.
Furthermore, trim irises to help in preventing several common iris diseases which can be reduced or eliminated with proper fall iris care.
Knowing when cut back iris leaves is critical to prevent a dreaded iris plant pest known as the iris borer.
Trimming irises also help protect the roots and allow the plant to regain its energy on top of preventing overwinter diseases.
Lastly, if the irises get diseased such as blight, leaf spot, soft rot, etc. Cutting back on the infected parts as soon as possible helps to ensure the survival of the survival of irises considering that irises are some of the most disease prone plants.
Common Iris Care Mistakes
No one is impervious to making mistakes but the important part is to identify and learn from the mistakes. And the first step to identifying mistakes is to know all the possible mistakes to identify and remedy them.
Here are a few critical mistakes that can turn your garden from a flower haven to boulevard of broken dreams:
1. Deadheading Too Late
If your goal is to ensure a consistent iris blooms every year then deadheading irises on time should be made a priority. While deadheading too soon results in cutting the yet-to-bloom flower buds before they have been spent, being late allows the formation of seeds which uses up crucial blooming energy.
It's easier to propagate irises through rhizomes rather than seeds so they could be a waste of energy and result in the flowers not blooming next season. The best time to deadhead is between late spring and early summer.
Everyone understands the importance of using clean, sharp, and sterile pruners to prevent damaging the plants or spreading diseases while pruning, there is an additional step to be followed which is generally ignored by most novice gardeners.
Sterilize not only at the start but also after pruning every plant before moving onto the next plant as the moment your pruner touches the plant, it's no longer sterile. You could spread the disease of a single plant to the rest of your garden if you make this novice mistake.
3. Planting Irises Too Deep
Do not plant irises too deep! This is one of the most frequent mistakes and a common reason why the iris fails to bloom. Rhizomes may resemble roots and roots should be underground right? Yes but in the case of irises, the rhizomes use the sunlight as a trigger to recognize that the winter has ended.
Place the rhizome at or an inch below the soil surface so the top portion shows up above the soil so they get plenty of sunlight to herald the beginning of spring and begin their spring growth phase.
Irises grow from rhizomes that are ever-expanding, thus as a result a clump of an iris rhizome can end up overgrown and grow into each other. This causes a conflict of resources and could affect the bloom production of both iris clusters.
To prevent this overcrowding, irises should be divided when they look overgrown or every 2-3 years. Doing this not only resolves conflict with each other thus improving their health, it also improves airflow and prevents diseases.
5. Mulching Over Rhizome
For the same reasons mentioned previously where the covering of the rhizome top prevents sunlight from waking up the winter asleep iris rhizomes, mulching over the rhizome replicates the same problem.
If you need to mulch, do not cover the rhizome. Just the area around it. The best mulch for rhizomes is evergreen boughs or pine needles as they can retain the heat and protect from the freeze-thaw cycle without blocking the sun in spring.
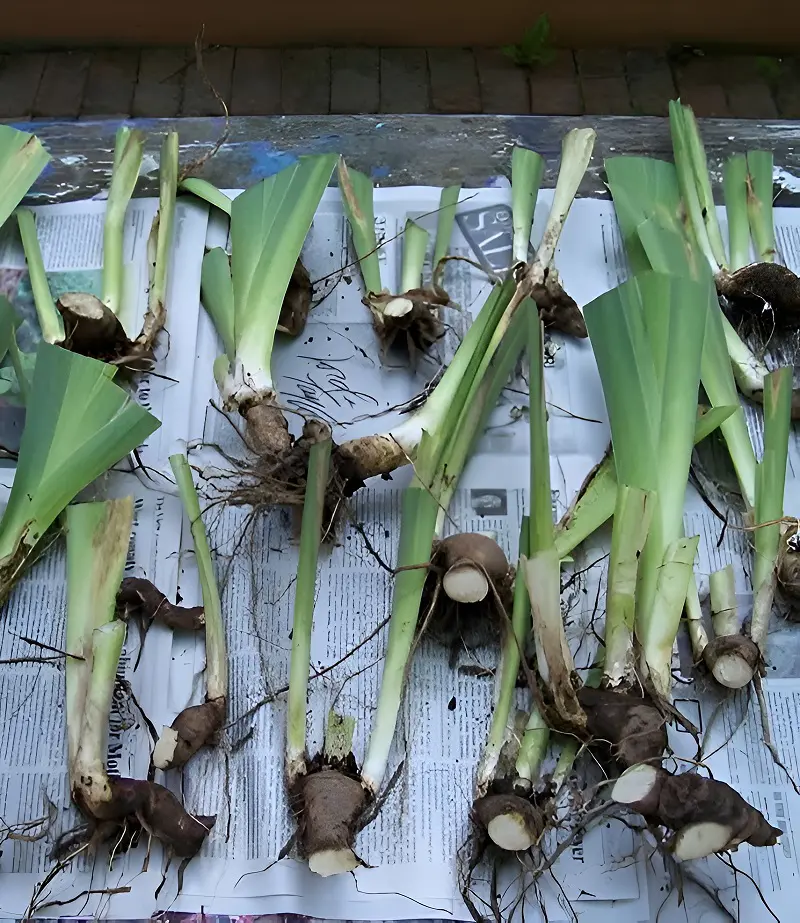
Some people might split off their irises after the leaves have dried out in late fall. A split iris rhizome requires additional energy from having been split off. Thus, the best time to split the rhizomes is in late-spring after their first deadheading but before mid-fall when they will have lost all their leaves soon afterward.
The additional energy produced will allow the irises to recuperate and heal their wounds after the split while also having enough leftover energy to bloom successfully in the next season.
Additional Tips for Healthy Iris
Provide 6 Hours Of Sunlight
Most species of irises, both bearded and unbearded prefer 6 hours of full sunlight. Before planting them in your garden, survey the area to find the locations that get the best sunlight to maximize your chances of a healthy iris which blooms every year consistently.
If you live in the warmer southern regions, it's okay to provide them partial shade as the surrounding heat will still allow them to thrive while requiring less frequent watering.
Spacing Rhizomes
When planting your irises for the first time, work some compost into the planting soil and space out rhizomes about 1-2 feet apart for bearded or 2-3 feet apart for beardless irises. The rhizomes of the irises expand over time making them thicker and denser with more leaves and stems growing out of the same rhizome over time.
Taking proactive measures to prevent crowding even after their natural expansion allows for good air circulation and prevents disease. Use tarp near the edge of rhizomes to prevent further expansion.
Fertilizing Irises
If your soil is fertile as a result of composting the planting soil, you don’t have to fertilize at all. But if there are no issues and yet the irises do not bloom, there might be a lack of sufficient nutrients in the ground.
In late winter or early spring, provide them with a slow-release granular fertilizer with the formula of 6-10-10 or 6-12-12 ratios of Nitrogen, Phosphorus, and Potassium. The first number, nitrogen shouldn't be too high as it causes great foliage but no flowers.
Drip Irrigation
Irises need water deep underground but high moisture should be avoided as well, thus do not water irises in the evening as the lower temperatures and the lack of sun cause a humid environment during the night. The drier the foliage stays, the healthier they will be.
To thoroughly water the roots of the iris rhizomes in well-draining soil, it is recommended to use drip irrigation or a soaker hose instead of an overhead sprinkler which gives the best results.