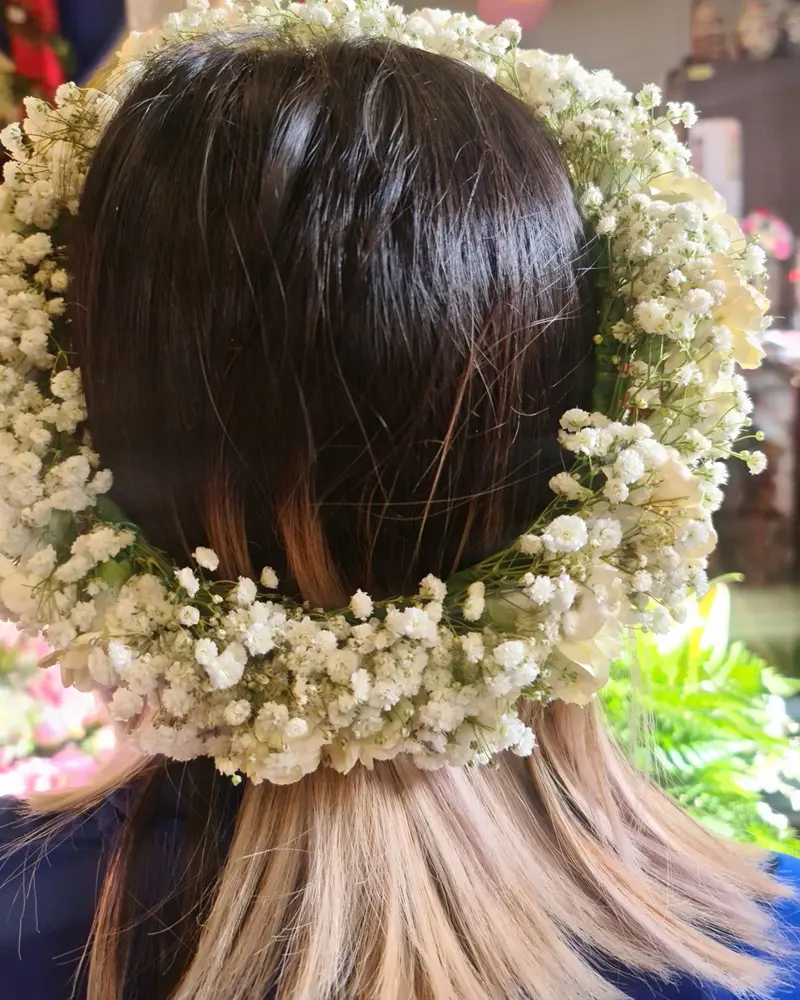
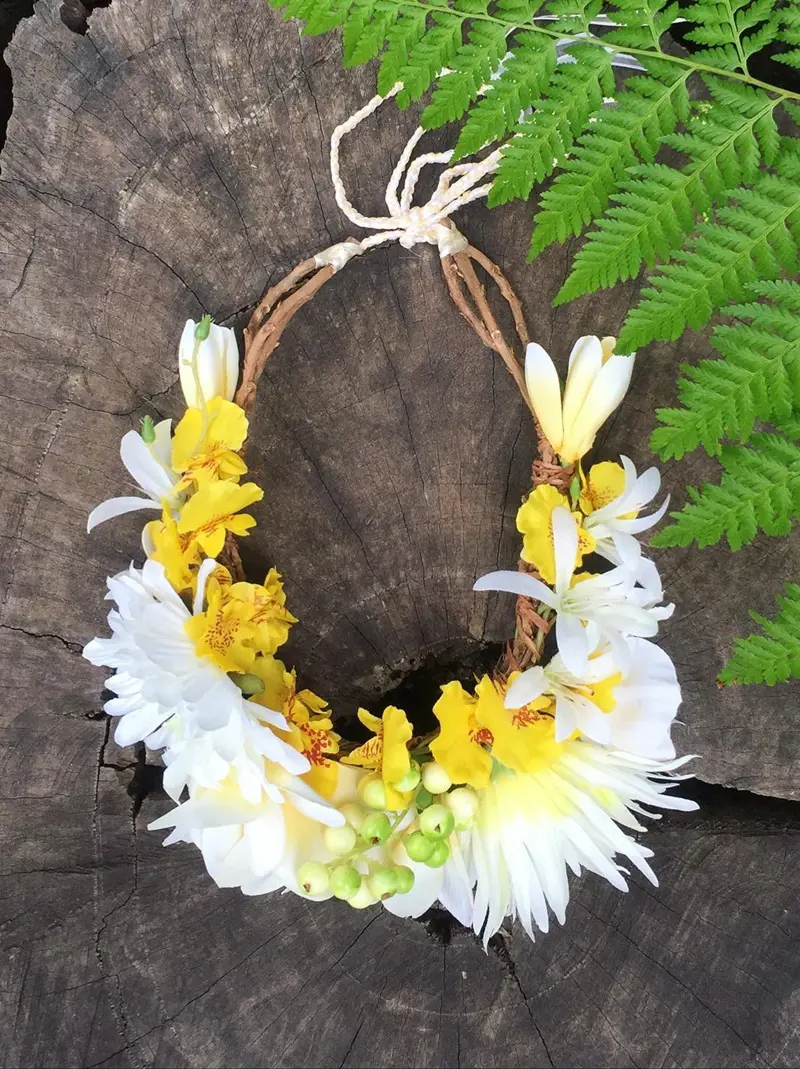
Wearing a flower crown over your head is certain to enhance your beauty. Whether you are heading out for a wedding ceremony or you are going to be a bride yourself, a flower crown with real and natural flowers will complement your outfit and presence.
Blending well on every social gathering, the flower crown is slowly becoming a must-have element for every beautiful lady like yourself. Let's dive into this exclusive guide on how to make flower crowns.
Step 1: Collect the Materials
You should begin by gathering the required materials all by your side to initiate the flower crown-making process. This will save you time and you can give your full focus for a couple of hours to this amazing work.
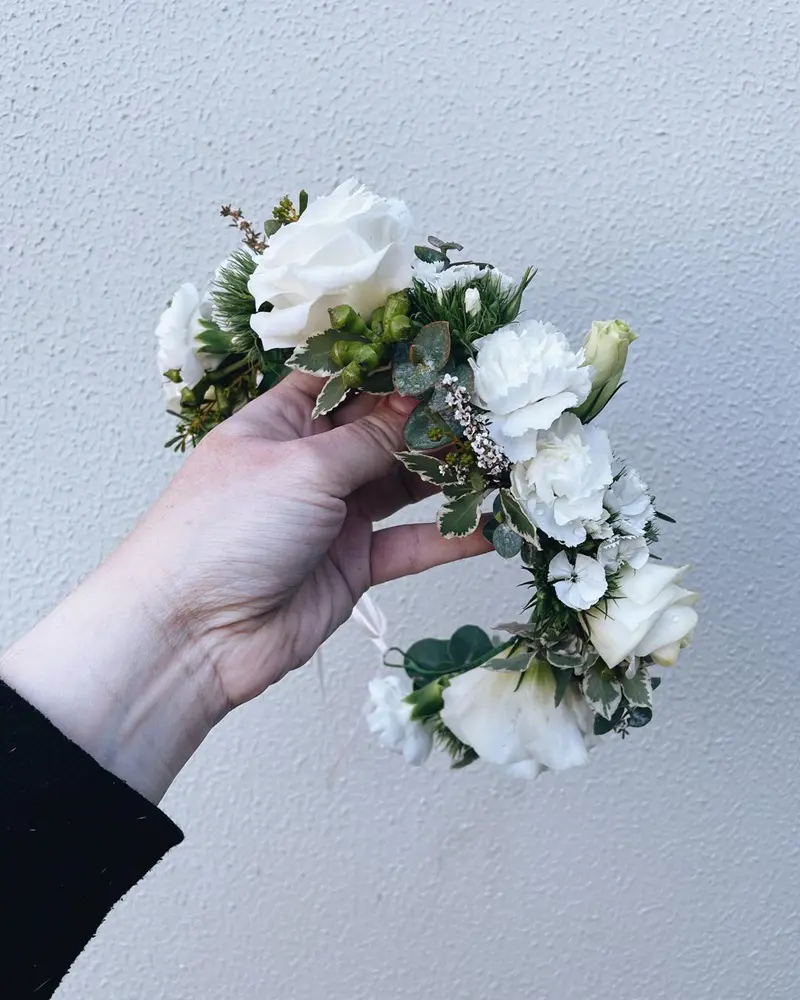
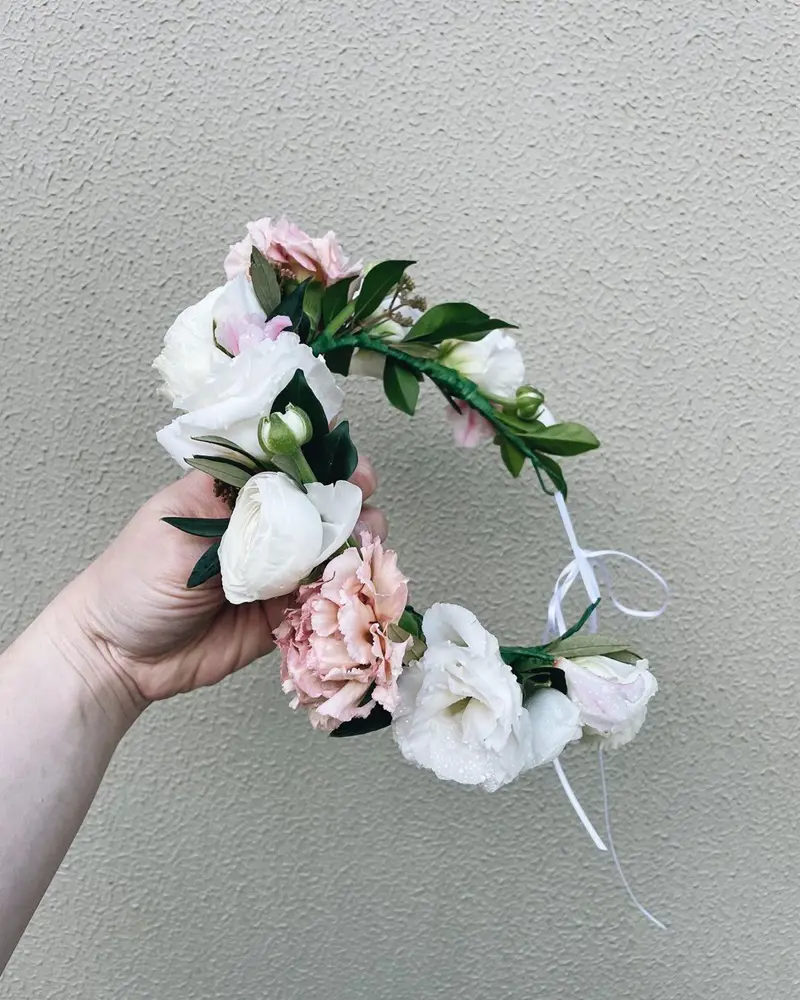
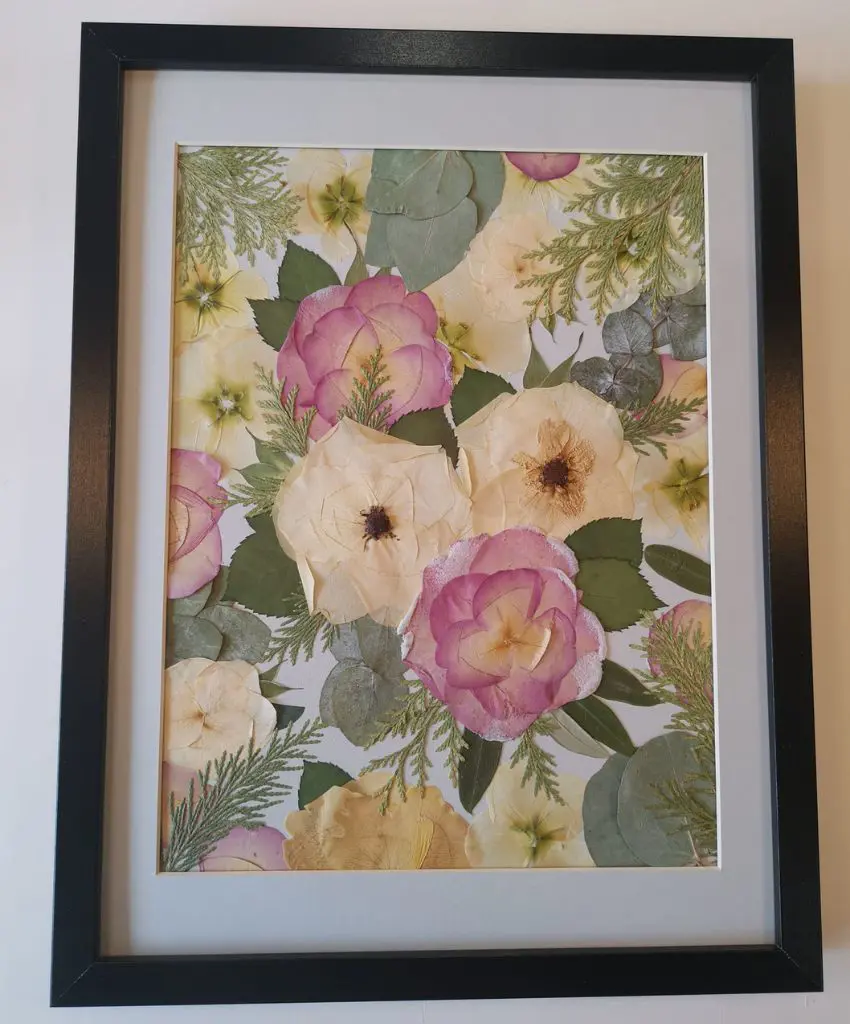
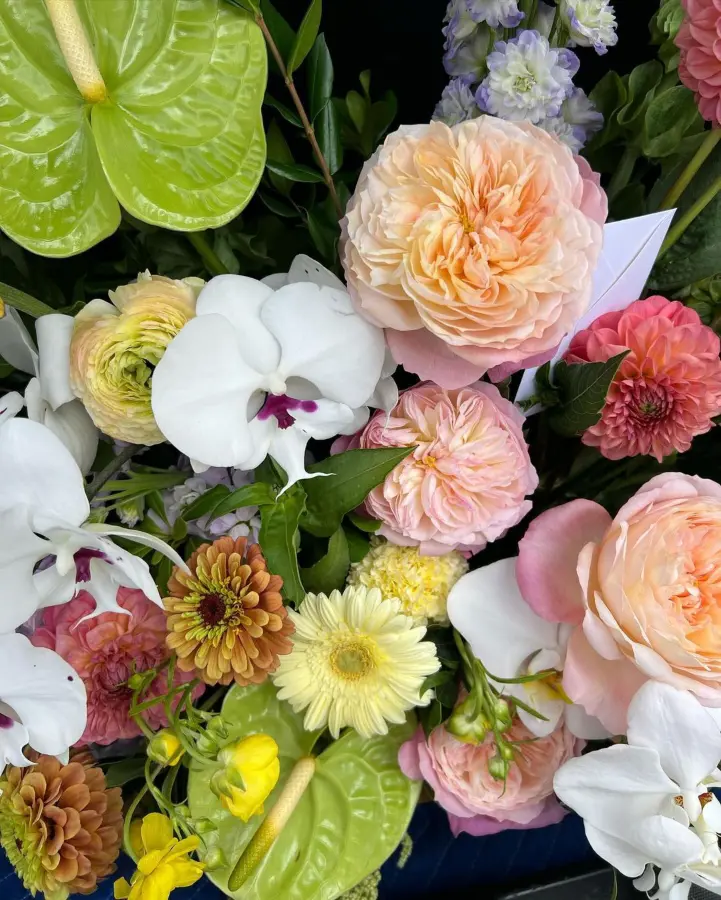
Prepare yourself with the measuring tape, wrapped wire, scissors, wire cutters, ribbon, and flowers, of course. Rosemary, lavender, berries, spray roses, and many such flowers that are found to remain fresh for extended periods in the absence of water, are identified as the best crown flowers.
Step 2: Measure the Head
After you've gathered the essential materials, the next step is to measure the size of your head. Make use of the measuring tape and measure the circumference of your head. It is not necessarily required to make the perfect measurement because the flower crown can be made adjustable.
Once the measurement is done, it has been suggested to add 3 inches to that length and cut the wrapped wire twice the final length. You should know extra 3 inches are for making loops at the end.
The next step is to make the base of the flower crown. Pick the measured wire that has been just cut and twist at each of its ends so that a circular loop is created. Now, gently wrap the floristry tape around the wire.
Make sure the tape is tightly wrapped because you are going to pop the ribbon through them later. If you're uncertain about the exact size of the head where the flower crown is going to sit, you can make a hook at the end of the loop to make it adjustable.
Step 4: Work on the Flowers
Now is the time to work on the flowers you've collected. You might have brought up flowers that need some trimming so that perfect adjustment and alignment are maintained in the wire. Make sure you cut the flowers short.
For every flower that is going to be stuck in the wireframe, it has been suggested to trim them so that only 1-2 inches of stem are left on the flowers. If you've decided to add the foliage as well, trim them to the adjustable size.
Step 5: Begin Adding Flowers and Foliage
After making the base of the wireframe, you can now initiate adding the flowers and foliage to the frame. It has been suggested, to begin with a piece of foliage by placing it at one end of the wire.
Make sure to keep the foliage very close to the wire facing south of the loop. If you've picked a blooming flower then you can place it in the wire in such a way that the bloom has faced the loop with a slight inclination in the direction of the loop.
To make the foliage and flowers attached to the wire, you need to pick the floristry tape and warp them tightly. While you place the foliage with its stem close to the wireframe, make sure to hold it with one hand, aligning it perfectly with the frame.
With your other hand, hold the open end of the tape over the stem and wire, and pull the tape. Now, you can wrap the stem tightly around the frame with a blooming part or leafy part covering the frame line with tape. You can wrap the foliage and flowers a couple of times!
Step 7: Repeat the Process Adding More Flowers and Foliage
Once foliage or a flower has been added to the wire perfectly, you can repeat the same process and add other elements to the frame. While doing so, make sure to hide the frame and tape applied over it.
This can be achieved by placing the blooms on alternate sides such as on top of the wire, on the side, and the bottom. Choose a good color combination and continue working to make a beautiful flower crown. People often place the bigger blooms at a certain interval to make the crown more aesthetic.
Step 8: Trim Away Unmanaged Stems
Although you've carefully trimmed all of your flowers and foliage while preparing them in the beginning, once they get attached to the wire frame, some irregularities might still occur.
While you keep on adding flowers to the wire, you can make them look perfectly aligned by cutting away any peaking stems. Make sure the foliage or flowers completely cover the wireframe from ahead. This will make the flower crown more comfortable to wear.
While you keep on adding more flowers and foliage as per your preference for the flower crown, you should make sure they are covering the wire and tape on each of their addition. For this, the placement of the flowers should be done in parallel.
You should remember that the tape of one flower on its stem should be covered by the bloom of another flower in parallel. This way you can make a more appealing flower crown. Once you reach the end of the loop, try to pick a larger flower or foliage that will help to hide the ending mechanism.
Step 10: Check for Symmetry
The work of making a flower crown doesn't take more than a couple of hours, that is if it is your first time. While working on the circular loop continuously adding the foliage one after another, there's a possibility, you might go out of the dedicated line.
This means you might lose track of symmetry. For a beautiful flower crown, it should be symmetrical enough to blend in with your head or any person's head. So, after the addition of a couple of foliage, you need to check for symmetry until everything looks perfectly fine.
Step 11: Secure the Ends
Once you're satisfied with everything you've done, you need to give the flower crown a final work. Yes, once you reach the end of the loop, you need to secure the ends either by twisting them together or tucking them under the crown base.
If you've already made the hook then, it is not necessary to do any further work on the ends of the loop. But if you haven't, you might need to trim away the excess wire using a wire cutter and secure them for good stability.
Many people prefer tying a ribbon at the end of the loop which creates a connection between the two ends. But it depends upon, how you want to make your flower crown. If you tie the ribbon at the back, it might cover the exposed ends of the crown.
You can choose a matching color of the ribbon that will complement the foliage or color of your outfit.
Step 13: Give the Flower Crown a Test
Yes, you've reached the final stage. We congratulate you and admire your work. Since you've invested some of your time in this sweet creative work, we are pretty sure you've made something really attractive and appealing, at least for yourself.
Now is the time to give it a test. If you are making the flower crown for yourself, I am sure it won't have any faults in terms of size and fit but if you are making it for your loved ones, it might need some adjustments. Since it goes in the head, we're sure you can figure out the necessary adjustments by trying it on your head.
Step 14: Mist the Foliage With Water
You've done everything that is essentially required to make a flower crown and we can feel, you've done it pretty nicely. If the flower crown you just developed is to be used right away or at least within a few hours, then it would be just fine.
But if it is to be used after a slightly longer period, you can try misting the foliage with water. This has been found to help the foliage remain fresh for some extended hours. Keep in mind not to soak the entire crown, the flowers might wilt.
There you go, your beautiful flower crown is completely ready to honor your beautiful head. You can wear it and add a touch of natural elegance to any occasion. Prepare yourself accordingly for a lot of eye-catchers and turning of the head towards you.
We wish you a very good flower crown-wearing day!
How Long Do Flower Crowns Last
The flowers that are used in the flower crown are in general fresh and natural. Such natural crowns certainly can't last forever and are found to lose their essence after some days. You need to understand, the type of flowers that have been used on the crown basically decides the periods they're going to freshly live.
Yes, some flowers might last for about a week while some may start to dry after 24 hours. Different flowers tend to show different reactions when environmental elements and care come into play, upon which the natural things are majorly dependent. Let's learn more about them:
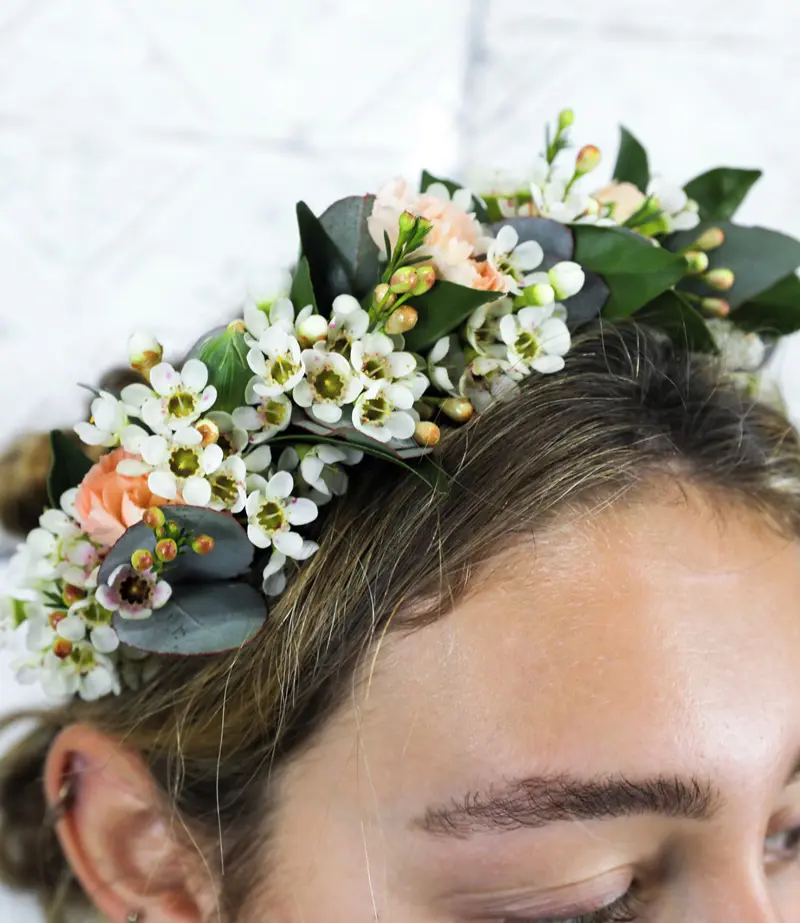
People often choose delicate sturdy flowers such as roses, carnations, hydrangeas, or poppies while preparing fresh flower crowns. This type of flower crown is found to last for about 48 hours if given proper care.
After two days, they begin to wilt. If you want to increase their longevity, you can try keeping them in a cool place such as a refrigerator when not in use.
2. Flower Crown with Hardy Flowers
Succulents, eucalyptus, or wax flowers are referred to as the hardy flowers in the flower crown world. The flower crowns that have used hardy flowers on them are found to remain fresh for about 72 hours.
Hardy flowers can survive slightly more days than delicate fresh flowers because of their natural resilient properties against shortage of water and exposure to heat. It has been found that if you lightly mist such flower crowns and keep them in a cool place, you can slightly extend their freshness.
One of the primary things you should know about the preservation of flower crowns is that they should be avoided from direct sunlight and warmth. Once you've prepared the flower crowns with real, natural flowers, you should keep them in a cool spot.
In general, a cool environment of ideal temperature between 65°F to 85°F is considered best for preserving the flower crowns that have been made using natural flowers. Avoid freezing the crown but you can make use of the refrigerator.
2. Mist Flower Crown
You can choose to lightly mist the flower crown with water. This way the fresh flowers can stay hydrated for some period. It has been suggested to make use of a mist spray bottle for this purpose.
You need to make sure the flowers aren't soaked up in the water while misting. Keep in mind to avoid drenching because this can cause the flowers to wilt.
3. Keep Flower Crown Away From Sunlight
Direct sunlight on the flower crown can dry them pretty quickly. Once dried, flowers start to wilt and eventually fade out. Therefore, you should avoid direct sunlight if you want to preserve your beautiful flower crown.
While wearing them on any occasion, if you want the flower crown to last for some more days, especially if another important occasion is on the way, make sure you stay in shaded areas and avoid exposing your head to the sun.
4. Handle Flower Crown with Care
You are aware that flowers are gentle, delicate, and fragile. If you misbehave with them, it's all your loss. While preparing the flower crowns or while wearing them, you should avoid bending or pressing the flowers.
You need to handle the flower crown with proper care just like handling any glass while transporting them. Keep in mind not to touch them excessively!
One of the effective preservation techniques for the flower crown is by using damp paper towels. You can pick a pie plate and add a layer of paper towels at its bottom. On top of it, gently place your flower crown. Keep in mind to use damp paper towels.
Make sure to add another layer of paper towels from the top and store the pie container in the fridge. It has been recommended to store it for about 3 days in the fridge. This way, you can increase the longevity of your flower crown.
6. Rehydration Trick
You might be wondering how to bring the life of your flower crown back. Well, it is possible with the use of water. If your crown has wilted just a day before your important event, you can try placing it in a bowl filled with water.
Make sure you place the stems of the flower in water for a few minutes. This has been found to rehydrate the flowers. You should know this trick is for temporary purposes only.
7. Drying Techniques
Removing moisture from the flowers is one of the key aspects of preserving their original color and form. You can try several techniques to remove the moisture from your flower crown and drying is one of them.
a. Air Drying
Air drying is the most convenient technique that can help preserve fresh flowers. You can suspend the flowers upside down in a warm and dry space, allowing the moisture to drain downwards.
If there's proper air circulation, you can dry the blossoms in about four weeks. Make sure to hang the flower crown using any suitable hook on the wall and let it dry naturally.
b. Microwave Drying
Another method to dry your flower crown is microwave drying. It has been suggested to make use of silica gel while microwaving the crown which will help to preserve the shape and color of the blossoms.
This method has been found to preserve the flower crown in a more effective way than air drying. You simply need to apply silica gel to your microwave and place the flower on it. Run the microwave and leave them for about 24 hours. Make sure to regularly check the drying progress.