Composting is an excellent way to recycle organic waste, reduce your carbon footprint, and create nutrient-rich soil for your garden. Likewise, making your own compost bin is an easy and cost-effective project that can be accomplished with a few basic materials and tools.
In this guide, we will walk you through the process of building a compost bin from scratch, with detailed instructions and helpful tips.
Materials Needed
If you're looking to make a compost from scratch, there are certain elements and materials you might need. Some of those materials include:
A large plastic trash bin with a lid (drill holes for ventilation drying)
A drill, screws, nails, or hammer
Wooden pallets (3-4)
Hinges (if you plan to add a lid)
Bungee cords or straps to secure the lid (optional)
Optional Materials
Chicken wire for a base layer
Carpet or plastic for covering the top
Heavy bricks to anchor down the compost cover
A bow saw for trimming stakes
A sledgehammer for driving stakes into the ground
Choose A Bin Location
Choosing the perfect location for a bin for composting involves considering several factors to ensure optimal composting and a healthier garden. Here are the key considerations:
1. Convenience
Easy access: Place the compost bin near the kitchen or garden where you can easily deposit food scraps and yard waste.
Distance from the garden: Position the bin close to your garden beds to minimize transport time and effort.
2. Aesthetics
Visual appeal: Consider the appearance of your garden and choose a location that hides the compost bin from view if necessary.
Avoid awkward locations: Don't place the bin in areas that are difficult to access or create long trails of mud.
3. Climate and weather
Temperature: Avoid extreme temperatures, such as direct sunlight or cold areas, which can slow down the composting process.
Wind: Place the bin in a sheltered area to prevent covers from being blown off and to maintain moisture levels.
4. Space and drainage
Level and well-draining surface: Ensure the area is level and drains well to prevent water accumulation and soggy compost.
Avoid concrete and wooden surfaces: Use a well-draining surface material like soil to prevent staining and ensure proper drainage.
5. Neighbors and house
Distance from the house: Keep the compost bin at least 10 feet away from the house to avoid odor and pests.
Neighbor considerations: Avoid placing the bin too close to your neighbor's property to maintain a good relationship.
6. Additional tips
Water source: Place the bin near a water source or within range of a hose to maintain proper moisture levels.
Space for wheelbarrows and elbow room: Ensure there is enough space to work with your compost heap and to move wheelbarrows and other equipment.
After choosing the compost bin and location for it, follow these steps to prepare the bin for composting:
1. Prepare the Pallets
First, inspect the wooden pallets to ensure they are sturdy and free of chemical treatments. After that, cut the pallets to the desired size using a saw. A standard compost bin is about 3 feet tall and 3 feet wide, if necessary.
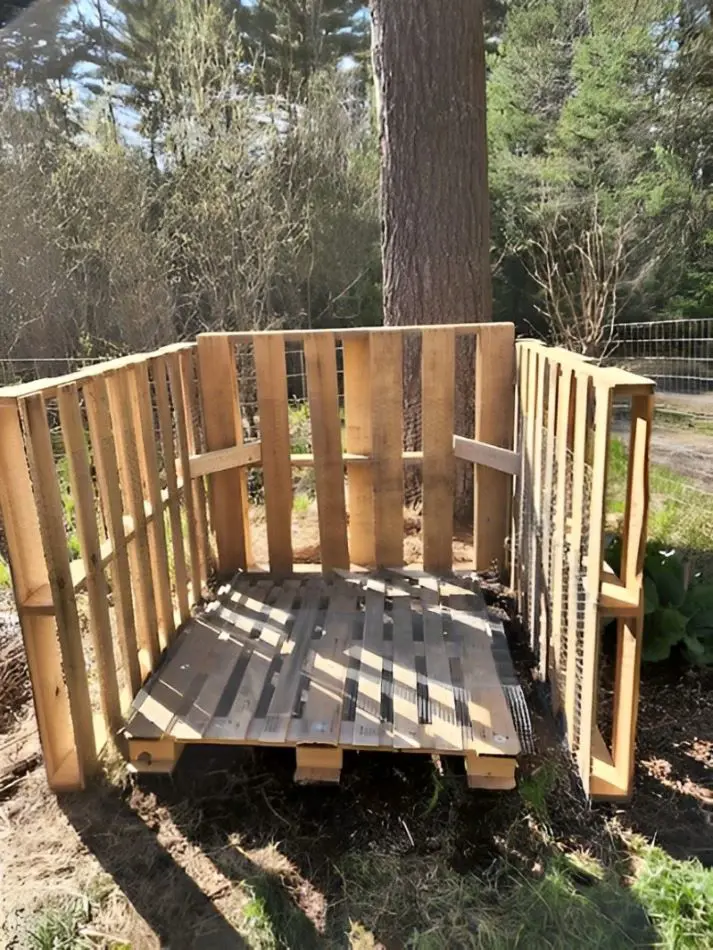
2. Assemble the Bin
Stand one pallet on its long edge to form the back of the bin. Likewise, attach two pallets on either side of the back pallet, using screws or nails. Make sure they are securely fastened.
And, if you want a closed bin, you can attach another pallet to the front, leaving an opening at the top for adding materials. For easier access, you might opt to leave the front open or use a removable panel.
3. Add a Lid (Optional)
If you prefer to cover your compost bin, use hinges to attach another pallet or a piece of wood as a lid. This helps keep pests out and controls moisture levels.
4. Line the Bin (Optional)
To improve aeration and keep the compost contained, line the inside of the bin with chicken wire or hardware cloth. Staple or nail the wire to the inside of the pallets.
5. Drill Holes for Aeration
Drill holes in the bottom: Drill 8-10 small holes in the bottom of the bin for airflow and drainage.
Start Composting
With your composting bin is ready, it's time to put compost in a bin. If you're doing this for the first time, there are certain things you need to consider.
1. Layering
Start with a layer of brown materials like dry leaves, straw, or sawdust to help aerate and drain the pile.
Then add in a layer of green materials like food scraps, grass clippings, and garden debris. Aim for a mix of 1 part green to 1 part brown materials.
Continue adding layers of green and brown materials, alternating between the two. This helps maintain a carbon-to-nitrogen ratio and ensures proper decomposition.
2. Maintain Moisture
Keep the compost pile moist, but not waterlogged. Add water as needed to maintain a consistent moisture level.
3. Turn the Compost
Periodically turn the compost pile to aerate and mix the materials. This helps ensure even decomposition and prevents anaerobic conditions.
4. Monitor Temperature
Check the compost pile for temperature. A healthy compost pile should reach 140°F (60°C) to ensure proper microbial activity.
5. Wait for Completion
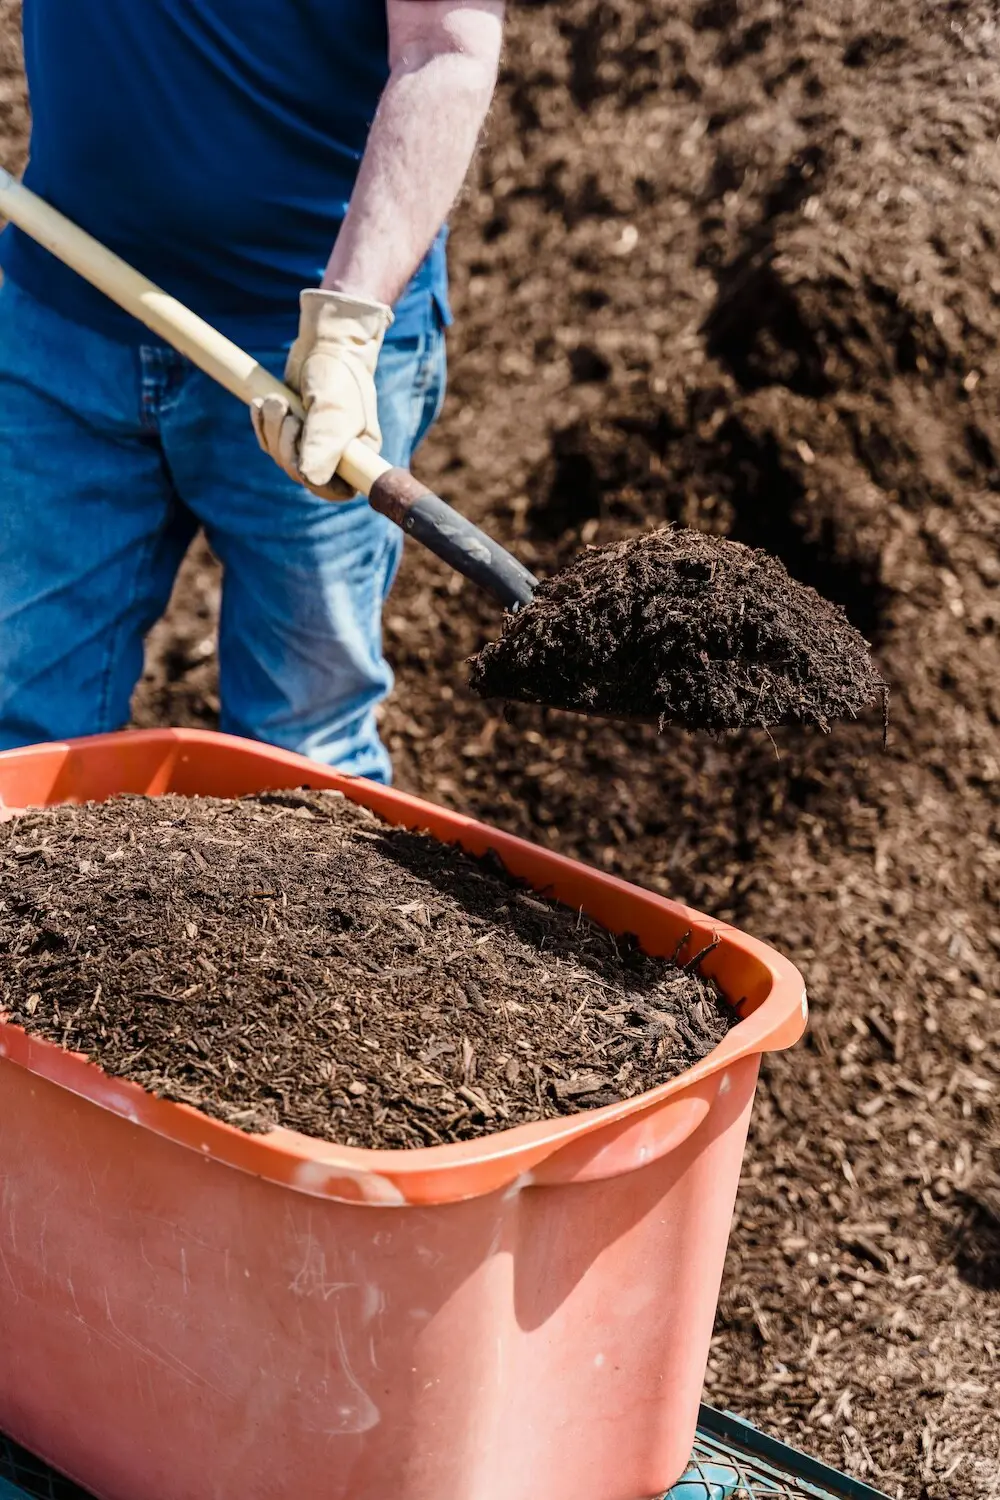
Allow the compost pile to break down over several months. Once it reaches the desired consistency and smell, it is ready to use.
Once the compost is ready, you can use it to fertilize your plants. It should be dark, crumbly, and have an earthy smell.
Additional Tips
Add worms for better composting. Consider adding worms to your compost bin for enhanced decomposition and nutrient-rich compost.
Use shredded paper to reduce gnats. It will help to reduce the presence of gnats and other flying insects.
To compost effectively, you should include a variety of materials in your compost bin. Here are some common items that can be composted:
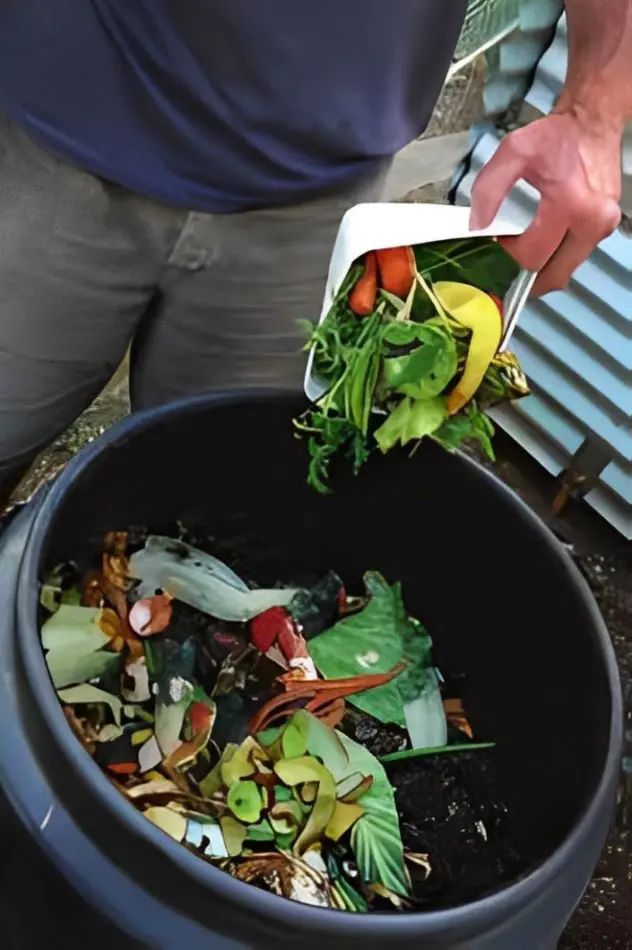
Food Scraps
Fruits and vegetable peels: Add fruit and vegetable peels, such as apple cores, carrot tops, and potato skins.
Food Waste: Include food waste like bread, grains, and cereals.
Yard Waste
Grass clippings: Add grass clippings, but avoid those treated with pesticides or herbicides.
Leaves: Include dry leaves, which are high in carbon and help balance the compost pile.
Branches and twigs: Add small branches and twigs, but avoid large logs.
Paper and Cardboard
Newspaper: Add shredded newspaper, which is high in carbon and helps with decomposition.
Cardboard: Include cardboard, such as cereal boxes and paper towel rolls.
Other Materials
Coffee grounds: Add coffee grounds, which are high in nitrogen and help with decomposition.
Tea bags: Include tea bags, but remove any staples or strings.
Hair and fur: Add hair and fur, which are high in nitrogen and help with decomposition.
What Not To Compost
Because composting is a sensitive procedure, one should be careful of what to add to it. However, it is equally important to understand what not to add to the mix. The following are some common materials that you shouldn't add into the compost and why:
Meat and Fish Scrap: Meat and fish scraps are not suitable for composting as they can attract pests and create unpleasant odors.
Dairy Products and Eggs: They can ferment and create unpleasant odors.
Oils and Fats: They can linger and negatively impact the microorganisms in the pile.
Plants with Pesticides or Preservatives: Because they can contaminate the compost.
Synthetic Fabrics: Synthetic fabrics like polyester, nylon, and spandex should not be composted as they contain harmful chemicals and dyes.
Leather Goods: For instance, belts, wallets, and gloves should not be composted due to oil finishes and unknown chemical ingredients.
Glossy Paper: Glossy paper with a plastic finish should not be composted as it is toxic to the compost pile.
Citrus Fruit Peels: They can take a long time to break down and risk throwing off the pH of the compost bin.
Onions and Garlic Scraps: They can kill off healthy microorganisms in the pile.
Coal and Charcoal Ash: They can harm plants and create environmental issues.
Dead Animals: They can attract pests and create unpleasant odors.
Troubleshooting Common Issues
Composting has its challenges. From odor to visual appeal, there are certain issues that might arise during the composting process. Here, are some common issues associated with composting and how to solve them:
Foul Odor: Often due to too many greens or insufficient aeration. Add more browns and turn the pile.
Dry Pile: Add water and more greens if the pile is too dry.
Slow Decomposition: Ensure the pile has the right balance of greens and browns, and is turned regularly.
Harvesting Your Compost: Depending on the materials used and maintenance, your compost should be ready in 3-6 months. Finished compost is dark, crumbly, and smells earthy. Use it to enrich your garden soil or potting mix or as a top dressing for plants.
What are some creative ways to hide an unsightly compost bin?
Here are some creative ways to hide an unsightly compost bin:
Composting is a vital process that not only helps reduce waste and greenhouse gas emissions but also supports a healthy garden ecosystem, grows thriving plants, and fights soil erosion. Here are the key reasons why composting is essential:
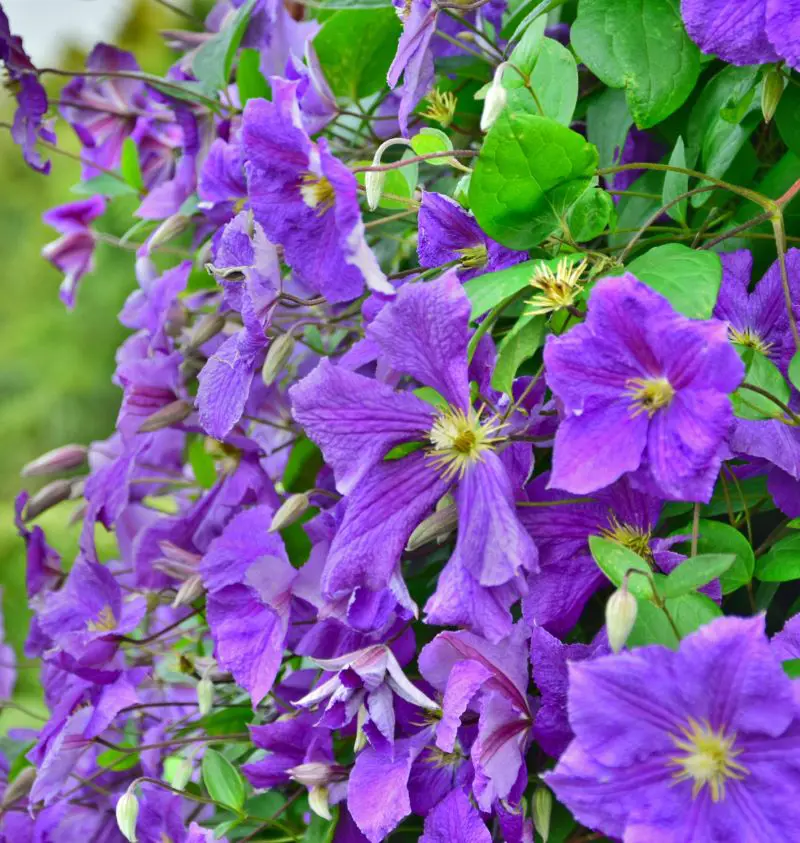
Build a healthy garden ecosystem:
Compost feeds the garden, helps retain moisture, contributes to fewer plant pests and diseases, and keeps the soil's pH balanced. This leads to better plant growth and tastier produce.
Grow thriving plants and tastier produce:
A healthy garden ecosystem leads to more productive plant growth. If you compost slowly, it releases its nutrients, which ensures there is no risk of burning plants.
Limit waste and reduce carbon footprints:
Composting reduces food waste and yard waste, which would otherwise end up in landfills and eject methane, a harmful greenhouse gas. This helps minimize the release of greenhouse gases and supports a regenerative outlook.
Save money in the garden:
Composting is completely free and lets you save money on water, fertilizer, and pesticides. Likewise, compost is a natural fertilizer that can be mixed into soils or used as a top dressing.
Fight soil erosion:
Compost can prevent soil erosion by covering topsoil with a protective layer. This helps retain fertile soil rich in nutrients and organic matter, which support plant growth and health.
Create a new life:
Composting creates new life by freeing up organic materials to support living systems. This supports soil, plants, microorganisms, insects, birds, and small animals, turning backyards into oases for healthy ecosystems.
Control erosion:
Compost reduces soil erosion by increasing infiltration, slowing surface water flow, and binding the soil together, reducing pollution in waterways and supporting healthy plants.
Supports local farms and urban gardens:
It offers community benefits by providing a source of nutrient-rich soil for local farmers and gardeners, promoting social cohesion and sustainability.
Foster environmentalism and promote outdoor activity:
It encourages outdoor engagement, teaching children and adults alike about biological processes and fostering a deeper connection with nature.
Fight climate change:
Composting helps reduce methane emissions from landfills, which contribute significantly to climate change. By composting, individuals can make a positive impact on the environment.
Raw materials:
Your garden and kitchen provide the basic ingredients needed to make compost, which reduces the need for external resources and waste disposal.
Plant booster:
Compost is a valuable ingredient in seedling or clone-starting mixes, providing essential nutrients and managing moisture dispersal.
Microbe stimulant:
Healthy microorganisms thrive in compost, which protects plants from diseases and increases their populations.
Money saver:
It saves money by using readily available materials and reducing the need for external soil amendments and microbe boosters.
Clean-up time:
Composting helps tidy up waste from your garden and kitchen, reducing the amount of waste sent to landfills and promoting a cleaner environment.