One should be aware that healthy plants need more than just water and sunlight; they also require nutrients to thrive. While commercial fertilizers are readily available, many are turning to homemade options to save money and reduce chemical use.
Many common household items can be repurposed to create effective and environmentally friendly fertilizers. By using ingredients like kitchen scraps, eggshells, and coffee grounds, you can enrich your soil and promote healthy plant growth. This guide will walk you through various methods and recipes for creating homemade fertilizers.
Plants need certain nutrients to grow strong and healthy, just like we need vitamins to stay healthy. These nutrients come from the soil and are essential for plants to make their food and grow well.
There are three main macronutrients plants need: nitrogen, phosphorus, and potassium. Nitrogen helps plants grow leaves and stems. Phosphorus helps roots grow strong and supports flower and fruit development. Potassium keeps plants healthy overall and helps them fight off diseases.
Plants also need smaller amounts of micronutrients like calcium, magnesium, and sulfur to stay healthy. These nutrients help with things like building strong cell walls and helping plants use sunlight to make food.
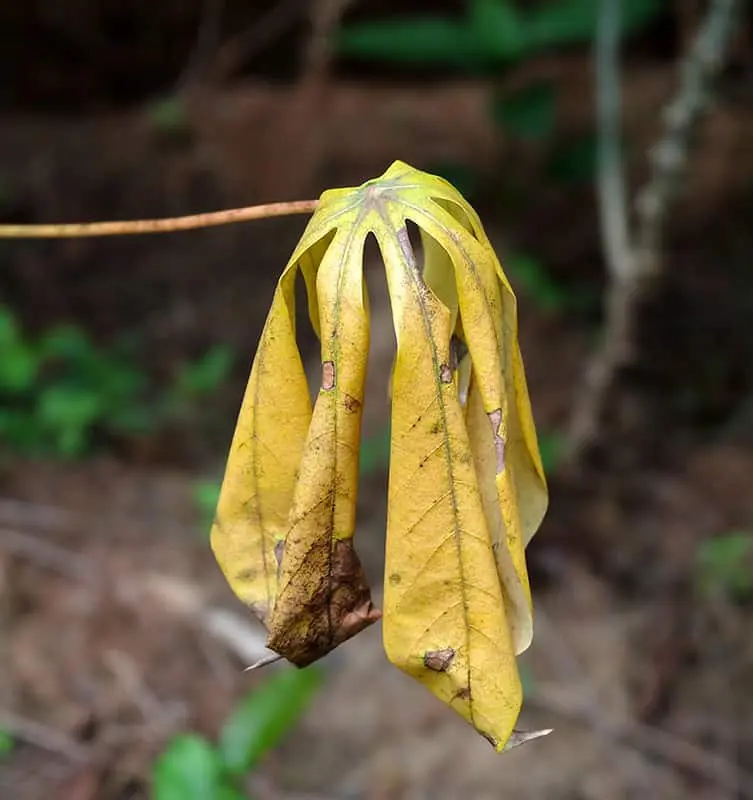
Sometimes, if plants don't get enough of these nutrients from the soil, they can show signs like yellow leaves or stunted growth. A balanced supply of these nutrients ensures that plants grow robustly, produce flowers and fruits, and resist diseases and environmental stresses.
Homemade garden fertilizer comes in various forms, each offering distinct advantages for plant nutrition and soil health. Understanding these differences allows gardeners to choose and utilize the most appropriate fertilizer for promoting healthy plant growth and maximizing garden productivity.
Let's delve into the different types of homemade fertilizers—compost, dry fertilizers, and liquid fertilizers—explaining their characteristics, benefits, and differences:
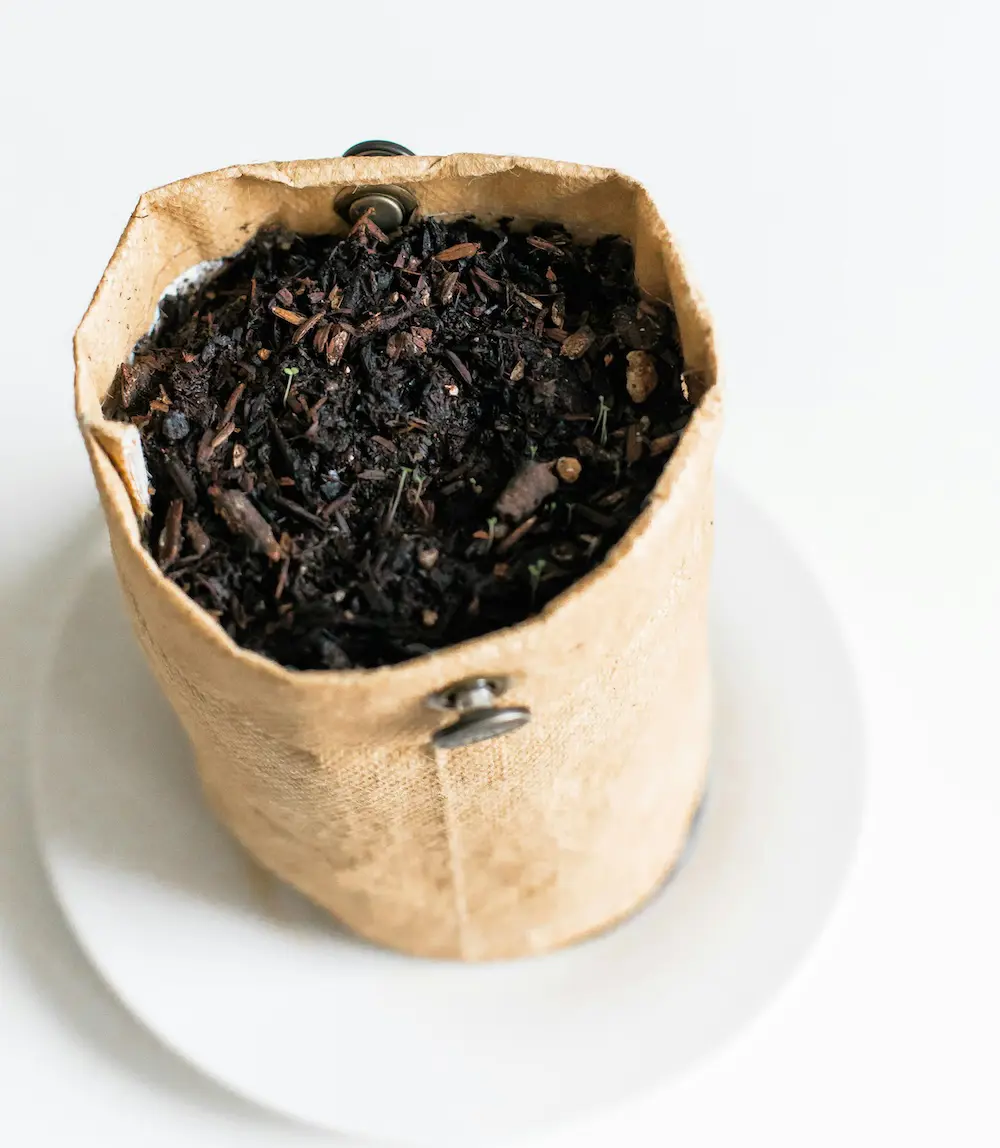
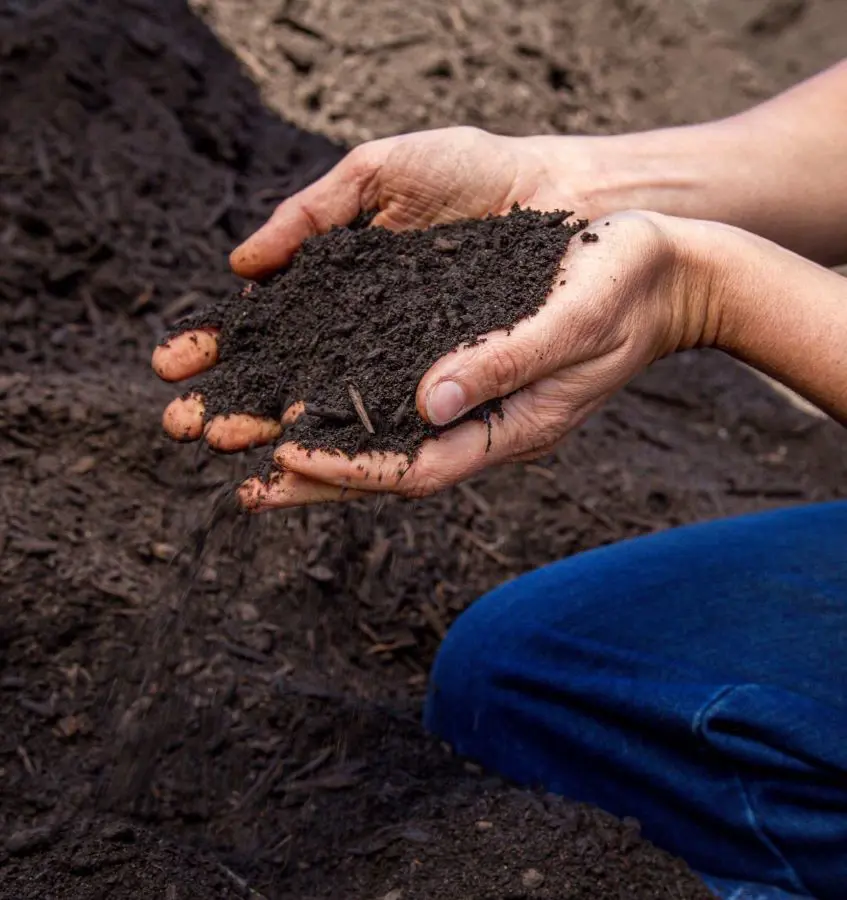
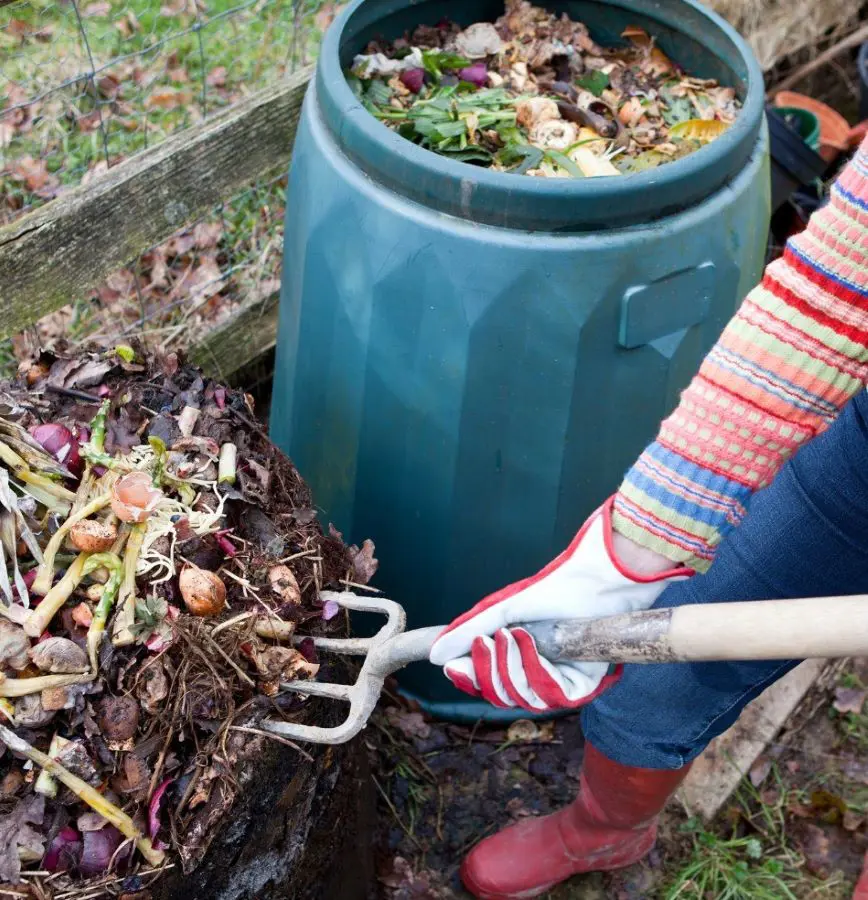
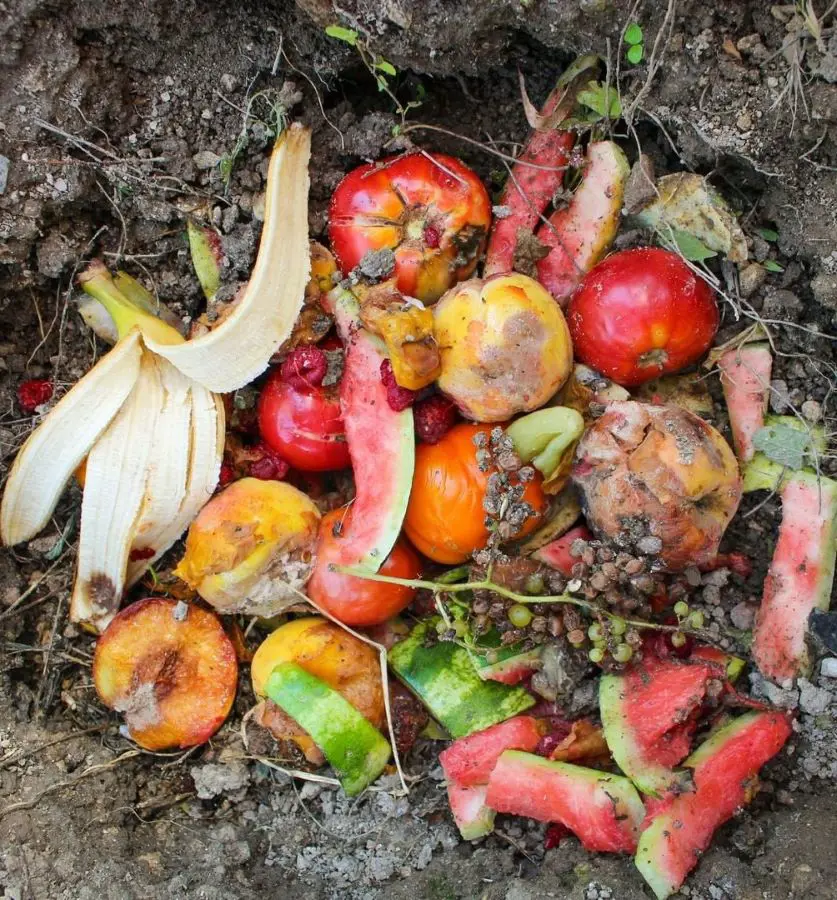
1. Compost
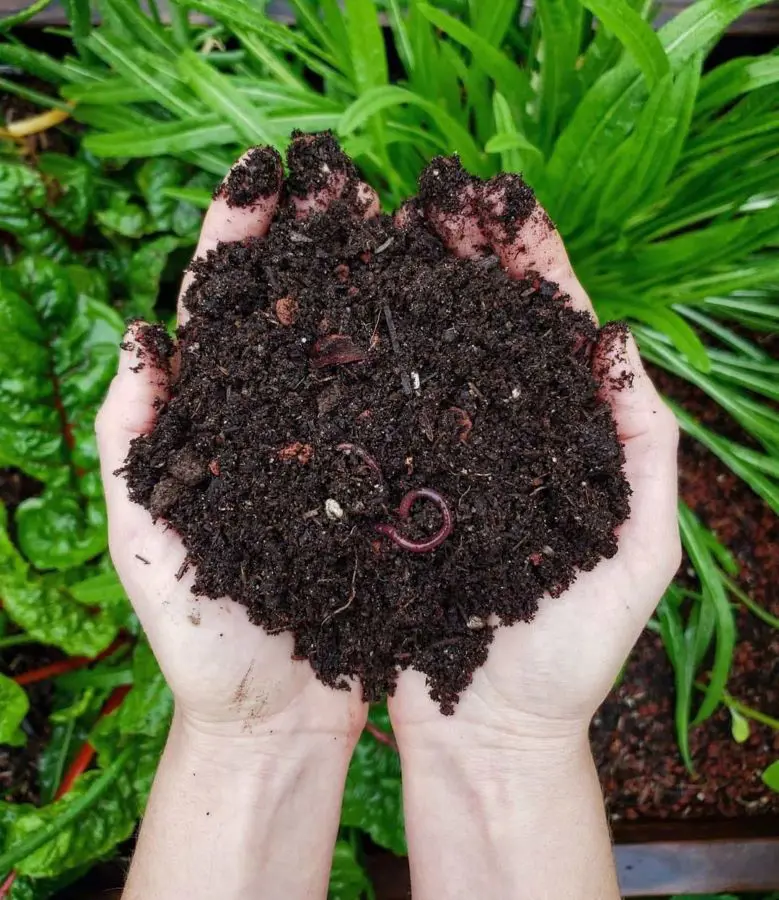
Compost is made from organic materials such as kitchen scraps (vegetable peels, fruit scraps), yard waste (grass clippings, leaves), and other biodegradable materials. These materials decompose over time through microbial action, creating a nutrient-rich humus that improves soil structure and fertility.
Compost is a slow-release fertilizer that improves soil quality over time. It is typically applied to the soil as a soil amendment rather than directly as a concentrated nutrient source.
Liquid fertilizers are typically made by steeping or fermenting organic materials like compost, manure, or plant materials in water. They are applied directly to plant leaves (foliar spray) or soil as a liquid solution.
This fertilizer offers rapid nutrient availability and is absorbed more quickly by plants compared to dry fertilizers. They are beneficial for foliar feeding and addressing immediate nutrient deficiencies.
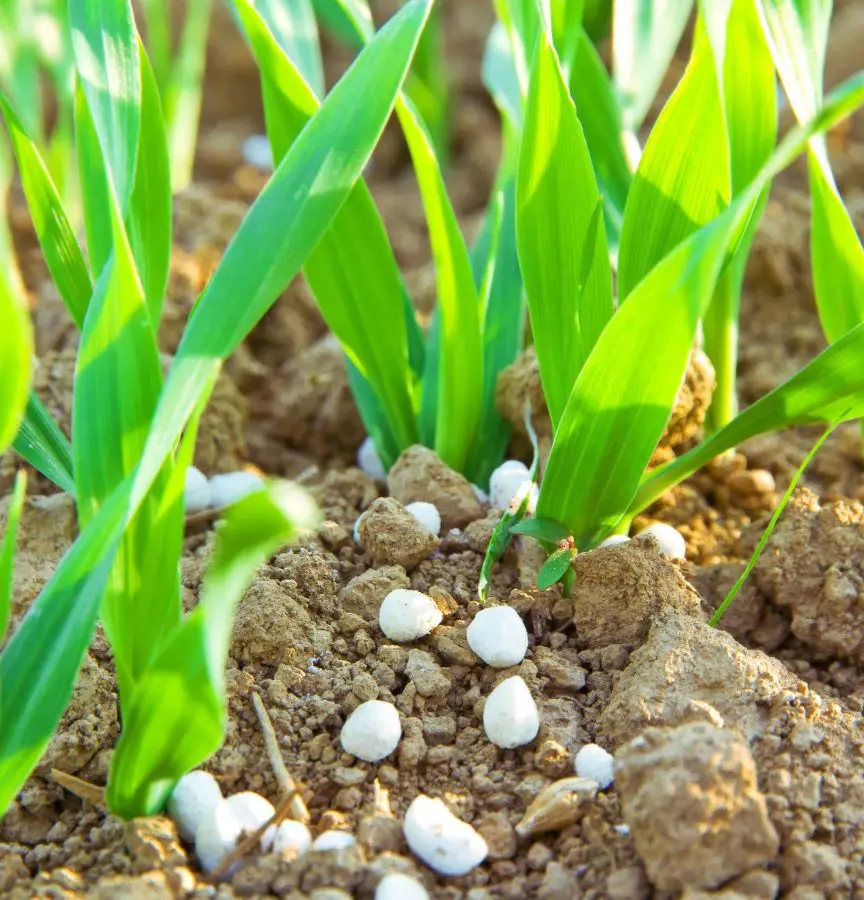
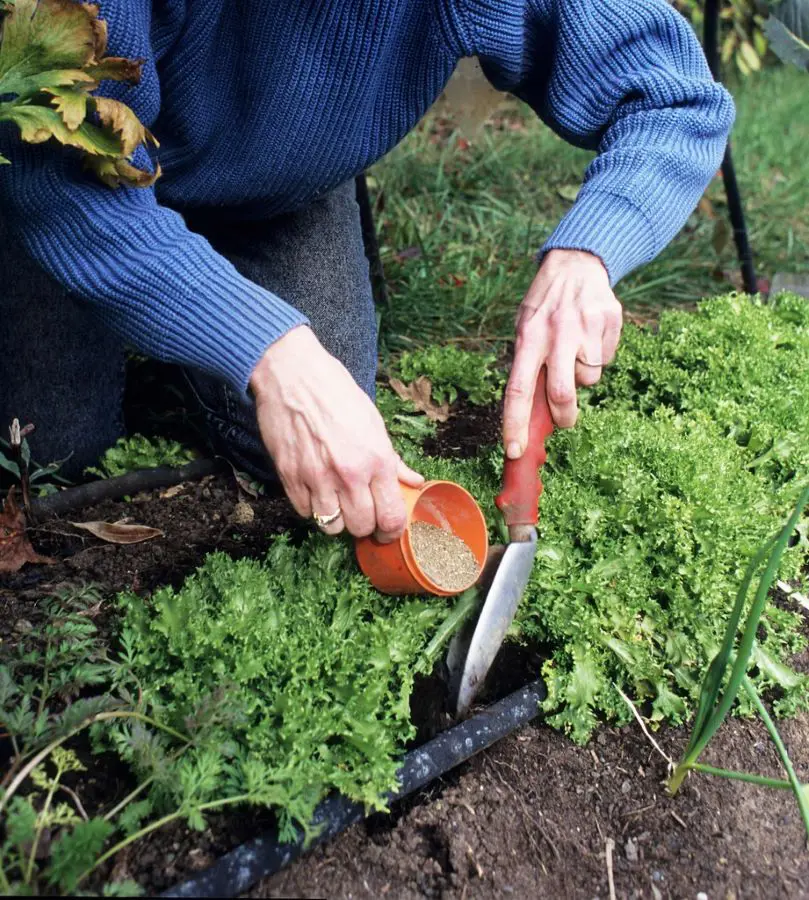
3. Dry Fertilizers
Dry fertilizers can include various materials like eggshell powder, crushed bone meal, wood ash, or commercial organic fertilizer blends. These are in solid form and are either applied directly to the soil surface or mixed into the soil.
They are quick-release or slow-release, depending on their composition. They are convenient for targeting specific nutrient deficiencies and can be stored longer compared to liquid fertilizers.
Making homemade fertilizer can be relatively easy, depending on the method you choose and the ingredients involved. Here are six easy recipes to make your own homemade plant food:
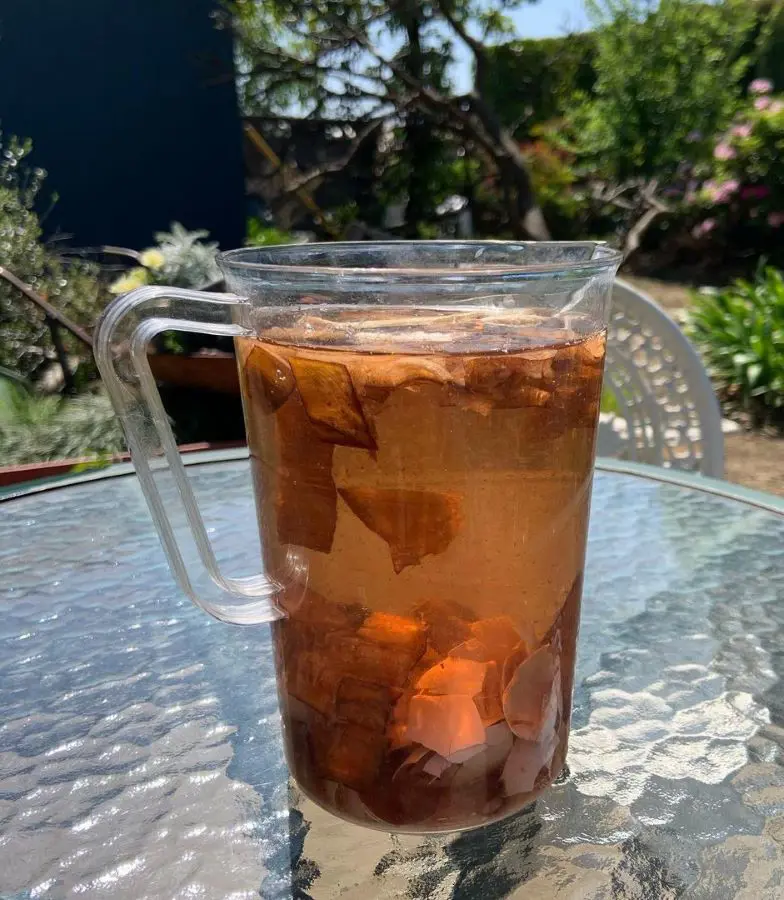
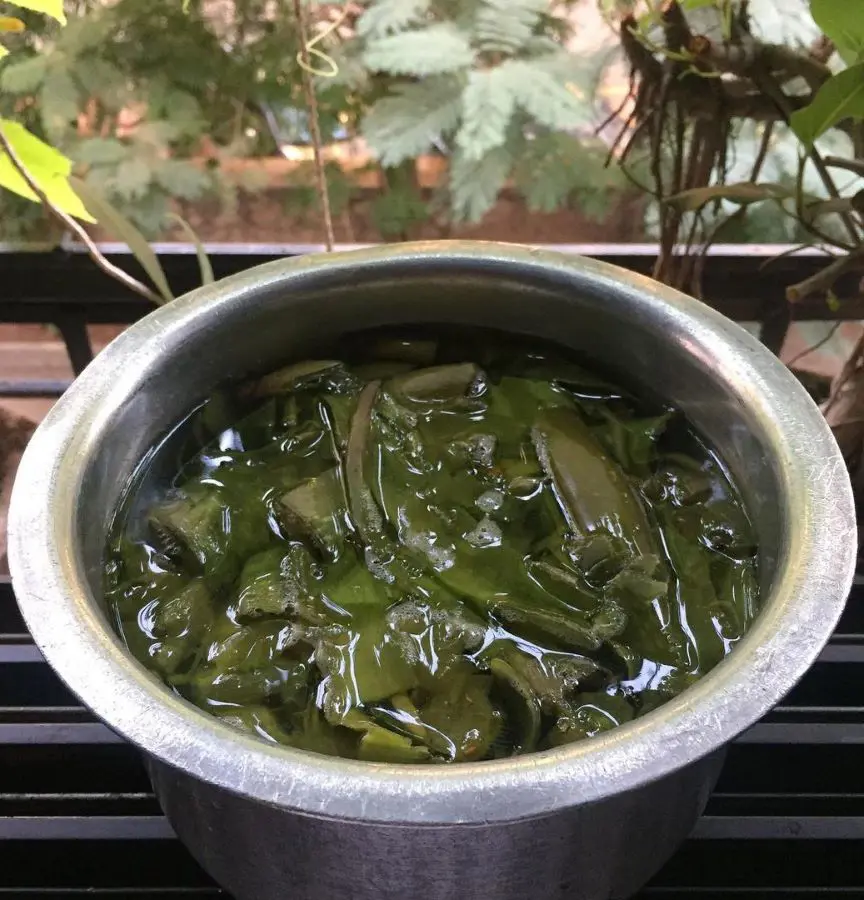
1. Compost Tea
Compost tea provides a wide range of nutrients and beneficial microbes, enhancing soil fertility and plant health.
Ingredients:
Compost
Water
A large bucket
Instructions:
Place a shovelful of compost into a large bucket.
Fill the bucket with water, ideally non-chlorinated.
Let the mixture steep for 24–48 hours, stirring occasionally.
Strain the mixture through a fine mesh or cloth to remove solid particles.
Dilute the compost tea with water (1:10 ratio) and use it to water your plants or spray on foliage.
Preparation Time: It takes about 1-2 days for compost tea to steep and be ready for use.
Storage: Compost tea should be used within a few hours to a few days after preparation for maximum effectiveness. It is best to use it fresh to ensure the viability of beneficial microorganisms.
Provides a natural source of calcium, crucial for cell wall strength and root development, helping to prevent issues like blossom end rot in tomatoes.
Ingredients:
Eggshells
Instructions:
Rinse the eggshells thoroughly and allow them to air dry.
Crush the dried eggshells into small pieces and grind them into a fine powder using a mortar and pestle or a blender.
Sprinkle the eggshell powder around the base of plants or mix it into the soil.
Preparation Time: Drying and crushing the eggshells can take a day or two. Grinding them into powder is quick.
Storage: Eggshell powder can be stored in a dry, airtight container for an extended period, as calcium carbonate (the main component) is stable.
3. Coffee Ground Fertilizer
This fertilizer adds nitrogen to the soil, promoting lush, and green growth and improving soil structure. Here is how to make it:
Ingredients:
Used coffee grounds
Instructions:
Collect used coffee grounds and allow them to air dry if they are wet.
Sprinkle the dried coffee grounds around the base of plants or mix them into the soil.
Preparation Time: Drying coffee grounds can take a few hours to a day, depending on humidity levels.
Storage: Coffee grounds can be stored dry in an airtight container indefinitely. Use as needed for fertilizing plants.
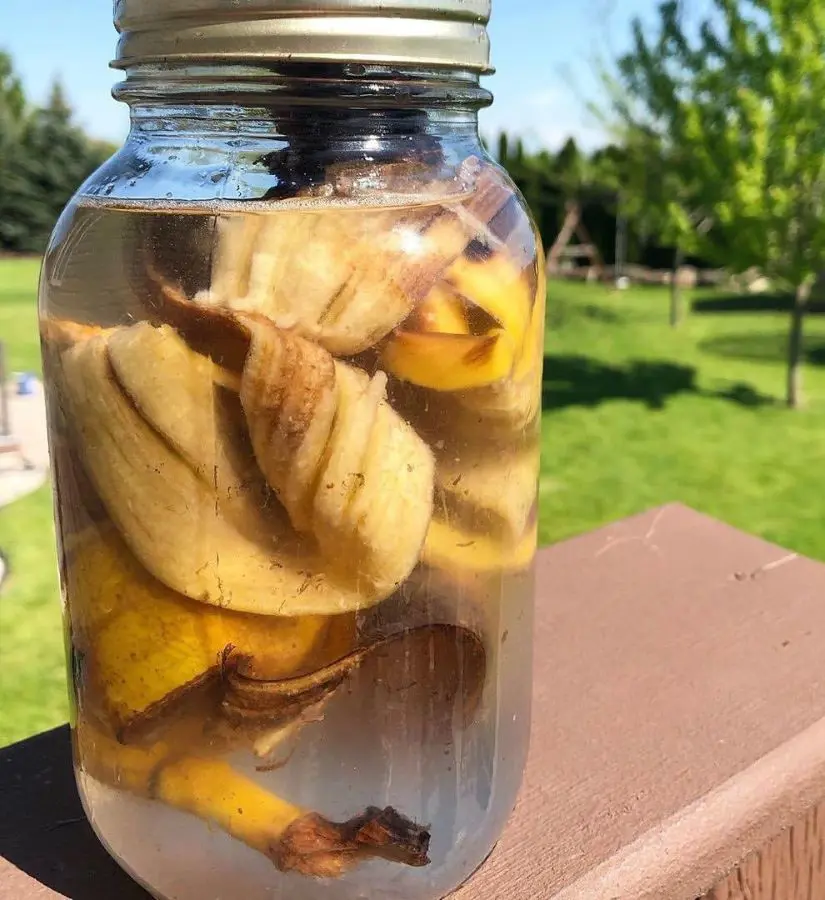
4. Banana Peel Fertilizer
High in potassium, bananas are essential for strong stems, root growth, and flower and fruit production. It also provides phosphorus, which supports energy transfer and root development. Here are the steps to make banana peel fertilizer at home:
Place the chopped peels in a jar or container and cover with water.
Let the mixture ferment for about 2–3 days.
Strain the liquid and discard the banana peels.
Use the strained liquid to water your plants.
Preparation Time: It takes approximately 2–3 days for banana peel fertilizer to ferment and be ready for use.
Storage: Store the strained liquid in a sealed container in the refrigerator for up to a week. Fermentation may continue, so monitor for any changes in smell or appearance.
5. Epsom Salt Solution
This fertilizer supplies magnesium, crucial for chlorophyll production, and sulfur, important for protein synthesis and enzyme function. Here is how to make it:
Ingredients:
Epsom salt (magnesium sulfate)
Water
Instructions:
Dissolve 1 tablespoon of Epsom salt in a gallon of water.
Use this solution to water your plants once a month.
Preparation Time: Dissolving Epsom salt in water takes just a few minutes.
Storage: Epsom salt fertilizer solution can be stored indefinitely in a sealed container at room temperature. Please make sure the container is labeled and stored safely away from children and pets.
6. Aloe Vera Leaves
Aloe vera gel contains vitamins, enzymes, and amino acids that nourish plants and enhance soil health. Aloe vera leaf fertilizer boosts root growth and resilience against stressors.
Select healthy, mature aloe vera leaves from your plant.
Cut the leaves lengthwise and scoop out the gel using a spoon or knife.
Blend the gel in a blender or mash it thoroughly until it becomes a smooth consistency.
You can dilute the gel with water if desired, although it's not necessary.
Apply the fresh aloe vera gel directly to the soil around the base of your plants.
Preparation Time: It takes about 10–15 minutes to harvest, extract, and prepare the aloe vera gel.
Storage: Store any unused portion of the aloe vera gel in an airtight container in the refrigerator for up to 1 week. Discard it if it shows signs of spoilage or mold.
Proper application of homemade fertilizers is crucial for maximizing their effectiveness and ensuring they benefit your plants without causing harm. Here are detailed techniques for applying various types of homemade fertilizers:
Liquid Fertilizers
Apply liquid fertilizers early in the morning or late in the afternoon to avoid direct sun exposure, which can cause leaf burn.
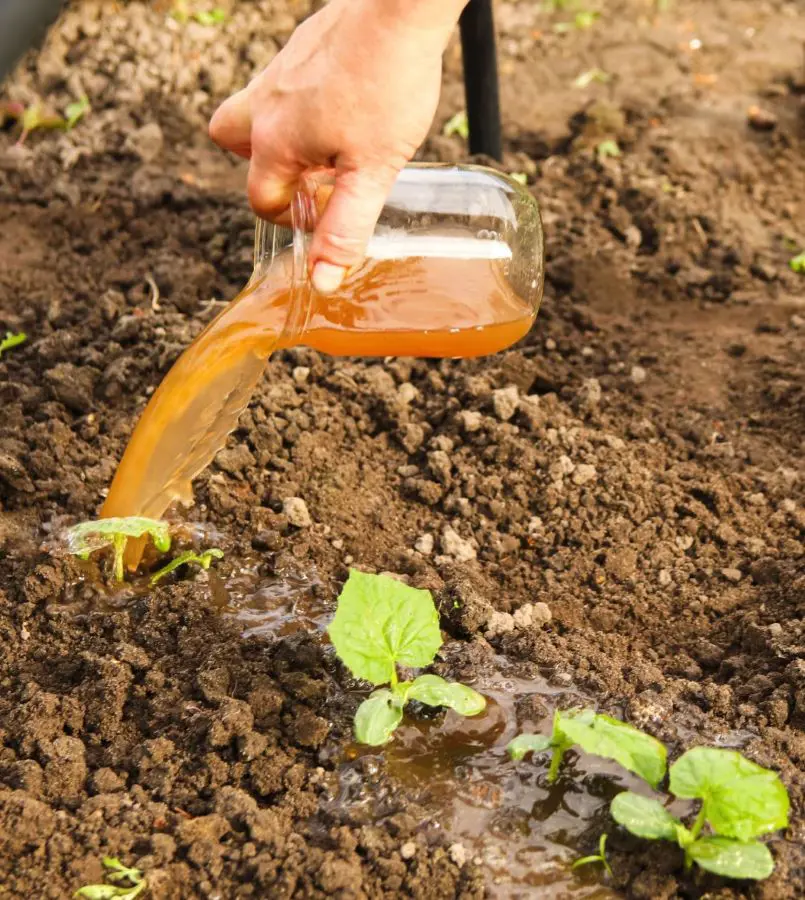
1. Watering Method:
Dilute the liquid fertilizer with water as per the recommended ratio (e.g., 1:10 for compost tea). Pour the diluted fertilizer directly onto the soil around the base of the plants. This method allows nutrients to reach the plant roots directly, promoting efficient absorption.
2. Foliar Spray:
Use a spray bottle to apply the liquid fertilizer directly to the leaves and stems of plants. Spray early in the morning or late in the afternoon to minimize evaporation. Ensure the foliage is thoroughly coated.
This method provides a quick nutrient boost and can be particularly beneficial for plants with nutrient deficiencies or during periods of rapid growth.
Dry fertilizers should ideally be used before planting or during soil preparation to ensure nutrients are evenly distributed and readily available for plant uptake.
1. Top Dressing:
Sprinkle the dry fertilizer evenly around the base of the plants, ensuring it does not touch the plant stems directly. Lightly work the fertilizer into the top layer of soil using a garden rake or hand tool.
It allows nutrients to gradually be released into the soil as the organic matter decomposes, feeding plants over time.
2. Incorporation:
Mix the dry fertilizer thoroughly into the soil before planting or during soil preparation. Dig or till the fertilizer into the soil to distribute nutrients evenly throughout the planting area.
Incorporating fertilizers ensures nutrients are readily available to plant roots, supporting strong growth from the outset.
Several common household items can be repurposed to make effective homemade fertilizers, each offering specific benefits due to their nutrient content. Here are some notable examples:
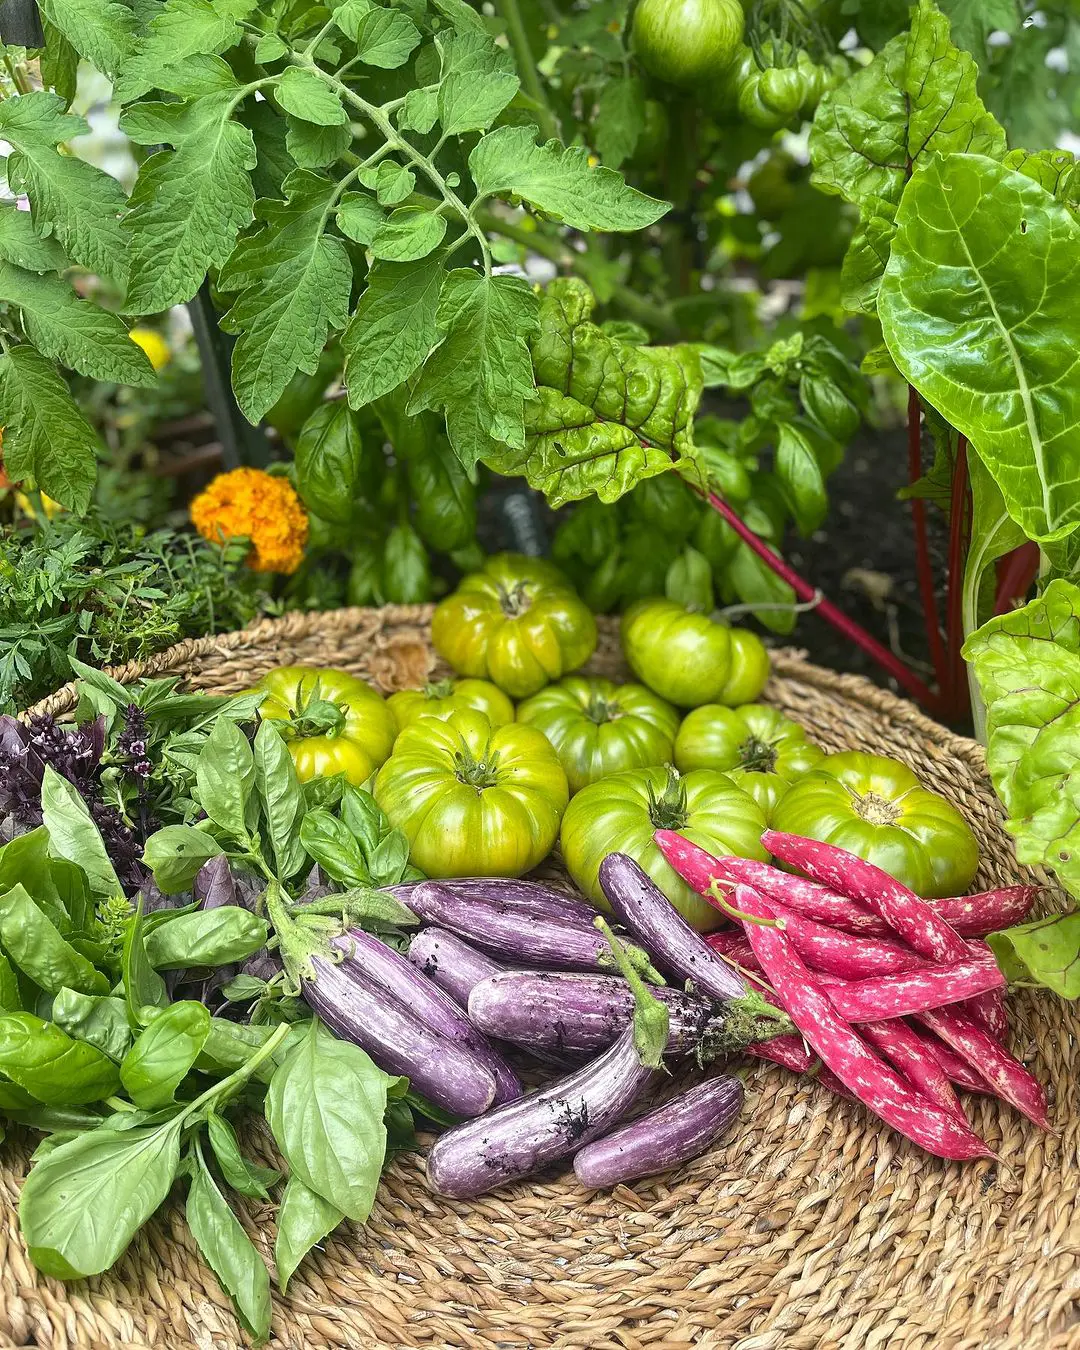
Kitchen scraps: Peels and scraps from vegetables like potatoes, carrots, and leafy greens are rich in various nutrients.
Eggshells: Eggshells are primarily composed of calcium carbonate, making them an excellent source of calcium for plants.
Coffee grounds: Rich in nitrogen, used coffee grounds can be directly added to the soil or compost.
Banana peels: Banana peels are high in potassium and phosphorus.
Wood ash: Ash from burned hardwoods is rich in potassium and calcium.
Tea leaves: Like coffee grounds, used tea leaves add nitrogen to the soil. They can be composted or mixed directly into the soil around plants.
Grass clippings: Grass clippings provide a quick-release source of nitrogen, promoting healthy, green foliage.
Fish tank water: Water from a freshwater fish tank is rich in nitrogen, phosphorus, and potassium, derived from fish waste which support overall plant growth and soil fertility.
Unlike commercial fertilizers, which often contain synthetic chemicals, homemade fertilizers are typically made from organic materials such as kitchen scraps, garden waste, and other natural sources.
These organic fertilizers offer numerous benefits, both for the plants and for the gardener. Here are some key advantages:
Utilizes household waste, reducing reliance on commercial fertilizers.
Reduces landfill waste by recycling kitchen scraps and organic materials.
Enhances soil fertility through increased microbial activity in homemade compost.
Provides a balanced mix of essential macro- and micronutrients.
Promotes healthier, chemical-free produce in edible gardens.
Fosters education and awareness about plant needs and soil health through DIY fertilization practices.
Plants can exhibit various symptoms when they lack essential nutrients, which can lead to stunted growth, reduced yields, and overall poor health. Here's a detailed overview of common nutrient deficiencies and their associated symptoms:
1. Nitrogen (N) Deficiency
This deficiency is characterized by the overall yellowing (chlorosis) of older leaves, starting from the tips and spreading inward, due to insufficient nitrogen for chlorophyll production. It stunts growth and delays flowering, impacting overall plant vigor. This deficiency often occurs in soils with poor organic matter or excessive leaching from heavy rains.
Solution: Apply nitrogen-rich fertilizers such as compost, manure, or nitrogen-specific fertilizers. Ensure proper soil aeration and drainage to optimize nitrogen availability.
2. Phosphorus (P) Deficiency
Phosphorus deficiency presents as dark green leaves with a reddish or purplish tint, primarily on older leaves and stems. It hinders root growth and development, affecting nutrient uptake and plant resilience. Phosphorus deficiencies are common in acidic soils or where phosphorus-binding minerals are prevalent.
Solution: Incorporate phosphorus-rich fertilizers, such as bone meal or rock phosphate, into the soil. Maintain soil pH around neutral to optimize phosphorus uptake.
3. Potassium (K) Deficiency
It causes marginal or tip necrosis (browning of leaf edges), particularly on older leaves, due to inadequate potassium for enzyme activation and osmoregulation. It weakens plant tissues, making them susceptible to diseases and environmental stress. Sandy or heavily weathered soils often lack sufficient potassium.
Solution: Use potassium-rich fertilizers like wood ash or potassium sulfate. Ensure adequate soil moisture and proper drainage to enhance potassium uptake.
4. Calcium (Ca) Deficiency
It leads to blossom end rot in fruits like tomatoes and peppers, characterized by dark, sunken lesions at the blossom end. It affects cell wall structure and integrity, causing poor fruit quality and overall growth issues. Calcium deficiencies arise from low soil pH or uneven moisture levels that hinder calcium uptake.
Solution: Incorporate calcium sources, such as gypsum or crushed eggshells, into the soil. Maintain consistent soil moisture to prevent calcium transport issues.
5. Magnesium (Mg) Deficiency
Magnesium deficiency results in interveinal chlorosis (yellowing between leaf veins) on older leaves while veins remain green, due to insufficient magnesium for chlorophyll synthesis. It affects photosynthesis and overall plant energy production, often occurring in acidic soils or those with high potassium levels.
Solution: Apply magnesium sulfate (Epsom salt) dissolved in water or incorporate magnesium-rich fertilizers like dolomitic lime into the soil. Adjust soil pH if necessary.