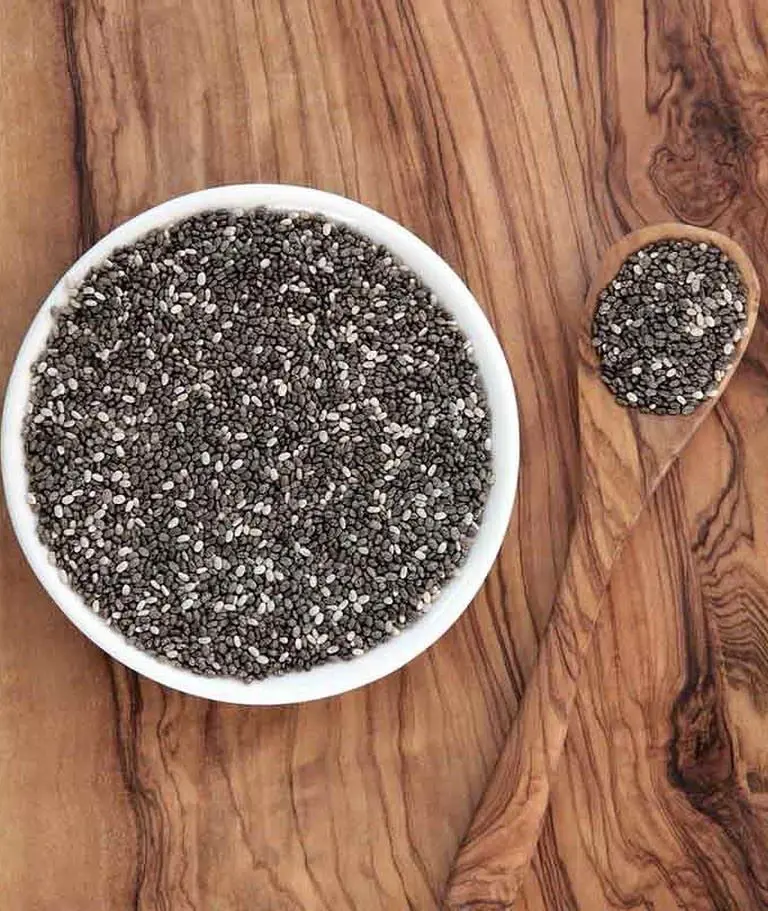
As a versatile superfood, chia seeds have found access to kitchens all around the world. They are easily incorporated into various diets, from smoothies to baked goods.
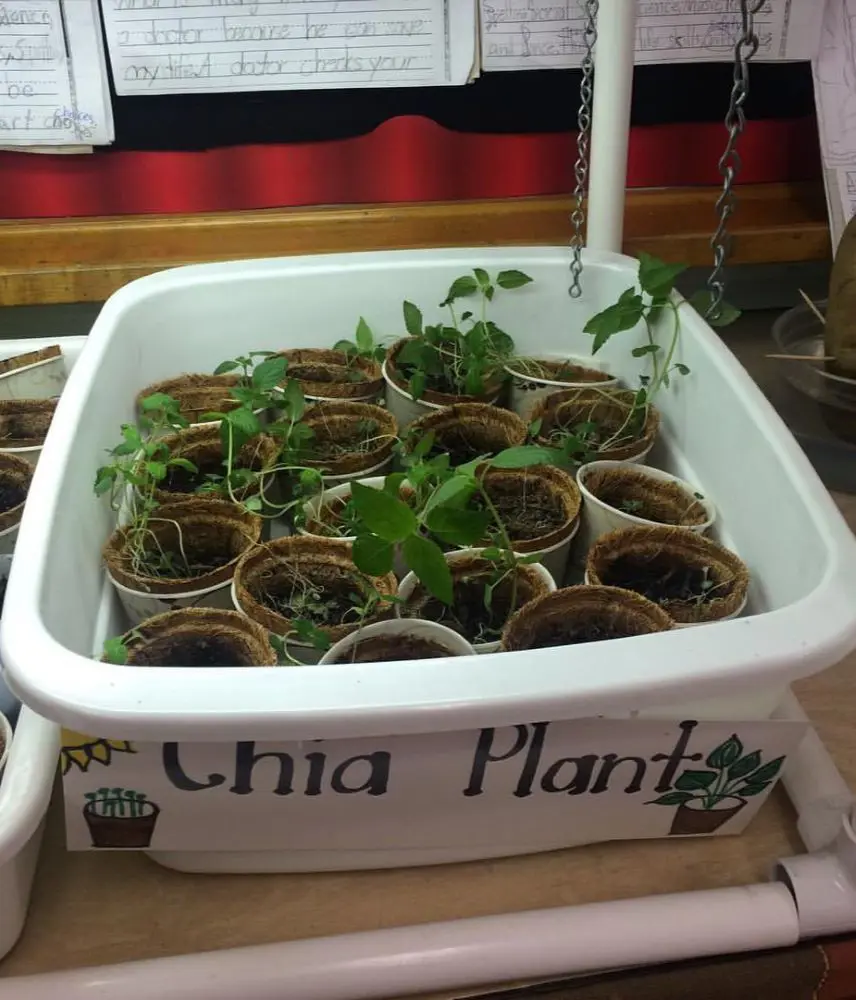
Growing chia plants at home is not only a rewarding and sustainable way to ensure a fresh supply, but also an enjoyable gardening experience that can fit into even small spaces. This guide will provide you with comprehensive insights and step-by-step instructions on how to grow and care for chia seeds!
Normally, chia seeds flourish in warm, tropical, or subtropical climates, with the ideal temperatures ranging between 60-85°F (15-29°C). This plant is best suited for high altitude conditions if the region is frost-free.
At the moment, there are multiple methods of growing the chia plants, including through direct seeding, transplantation, or hydroponics. Among these, growing from seeds directly in the soil is considered the best method due to its simplicity, cost-effectiveness, and better root establishment.
This technique ensures that plants adapt naturally to their environment, leading to healthier and more resilient growth.
When To Plant
Chia seeds should be planted in the spring, right after the last frost has passed. Planting in late spring ensures that young plants benefit from the consistent warmth and longer daylight hours needed for healthy growth.
Avoid planting during the rainy season to prevent seed rot. In regions with mild winters, chia seeds can also be planted in early fall for a late harvest.
Where To Plant
Choose a location that receives at least 6-8 hours of direct sunlight daily. The soil should be sandy-loam or loamy, with good drainage to prevent waterlogging.
Meanwhile, avoid areas prone to heavy frost or excessive humidity. Raised garden beds or containers with drainage holes are also suitable for better control over soil conditions. Select a location protected from strong winds to prevent damage to the delicate plants.
Depth And Spacing
Dig a hole of around 1/4 inch (0.6 cm) depth to plant the seeds. These seeds should be spaced approximately 12 inches (30 cm) apart to allow sufficient room for growth and air circulation. This spacing ensures that each plant has enough space to develop a healthy root system and reduces the risk of fungal diseases.
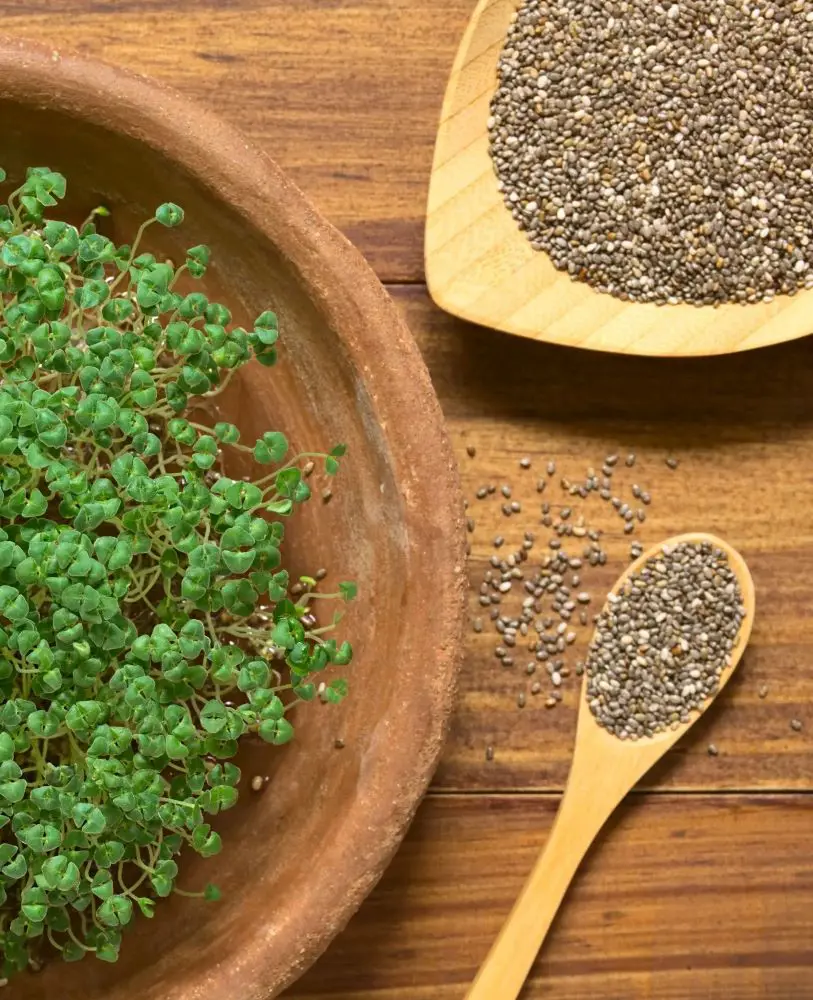
Then, lightly cover the seeds with soil and water gently to keep the soil moist until germination, which typically occurs within 1-2 weeks.
How To Plant Chia Seeds
This step-by-step guide will help you plant chia seeds with ease:
Prepare the Soil
Choose a sunny location with sandy-loam or loamy soil. Loosen the soil to a depth of 8-10 inches, removing weeds, rocks, and debris. You can also incorporate compost or organic matter to enhance soil fertility and drainage.
Sow the Seeds
Start by scattering the chia seeds evenly over the prepared soil surface. Then, lightly cover the seeds with about 1/4 inch (0.6 cm) of soil to protect them and ensure good contact with the soil.
Watering
Gently water the soil to keep it consistently moist but not soggy. Continue watering regularly, especially during the 1-2 week germination period, to encourage healthy seedling growth.
Mulching
Add a thin layer of mulch around the chia plants after they have sprouted. This helps retain soil moisture, regulate temperature, and suppress weed growth.
Maintenance
Regularly water the plants, particularly during dry spells. The plant care also includes weeding the area regularly to prevent competition for nutrients and water.
Monitoring
Monitoring the growth and health of the plant is a crucial part of its care. You should always keep an eye out for pests and diseases, and take action promptly if any issues arise.
Also, make sure that the plants receive sufficient sunlight and water throughout the growing season. The lack of these resources often ends up with the chia plant becoming weak and prone to pathogens.
Chia seeds are relatively low-maintenance once established. They require consistent watering, weeding, and full sunlight but are generally resilient and adaptable.
The plants themselves are not particularly brittle and do not require overly sensitive handling. Focus on these factors to know all about the proper care of chia seeds.
Light
Provide at least 6-8 hours of direct sunlight daily for optimal growth. During warmer months, consistent exposure ensures robust development. Meanwhile, in colder months, maintaining maximum possible sunlight is crucial as the growth slows down.
Lack of sunlight can result in weak, spindly plants and poor seed production. Conversely, excessive sunlight without adequate watering can cause stress and dehydration. Balanced sunlight exposure is key to healthy chia plants.
Water
Chia seeds require consistent moisture, especially during the germination and early growth stages. Water the soil gently to keep it moist, especially during the first 1-2 weeks of germination.
During dry periods, water deeply once or twice a week. The frequency may vary depending on climate and soil conditions; in hotter, drier areas, more frequent watering may be necessary.
At the same time, the quality of water is also important. Use clean, filtered water free from contaminants and excessive salts. Avoid chlorinated tap water if possible, as chlorine can be harmful to plant roots.
Soil
The chia plant thrive in well-drained soils that are sandy-loam or loamy in texture. Meanwhile, the ideal pH range is between 6 to 8, indicating slightly acidic to slightly alkaline conditions.
Moreover, add organic matter like compost improves soil fertility and structure that aid in moisture retention and nutrient availability. Soil should be loose and free from compacted areas to facilitate root penetration and overall plant growth.
Temperature
Chia seeds are suited for temperatures ranging from 60 to 85°F (15 to 29°C). The warm conditions promote germination and growth.
Cooler temperatures may slow growth or delay germination, while excessive heat can stress plants, affecting flowering and seed production. Likewise, regular temperature fluctuations can negatively impact these plants. Sudden temperature drops, especially near frost conditions, can be detrimental to the plants.
Humidity
Ideal humidity range for chia seeds is typically around 40% to 60%. High humidity can lead to fungal diseases such as damping-off or powdery mildew.
On the other hand, in excessively dry conditions, these plants may struggle to retain moisture. Maintaining moderate humidity levels helps to minimize these risks and supports healthy development. Adequate air circulation around plants can also help to mitigate humidity-related issues.
Fertilizing is a vital part of growing chia seeds; these plants require minimal fertilization if planted in fertile soil amended with organic matter. However, if soil fertility is poor or to boost growth, applying a balanced fertilizer is necessary.
Choose a fertilizer with a balanced NPK ratio (nitrogen, phosphorus, potassium), such as 10-10-10 or similar. For established chia plants, fertilize sparingly as excessive nitrogen can lead to lush foliage at the expense of seed production.
The best time to fertilize chia is during early spring or at planting time. Also, avoid fertilizing during flowering and seed formation to prevent nutrient imbalance and promote seed development.
How To Fertilize Chia Seed
1. Assess Soil Fertility
Begin by testing the soil to understand its nutrient content and pH levels. Chia seeds thrive in slightly acidic to neutral soil (pH 6-8). This step ensures you apply the right type and amount of fertilizer.
2. Choose the Right Fertilizer
Select a balanced fertilizer with an equal NPK ratio. Organic options like compost or well-aged manure are also effective.
3. Timing of Application
Apply fertilizer in early spring or at planting time to support initial growth. Avoid fertilizing during flowering and seed formation to prevent nutrient imbalance.
4. Application Method
Spread the fertilizer evenly around the chia plants. Just make sure that it is applied several inches away from the stems to prevent burning.
Also, lightly rake or water the area after application to help the fertilizer reach the root zone.
5. Monitor And Adjust
Regularly monitor plant growth and adjust fertilization practices as needed based on plant health and soil conditions. Avoid over-fertilization as it can harm the plants and environment.
Chia is a diverse plant with several varieties in existence today. However, we will focus on the three common types, which are explained below:
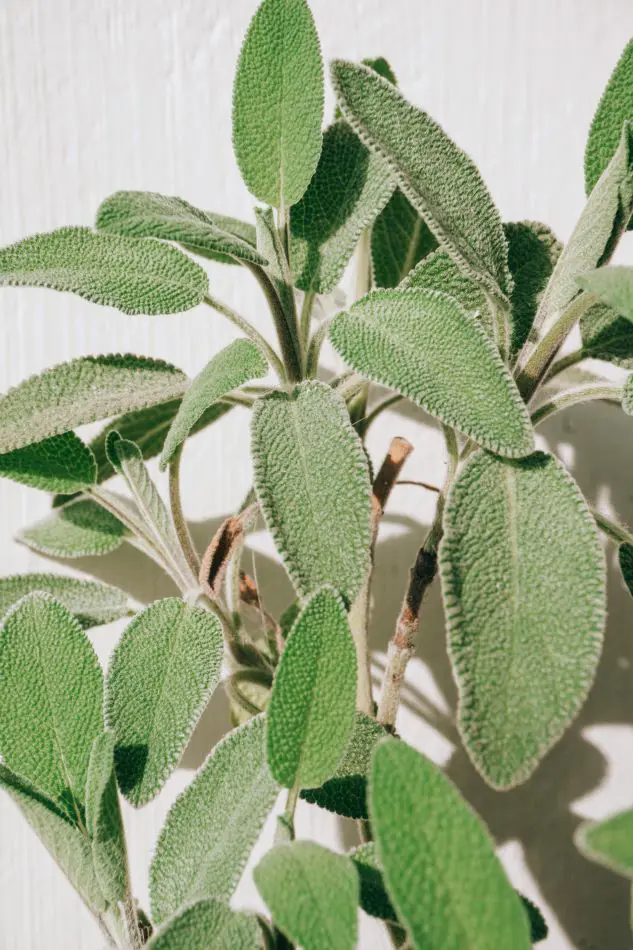
Salvia Hispanica
This cultivar is a flowering plant in the mint family (Lamiaceae), native to central and southern Mexico and Guatemala. The plant is cultivated extensively for its edible seeds, which are rich in omega-3 fatty acids, fiber, and antioxidants.
Culturally, chia has a long history as a staple food among ancient Mesoamerican civilizations like the Aztecs and Mayans. Today, it is grown commercially in several countries with warm climates, including Mexico, Argentina, Bolivia, Australia, and the United States.
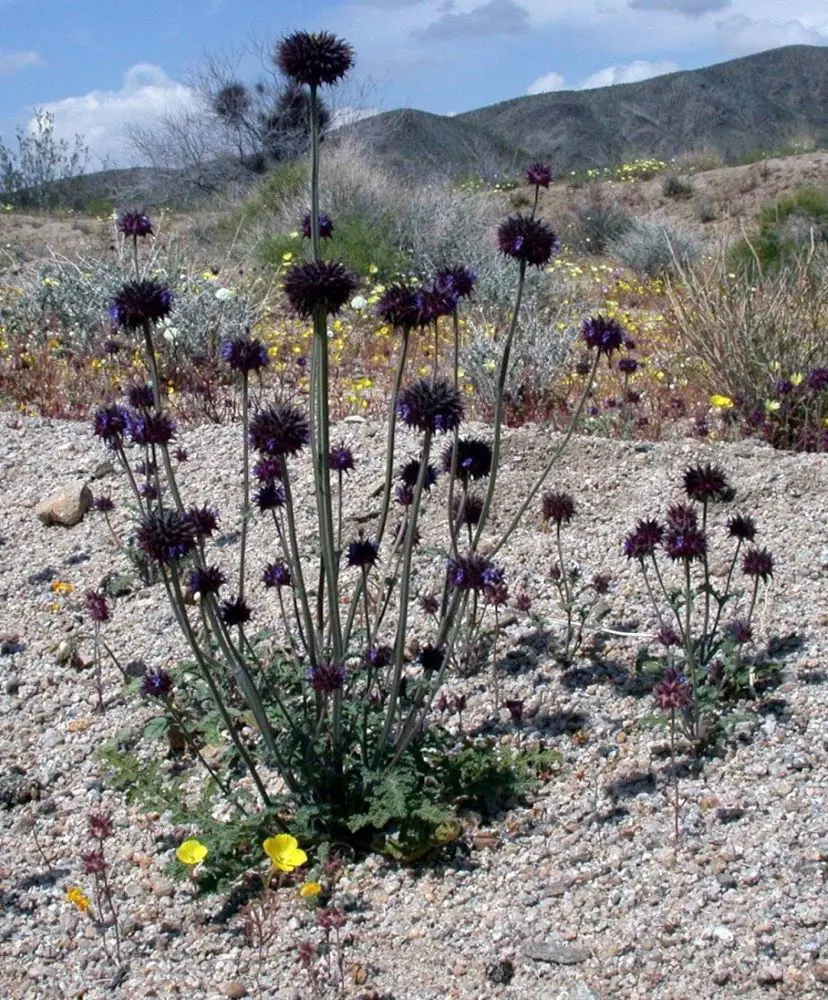
Salvia Columbariae
Commonly known as golden chia or desert chia, this cultivar is native to the southwestern US and northern Mexico. Unlike Salvia hispanica, it is a more compact annual plant that typically grows up to 2 feet (about 60 cm) tall.
Salvia columbariae are smaller and darker than those of Salvia hispanica. However, they share similar nutritional benefits including high levels of omega-3 fatty acids, protein, and fiber.
Historically, this cultivar is significant to Native American tribes such as the Navajo and Pueblo peoples, who used the seeds as a food source and medicine. Today, golden chia is valued for its resilience in xeric landscapes and is sometimes cultivated as an ornamental plant.
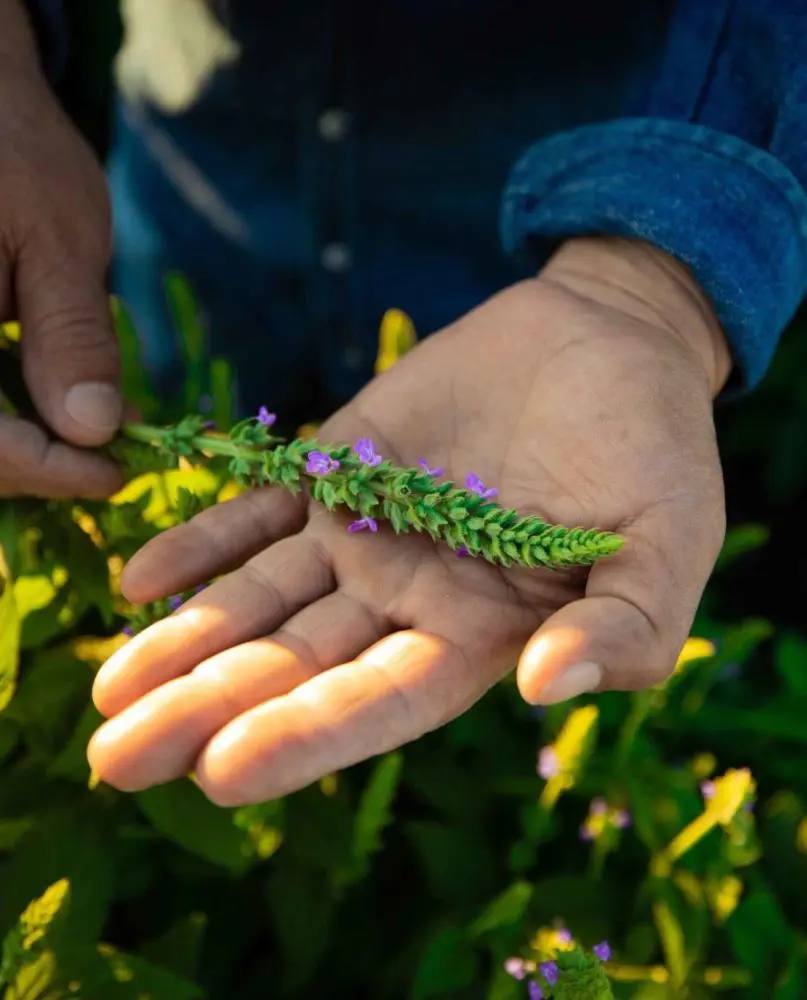
Salvia Polystachya
This chia seed cultivar grows as a perennial herbaceous plant, reaching heights of up to 3 feet. Unlike the annual Salvia hispanica, the Salvia polystachya can exhibit a more perennial growth habit in favorable conditions.
Also called Mexican chia, this variety is found in diverse habitats ranging from grasslands to forest edges in countries like Mexico, Guatemala, and Honduras.
This herb primarily differs in growth habit and ecological niche, often surviving in more humid or semi-shaded environments compared to the sun-loving Salvia hispanica.
While chia seeds can withstand common issues like aphids, cutworms, and mild fungal infections, they are not immune to these threats. Their ability to resist pests and diseases largely depends on environmental conditions, soil health, and overall plant vigor.
These are some common pests and diseases known to affect the chia plant.
1. Cutworms
Cutworms are the larvae of various species of moths that live in the soil and feed on young seedlings at night. They cut through the stems of chia plants near ground level, causing them to wilt and die. These insects can severely damage or kill newly planted chia seeds or young seedlings, especially in moist conditions.
To protect your plant from cutworm infestations, apply preventive measures such as using cardboard collars or beneficial nematodes to the soil to control larvae.
2. Whiteflies
These Whiteflies are small, winged insects that belong to the family Aleyrodidae. They are attracted to chia plants due to their sap-sucking behavior, extracting nutrients from the plant's phloem. This can weaken the chia plant, causing stunted growth, yellowing of leaves (called chlorosis), and reduced vigor.
Regularly monitor plants for signs of whiteflies, such as the presence of adults on leaves or whitefly nymphs on the undersides of leaves. Use a strong stream of water to physically remove whiteflies from plants.
Alternatively, you can also introduce natural predators such as ladybugs or lacewings which feed on whiteflies and their larvae.
3. Powdery Mildew
This fungal disease affects a wide range of plants, including chia. It appears as white or grayish powdery patches on the leaves stems, and sometimes flowers of infected plants. This fungus thrives in warm, dry environments with high humidity and poor air circulation.
Chia plants are susceptible to powdery mildew when conditions are favorable, such as during periods of warm days and cool nights. Overcrowded planting, dense foliage, and insufficient spacing contribute to the disease's spread.
To treat powdery mildew, begin by removing and disposing of severely infected leaves and stems. Improve air circulation around plants by spacing them adequately and pruning them to open up the canopy.
You can also apply fungicidal sprays containing sulfur, potassium bicarbonate, or neem oil early in the season as a preventive measure or at the first signs of infection.
4. Leaf Spot
Leaf spot is a common fungal disease characterized by dark or light-colored spots on leaves. It is caused by various fungal pathogens that grow in humid conditions and spread through splashing water or wind.
Leaf spots can weaken chia plants by reducing their ability to photosynthesize effectively, leading to yellowing and premature dropping of leaves. Severe infections can result in defoliation and overall plant decline, impacting seed production.
Practice good cultural practices such as planting in well-drained soil and providing adequate spacing between plants to improve air circulation. Avoid overhead watering, as this can spread fungal spores. Also, remove and destroy infected plant debris promptly to reduce disease carryover.
Challenges While Growing Chia Seeds
Like many herbaceous plants, chia seeds are also prone to a few issues that may arise while taking care of this plant. Some frequent challenges associated with this plant include:
Climate Sensitivity
Chia seeds are highly sensitive to temperature and humidity fluctuations. Optimal growth occurs in warm temperatures ranging from 60 to 85°F (15 to 29°C). Fluctuations outside this range can significantly impact plant health.
Cold snaps can delay germination, stunt growth, and potentially kill young seedlings. Meanwhile, excessive heat can cause heat stress, leading to wilting, poor flowering, and reduced seed production.
Solution: Choose a planting site with stable temperatures and good sun exposure. Using mulch also helps regulate soil temperature and retain moisture, buffering plants against temperature swings.
Nutrient Deficiencies
These plants have a high nutrient demand that makes them susceptible to nutrient deficiencies. Poor soil preparation, inadequate fertilization, and improper pH levels can lead to a decline in essential nutrients like nitrogen, phosphorus, and potassium.
Solution: Use a balanced fertilizer with an appropriate NPK ratio. Apply it during planting and as needed throughout the growing season. You may also need to conduct a soil test to nutrient levels and pH.
Harvest Timing
Determining the harvest timing of chia seeds is challenging because it requires careful observation of seed maturity and weather conditions. Harvesting too early can result in immature seeds with lower nutritional value and poor germination rates, while harvesting too late can lead to seed shattering and loss, reducing yield.
Solution: Monitor the color change in the chia plant's seed pods, which should turn from green to brown or black. Ensure that the seeds are firm and dry.