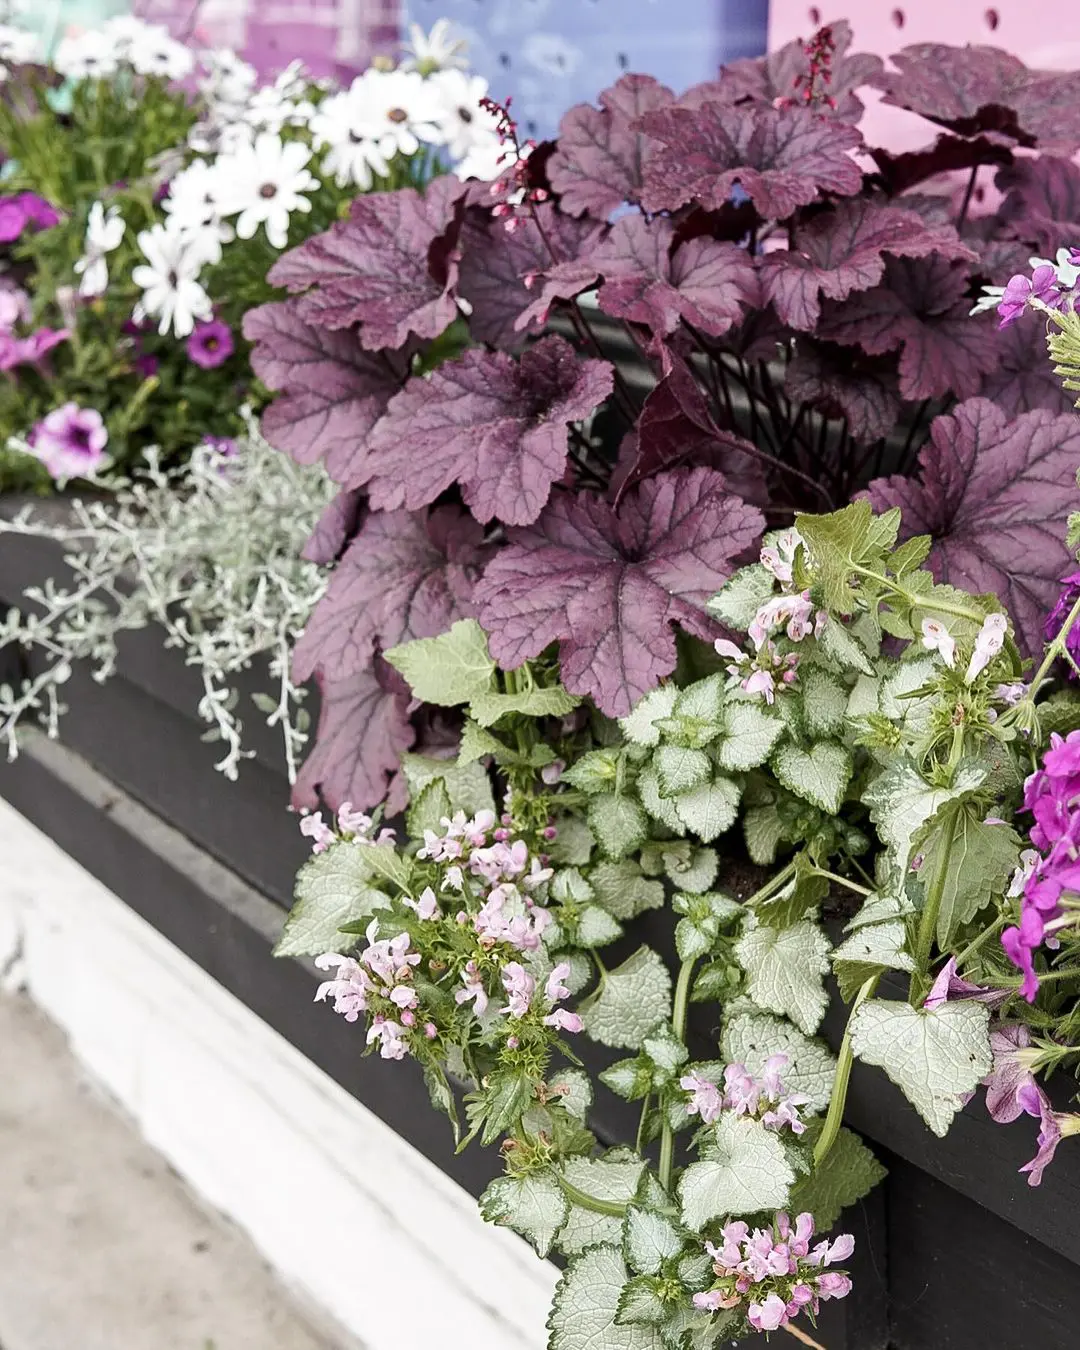
Coral Bells are stunning perennial plants that offer vibrant blooms and gorgeous foliage colors. These plants prefer consistent moisture but can tolerate some dryness once established. You should remove dead flowers to keep them looking tidy.
Proper Coral Bells care starts with planting them in well-draining soil and partial to full shade. It comes in an array of leaf colors like purple, bronze, and green. With their versatility and easy care, they make an excellent addition to any garden.
Coral bells Heuchera are remarkably adaptable and versatile perennials that can thrive in a surprising variety of locations and growing conditions. These eye-catching plants, prized for their vibrant foliage colors and dainty flower spikes, are well-suited for:
Prairie Gardens and Meadows
The prairie-like environments of coral bells' native habitat make them ideal candidates for naturalized prairie gardens or meadow plantings. Their ability to tolerate drier soils and full sun allows them to mingle beautifully with ornamental grasses, coneflowers, and other prairie favorites.
Mountain Landscapes
Many coral bell species originate from mountainous regions of North America, giving them an inherent tolerance for cooler temperatures. In mountain gardens or rock gardens, they can be planted among boulders or slopes, where their mounding habit trails gracefully over rocks.
Woodlands and Shade Gardens
While coral bells can handle sun, they particularly excel in dappled or partial shade conditions found in woodland settings. Planted beneath tall trees or intermingled with ferns and hostas, their colorful leaves provide lovely contrasts in shady spaces.
Arid Climate Gardens
Some coral bell varieties, like the drought-tolerant Heuchera villosa, are native to arid regions of the southwestern U.S. These types can be grown in low-water gardens or xeriscape plantings alongside other drought-resistant perennials and succulents.
While coral bells perennial are commonly propagated by division, they can also be grown from seed for variety or to produce new cultivars. However, results from seed-grown plants may be unpredictable if the seeds are collected from hybrid plants.
For more uniform results, use commercial seeds from a reliable source. If you wish to propagate plants from collected seeds, it's advisable to start with pure species plants rather than hybrids from nurseries.
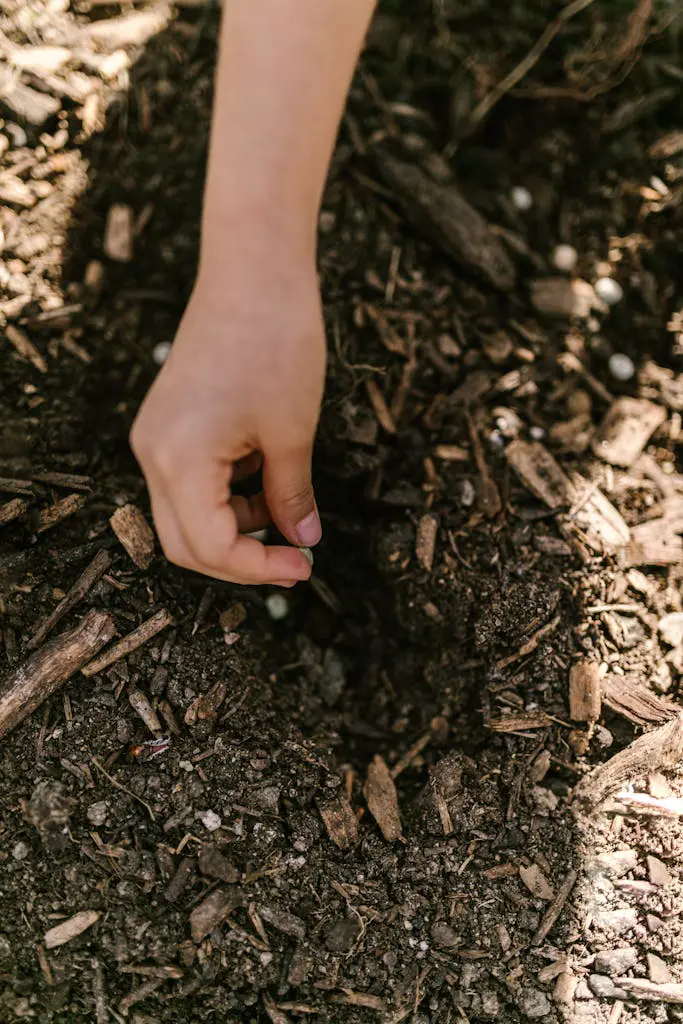
1. Seed Sowing
Sow coral bell seeds in late fall or very early spring before the last frost
Simply sprinkle the seeds evenly over the surface of a seed-starting tray or container filled with seed-starting mix
Do not cover the seeds, as they require light exposure to initiate germination
As an alternative, you can start seeds indoors 6-8 weeks before your last expected spring frost date
2. Germination Conditions
Coral bell seeds can be slow and erratic to germinate, taking anywhere from 2-8 weeks
During germination, keep the seed-starting mix moist but not saturated
Bottom water or use a spray bottle to avoid disturbing the seeds
Germination is aided by fluctuating day/night temperatures of 65-75°F days and 50-60°F nights
3. Hardening Off Seedlings
Once the seedlings have their first set of true leaves, begin hardening them off over 10-14 days
Hardening off is the process of gradually introducing young plants to outdoor conditions like wind, sunlight and temperature variations
Start by setting them outside for 1-2 hours on a mild day, increasing exposure over the hardening period
4. Transplanting Outdoors
After danger of frost has passed in your area, the seedlings can be transplanted into the garden
Choose a location with partial shade, rich, well-draining soil amended with compost or manure
Space plants 12-18 inches apart, providing more room for larger mature sizes
5. Establishment and Aftercare
Keep soil consistently moist during the first season until plants are well-rooted
Provide afternoon shade or erect temporary shade cloth to protect seedlings from intense sun/heat
Once established, coral bells are drought-tolerant but perform best with consistent moisture
Apply a 2-inch layer of mulch annually to conserve soil moisture and discourage weeds
With some patience and the right techniques, growing coral bells from seed can be very rewarding. The slow germination is worth it to produce these attractive, long-lived perennials that provide beautiful foliage and blooms year after year.
Talking about Coral bells plant care, they are incredibly low-maintenance plants that add vibrant color and texture to shady garden spaces. With just a few simple care requirements, you can keep these eye-catching perennials looking their best year after year.
Light Requirements
While coral bells can handle some sun, too much direct exposure will scorch their leaves and wash out their vibrant hues. For best coloration and performance:
Site them in areas that receive partial shade - roughly 3-6 hours of sun daily, preferably in the cooler morning and evening hours
Filtered sun through high tree canopies or dappled woodland shade is ideal
In hot summer climates, protect them from intense midday and afternoon rays
Soil and Water Needs
With their shallow roots, coral bells have a low tolerance for soggy, wet feet. They absolutely must have well-draining soil to prevent issues like root rot. Amend dense clay soils with compost or small gravel to improve drainage and aeration before planting.
Coral bells prefer slightly acidic soils in the pH range of 6.0-7.0
Keep soil consistently moist, but never saturated - allow to dry slightly between waterings
Water deeply and thoroughly, especially in hot, sunny locations where they may dry out faster
Temperature and Humidity Tolerances
While most varieties are cold-hardy down to around 45°F, their low-growing habit makes them susceptible to freezing and heaving in extremely cold climates. A 2-3 inch layer of shredded bark or leaf mulch provides insulating protection.
In milder regions, coral bells may delight you by blooming during occasional winter warm spells. But no need to coddle them - they'll return from dormancy when consistent warmth arrives in spring.
Fertilizing
Too much fertilizer keeps these plants focused on lush foliage growth at the expense of blooms. Instead:
Top-dress annually in early spring with a 1/2 inch layer of compost or manure
A sparing amount of slow-release, balanced fertilizer can be incorporated at this time if desired
For container-grown plants, use a balanced, diluted liquid fertilizer according to product instructions
Clip and Deadhead for Prolonged Blooms
To keep coral bells blooming for as long as possible, be sure to remove spent flower stems regularly. This prompts many varieties to initiate new rounds of dainty flower spikes.
Some types may also send up sporadic, smaller flushes of blooms throughout the growing season - just another pleasant surprise from these charming shade denizens!
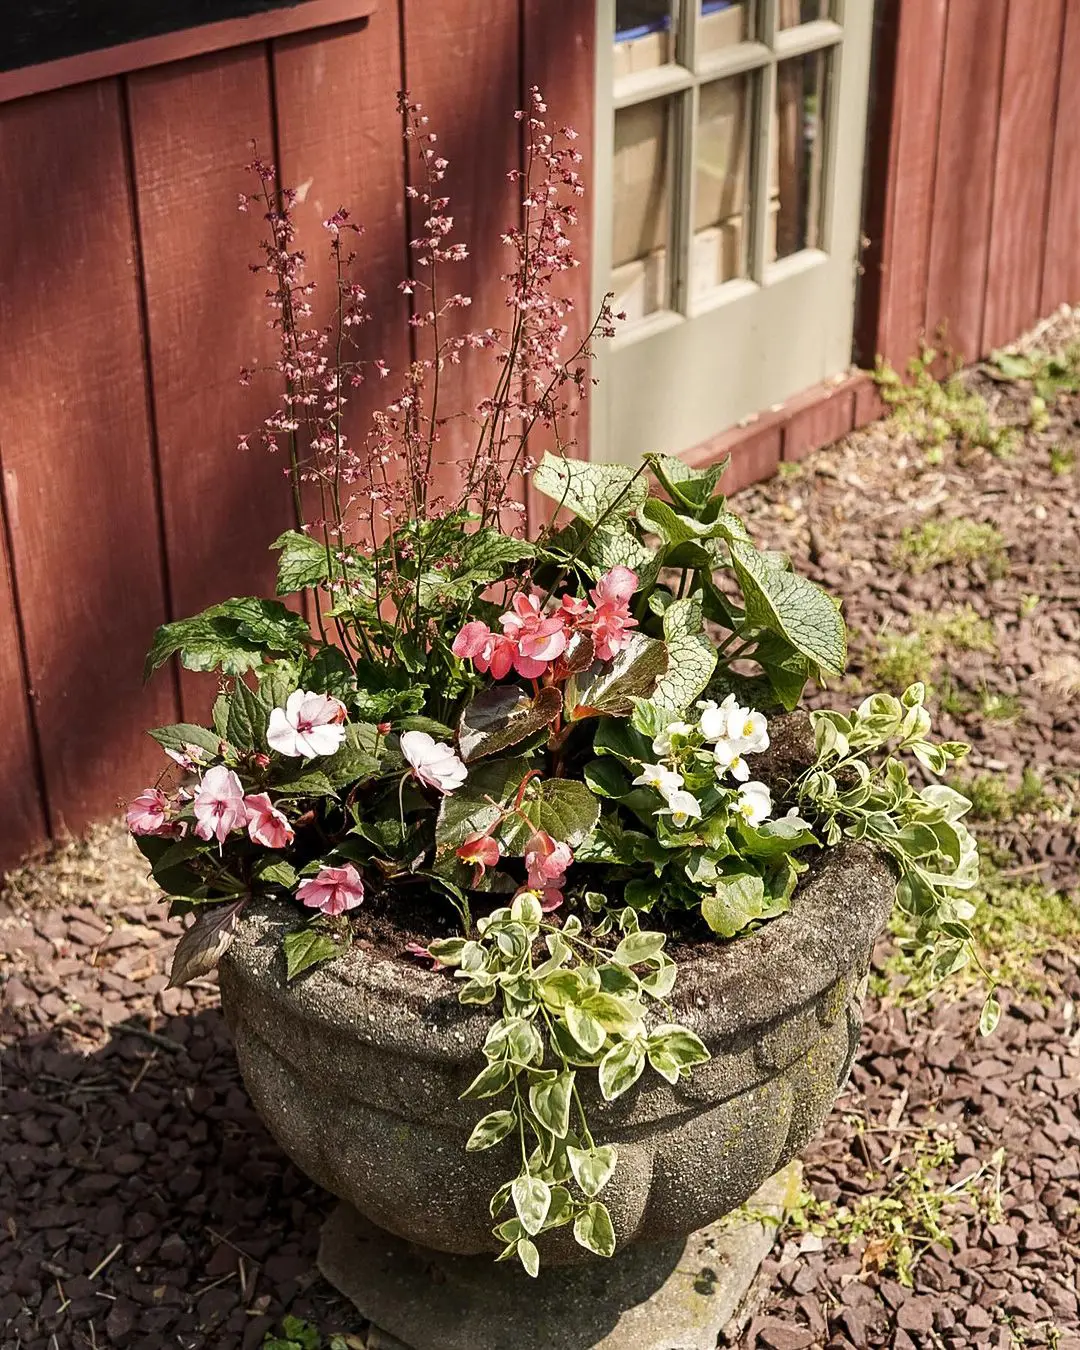
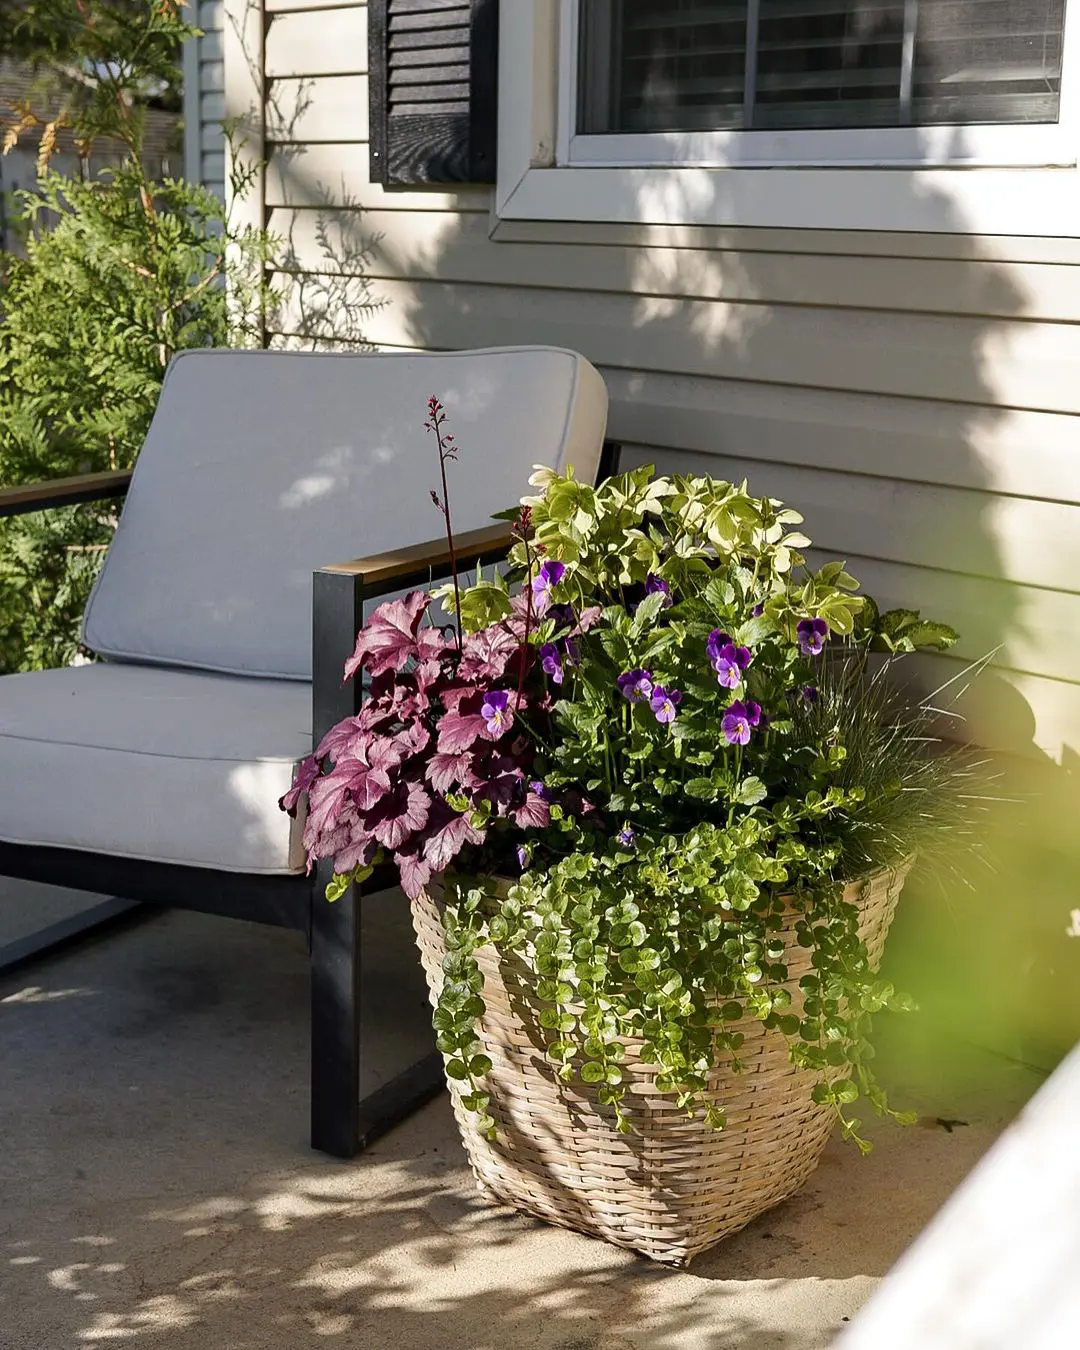
Container Potential
While not suited for indoor growing, coral bells make fabulous container and patio plants for adding texture and season-long color to shaded spaces.
Use a well-draining potting mix in containers at least 10-12 inches wide
Combine with other part-shade companions like fuchsias, ferns or ivy
Consistent moisture is key, as pots dry out rapidly in the warm season
With their easy care and brilliant, long-lasting foliar displays, coral bells deserve a prime spot in any shaded garden bed or container. Just provide them with a fertile, well-draining soil, ample moisture, and protection from intense sunlight.
One of the easiest ways to expand your collection of these vivid perennials is by propagating new plants from existing coral bells (Heuchera spp.). Division is by far the most common and effective method, allowing you to multiply your plantings while reinvigorating overgrown or woody clumps. Coral bells can be divided in either fall or spring.
Dividing Established Plants
Many coral bell varieties will naturally produce small offsets around the base of the parent plant over time. These offsets can be carefully separated and transplanted.
However, even without offsets, mature plants should be divided every 3-4 years to prevent the center of the clump from becoming woody, overcrowded, and eventually dying out.
The Division Process:
1. Dig Up the Root Mass
In early fall or spring, use a sharp shovel or garden fork to carefully dig up the entire root clump
Loosen the soil around and underneath the plant to preserve as many roots as possible
2. Prepare the Divisions
Once lifted, you can pull or cut the root mass into smaller sections using your hands or a sharp knife
Each division should have 3-5 vigorous shoots/crowns and an ample share of the roots
Discard any old, dead, or excessively woody center portions
3. Amend Soil and Replant
Prepare new planting areas by mixing in generous amounts of compost, aged manure or peat moss
This will provide the fertile, humus-rich, well-draining soil coral bells need
Replant each division at the same depth it was previously growing, just barely covering the root crowns
From Offsets:
If your coral bells send out small offsets around the sides, these can be dug up carefully with a trowel or fork
Replant the offsets following the same soil depth as with divisions, just covering the roots
Aftercare:
Keep newly transplanted divisions and offsets consistently moist through their first season
Provide afternoon shade and ample water during hot, dry periods until they're well-rooted
A 2-inch layer of shredded bark or leaf mulch will help conserve soil moisture
With just a little care, these propagation methods allow you to quickly build up more plants for filling gaps, creating drifts, or sharing extra divisions with friends.
While generally low-maintenance, coral bells (Heuchera spp.) can occasionally fall victim to several fungal diseases and insect pests. Being vigilant and taking prompt action is important for the plant's health.
Fungal Diseases:
Powdery Mildew - This fungus appears as a white, powdery coating on leaves. Promote air circulation and avoid overhead watering.
Rust - Reddish-orange rust pustules or spots develop, usually on undersides of leaves. Remove affected leaves and provide good air flow.
Bacterial Leaf Spot - Small reddish or brown spots with yellow halos form on leaves. Spacing plants properly prevents spread.
Insect Pests:
Weevils - Adults notch leaf edges, while larvae bore into crowns/roots causing wilt. Hand-pick and destroy any found.
Foliar Nematodes - Microscopic roundworms cause distorted, twisted growth. Remove and destroy affected plants.
Black Vine Weevil Larvae - C-shaped grubs feed on roots/crowns in late summer. Look for wilting plants and pick off larvae.
Treatment:
At the first sign of disease or infestation, promptly remove and dispose of any affected leaves or plants away from the garden. Improve air flow by properly spacing plants.
As a last resort, apply an appropriate fungicide or insecticide labeled for the specific problem, following all instructions carefully. Neem oil or other horticultural oils can also help control many pests and diseases on coral bells.
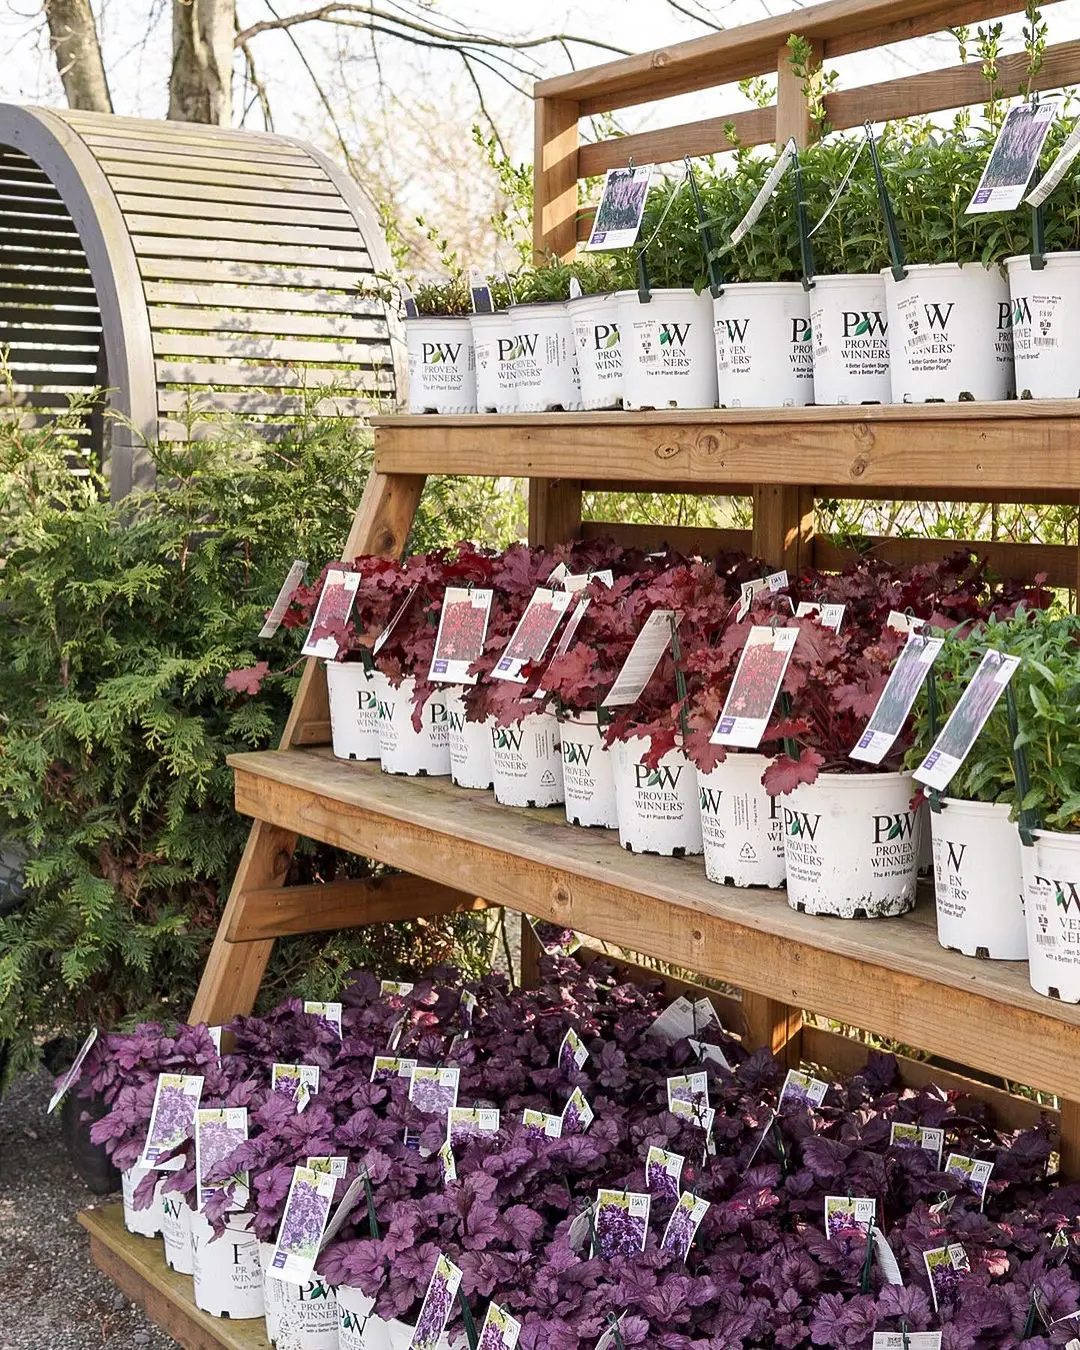
Purple Coral bells encompass several different species within the genus Heuchera, as well as an array of hybrid cultivars derived from interspecific crosses. The various species tend to have green foliage, while the hybrids offer a kaleidoscope of leaf colors, patterns, and textures.
Species Coral Bells:
Heuchera americana (alumroot) - Native to eastern North America with rounded, lobed green leaves and slender flowering stems.
H. sanguinea (coral bells) - Considered the best species for ornamental use with reddish foliage and red bell-shaped flowers. Native to the southwestern U.S.
H. villosa (hairy alumroot) - Found across eastern/central U.S. with fuzzy green leaves and tall airy flower spikes.
H. parviflora (littleflower alumroot) - Western species with small creamy flowers over lobed green leaves.
Early Hybrid Cultivars:
'Dale's Strain' and 'Purple Palace' were pioneering varieties introducing foliage in shades of reddish-bronze and purple.
Modern Hybrid Cultivars:
The exact parentage is often unknown, but most involve crosses between H. americana and H. sanguinea. They offer a mind-boggling array of foliage options, including:
Color-changing: 'Autumn Leaves' (red/caramel/ruby), 'Fire Chief' (red deepening to crimson)
Ruffled: 'Chocolate Ruffles' (chocolaty-burgundy), 'Marmalade' (umber to sienna)
Veined: 'Green Spice' (green with maroon veins), 'Electric Lime' (vivid green with red veins)
Bright shades: 'Citronelle' (yellowish-green for shade), 'Lime Rickey' (chartreuse)