Bromeliad care is relatively low, making them popular choices for houseplants. They require minimal watering, prefer indirect sunlight, and don't need frequent feeding. Just avoid overwatering, ensure good drainage, and provide some humidity.
Fertilize occasionally during the growing season and propagate by separating offsets, or pups, from the parent plant. With proper care, bromeliads can thrive indoors adding a touch of exotic beauty to any space.
Bromeliads generally prefer bright, indirect light. This means they thrive in locations where they receive plenty of natural light but are shielded from direct sunlight, which can scorch their leaves.
Ideal spots for bromeliads include near-ast or west-facing windows where they can receive several hours of bright, indirect sunlight each day. In lower light conditions, such as north-facing windows or interior spaces, bromeliads may still grow but might exhibit slower growth and less vibrant foliage.
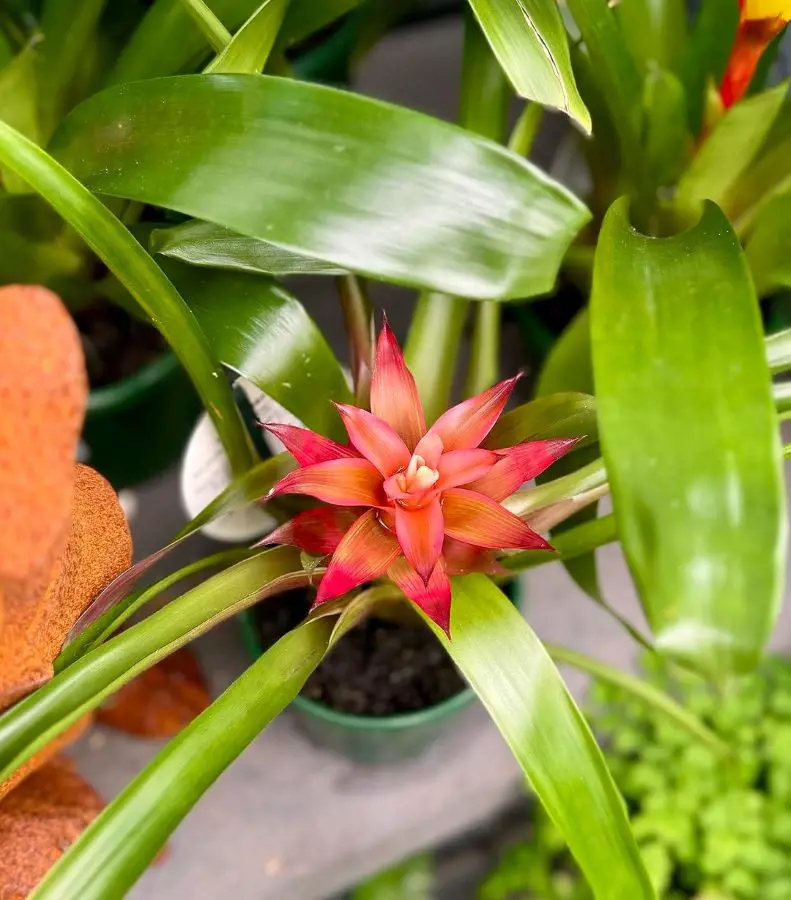
Bromeliads have a unique water-holding structure called a "tank" or "cup" at the center of their rosette of leaves. This tank collects water and serves as the plant's primary source of hydration. Water should be poured directly into the tank, ensuring it remains filled. It's crucial to prevent the tank from drying out completely, as this can stress the plant.
However, it's equally important not to overwater bromeliads. Allow the top inch of the soil to dry out between waterings to prevent root rot. If the water in the tank becomes stagnant or murky, it's advisable to empty and refill it with fresh water to prevent bacterial growth and maintain plant health.
Bromeliads are native to tropical regions with high humidity levels. Indoors, they benefit from increased humidity, especially in dry climates or heated indoor environments.
To raise humidity levels around bromeliads, mist the leaves regularly with room-temperature water. Alternatively, place a tray filled with water and pebbles beneath the plant, ensuring the bottom of the pot doesn't sit in water.
Avoid placing bromeliads near air vents, heaters, or drafts, as these can create fluctuations in humidity and temperature, which may stress the plant.
Bromeliads thrive in temperatures typically found in their native tropical habitats, ranging from 60°F to 80°F (15°C to 27°C). Protect them from temperatures below 50°F (10°C), as they are sensitive to cold and can suffer damage or die if exposed to prolonged cold conditions. Try to maintain a consistent temperature around the plant, avoiding sudden fluctuations that can shock the plant and disrupt its growth.
Bromeliads are typically epiphytic plants, meaning they naturally grow on other plants or objects rather than in soil. In their native habitats, they attach themselves to trees or rocks, extracting moisture and nutrients from the air and rainwater.
When cultivated indoors, bromeliads are often potted in a well-draining potting mix designed specifically for epiphytic plants. This type of soil mimics the loose, aerated environment to which bromeliads are accustomed in nature.
Bromeliads are relatively light feeders compared to other houseplants. While they can absorb nutrients through their leaves from the surrounding environment, supplemental feeding can benefit their growth, especially during the growing season.
Use a balanced, water-soluble fertilizer specifically formulated for bromeliads or orchids. Dilute the fertilizer to half or quarter strength and apply it to the plant's leaves and soil once every month or two during the growing season (spring and summer).
Avoid fertilizing bromeliads during the winter months when their growth slows down, as they require fewer nutrients during this period.
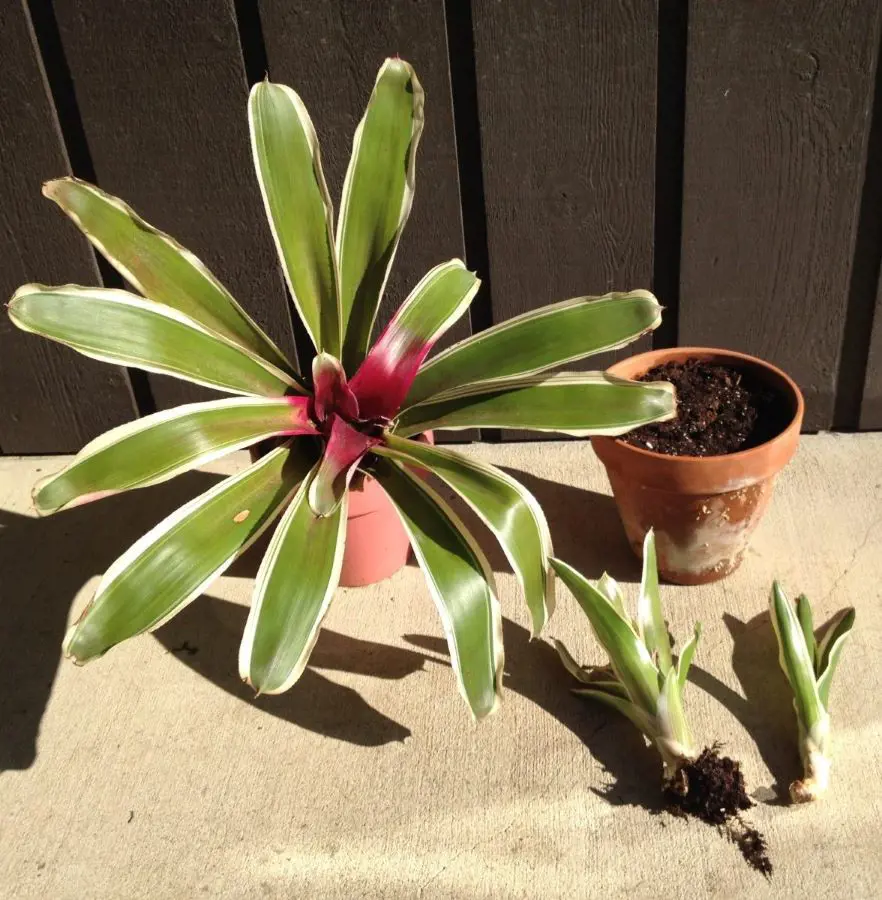
Propagation is the process of creating new plants from existing ones, and bromeliads can be propagated quite easily through a method called "offsets" or "pups." These offsets are essentially miniature versions of the parent plant that develop at the base.
Here's a detailed explanation of how to propagate bromeliads using offsets:
Bromeliads typically produce offsets as part of their natural growth cycle. These offsets emerge from the base of the parent plant and often resemble smaller versions of the mature plant. Offsets can vary in size and may become visible after the parent plant has bloomed or during periods of active growth.
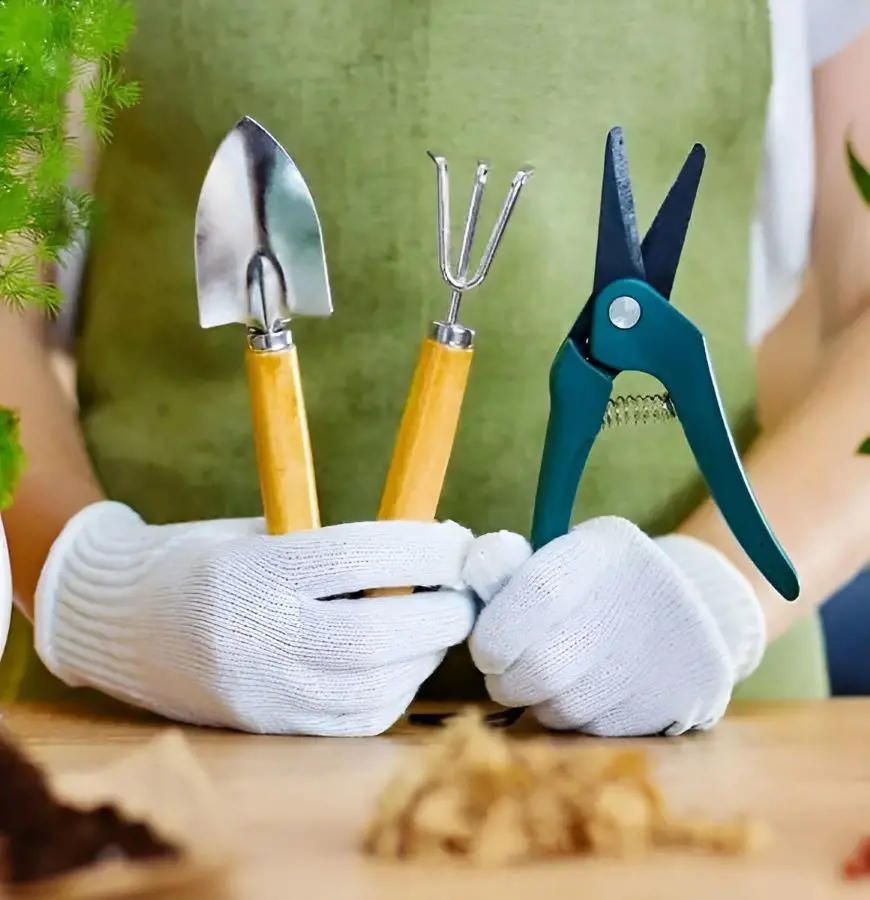
Before attempting to propagate bromeliads, ensure that both the parent plant and the offset are healthy and free from any signs of disease or damage. Gather clean, sharp scissors or a knife to separate the offset from the parent plant. It's essential to use sanitized tools to minimize the risk of introducing pathogens to the plants.
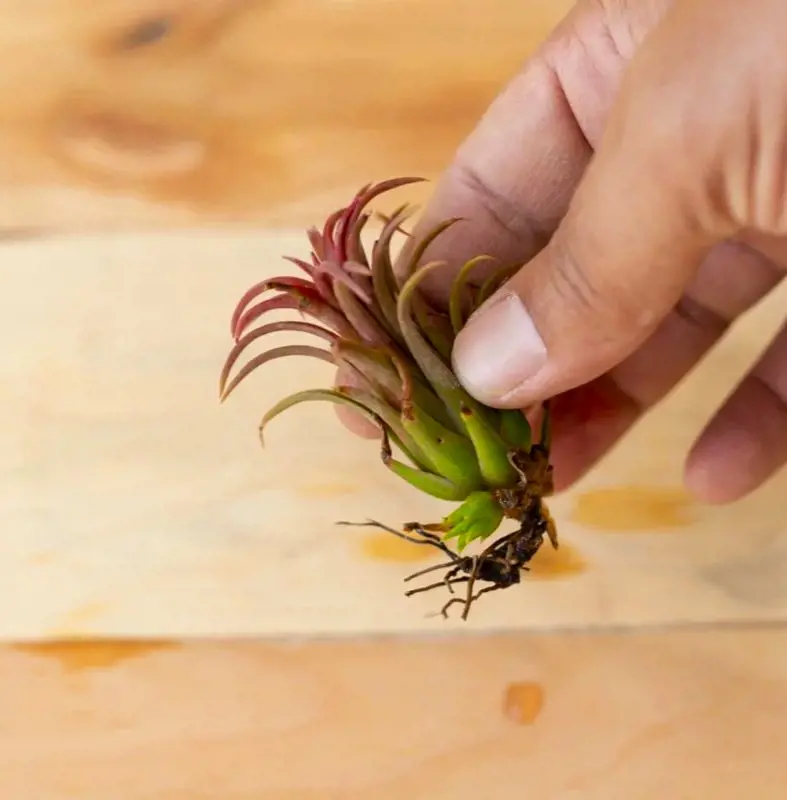
Carefully examine the base of the bromeliad plant to locate the offset. It may be attached to the parent plant by a short stem or appear as a cluster of smaller leaves emerging from the base.
Once you've identified the offset, use the sanitized scissors or knife to cut it away from the parent plant. Cut as close to the base of the offset as possible without causing damage to the parent plant.
Ensure that the offset has a portion of its own roots attached. If it doesn't have roots yet, it's still possible to propagate it, but it may take longer to establish itself as a separate plant.
Prepare a small container filled with a well-draining potting mix suitable for bromeliads. A mix consisting of orchid bark, perlite, and peat moss works well.
Plant the offset in the potting mix, making sure to bury its roots slightly and provide support for the plant as needed. Gently firm the soil around the base of the offset to secure it in place.
Water the newly potted offset thoroughly, ensuring that the soil is evenly moist but not waterlogged. Place the container in a location with bright, indirect light to encourage root development and growth.
While pruning isn't a mandatory step for all bromeliads, it can become quite beneficial in specific situations. It is like giving these large indoor plants a little makeover to encourage growth, control their size, and address any potential issues.
When pruning is helpful
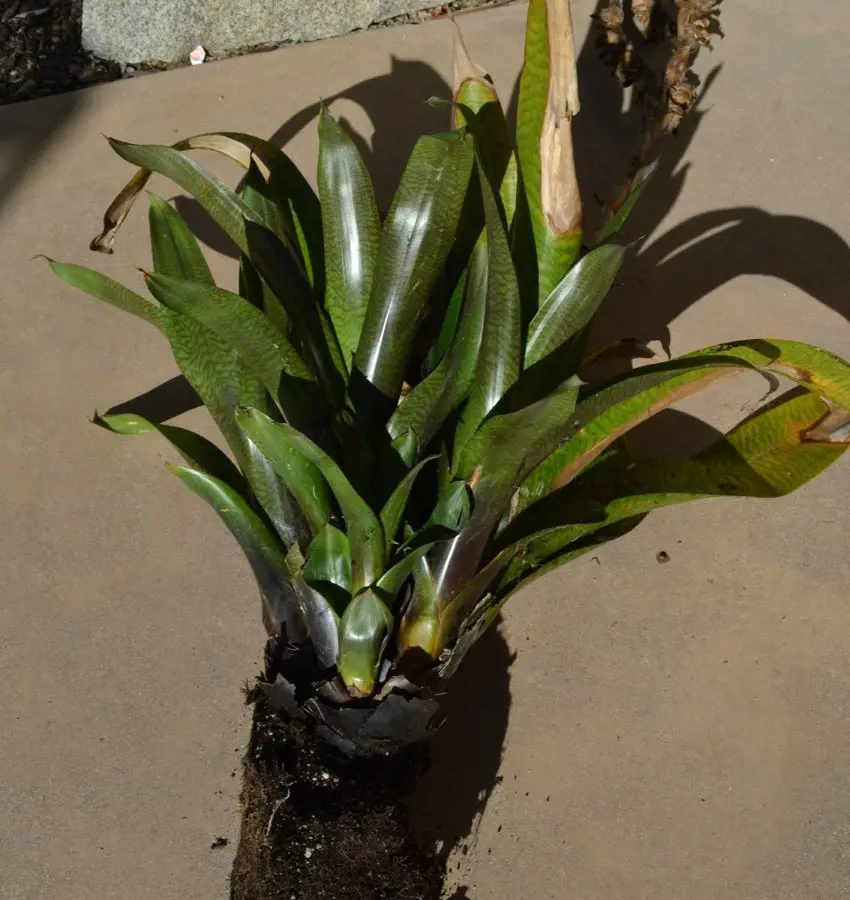
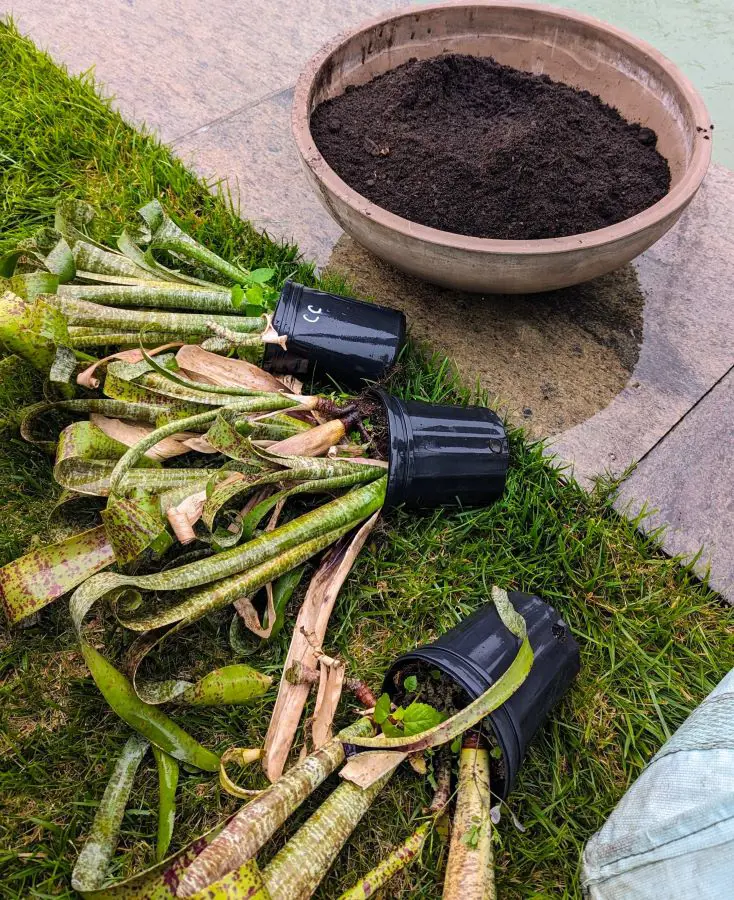
Repotting: When repotting your bromeliad, especially a mature one, pruning old, brown, or dead roots can encourage new root growth and prevent issues like rot.
Encouraging pups: If your bromeliad has produced pups (baby plants), removing the mother plant after it finishes flowering can allow the pups to thrive.
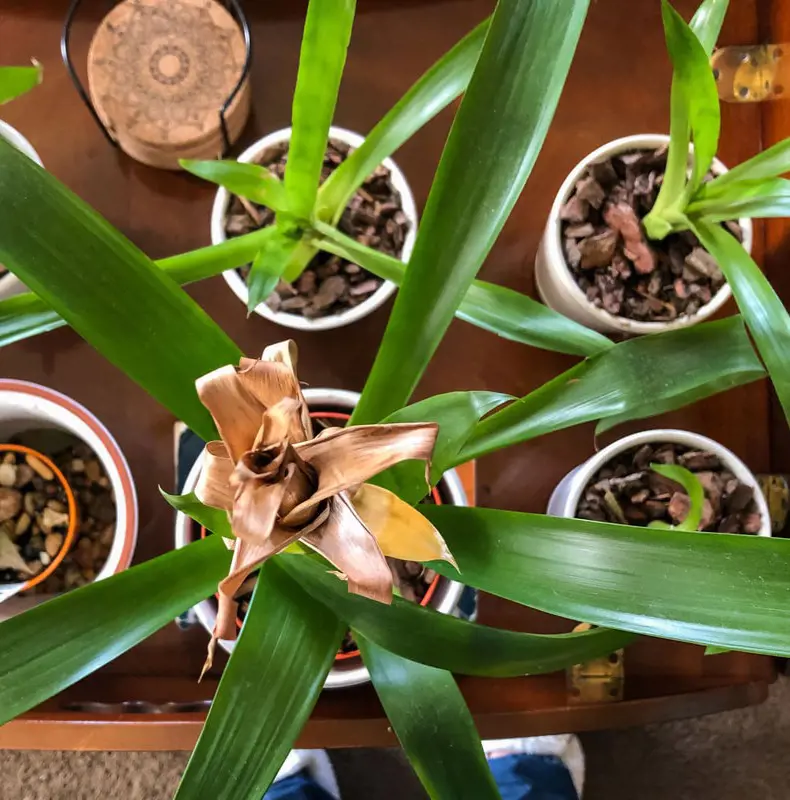
Controlling size: If your bromeliad is getting too large for its space, carefully trimming older leaves or spent flower stalks can help maintain its size and shape.
Removing diseased or damaged parts: Pruning away any diseased or damaged leaves or flower stalks can help prevent the spread of problems and keep your plant healthy.
When to avoid pruning
Healthy, actively growing plants: If your bromeliad is healthy and growing well, there's no need to prune it. Excessive pruning can harm the plant.
Young plants: Avoid pruning young or newly planted bromeliads, as they need all their energy for growth.
Flowering bromeliads: Don't prune flowering bromeliads, as it can damage the blooms.
While propagating from pups is the most common method for growing bromeliads, there are other fascinating ways to cultivate these unique plants, each with its own charm and challenges. Let's delve into some alternative approaches:
This method demands patience and meticulous care but offers the satisfaction of nurturing bromeliads from the very beginning. Use sterile tools and media, maintain consistent humidity and warmth, and provide bright indirect light. Research the specific germination requirements for your chosen species.
Challenges: Seeds are tiny and require special care; germination can be slow and erratic; and it can take years before the plants reach maturity.
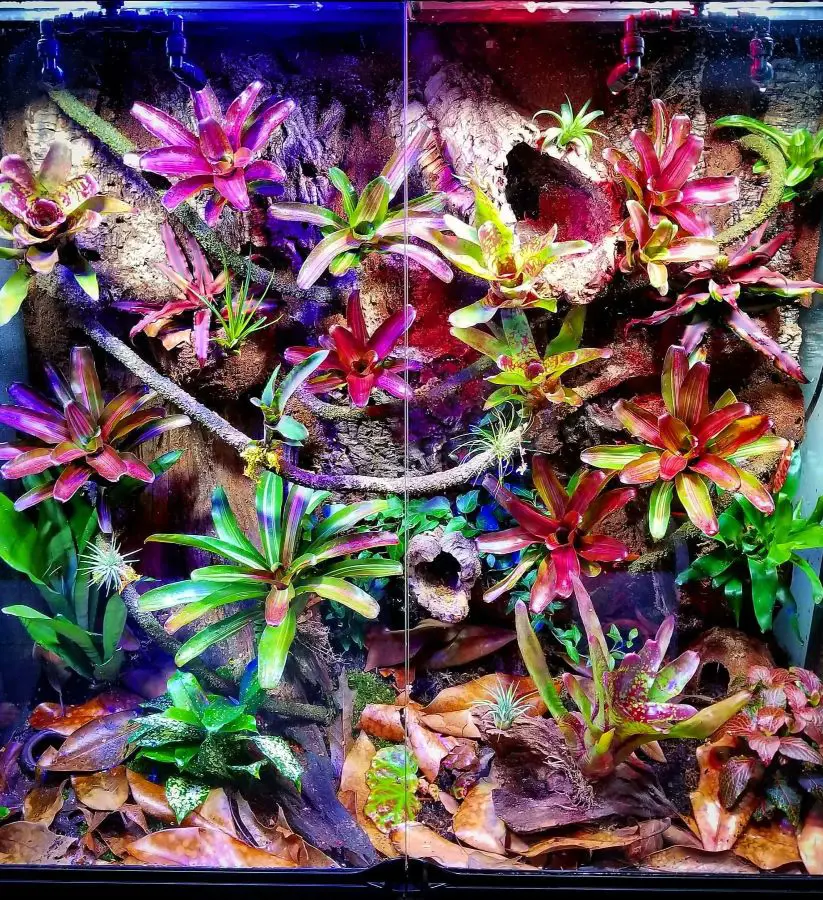
Create a miniature tropical paradise by enclosing bromeliads with other compatible plants, like ferns or mosses, in a glass container. Choose plants with similar light and moisture needs. Use a well-draining substrate, like orchid mix, and mist regularly. Ensure good air circulation by opening the terrarium periodically.
Challenges: It requires maintaining proper humidity and ventilation within the terrarium. Overwatering can lead to rot.
This method showcases their unique beauty by attaching them to wooden boards or plaques. Use sphagnum moss or orchid mix to secure the plant to the mount. Water the mount by soaking it periodically and allowing it to dry completely before re-soaking.
Challenges: It requires a stable mount and careful watering to avoid overwatering or underwatering the roots.
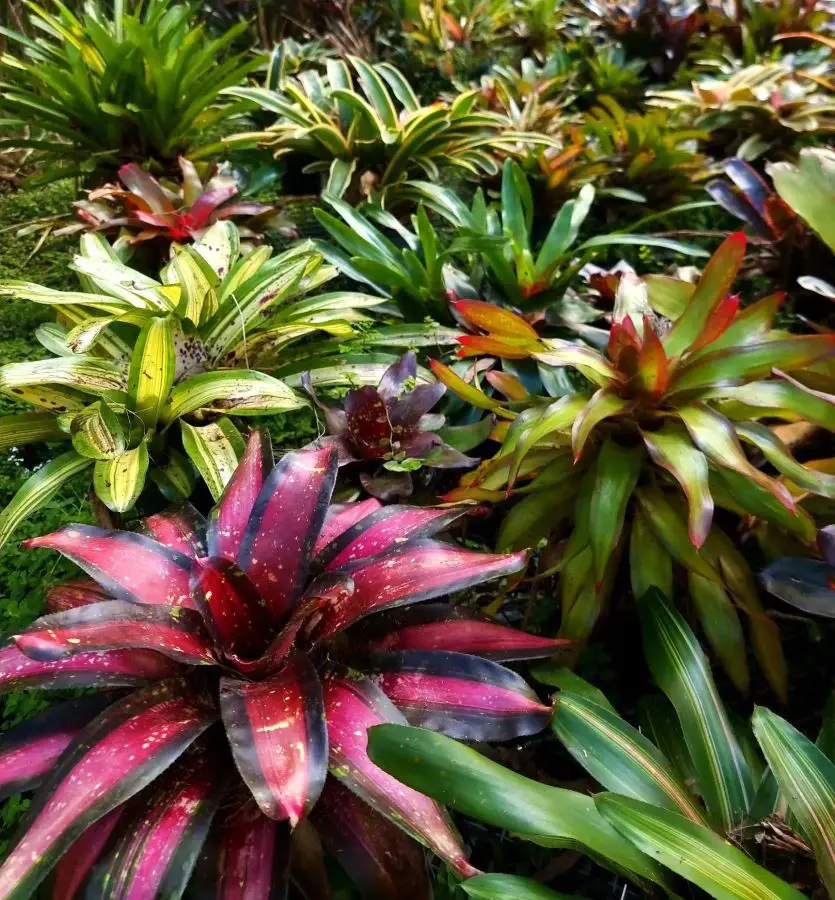
Bromeliads encompass a diverse and fascinating group of plants, with thousands of species and countless hybrids cultivated for their striking foliage, unique shapes, and often vibrant flowers. Here are explanations of some popular types of bromeliads:
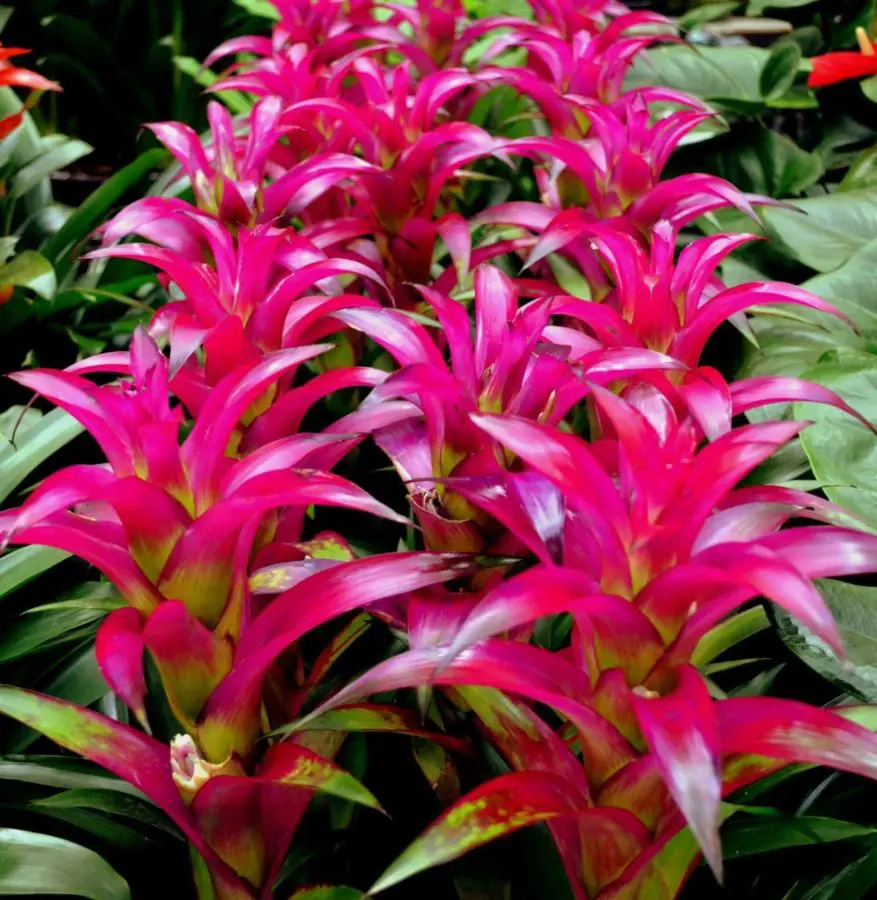
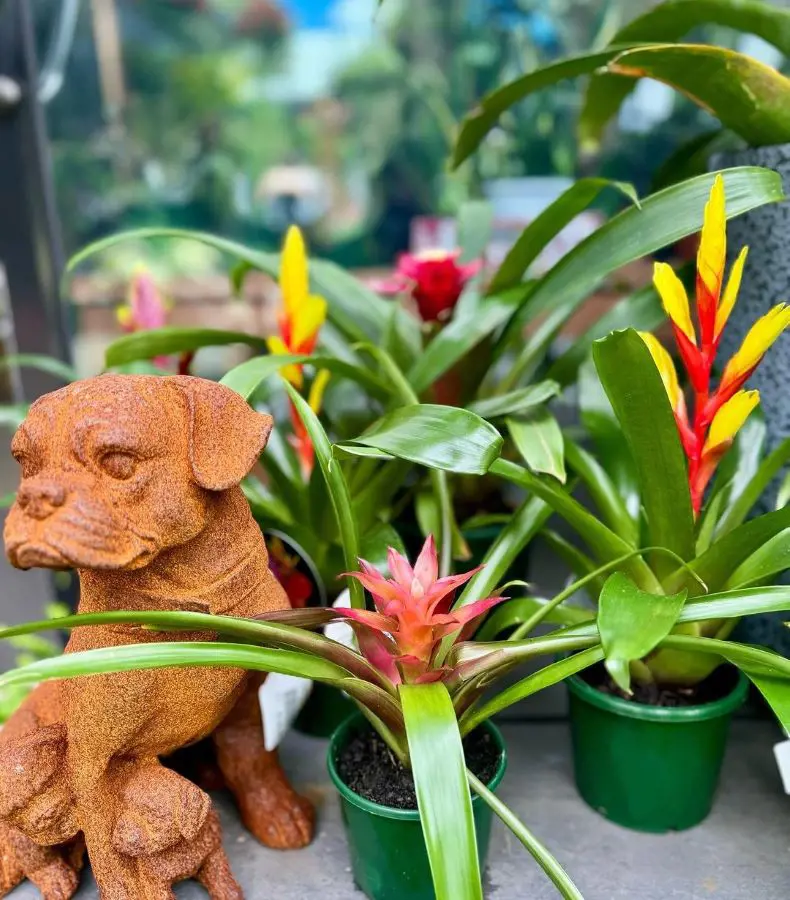
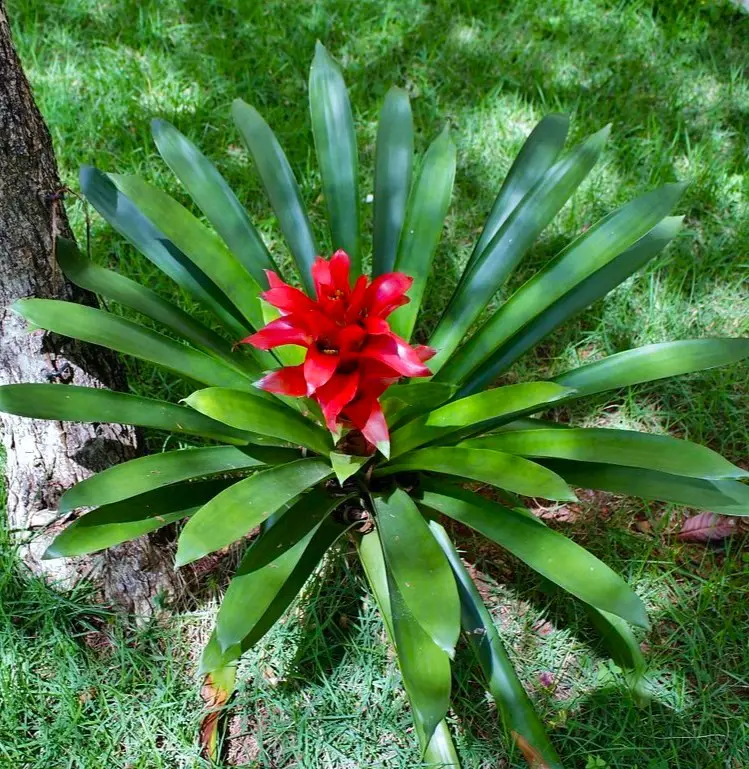
Guzmania bromeliads are known for their vibrant, colorful bracts that form a rosette around their central flowers. They are popular as indoor ornamental plants due to their stunning floral displays and relatively low maintenance requirements. They are typically grown in containers filled with a well-draining potting mix.
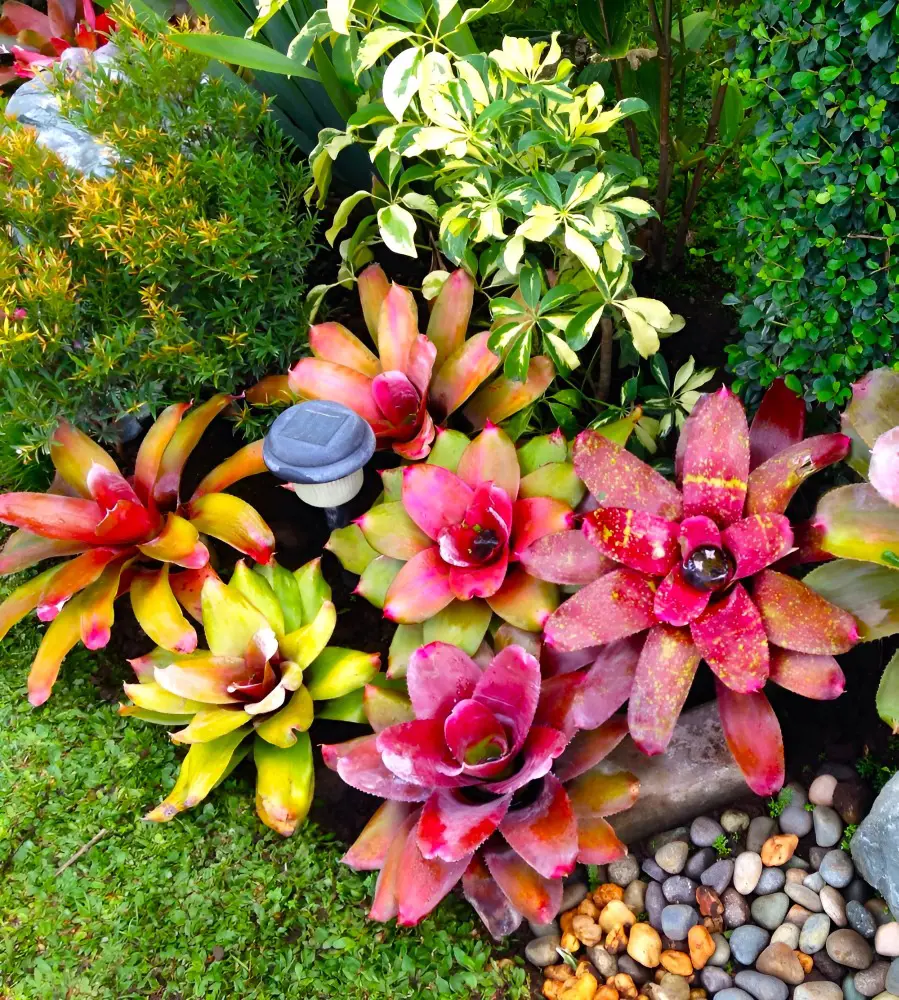
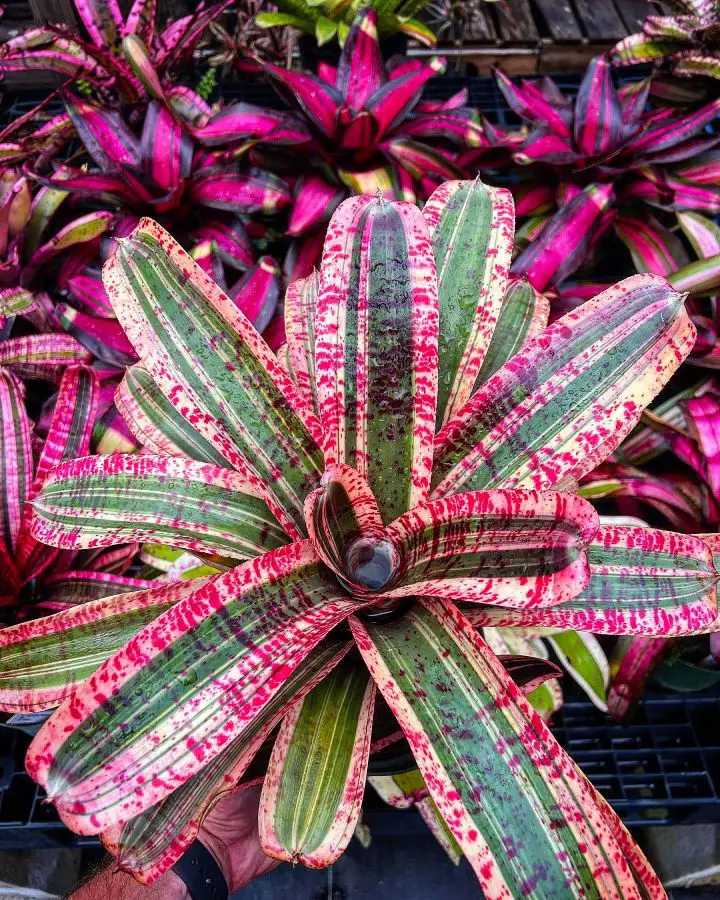
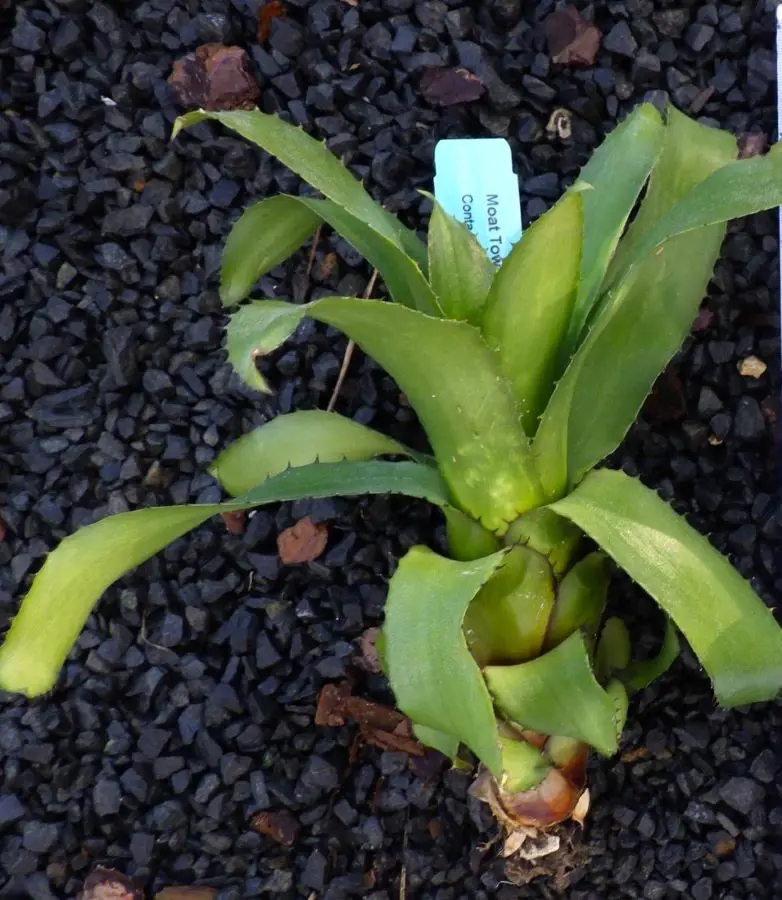
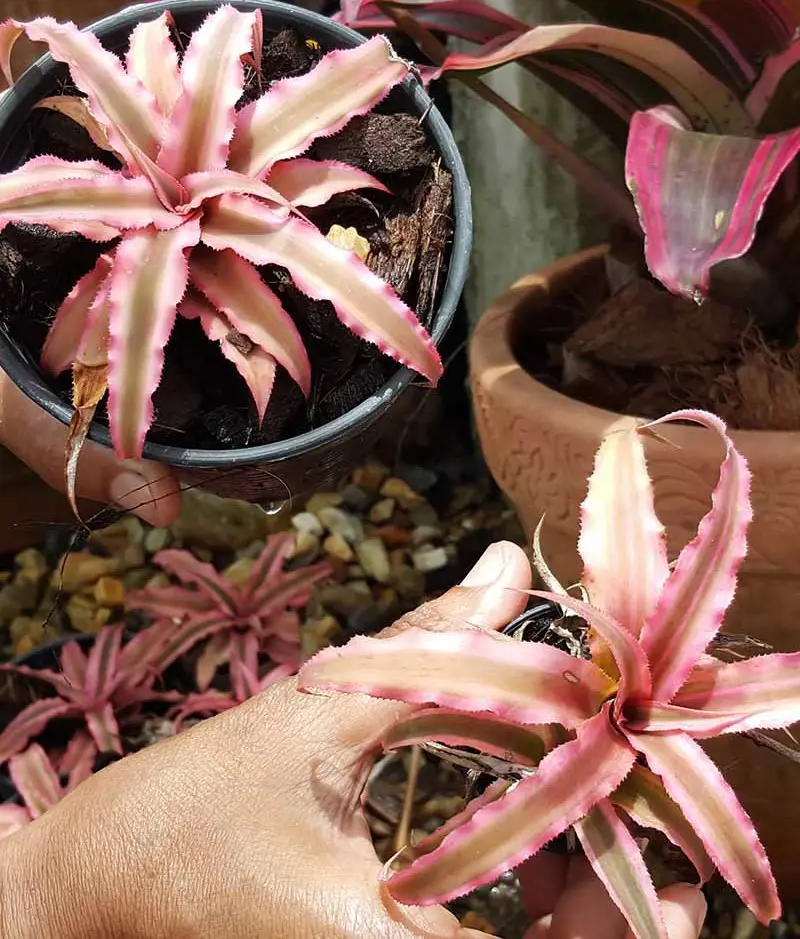
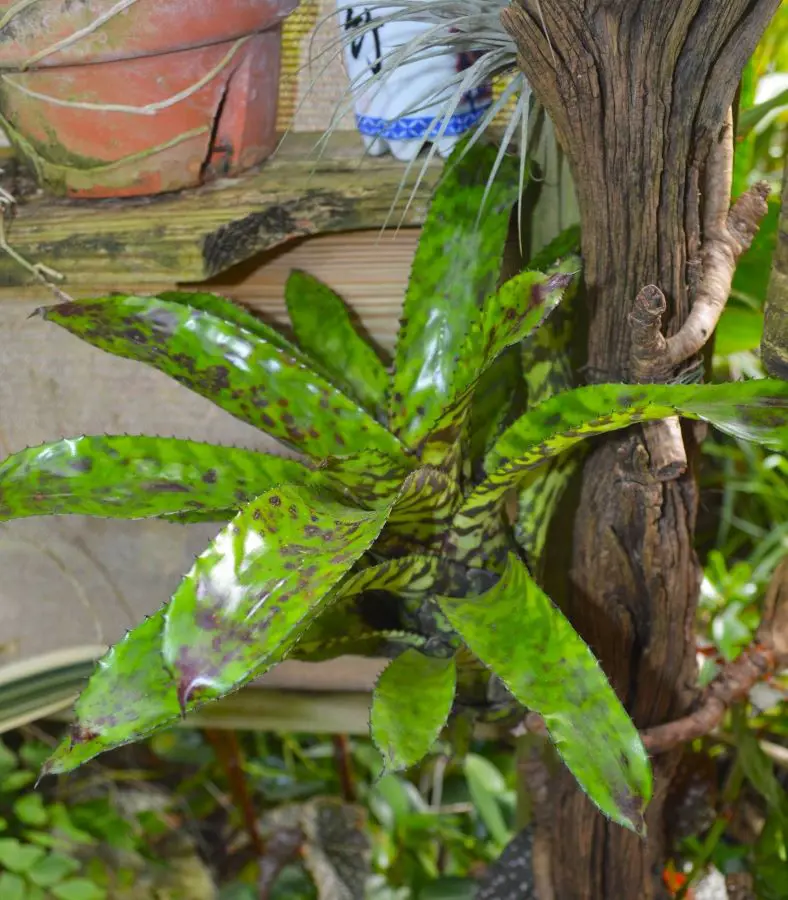
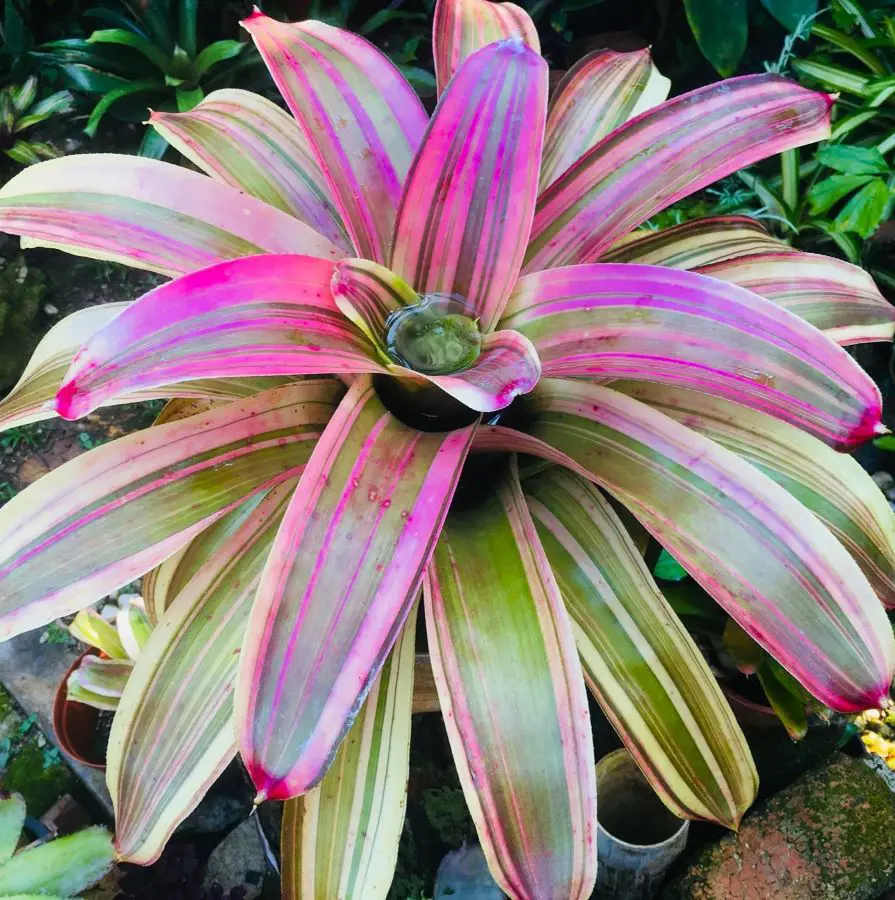
Neoregelia bromeliads are prized for their stunning foliage, which often features bold stripes, spots, or other colorful patterns. Unlike many other bromeliad types, Neoregelia's central tank remains flat and does not hold water, making them less reliant on regular watering. They are commonly used as groundcovers in tropical gardens or as striking accents in indoor plant collections.
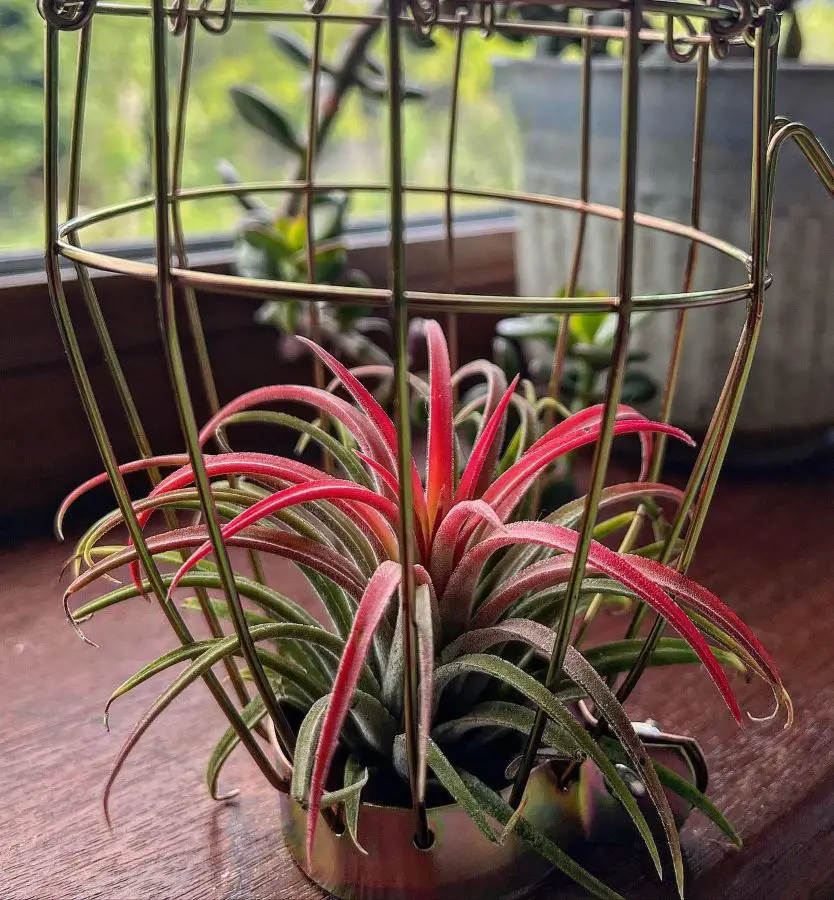
Tillandsia, commonly known as air plants, are perhaps the most iconic and versatile type of bromeliad. They are epiphytic plants, meaning they naturally grow attached to other plants or objects rather than in soil. Tillandsias absorb moisture and nutrients through their specialized trichomes, which cover their leaves, allowing them to thrive in a variety of environments.
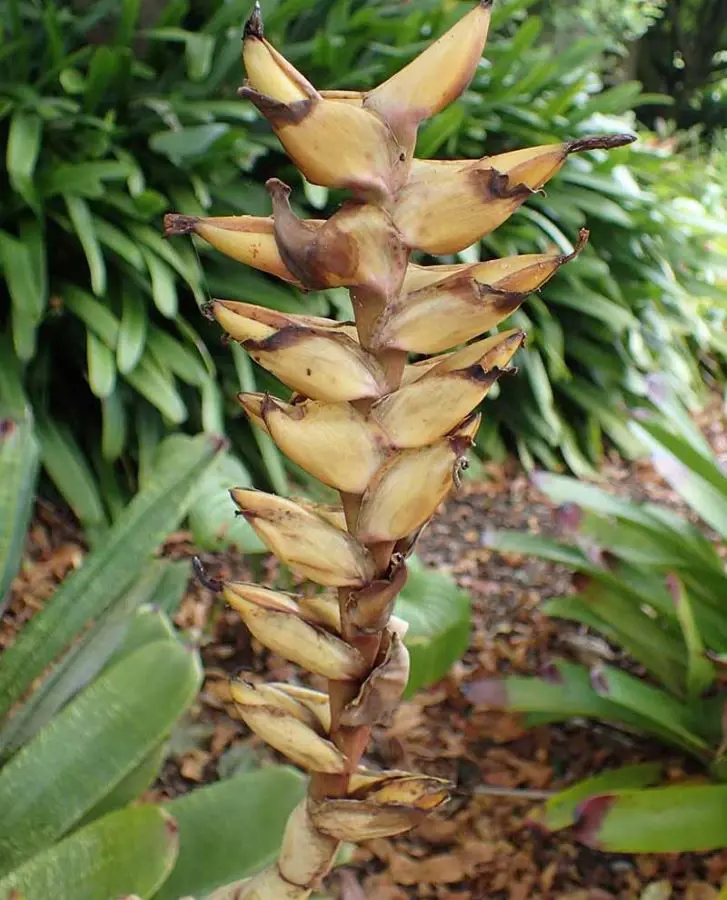
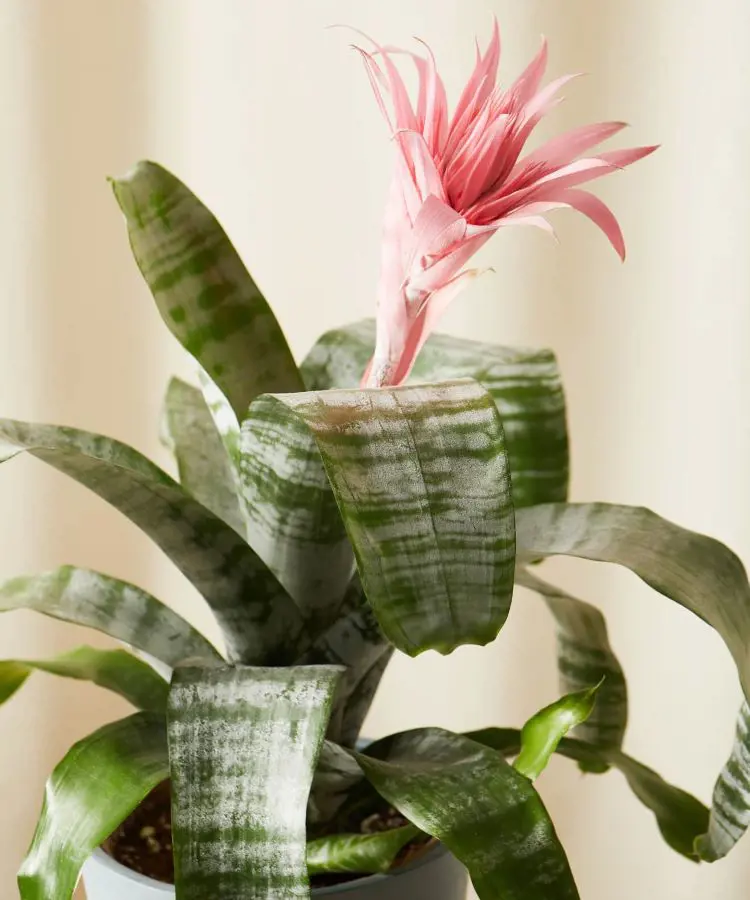
Aechmea bromeliads are known for their tall, slender flower spikes adorned with colorful bracts and tubular flowers. They often feature attractive foliage, with leaves that may be solid-colored or marked with bands, spots, or stripes.